1996 TOYOTA PASEO fuel
[x] Cancel search: fuelPage 128 of 165

125
Tire surface and wheel nuts Check the tires carefully
for cuts, damage
or excessive wear. See Chapter 7-2 for
additional information. When checking the tires, make sure no nuts are missing,
and check the nuts for looseness. T ighten
them if necessary.
Tire rotation
Rotate the tires every 12000 km (7500
miles). See Chapter 7-2 for additional in-formation.
Fluid leaks Check underneath for leaking fuel, oil, wa-
ter or other fluid after the vehicle has been
parked for a while. If you smell fuel fumes
or notice any leak, have the cause found
and corrected immediately. Doors and engine hood Check that all doors including trunk lid op-
erate smoothly and all latches lock se-
curely. M ake sure the engine hood secon-
dary latch secures the hood from opening
when the primary latch is released. INSIDE THE VEHICLE Items listed below should be checked
regularly, e.g. while performing peri-
odic services, cleaning the vehicle,etc. Lights Make sure the headlights, stop lights, tail lights, turn signal lights, and other lights are all working. Check headlight aim. Service reminder indicators and
warn-
ing buzzers Check that all service reminder indicators
and warning buzzers function properly. Steering wheel
Check that it has the specified freeplay.
Be alert for changes in steering condition,such as hard steering or strange noise. Seats Check that all front seat controls such as
seat adjusters, seatback recliner, etc. op- erate smoothly and that all latches lock
securely in any position. For folding-down
rear seatback, check that the latches lock
securely. Seat belts
Check that the seat belt system such as
buckles, retractors and anchors operate
properly and smoothly. Make sure the belt
webbing is not cut, frayed, worn or dam-aged. Accelerator pedal Check
the pedal for smooth operation and
uneven pedal effort or catching. Clutch pedal Check the pedal for smooth operation. Brake pedal Check the pedal for smooth operation and
that the pedal has the proper clearance. Check the brake booster function. Brakes
At a safe place, check that the brakes do not pull to one side when applied. Parking brake Check that the lever has the proper travel and that, on a safe incline, your vehicle is
held securely with only the parking brake applied.
Automatic transmission Parkº mech-
anism
Check the lock release button of the se-
lector lever for proper and smooth opera-
tion. On a safe incline, check that your ve-
hicle is held securely with the selectorlever in Pº position and all brakes re-leased.
Page 129 of 165

126IN THE ENGINE COMPARTMENT Items listed below should be checked
from
time to time , e.g. each time when
refueling.
Washer fluid
Make sure there is sufficient fluid in the
tank. See Chapter 7-3 for additional infor-
mation.
Engine coolant level Make sure the coolant level is between
the FULLº and LOWº lines on the see-
through reservoir. See Chapter 7-2 for
additional information. Battery electrolyte level Make sure the electrolyte level of all bat-
tery cells is between upper and lower level
lines on the case. Add only distilled water
when replenishing. See Chapter 7-3 for
additional information. Brake fluid level
Make sure the brake fluid level is correct. See Chapter 7-2 for additional informa- tion.
Engine oil level
Check the l evel on the dipstick with the en-
gine turned off and the vehicle parked on
a level spot. See Chapter 7-2 for addition-
al information. Power steering fluid level Check
the level through the reservoir. The
level should be in the HOTº or COLDº
range depending on the fluid t emperature.
See Chapter 7-2 for additional informa-tion.
Exhaust system
If you notice any change in the sound of
the exhaust or smell exhaust fumes, have the cause located and corrected immedi-
ately. (See engine exhaust cautions in
Part 2.) Be on the alert for changes in perfor-
mance, sounds, and visual tip-offs
that in-
dicate service is needed. Some important
clues are as follows: � Engine missing, stumbling, or pinging
� Appreciable loss of power
� Strange engine noises
� A leak under the vehicle (however, wa-
ter dripping from the air conditioning
after use is normal.)
� Change in exhaust sound (This may
indicate a dangerous carbon monox-
ide leak. Drive with the windows open
and have the exhaust system checked
immediately.)
� Flat-looking tire; excessive tire squeal
when cornering; uneven tire wear
� Vehicle pulls to one side when driving straight on a level road
� Strange noises related to suspensionmovement
� Loss of brake effectiveness; spongy
feeling brake or clutch pedal; pedal al-
most touches floor; vehicle pulls to one
side when braking
� Engine coolant temperature continual-
ly higher than normal
Does your vehicle needrepairing?
Page 135 of 165

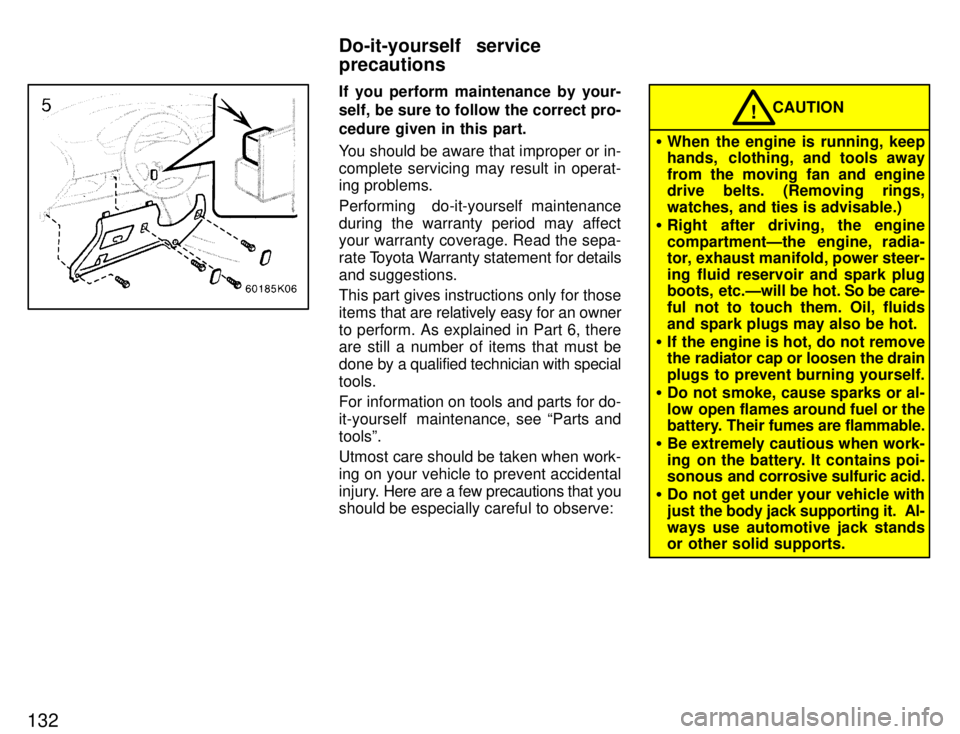
132
If you perform maintenance by your-
self, be sure to follow the correct pro- cedure given in this part.
You should be aware that improper or in- complete servicing may result in operat-
ing problems.
Performing do-it-yourself maintenance
during the warranty period may affect your warranty coverage. Read the sepa-
rate Toyota Warranty statement for details
and suggestions.
This part gives instructions only for those
items that are relatively easy for an owner
to perform. As explained in Part 6, there
are still a number of items that must be
done by a qualified technician with special
tools.
For information on tools and parts for do-
it-yourself maintenance, see Parts andtoolsº.
Utmost care should be taken when work-
ing on your vehicle to prevent accidental
injury. Here are a few pr ecautions that you
should be especially careful to observe:
� When the engine is running, keep
hands, clothing, and tools away
from the moving fan and engine
drive belts. (Removing rings,
watches, and ties is advisable.)
� Right after driving, the engine
compartmentÐthe engine, radia-
tor, exhaust manifold, power steer-
ing fluid reservoir and spark plug
boots, etc.Ðwill be hot. So be care-
ful not to touch them. Oil, fluids
and spark plugs may also be hot.
� If the engine is hot, do not remove
the radiator cap or loosen the drain
plugs to prevent burning yourself.
� Do not smoke, cause sparks or al-
low open flames around fuel or the
battery. Their fumes are flammable.
� Be extremely cautious when work-
ing on the battery. It contains poi-
sonous and corrosive sulfuric acid.
� Do not get under your vehicle with
just the body jack supporting it. Al-
ways use automotive jack stands
or other solid supports. CAUTION
!
Do-it-yourself service precautions
Page 139 of 165

136ENGINE OIL SELECTION Use API SH, Energy-Conserving IIº mul- tigrade engine oil or ILSAC multigrade en-
gine oil. Recommended viscosity (SAE):
If you use SAE 10W-30 engine oil in
extremely low temperatures, the en-
gine may become difficult to start, so
SAE 5W-30 engine oil is recom- mended.
API service symbol
ILSAC certification mark
Oil identification marks
Either or
both API registered marks are
added to some oil containers to help
you select the oil you should use.
The API Service Symbol is located any-
where on the outside of the container. The top portion of the label shows the oil
quality by API (American Petroleum Insti-
tute) designations such as SH. The center
portion of the label shows the SAE viscos-
ity grade such as SAE 10W-30. Energy-
Conserving IIº shown in the lower portion,
indicates that the oil has fuel-saving capa-
bilities. Oils marked Energy-Conserving
IIº will have higher fuel-saving capabilities than oils marked Energy-Conservingº.
The ILSAC (International Lubricant Stan-
dardization and Approval Committee) Certification Mark is displayed on the front
of the container.
Page 142 of 165

139
Clean all dirt from outside of the reservoir
tank and look at the fluid level. If the fluid is cold, the level should be in the COLDº
range. Similarly, if it is hot, the fluid level
should be in the HOTº range. If the level
is at the low side of either range, add auto-
matic transmission fluid DEXRON
�
-II or
-III to bring the level within the range.
To remove the filler cap, turn it counter-
clockwise and lift up. To reinstall it, turn it clockwise. After replacing the filler cap,
visually check the steering box case, vane
pump and hose connections for leaks or damage.
CAUTION
The reservoir tank may be hot so be
careful not to burn yourself.!
Avoid overfilling, or the power steering could be damaged.
NOTICE
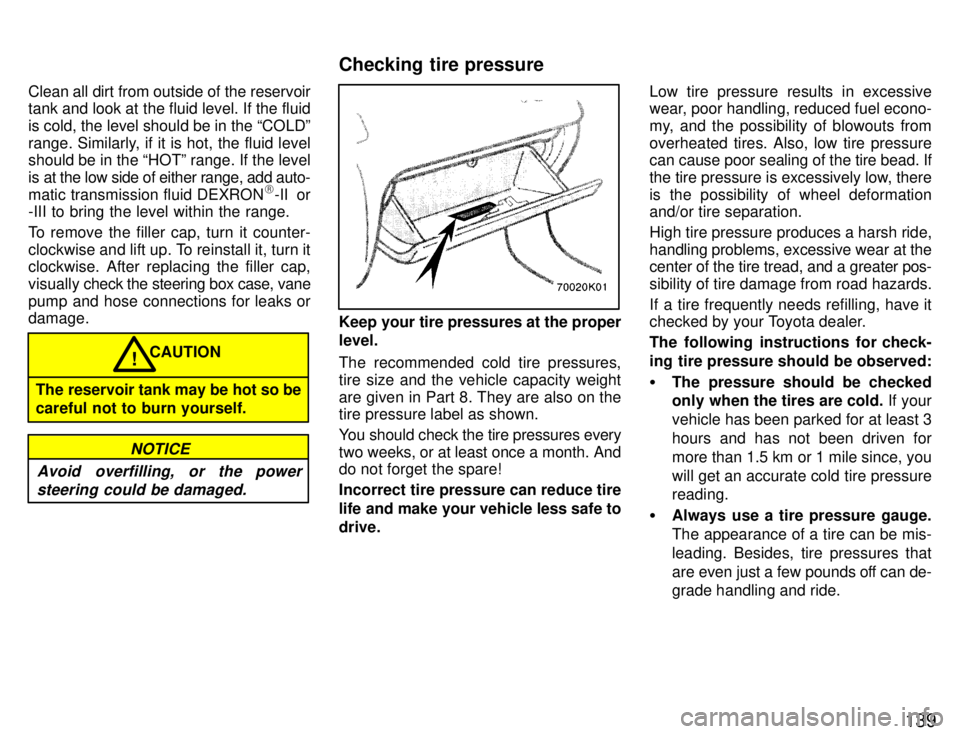
Keep your tire pressures at the proper level.
The recommended cold tire pressures,
tire size and the vehicle capacity weight
are given in Part 8. They are also on the tire pressure label as shown.
You should check the tire pressures every
two weeks, or at least once a month. And
do not forget the spare!
Incorrect tire pressure can reduce tire
life and make your vehicle less safe to drive. Low tire pressure results in excessive
wear, poor handling, reduced fuel econo-
my, and the possibility of blowouts fromoverheated tires. Also, low tire pressure
can cause poor sealing of the tire bead. If
the tire pressure is excessively low, there
is the possibility of wheel deformation and/or tire separation.
High tire pressure produces a harsh ride,
handling problems, excessive wear at the center of the tire tread, and a greater
pos-
sibility of tire damage from road hazards.
If a tire frequently needs refilling, have it
checked by your Toyota dealer.
The following instructions for check-
ing tire pressure should be observed: � The pressure should be checked
only when the tires are cold. If your
vehicle has been parked for at least 3 hours and has not been driven formore than 1.5 km or 1 mile since, you
will get an accurate cold tire pressure reading.
� Always use a tire pressure gauge.
The appearance of a tire can be mis-
leading. Besides, tire pressures that
are even just a few pounds off can de-
grade handling and ride.
Checking tire pressure
Page 158 of 165

Part 8Dimensions and weight Engine
155
SPECIFICATIONS �
Dimensions and weight
�Engine
�Fuel
�Service specifications
�Tires
�Fuses
Overall length mm (in.) 4155 (163.5)
Overall width mm (in.) 1660 ( 65.4)
Overall height mm (in.) 1270 ( 50.0)*
1
mm (in.) 1296 ( 51.0)* 2
Wheelbase mm (in.) 2380 ( 93.7)
Front tread mm (in.) 1405 ( 55.3)
Rear tread mm (in.) 1395 ( 54.9)
Vehicle capacity weight (occupants + luggage) kg (lb.) 284 (625)
*1: Unladen vehicle plus two occupants
*2: Unladen vehicle Model:
5E-FE
Type: 4 cylinder in line, 4 cycle, gasoline
Bore and stroke, mm (in.):
74.0 x 87.0 (2.91 x 3.43)
Displacement, cm 3
(cu. in.):
1497 (91.3)
Page 159 of 165

156
Fuel type:
Unleaded gasoline, Research Octane
Number 91 (Octane Rating 87) or higher
Fuel tank capacity, L (gal., Imp. gal.):
45 (11.9, 9.9) ENGINE
Valve clearance (engine cold), mm (in.)
Intake 0.15 '0.25 (0.006 '0.010)
Exhaust 0.31 '0.41 (0.012 '0.016)
Spark plug type:
NIPPONDENSO K16TR11
NGK BKR5EKB11
Spark plug gap, mm (in.):
1.1 (0.043)
Drive belt tension measured with Bor-
roughs drive belt tension gauge No.
BT-33-73F (used belt), Ibf: 100 + 20
ENGINE LUBRICATION Oil capacity (drain and refill), L (qt., Imp. qt.):
With filter 2.8 (3.0, 2.5)
Without filter 2.6 (2.7, 2.3) Oil grade:
API SH, Energy-Conserving IIº mul-
tigrade engine oil or ILSAC multi-
grade engine oil is recommended.
Recommended oil viscosity (SAE):
COOLING SYSTEM
Total capacity, L (qt., Imp. qt.): Automatic transmission
5.3 (5.6, 4.7)
Manual transmission 4.9 (5.2, 4.3)
Coolant type: With ethylene-glycol antifreeze (Do not use alcohol type.)
Fuel Service specifications
Page 161 of 165

158
Engine compartment (U.S.A.) Fuses (type A)
1. HEAD (LH) 10 A: Left-hand headlight
2. HEAD (RH) 10 A: Right-hand head-
light
3. AM2 15 A: Ignition system, charging
system, multiport fuel injection system/
sequential multiport fuel injection system,
SRS airbag system, starter system
4. HAZ-HORN 15 A: Horns, turn signal
lights, em ergency flashers, theft deterrent
system
5. EFI 15 A: Multiport fuel injection sys-
tem/sequential multiport fuel injection sys-
tem, air conditioning systemEngine compartment (Canada)
6. DOME 10 A: Personal lights, open
door warning light, clock, car audio sys-
tem, anti-lock brake system, theft deter- rent system
7. OBD-II 7.5 A: On-board diagnosis sys-
tem
8. ALT-S 5 A: Charging system
9 . D R L 5 A: Daytime running light system
10. HEAD (RH-LWR) 10 A: Right-hand
headlight (low beam)
11. HEAD (LH-LWR) 10 A: Left-hand
headlight (low beam)
12. HEAD (RH-UPR) 10 A: Right-hand
headlight (high beam)Engine compartment (Canada only) 13. HEAD (LH-UPR) 10 A: Left-hand
headlight (high beam)
14. STOP 10 A: Stop lights, high mounted
stoplight, anti-lock brake system, shift lock control system 15. A/C 10 A: Air conditioning system
16. TAIL 15 A: Tail lights, parking lights,
license plate lights, instrument panel
lights, emergency flashers, air condition-
ing system, rear window defogger, car au-
dio system, cigarette lighter, clock
Fuses