1996 PONTIAC PONTIAC tire pressure
[x] Cancel search: tire pressurePage 163 of 370
The anti-lock system can change the brake pressure faster
than any driver could. The computer is programmed to
make the most of available tire and road conditions.
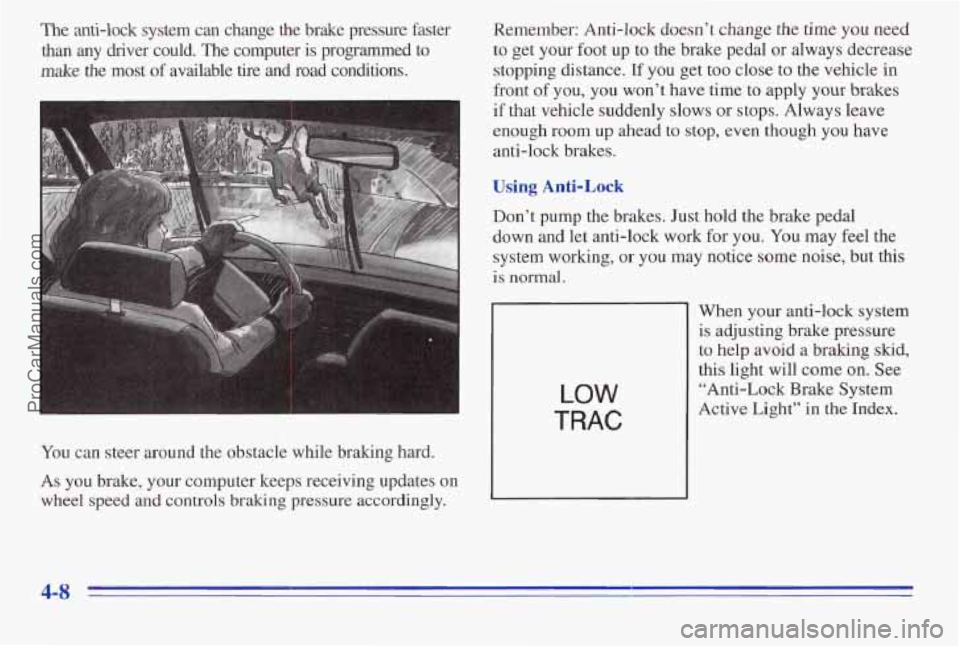
You can steer around the obstacle while braking hard.
As you brake, your computer keeps receiving updates on
wheel speed and controls
braking pressure accordingly. Remember: Anti-lock doesn’t
change the time you
need
to get your foot up to the brake pedal or always decrease
stopping distance. If you get too close
to the vehicle in
front
of you, you won’t have time to apply your brakes
if that vehicle suddenly slows or stops. Always leave
enough room up ahead to
stop, even though you have
anti-lock brakes.
Using Anti-Lock
Don’t pump the brakes. Just hold the brake pedal
down and let anti-lock
work for you. You may feel the
system working,
or you may notice some noise, but this
is normal.
LOW
TRAC
When your anti-lock system
is adjusting brake pressure
to help avoid a braking
skid,
this light will come on. See
“Anti-Lock Brake System
Active
Light” in the Index.
4-8
ProCarManuals.com
Page 164 of 370
Braking in Emergencies
At some time, nearly every driver gets into a situation
that requires hard braking.
If you have anti-lock, you can steer and brake at the
same time. However,
if you don’t have anti-lock, your
first reaction
-- to hit the brake pedal hard and hold it
down
-- may be the wrong thing to do. Your wheels can
stop rolling. Once they do, the vehicle can’t respond to
your steering. Momentum will
carry it in whatever
direction it was headed when the wheels stopped rolling.
That could be off the road, into the very thing you were
trying to avoid, or into traffic.
If you don’t have anti-lock, use
a “squeeze” braking
technique.
This will give you maximum braking while
maintaining steering control. You do this by pushing on
the brake pedal with steadily increasing pressure.
In an emergency, you will probably want to squeeze the
brakes hard without locking the wheels. If you hear or
feel the wheels sliding, ease
off the brake pedal. This
will help you retain steering control. (If you
do have
anti-lock, it’s different: see “Anti-Lock Brakes” in
the Index.)
In many emergencies, steering can help you more than
even the very best braking.
Steering
Power Steering
If you lose power steering assist because the engine‘
stops or the system is not functioning, you can steer but
it will take much more effort.
Variable Assist Steering
This steering system provides lighter steering effort for
parking and when driving at low speeds. Steering effort
will increase at higher speeds for improved road feel.
Steering Tips
Driving on Curves
It’s important to take curves at a reasonable speed.
A lot of the “driver lost control” accidents mentioned on
the news happen on curves. Here’s why:
Experienced driver or beginner, each of us is subject to
the same laws
of physics when driving on curves. The
traction of the tires against the road surface makes it
possible for the vehicle to change its path when you turn
the front wheels. If there’s no traction, inertia will keep
the vehicle gqing in the same direction. If you’ve ever
. . ,,: ., .. %
A,. .c .. j: tried to steer a vehicle on wet ice, you’ll understand this.
ProCarManuals.com
Page 169 of 370
Of course, traction is reduced when water, snow, ice,
gravel or other material is on the road. For safety,
you’ll
want to slow down and adjust your driving to these
conditions. It is important to slow down on slippery
surfaces because stopping distance will be longer and
vehicle control more limited.
While driving on
a surface with reduced traction, try
your best to avoid sudden steering, acceleration or
braking (including engine braking by shifting to a lower
gear). Any sudden changes could cause the tires to slide.
You may not realize the surface is slippery until your
vehicle is skidding. Learn to recognize warning
clues -- such as enough water, ice or packed snow MI
the road to make a “mirrored surface” -- and slow down
when you have any doubt.
If you have the anti-lock braking system, remember: It
helps avoid
only the braking skid. If you do not have
antblock, then
in a braking skid (where the wheels are
Driving at Night
no longer rolling), release enough pressure on the brakes
to get the wheels rolling again. This restores steering
control. Push the hake pedal
down steadily when you
have to
stop suddenly. As long as the wheels are rolling, Night
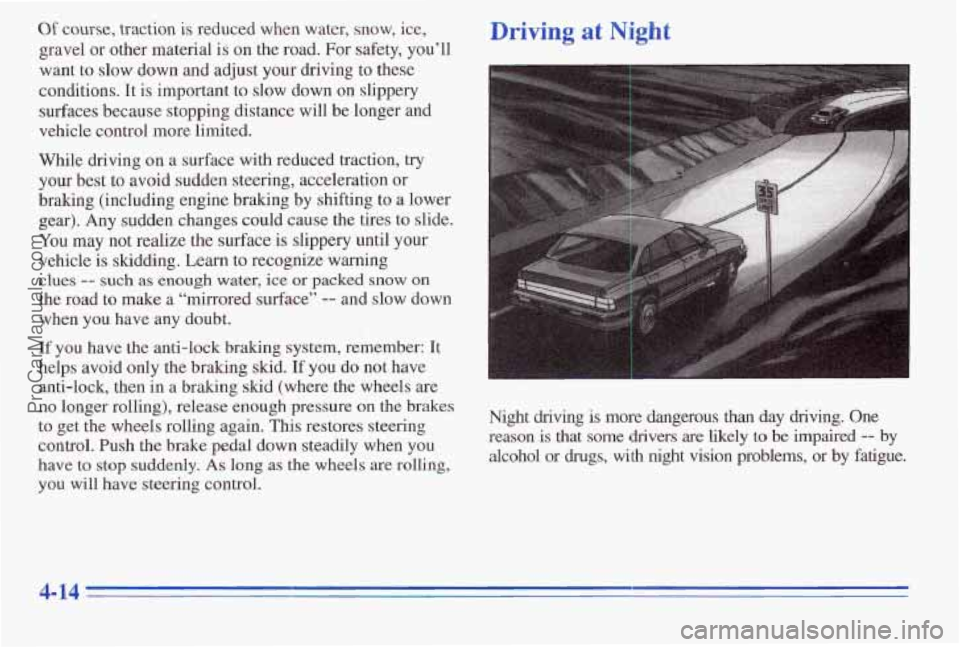
driving is more dangerous than day driving. One
reason is
that some drivers are likely to be impaired -- by
alcohol QT drugs, with night vision problems, or by fatigue.
you
will have steering control.
4-14
~.
ProCarManuals.com
Page 173 of 370
Hydroplaning . ., ... 1, , , 2 ,2-,a7:-~+.,: <. .:< ’. -- ’.
Hydroplaning is dangerous. So much water can build up
under your’tires that they can actually ride
on the water.
This can happen if the road is wet enough and you’re
going fast enough. When your vehicle
is hydroplaning,
it has little or no contact with the road.
Hydroplaning doesn’t happen often. But it can
if your
, tires haven’t much tread or if the pressure in one or
more is low.
It can happen if a lot of water is standing on
the road. If you can see reflections from trees, telephone
poles or other vehicles, and raindrops “dimple” the
water’s surface, there could be hydroplaning,
Hydroplaning usually happens at higher speeds. There
just isn’t
a hard and fast rule about hydroplaning. The
best advice is to slow down when
it is raining.
Driving Through Deep Standing Water
NOTICE:
If you drive too quickly through deep puddles or
standing water, water can come in through your
engine’s air intake and badly damage your
.engine. Never drive through water that is slightly
lower than the underbody
of your vehicle. If you
can’t avoid deep puddles or standing water, drive
through them very slowly.
S,ome Other Rainy Weather Tips
Turri on your low-beam headlamps -- not just
your
parking lamps -- to help make you more visible
to others.
Besides slowing down, allow some extra following
distance. And be especially careful when
you pass
another vehicle. Allow yourself more clear room
ahead, and be prepared
to have your view restricted
by road spray.
Have good tires with proper tread depth. (See
“Tires” in
the Index.)
4-18
ProCarManuals.com
Page 176 of 370
The exit speed is usually posted.
Reduce your speed according to your speedometer, not
to your sense of motion. After driving for any distance
at higher speeds, you may tend to think you are going
slower than you actually
are.
Before Leaving on a Long Trip
Make sure you're ready. Try to be well rested. If you
must
start when you're not fresh -- such as after a day's
work
-- .don't plan to make too many miles that first part
of the journey. Wear comfortable clothing and shoes you
can easily drive in.
Is your vehicle ready for a long trip? If you keep it
serviced and maintained, it's ready to go. If it needs
service, have it done before starting out. Of course,
you'll.find experienced and able service experts in
Pontiac dealerships all across
North America. They'll be
ready and willing to help if you need it. Here are some things
you can check before a trip:
0
0
0
a
a
0
a
Windshield Washer Fluid: Is the reservoir full? Are
all windows clean inside and outside?
Wiper Blades:
Are they'in good shape?
Fuel, Engine Oil, Other Fluids: Have you checked
all levels?
Lamps: Are they all working? Are the lenses clean?
Tires: They are vitally important to a safe,
trouble-free trip.
Is the tread good enough for
long-distance driving?
Are the tires all inflated to the
recommended pressure?
Weather Forecasts: What's the weather outlook
along your route? Should you delay your trip a
short
time to avoid a major storm system?
Maps:
Do you have up-to-date maps?
4-21
ProCarManuals.com
Page 183 of 370
Run your engine only as long as you must. This saves
fuel. When you run the engine,.
make it go a little faster
than just idle. That is, push the accelerator slightly.
This
uses less fuel for the heat that you get and it keeps the
battery charged.
You will need a well-charged battery to
restart the vehicle, and possibly for signaling later on
with your headlamps. Let the heater
run for awhile.
Then, shut the engine
off and close the window almost
all the way to preserve the heat. Start the engine again
and repeat this only when you feel really uncomfortable
from the cold. But do it as little as possible. Preserve the
fuel as long as you can.
To help keep warm,'you can get
out of the vehicle and do some fairly vigorous exercises
every half hour or so until help comes.
.
Loading Your Vehicle
TI!RE-LBADING INFORMATION
VEHICLE
CAP. WT.
FRT, CTR. RR TOTAL LBS.
MAX. LOADING & GVWR SAME AS VEHICLE
CAPACITY
WEIGHT XXX COLD TIRE
TIRE SIZE SPEED PRESSURE
RTG ' PSI/KPa
FRT.
RR.
SPA.
IF TIRES ARE HOT, ADD 4PW28KPa
SEE OWNER'S MANUAL FOR ADDITIONAL
INFORMATION k
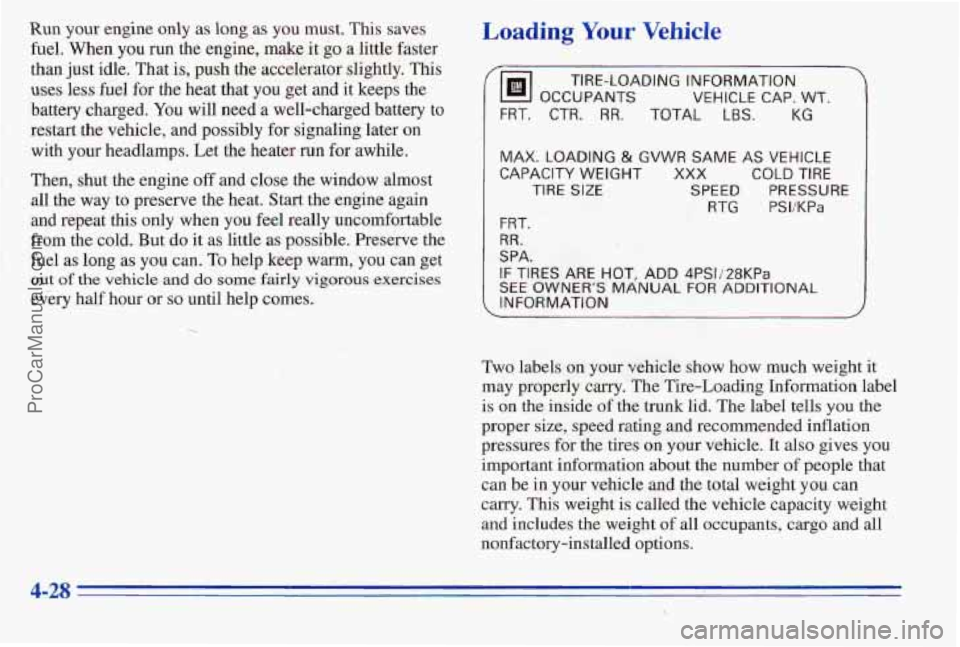
Two labels on your vehicle show how much weight it
may properly
carry, The Tire-Loading Information label
is
on the inside of the trunk lid. The label tells you the
proper size, speed rating and recommended inflation
pressures for the tires on your vehicle. It also gives you
important
irmformation about the numb'er of people that
can be
in your vehicle and the total weight you can
carry.
This weight is called' the vehicle capacity weight
and includes the weight
of all occupants, cargo and all
nonfactory-installed options.
ProCarManuals.com
Page 188 of 370
If you’re using a weight-carrying hitch, the trailer
tongue (A) should weigh
10% of the total loaded trailer
weight
(B). If you have a weight-distributing hitch, the
trailer tongue
(A) should weigh 12% of the total loaded
trailer weight (B).
After you’ve loaded your trailer, weigh
the trailer and
then &e tongue, separately, to see if the weights are
proper. If they aren’t, you may be able to get them right
simply by moving some items around in the trailer.
Total Weight on Your Vehicle’s Tires
Be sure your vehicle’s tires are inflated to the
recommended pressure for cold tires. You’ll find these
numbers on the Tire-Loading Information label (found
on the inside of the trunk
lid) or see “Loading Your
Vehicle” in the Index. Then be sure you don’t
go over
the GVW limit for your vehicle, including the weight of
the trailer tongue.
Hitches
It’s important to have the correct hitch equipment.
Crosswinds, large trucks going by and rough roads
are a
few reasons why you’ll need the right hitch. Here are
some rules to follow:
0
0 Will you have to make any holes in the body of your
vehicle when you install a trailer hitch? If you do,
then be sure to seal the holes later when you remove
the hitch. If
you don’t seal them, deadly carbon
monoxide
(CO) from your exhaust can get into your
vehicle (see “Carbon Monoxide” in the Index). Dirt
and water can, too.
The bumpers on your vehicle are not intended for
hitches.
Do not attach rental hitches or other
bumper-type hitches
to tlfem. Use only a
frame-mounted hitch that does not attach to
the bumper.
4-33
ProCarManuals.com
Page 189 of 370
Safety Chains
You should always attach chains between your vehicle
and your
trailer. Cross the safety chains under the tongue
of the trailer so that the tongue will not drop to the road
if it becomes separated from the hitch. Instructions
about safety chains may be provided by the hitch
manufacturer
or by the trailer manufacturer. Follow the
manufacturer’s recommendition for attaching safety
chains and do not attach them to the bumper. Always
leave just enough slack’s0 you can
turn with your rig.
And, never allow safety chains to drag on the ground.
Trailer Brakes
Does your trailer have its own brakes? Be me to
read and follow the instructions for the trailer brakes
so you’ll be able to install, adjust and maintain
them properly.
0
0 If your vehicle has anti-lock brakes, do not try to tap
into your vehicle’s brake system.
If you do, both
brake systems won’t work well,
or at all.
Even if your vehicle doesn’t have anti-lock brakes,
don’t tap into
your vehicle’s brake system if the
trailer’s brake system will use more than
0.02 cubic
inch
(0.3 cc) of fluid from your vehicle’s master
cylinder.
If it does, both braking systems won’t work
well.
You could even lose your brakes.
0 Will the trailer brake parts take 3,000 psi (20 650 Pa)
of pressure?
If not, the trailer brake system must not be
used with
your vehicle.
0 If everything checks out this far, then make the brake
fluid tap at the upper rear master cylinder port. But
don’t use copper tubing for this.
If you do, it will
bend and break
off. Use steel brake tubing.
Driving with a Trailer
Towing a trailer requires a certain amount of experience.
Before setting out for the open road, you’ll want to get
to know your rig. Acquaint yourself with the feel of
handling and braking with the added weight of the
trailer. And always keep
in mind that the vehicle you are
driving is ~lolw
a good deal longer and not nearly as
responsive
as your vehicle is by itself.
Before you start, check the trailer hitch
and platform
(and attachments), safety chains, electrical connector,
lamps,
tires and mirror adjustment. I% the trailer has
electric brakes, start your vehicle and trailer moving and
then apply the traiEer brake controller by hand to be sure
the brakes are working.
This lets you check your
electrical connection at the Same time.
During your
hip, check occasionally to be sure that the
load
is secure, and that the lamps and any trailer brakes
are still working.
ProCarManuals.com