Page 120 of 356

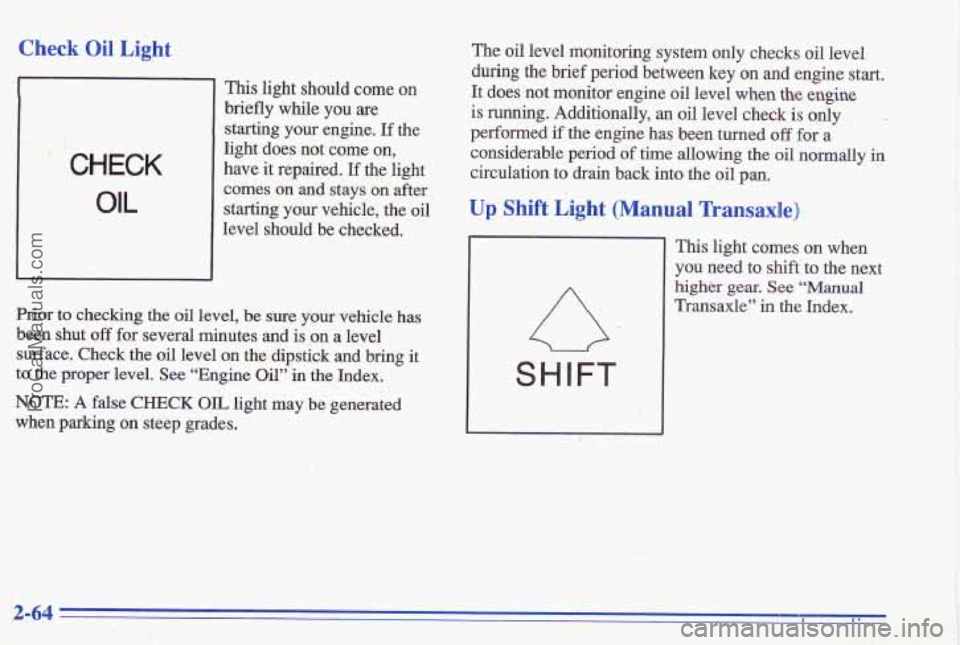
Check Oil Light
. CHECK
OIL
This light should come on
briefly while you
are
starting your engine. If the
light does not come on,
have
it repaired. If the light
comes on and stays
on after
starting your vehicle, the oil
level should be checked.
Prior to checking the
oil level, be sure your vehicle has
been shut off for several minutes and is on a level
surface. Check the oil level on the dipstick and
bring it
to the proper level. See “Engine
Oil” in the Index.
NOTE: A false CHECK OIL light may be generated
when parking
on steep grades. The
oil level monitoring system only checks
oil level
during the brief period between key
on and engine start.
It does not monitor engine
oil level when the engine
is running. Additionally, an oil level check is only
performed
if the engine has been turned off for a
considerable period
of time allowing the oil normally in
circulation
to drain back into the oil pan.
Up Shift Light (Manual Transaxle)
This light comes on when
you need to shift to the next
higher gear. See
“Manual
Transaxle” in the Index,
2-64
ProCarManuals.com
Page 230 of 356
2.4L (CODE T) Engine
When you open the hood, you’ll see:
Brake Fluid Reservoir
B. Engine Oil Fill Cap G. Windshield Washer Fluid Reservoir
C. Engine Oil Dipstick M. Hydraulic Clutch Fluid Reservoir (if so equipped)
D. Automatic Transaxle Dipstick (if equipped) I. Air Cleaner
E. Power Steering Fluid Reservoir J. Battery
6-8
ProCarManuals.com
Page 231 of 356
3.1L (CODE M) Engine
When you open the hood, ou’ll see:
A. Engine Coolant Surge Tank
B. Power Steering Fluid Reservoir
C. Engine Oil Fill Cap
D. Engine Oil Dipstick
E. Automatic Transaxle Fluid Dipstick
6-9
E Brake Fluid Reservoir
G. Windshield Washer Fluid Reservoir
H. Air Cleaner
I. Battery
ProCarManuals.com
Page 233 of 356
3.1L Engine
The engine oil dipstick handle is yellow. The dipstick on
the 2.4L engine is located at the rear of the engine. The
dipstick on
the 3.1L engine is located on the front of the
engine, behind the fan.
Turn off the engine and give the
oil a few minutes to
drain back into the oil pan.
If you don’t, the oil dipstick
might not show the actual level.
Checking Engine Oil
Pull out the dipstick and clean it with a paper towel or
cloth, then push it back in all the way. Remove it again,
keeping the tip down, and check the level.
6-11
I- ProCarManuals.com
Page 235 of 356
What Kind of’Oil to Use
3.1L Engine
The 3.1L engine oil fill cap is on the front of the engine,
behind the radiator.
Just fill it enough to put the level somewhere in the
proper operating range.
Push the dipstick all the way
back in when you’re through.
Oils recommended for your vehicle can be identified by
looking for the “Starburst” symbol. This symbol indicates that the oil has been certified by the American
Petroleum Institute
(API). Do not use any oil which
does not carry this Starburst symbol.
If you change your own oil,
be sure you use oil that has
the Starburst symbol on the front
of the oil container. If
you have your oil changed
for you, be sure the oil put
into your engine is
American Petroleum
Institute certified
for
gasoline engines.
You should also use the proper viscosity oil for your
vehicle, as shown
in the following chart:
6-13
ProCarManuals.com
Page 239 of 356

Automatic Transaxle Fluid
When to Check and Change
A good time to check your automatic transaxle fluid
level is when the engine oil is changed.
Change both the fluid and filter every
50,000 miles
(83 000 km) if the vehicle is mainly driven under one or
more of these conditions:
0 In heavy ,city traffic where the outside, temperature
In hilly or mountainous terrain.
When doing frequent trailer towing.
Uses such zp found in taxi, police or delivery service.
If you do not use your vehicle under any of these
conditions, the fluid and
filter do not require changing.
See “Scheduled Maintenance Services”
in the Index.
How to Check
Because this operation can be a little difficult, you may choose to have this done at your Pontiac dealership Service Department.
If you do it yourself, be sure to follow all the instructions
here, or
you could get a false reading on the dipstick.
regularly reaches
90°F (32°C)
or higher.
NOTICE:
Too much or too little fluid can damage your
transaxle.
Too much can mean that some of the
fluid could come out and fall on hot engine parts
or exhaust system parts, starting a fire. Be sure to
get an accurate reading if you check your
transaxle fluid.
Wait at least 30 minutes before checking the transaxle
fluid level
if you have been driving:
0 When outside temperatures are above 90°F (32°C).
0 At high speed for quite a while.
0 In heavy traffic -- especially in hot weather.
0 While pulling a trailer.
To get the right reading, the fluid should be at normal
operating temperature, which
is 180°F to 200°F
(82°C to 93°C).
Get the vehicle warmed up by driving about 15 miles
(24 krn) when outside temperatures are above 50°F
(10°C). If it’s colder than 50°F (lO°C), you may have
to drive longer.
ProCarManuals.com
Page 242 of 356

Manual Transaxle Fluid
When to Check
Check the fluid level only when your engine is off, the
vehicle
is parked on a level place and the transaxle is
cool enough for
you to rest your fingers on the tJransaxle
A good time to have it checked is when the engine oil. is
changed. However, the fluid in your manual transaxle Then, foll\
ow these steps:
doesn't require
changing.
case.
How to Check
Because this operation can b'e a little difficult, you may
choose to have this done at your Pontiac dealership
Service Department.
iG Jf you do it yourself, be sure to follow all the , .,..!%$i- k%4nstructions here, or you could get a false reading on the
,> , . ".
dipstick.
I
NOTICE:
Too much or too little fluid can damage your
transaxle. Too much can mean that some of the
fluid
could come out and fall on hot engine parts
or exhaust system parts, starting a fire. Be sure to
get an accurate reading if you check yuur
transaxle fluid.
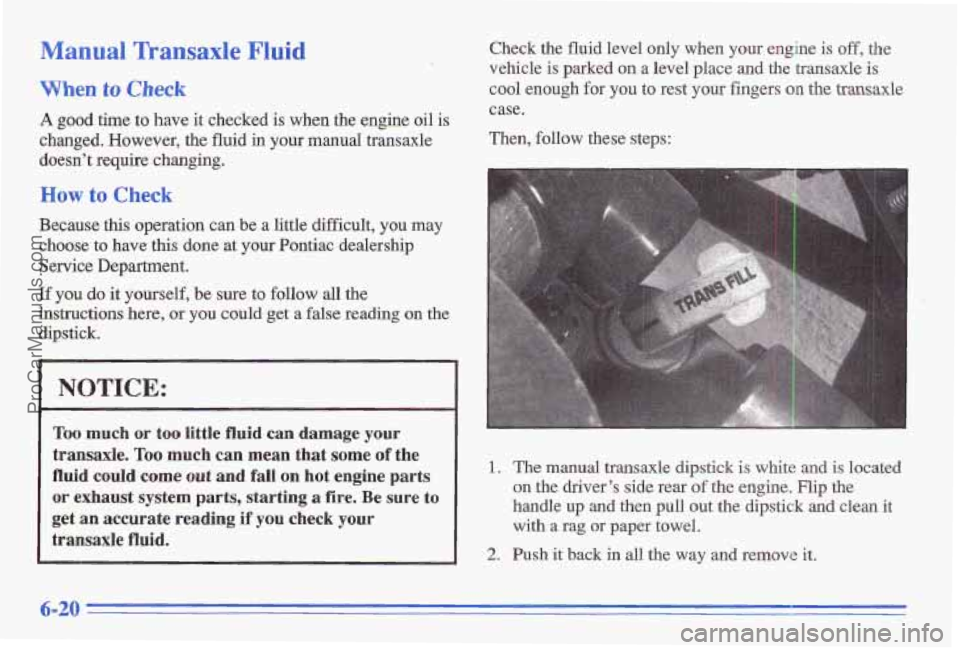
1, The manual transaxle dipstick is white and is located
on the driver's side rear of the engine. Flip the
handle up and then pull out the dipstick and clean it
with a rag or paper towel.
2. Push it back in all the way and remove it.
6-20
ProCarManuals.com