1996 PONTIAC BONNEVILLE heating
[x] Cancel search: heatingPage 63 of 387
Remote Trunk Release Lockout (Option)
The trunk release lockout valet switch in the trunk
allows you to secure items in the trunk. By pressing the
left side
of the valet switch, the remote trunk release
button below the driver’s door armrest will be disabled.
Push the right side
of the valet switch to enable the
remote
trunk release button to work again.
-, Trunk Security Override (Option)
‘: .’ Psessing the trunk symbol on the remote trms~xktter
,. . opens the trunk even if the remote trunk release lockout
switch
is activated.
Trunk Lid
It can be dangerous to drive with the trunk lid
open because carbon monoxide
(CO) gas can
come into your vehicle, You can’t see or smell
CO. It can cause unconsciousness and even death,
If you must drive with the trunk lid open or if
electrical wiring or other cabl’e connections must
pass through the seal between the body and the
trunk lid:’
Make sure all windows are shut.
0 Thrn the fan on your heating or cooling
system to its highest speed with the setting
on
ECON or VENT. That will force outside
air into your vehicle. See “Comfort
Controls” in the Index.
If you have air outlets on or under the
instrument panel, open them all the
way.
See “Engine Exhaust” in the Index.
ProCarManuals.com
Page 104 of 387
Ashtrays and Cigarette Lighter
To us6 a lighter, just push the center in all the way and
let it go. When it
‘is ready the center will pop back by
itself.
Pull out the entire unit to use it.
NOTICE:
Don’t hold a cigarette lighter in with your hand
while
it is heating. If you do, it won’t be able to
back away from the heating element when it’s
ready. That can make it overheat, damaging the
lighter and the heating element.
Lift the cover to reveal the front ashtray.
To clean the ashtray, lift it out by pulling on the snuffer.
On models without a console, there’s
an
ashtray/cupholder under the instrument panel. To clean
the ashtray,
lift it out by pulling up on the tabs on either
side. It snaps back into place.
To open the rear ashtrays, lift the cover.
NOTICE:
Don’t put papers and other things that burn into
.your ashtrays.
If you do, cigarettes or other
smoking materials could set them
on fire, causing
damage.
Sun Visors
To block out glare, you can swing down the visors. You
can also remove them from the center mount and swing
them to the side, while the auxiliary sunshade remains to
block glare from the front.
2-53
ProCarManuals.com
Page 119 of 387
Low Coolant Warning Light
LOW
COOLANT
If you have this light and it
comes on, your system may
be low on coolant and the
engine may overheat.
Check to see
if the level is low at the recovery tank, and
add coolant if necessary. If the level is not low, have
your low
coolant warning system serviced. See “Engine
Coolant”
in the Index.
The
LOW COOLANT warning light will also come on
when you
turn on the ignition, but your engine is not
running, as a check to show you it is working. If it
doesn’t come on then, have
it fixed right away.
After the buIb check, the light will go out for 20 seconds.
If the light comes back on after 20 seconds, the system
may
be low on ,coolant. See “Engine Coolant’’ in
the Index.
Engine Coolant Temperature Gage
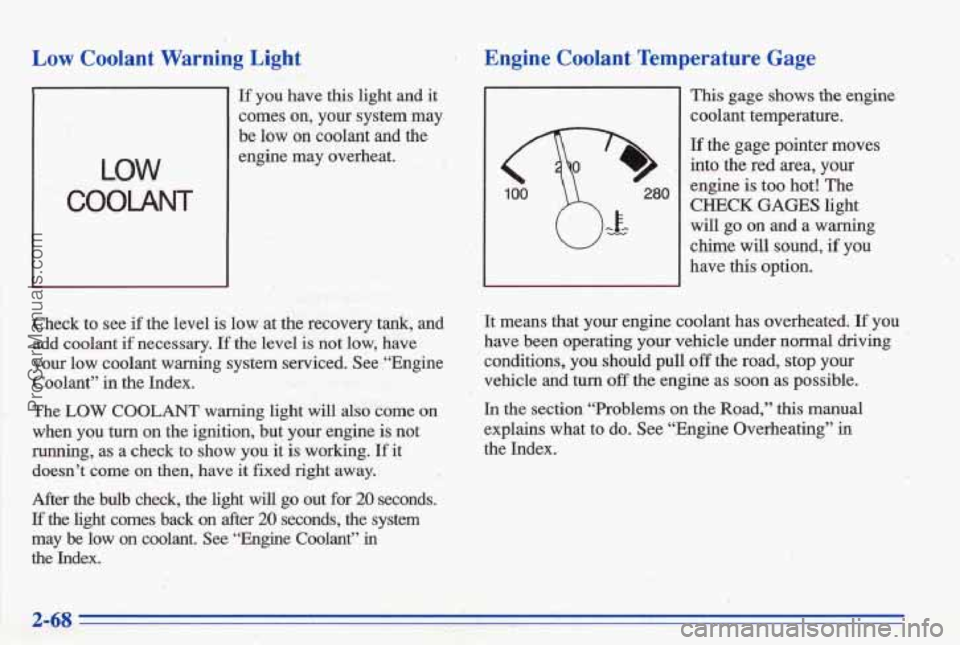
This gage shows the engine
coolant temperature.
If the gage pointer moves
into the red
,area, your
engine
is too hot! The
CHECK GAGES light
will
go on and a warning
chime
will sound, if you
have this option.
It means that your engine coolant has overheated.
If you
have been ‘operating your vehicle under
normal driving
conditions,
you should pull off the road, stop your
vehicle
and turn ,off the engine as soon as possible.
In the section “Problems on the Road,” this manual
explains what to do. See “Engine Overheating”
in
the Index.
, .-; ’.
. . -.
ProCarManuals.com
Page 138 of 387
Section 3 Comfort Controls and Audio Systems
In this section you'll find out how to operate the comfort Standard Climate Control System
control and audio systems offered with your Pontiac. Be
sure to read about the particular systems supplied with
your vehicle.
Comfort Controls
This section tells you how to make yo'ur air system
work
for you. Your comfort control system uses
ozone-friendly R- 134a refrigerant.
With these systems, you can control the heating,
cooling and ventilation in your Pontiac.
Your vehicle
also has a flow-through ventilation system described
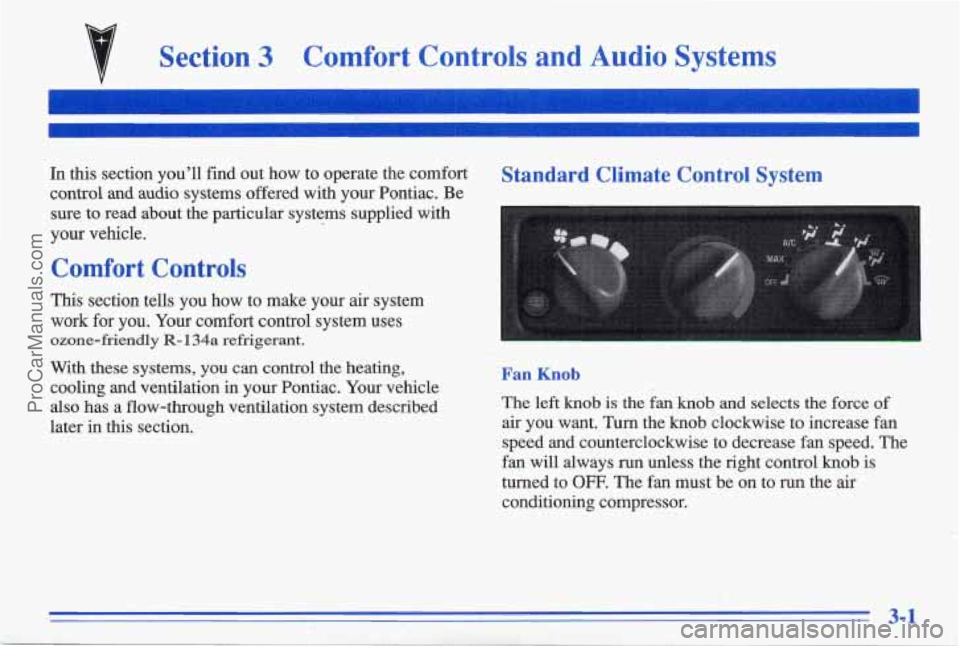
later in this section. Fan Knob
The left knob is the fan knob and selects the force of
air you want. Turn the knob clockwise to increase fan
speed and counterclockwise to decrease fan speed. The
fan
will always run unless the right control knob is
turned to
OFF. The fan must be on to run the air
conditioning compressor.
3-1
ProCarManuals.com
Page 140 of 387
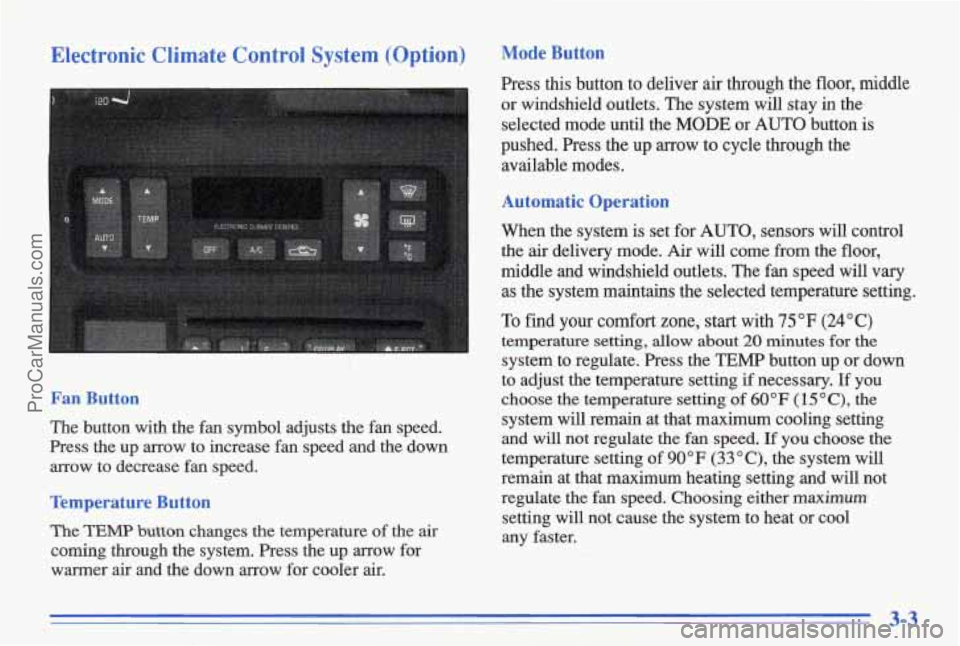
Electronic Climate Control System (Option)
Fan Button
The button with the fan symbol adjusts the fan speed.
Press the up arrow to increase fan speed and the down
arrow to decrease fan speed.
Temperature Button
The TEMP button changes the temperature of the air
coming through the system. Press the up arrow for
warmer air and the down arrow for cooler air.
Mode Button
Press this button to deliver air through the floor, middle
or windshield outlets. The system will stay in the
selected mode until the
MODE or AUTO button is
pushed. Press the up
arrow to cycle through the
available modes.
Automatic Operation
When the system is set for AUTO, sensors will control
the
air delivery mode. Air will come from the floor,
middle and windshield outlets. The fan speed will vary
as the system maintains the selected temperature setting.
To find your comfort zone, start with 75°F (24°C)
temperature setting, allow about 20 minutes for the
system to regulate. Press the TEMP button up or down
to adjust the temperature setting
if necessary. If you
choose the temperature setting
of 60°F (15 "C), the
system
will remain at that maximum cooling setting
and
will not regulate the fan speed. If you choose the
temperature setting of
90°F (33 O C), the system will
remain at that maximum heating setting and will not
regulate the fan speed. Choosing either
maximum
setting will not cause the system to heat or cool
any faster.
3-3
ProCarManuals.com
Page 143 of 387
Heating
If you have the standard system, on cold days use
HEATER with the temperature knob in the red area. If
you have the electronic system, press AUTO and adjust
the temperature by
p;essing the TEMP up or down
arrow. You may also adjust the electronic system
manually by pressing the
MODE button and selecting
HEAT. Again, adjust the temperature by pressing the
"EMF up or down arrow.
With each system, outside air
will be brought in and sent
through the
floor outlets. The heater works best if you
keep your windows closed while using it.
Ventilation System
For mild outside temperatures when littkheating or
cooling is needed, use
VENT (on the standard system)
to direct outside air through your vehicle. Air will flow
through the middle instrument panel outlets.
Your vehicle's flow-through ventilation system supplies
outside
air into the vehicle when it's moving. When the
vehicle
is not moving, you can get outside air to flow
through
by selecting any air choice (except the rear
,window defogger) and any fan speed. Your
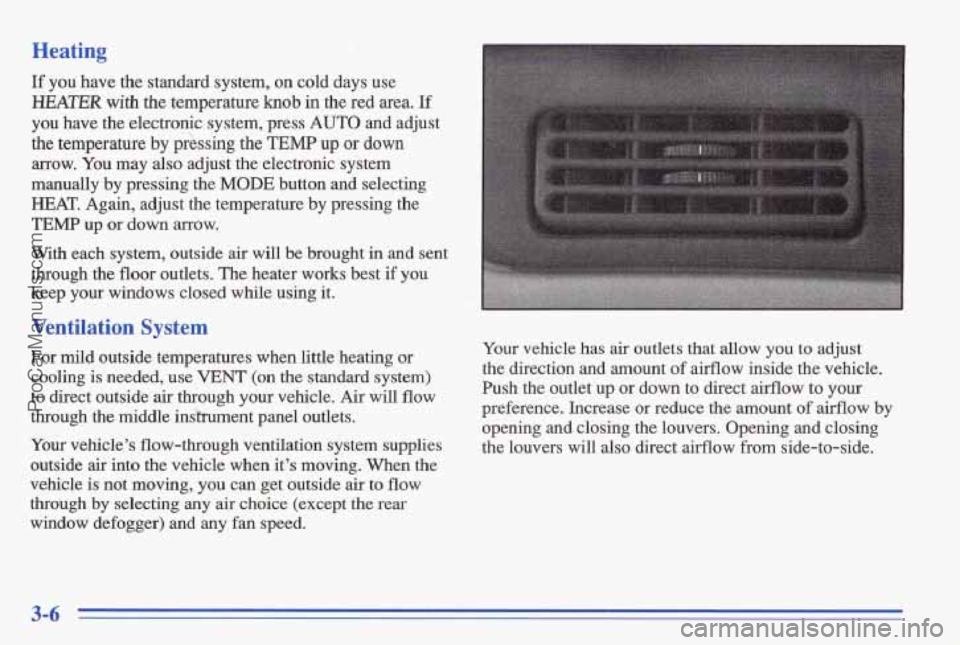
vehicle has air outlets that allow
you to adjust
the direction and amount
of airflow inside the vehicle.
Push the outlet up or down to direct airflow to your
preference. Increase or reduce the amount of airflow by
opening and closing the louvers. Opening and closing
the louvers will
also direct airflow from side-to-side.
ProCarManuals.com
Page 146 of 387
After 10 minutes it will turn off by itself or press the
button during the heating cycle to turn
it off. If you need
additional warming time, push the button again. The
system will then operate for five minutesbefore going
off by itself.
Do not attach a temporary vehicle license, tape or decals
across the defogger grid on the rear window.
I NOTICE:
Don't use a razor blade or something else sharp
on the inside of the rear window. If you do, you
could cut or damage the warming grid, and the
repairs wouldn't be covered
by your warranty.
Audio Systems
Your Delco@ audio system has been designed to operate
easily
and give years of listening pleasure. You will get
the most enjoyment out
of it if you acquaint yourself
with itfirst. Find out what your Delco system can do
and'how to operate all its controls, to
be sure you're
getting the most out
of the advanced engineering that
went into it.
Setting the Clock for AM-FM Stereo
Press SET. Within five seconds, press and hold the
SEEK down arrow until the correct hour appears on the
display. Press
and hold the SEEK up arrow until the
correct minute appears on the display.
Setting the Clock for All Systems Except
AM-FM Stereo
Press and hold HR until the correct hour appears. Press
and hold MIN until the correct minute appears. There
will be a two-second delay before the clock goes into
time-set mode, and the colon on the display will blink
while
in this mode.
.. . . . i .,,*.$'
3-9
ProCarManuals.com
Page 204 of 387
Making Turns
NOTICE:
Making very sharp turns while trailering could
cause the trailer to come in contact with the
vehicle. Your vehicle could be damaged. Avoid
making very sharp turns while trailering.
When you’re turning with a trailer, make wider turns than
normal. Do this so your trailer won’t strike soft shoulders,
curbs, road signs, trees or other objects. Avoid jerky
or
sudden maneuvers. Signal well in advance. ‘
. Turn ,Signals When Towing a Trailer’
When you tow a trailer, your vehicle may need a
different
turn signal flasher and/or extra wiring. Check
with your Pontiac dealer. The green
arrows on your
instrument panel will flash whenever you signal a turn
or lane change. Properly hooked up,’ the trailer lamps
will also flash, telling other drivers you’re about to turn,
change lanes or stop. When towing a trailer, the green arrows
on your
instrument panel will flash for turns
even if the bulbs on
the trailer are burned out.
Thus, you may think drivers
behind you are seeing your signal when they are not. It’s
important to check occasionally to be sure the trailer
bulbs are still working.
Your vehicle has bulb warning lights. When you’plug
a trailer lighting system into your vehicle’s lighting
system, its bulb warning lights may not let you
know if
one of your lamps goes out. So, when you have a trailer
lighting system plugged in, be sure to check your
vehicle and trailer lamps
from time to time to be sure
they’re
all working. Once you disconnect the trailer
lamps, the bulb warning lights again can tell you
if one
of ypur vehicle lamps is out.
Driving On Grades
Reduce speed and shift to a lower gear before you start
down a long or steep downgrade.
If you don’t shift
down, you might have to use your brakes so much that
they. would get hot
and no longer work well.
On a long uphill grade, shift down to Dm (D) and
reduce your speed to around
45 mph (70 km/h) to reduce
the possibility of engine and transaxle overheating.
4-37
ProCarManuals.com