1996 NISSAN SENTRA trunk
[x] Cancel search: trunkPage 8 of 191

1 Instruments and controls
Meters and gauges .............................................. 1-2
Speedometer and odometer ................................ 1-3
Tachometer (If so equipped) ................................ 1-3
Engine coolant temperature gauge ...................... 1-3
Fuel gauge ........................................................... 1-4
Warning/indicator lights and chimes .................... 1-5
Theft warning (If so equipped) ............................. 1-8
Windshield wiper and washer switch ................... 1-9
Rear window defogger switch ............................ 1-10
Headlight and turn signal switch ........................ 1-11
Instrument brightness control ............................. 1-12
Front fog light switch (If so equipped) ............... 1-12Hazard warning flasher switch ........................... 1-13
Cigarette lighter (accessory) and ashtray .......... 1-13
Cup holder .......................................................... 1-14
Power windows (If so equipped) ........................ 1-15
Sun roof (If so equipped) ................................... 1-16
Interior light......................................................... 1-17
Trunk light (If so equipped) ................................ 1-17
ZX
Page 15 of 191
Malfunction indicator light
If the MIL comes on or blinks while the
engine is running, it may indicate a potential
emission control problem.
CAUTION
cContinued operation without having
the emission control system
checked and repaired as necessary
could lead to poor driveability, re-
duced fuel economy, and possible
damage to the emission control sys-
tem which may affect your warranty
coverage.
cAlthough the vehicle is still drive-
able, see your nearest NISSAN
dealer as soon as possible. To avoid
system damage, do not drive at
speeds above 45 MPH (72 km/h). If
possible, avoid hard acceleration or
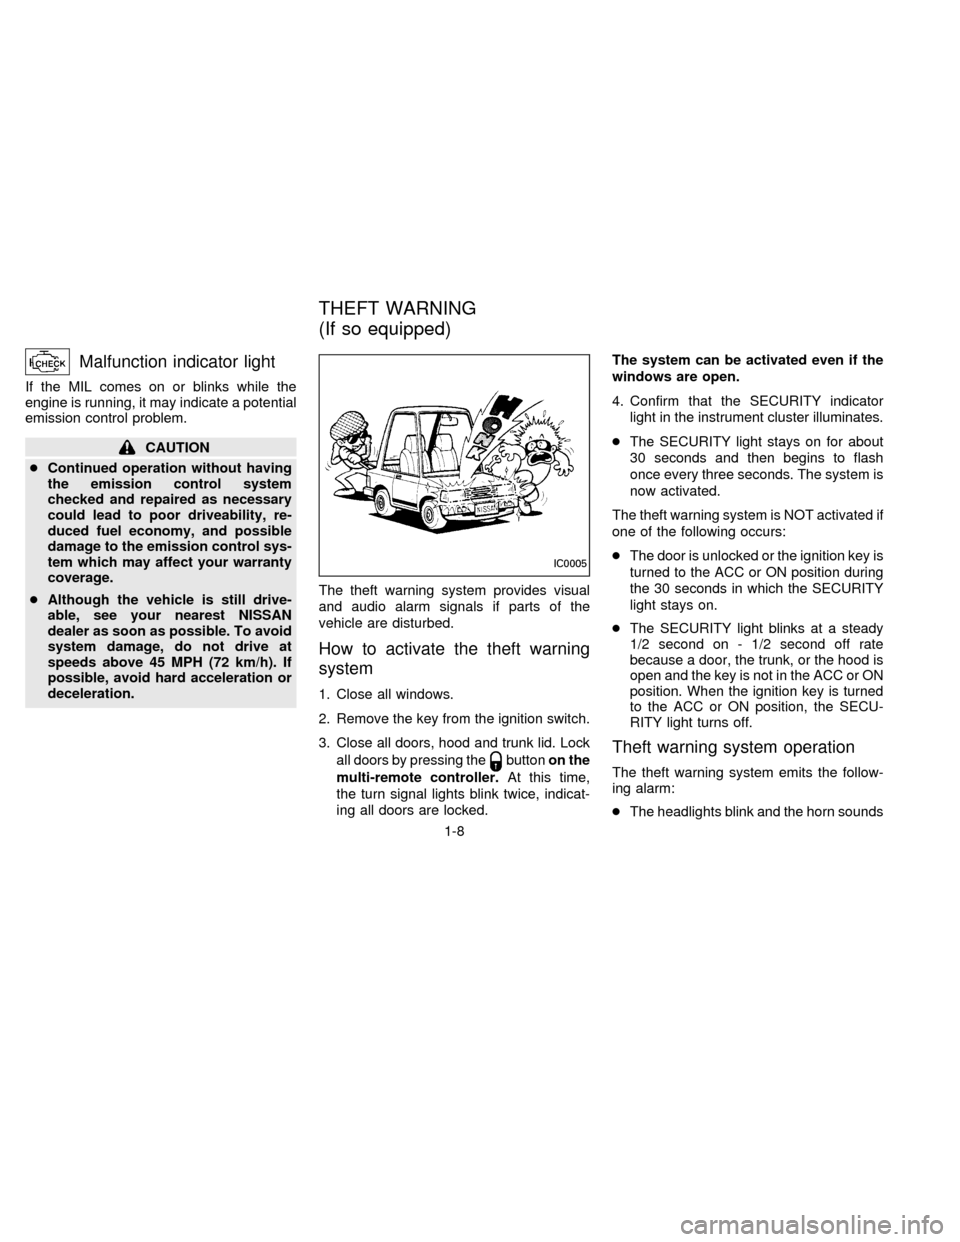
deceleration.The theft warning system provides visual
and audio alarm signals if parts of the
vehicle are disturbed.
How to activate the theft warning
system
1. Close all windows.
2. Remove the key from the ignition switch.
3. Close all doors, hood and trunk lid. Lock
all doors by pressing the
buttonon the
multi-remote controller.At this time,
the turn signal lights blink twice, indicat-
ing all doors are locked.The system can be activated even if the
windows are open.
4. Confirm that the SECURITY indicator
light in the instrument cluster illuminates.
cThe SECURITY light stays on for about
30 seconds and then begins to flash
once every three seconds. The system is
now activated.
The theft warning system is NOT activated if
one of the following occurs:
cThe door is unlocked or the ignition key is
turned to the ACC or ON position during
the 30 seconds in which the SECURITY
light stays on.
cThe SECURITY light blinks at a steady
1/2 second on - 1/2 second off rate
because a door, the trunk, or the hood is
open and the key is not in the ACC or ON
position. When the ignition key is turned
to the ACC or ON position, the SECU-
RITY light turns off.Theft warning system operation
The theft warning system emits the follow-
ing alarm:
cThe headlights blink and the horn sounds
IC0005
THEFT WARNING
(If so equipped)
1-8
ZX
Page 16 of 191
intermittently. In addition, the starter mo-
tor does not operate.
cThe alarm automatically turns off after 2
to 3 minutes. However, the alarm reacti-
vates if the vehicle is tampered with
again. The alarm can be shut off by
unlocking a door or trunk lid with the key
or by pressing the
buttonon the
multi-remote controller.
The alarm is activated by:
copening the door or trunk lid without
using the key (even if the door is un-
locked by releasing the door inside lock
switch) or opening the trunk lid by oper-
ating the opener lever.
copening the hood.
How to stop the alarm
The alarm stops only by unlocking a door or
the trunk lid with the key or by pressing
the
buttonon the multi-remote control-
ler.The alarm does not stop if the ignition
switch is turned to ACC or ON position.
If the system does not operate as de-
scribed above, have it checked by your
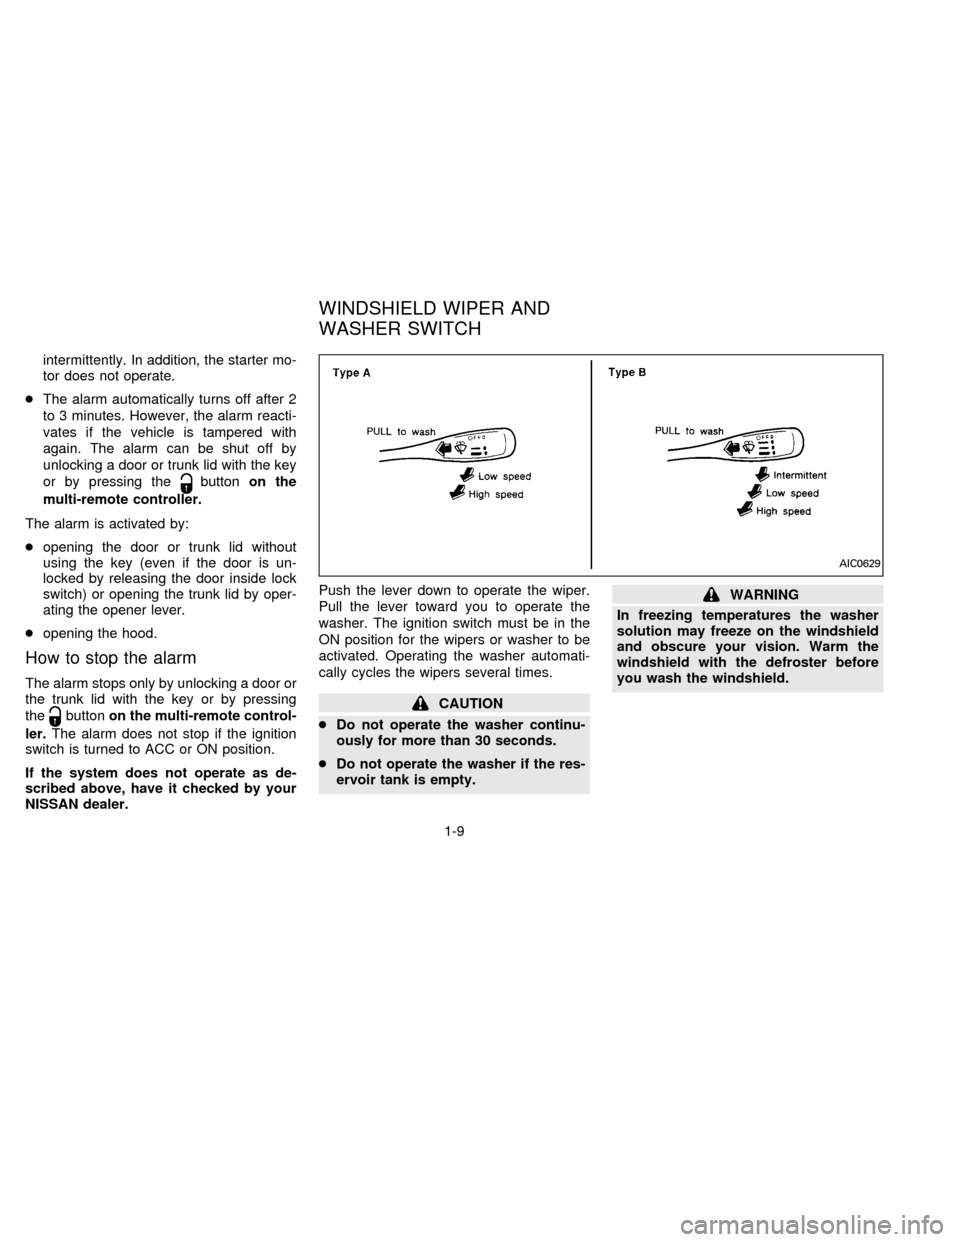
NISSAN dealer.Push the lever down to operate the wiper.
Pull the lever toward you to operate the
washer. The ignition switch must be in the
ON position for the wipers or washer to be
activated. Operating the washer automati-
cally cycles the wipers several times.CAUTION
cDo not operate the washer continu-
ously for more than 30 seconds.
cDo not operate the washer if the res-
ervoir tank is empty.
WARNING
In freezing temperatures the washer
solution may freeze on the windshield
and obscure your vision. Warm the
windshield with the defroster before
you wash the windshield.
AIC0629
WINDSHIELD WIPER AND
WASHER SWITCH
1-9
ZX
Page 24 of 191
To tilt the sun roof down, push the switch
toward DOWN/OPEN. Continuing to push
the DOWN/OPEN switch opens the sun
roof.
Sun shade
Open and close the sun shade by sliding it
forward or backward.
WARNING
cBe extremely careful not to have any
part of your body in the sun roof
opening while it is closing.
cDo not stand up or extend any por-
tion of your body out of the opening
while driving.
cRemove water drops, snow, ice or
sand from the sun roof before
opening.
cDo not place any heavy object on the
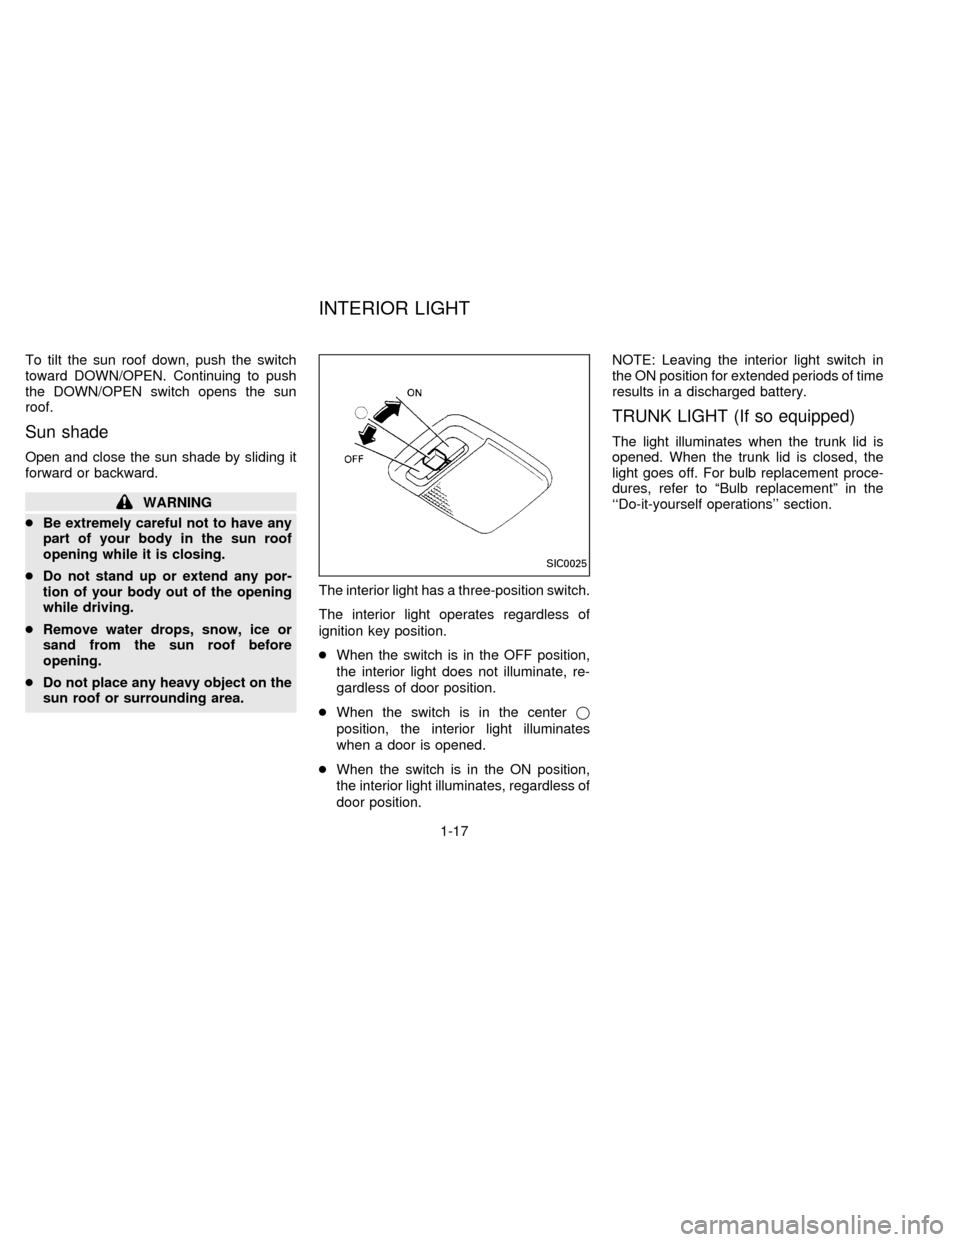
sun roof or surrounding area.The interior light has a three-position switch.
The interior light operates regardless of
ignition key position.
cWhen the switch is in the OFF position,
the interior light does not illuminate, re-
gardless of door position.
cWhen the switch is in the centerj
position, the interior light illuminates
when a door is opened.
cWhen the switch is in the ON position,
the interior light illuminates, regardless of
door position.NOTE: Leaving the interior light switch in
the ON position for extended periods of time
results in a discharged battery.
TRUNK LIGHT (If so equipped)
The light illuminates when the trunk lid is
opened. When the trunk lid is closed, the
light goes off. For bulb replacement proce-
dures, refer to ªBulb replacementº in the
``Do-it-yourself operations'' section.
SIC0025
INTERIOR LIGHT
1-17
ZX
Page 26 of 191

2 Pre-driving checks and adjustments
Key ....................................................................... 2-2
Door locks ............................................................ 2-2
Multi-remote control system (If so equipped) ...... 2-4
Child safety rear door lock ................................... 2-7
Hood release ........................................................ 2-8
Glove box ............................................................. 2-9
Trunk lid lock operation ........................................ 2-9
Fuel filler lid lock operation ................................ 2-11
Front Seats ......................................................... 2-13
Supplemental restraint system
(Air bag system) (If so equipped) ...................... 2-15
Warning labels (If so equipped) ......................... 2-20
Air bag warning light (If so equipped) ................ 2-20
Seat belts ........................................................... 2-22
Child restraints for infants and small children.... 2-28
Tilting steering wheel ......................................... 2-34
Outside mirror control......................................... 2-34
Inside mirror ....................................................... 2-35
Vanity mirror (If so equipped) ............................ 2-35
ZX
Page 34 of 191
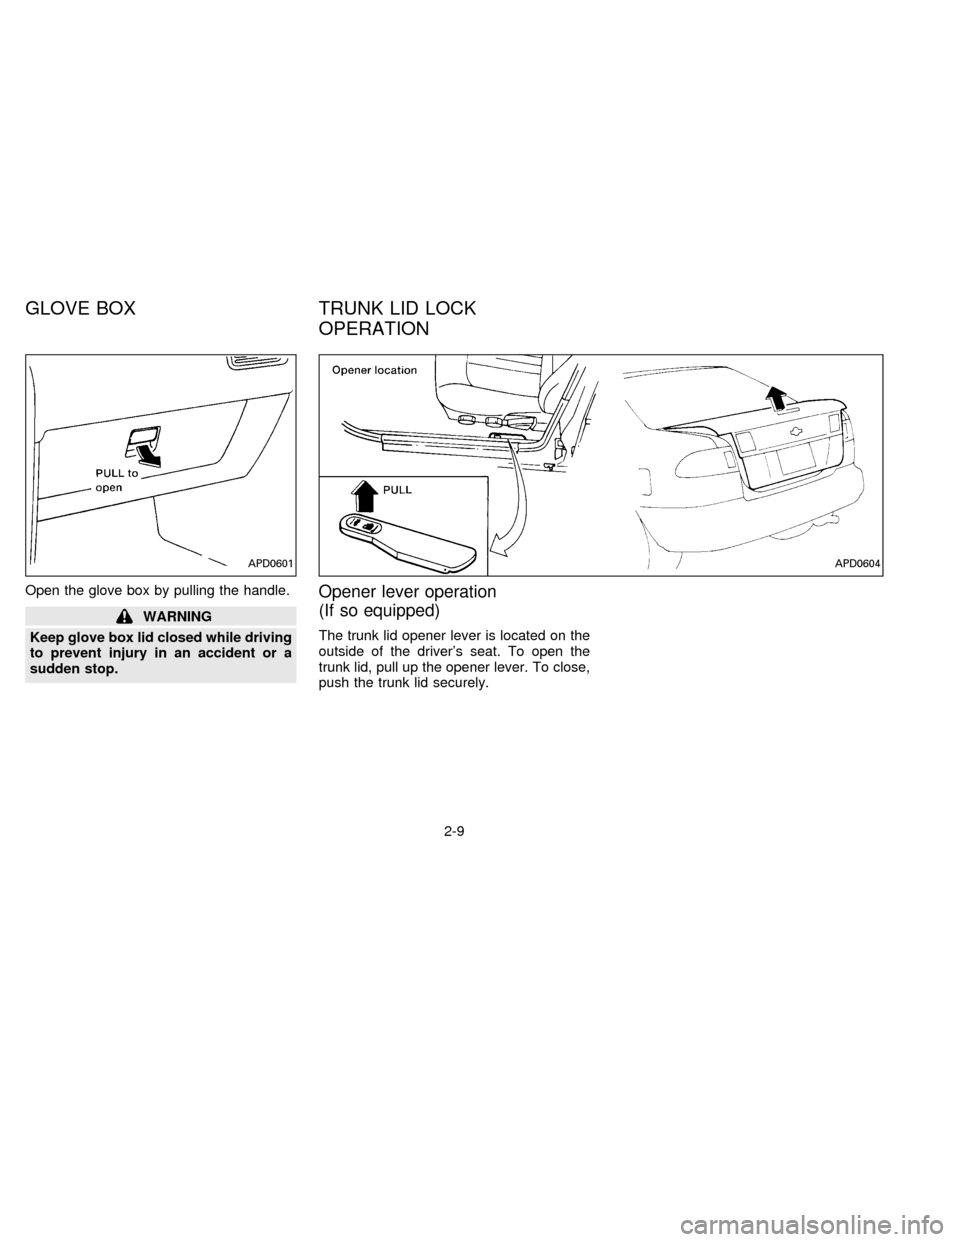
Open the glove box by pulling the handle.
WARNING
Keep glove box lid closed while driving
to prevent injury in an accident or a
sudden stop.
Opener lever operation
(If so equipped)
The trunk lid opener lever is located on the
outside of the driver's seat. To open the
trunk lid, pull up the opener lever. To close,
push the trunk lid securely.
APD0601APD0604
GLOVE BOX TRUNK LID LOCK
OPERATION
2-9
ZX
Page 35 of 191
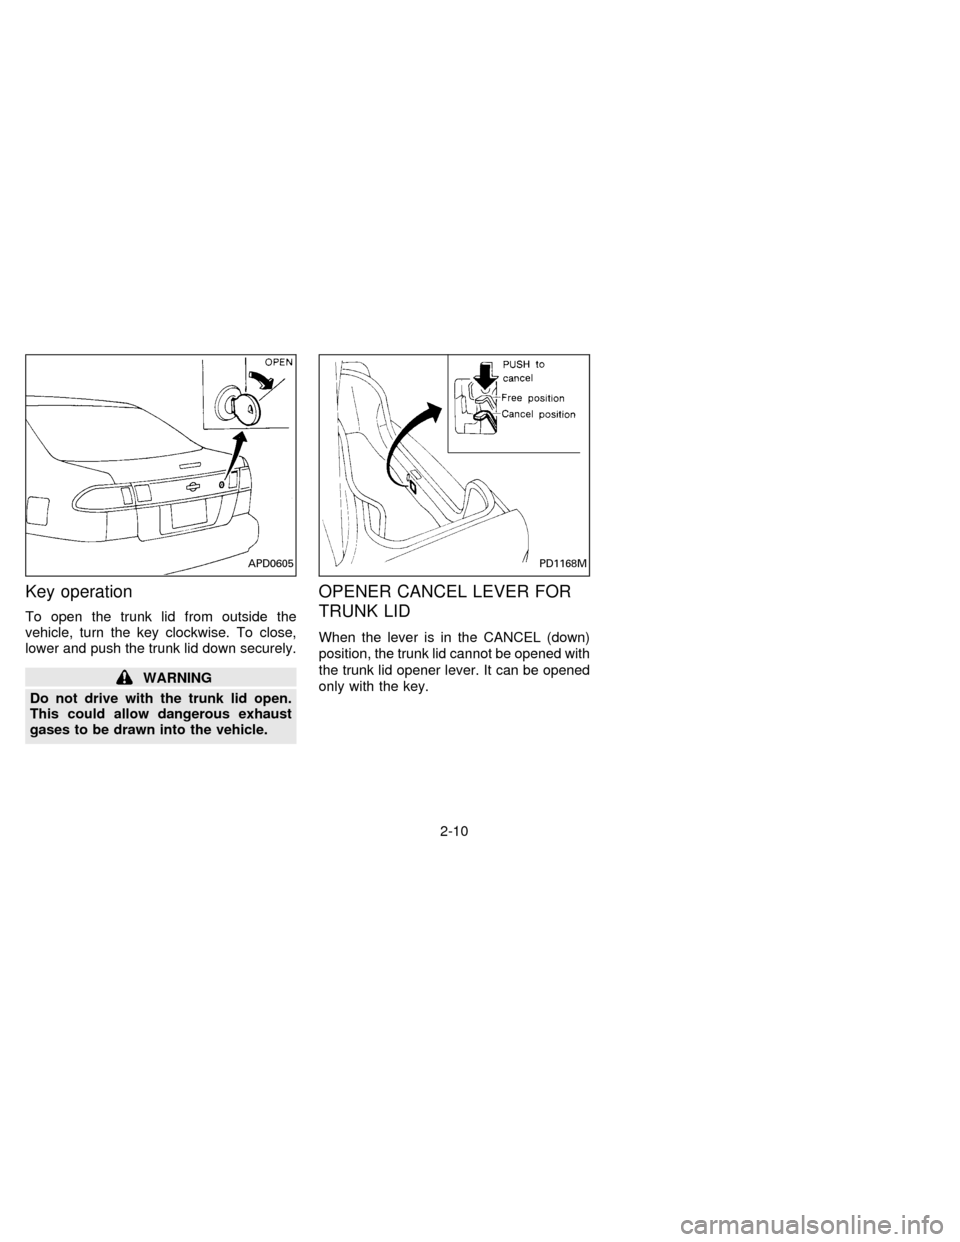
Key operation
To open the trunk lid from outside the
vehicle, turn the key clockwise. To close,
lower and push the trunk lid down securely.
WARNING
Do not drive with the trunk lid open.
This could allow dangerous exhaust
gases to be drawn into the vehicle.
OPENER CANCEL LEVER FOR
TRUNK LID
When the lever is in the CANCEL (down)
position, the trunk lid cannot be opened with
the trunk lid opener lever. It can be opened
only with the key.
APD0605PD1168M
2-10
ZX
Page 40 of 191
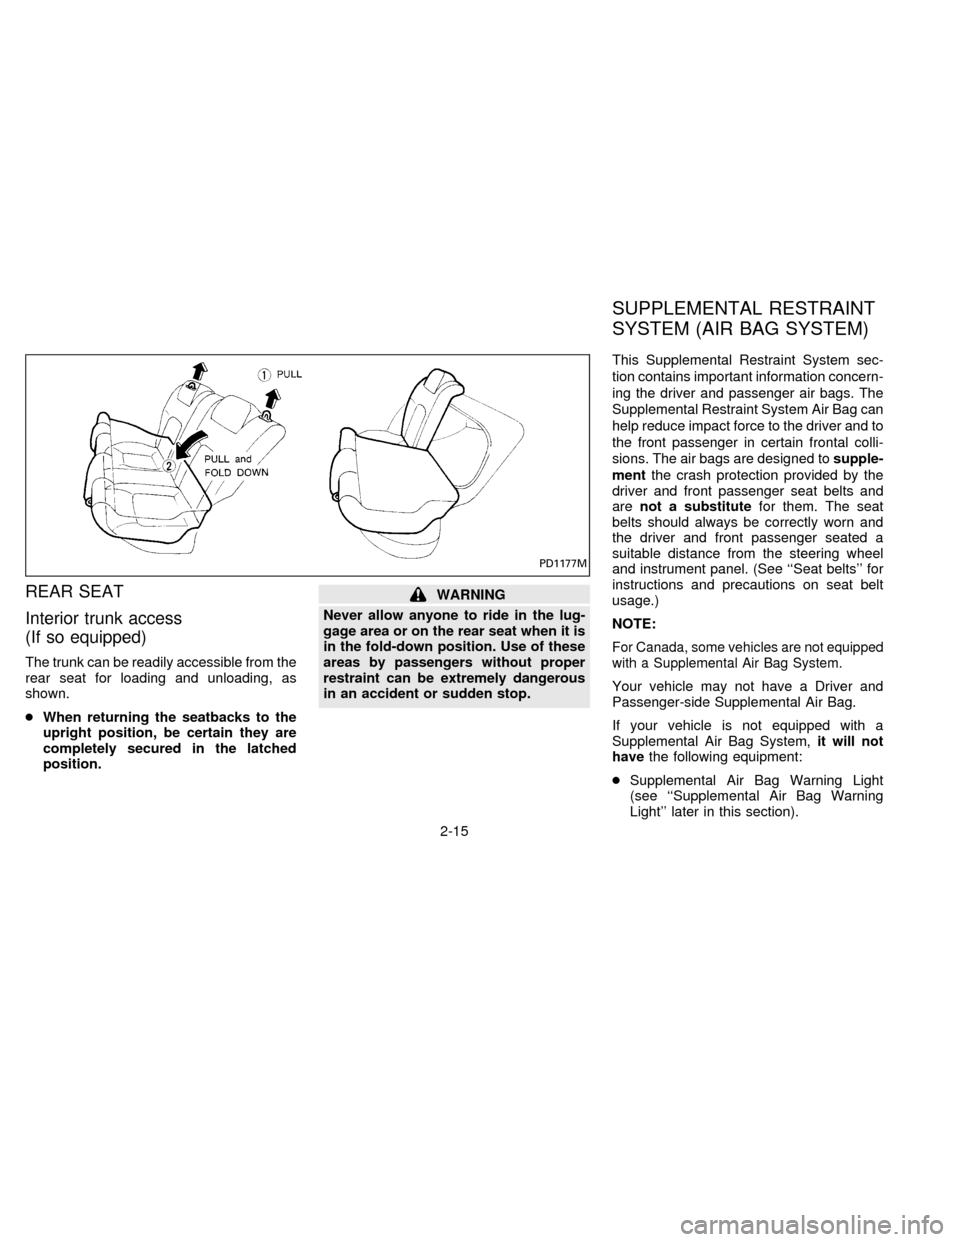
REAR SEAT
Interior trunk access
(If so equipped)
The trunk can be readily accessible from the
rear seat for loading and unloading, as
shown.
cWhen returning the seatbacks to the
upright position, be certain they are
completely secured in the latched
position.
WARNING
Never allow anyone to ride in the lug-
gage area or on the rear seat when it is
in the fold-down position. Use of these
areas by passengers without proper
restraint can be extremely dangerous
in an accident or sudden stop.This Supplemental Restraint System sec-
tion contains important information concern-
ing the driver and passenger air bags. The
Supplemental Restraint System Air Bag can
help reduce impact force to the driver and to
the front passenger in certain frontal colli-
sions. The air bags are designed tosupple-
mentthe crash protection provided by the
driver and front passenger seat belts and
arenot a substitutefor them. The seat
belts should always be correctly worn and
the driver and front passenger seated a
suitable distance from the steering wheel
and instrument panel. (See ``Seat belts'' for
instructions and precautions on seat belt
usage.)
NOTE:
For Canada, some vehicles are not equipped
with a Supplemental Air Bag System.
Your vehicle may not have a Driver and
Passenger-side Supplemental Air Bag.
If your vehicle is not equipped with a
Supplemental Air Bag System,it will not
havethe following equipment:
cSupplemental Air Bag Warning Light
(see ``Supplemental Air Bag Warning
Light'' later in this section).
PD1177M
SUPPLEMENTAL RESTRAINT
SYSTEM (AIR BAG SYSTEM)
2-15
ZX