1996 NISSAN SENTRA window
[x] Cancel search: windowPage 8 of 191

1 Instruments and controls
Meters and gauges .............................................. 1-2
Speedometer and odometer ................................ 1-3
Tachometer (If so equipped) ................................ 1-3
Engine coolant temperature gauge ...................... 1-3
Fuel gauge ........................................................... 1-4
Warning/indicator lights and chimes .................... 1-5
Theft warning (If so equipped) ............................. 1-8
Windshield wiper and washer switch ................... 1-9
Rear window defogger switch ............................ 1-10
Headlight and turn signal switch ........................ 1-11
Instrument brightness control ............................. 1-12
Front fog light switch (If so equipped) ............... 1-12Hazard warning flasher switch ........................... 1-13
Cigarette lighter (accessory) and ashtray .......... 1-13
Cup holder .......................................................... 1-14
Power windows (If so equipped) ........................ 1-15
Sun roof (If so equipped) ................................... 1-16
Interior light......................................................... 1-17
Trunk light (If so equipped) ................................ 1-17
ZX
Page 15 of 191

Malfunction indicator light
If the MIL comes on or blinks while the
engine is running, it may indicate a potential
emission control problem.
CAUTION
cContinued operation without having
the emission control system
checked and repaired as necessary
could lead to poor driveability, re-
duced fuel economy, and possible
damage to the emission control sys-
tem which may affect your warranty
coverage.
cAlthough the vehicle is still drive-
able, see your nearest NISSAN
dealer as soon as possible. To avoid
system damage, do not drive at
speeds above 45 MPH (72 km/h). If
possible, avoid hard acceleration or
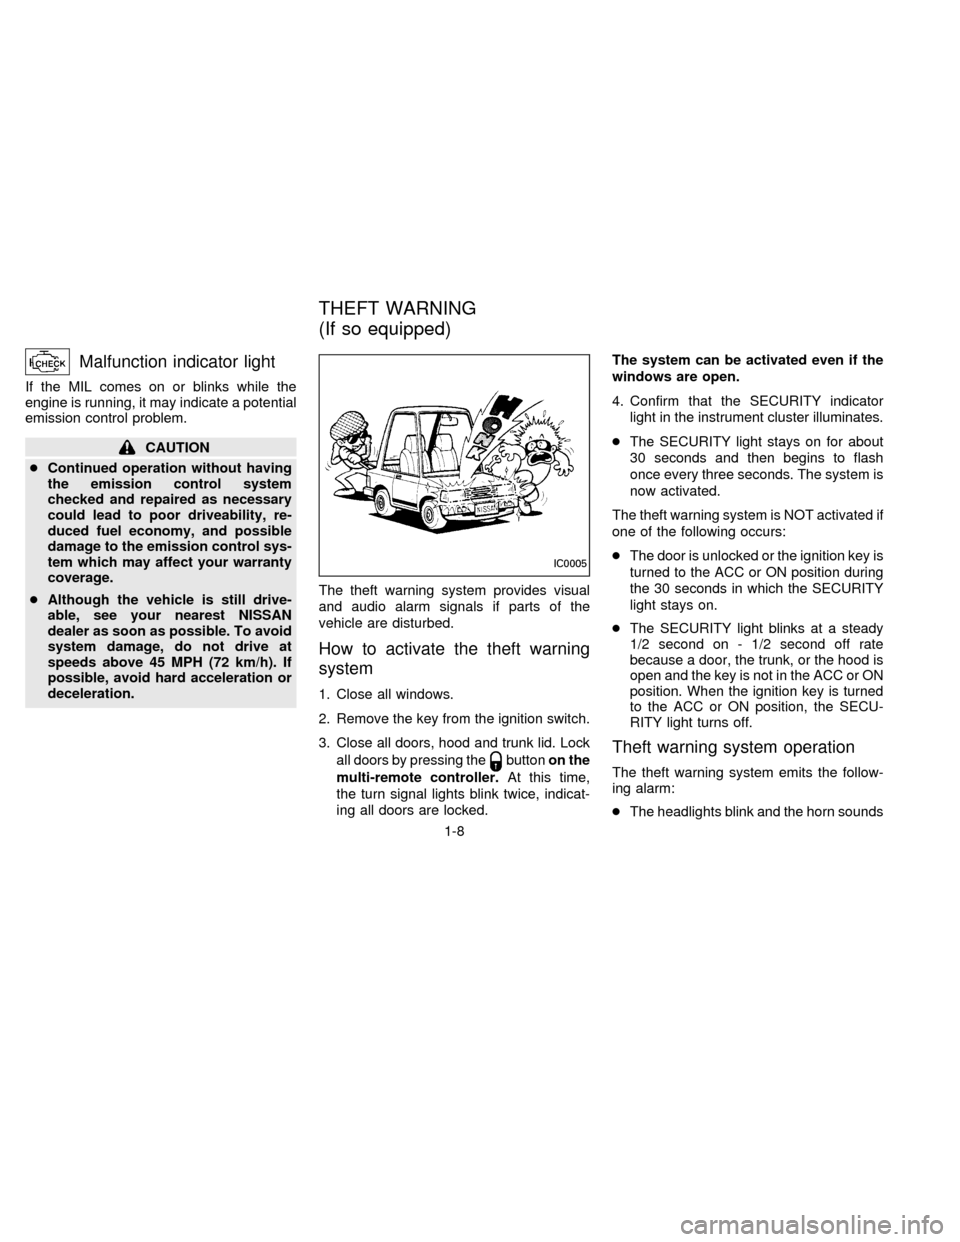
deceleration.The theft warning system provides visual
and audio alarm signals if parts of the
vehicle are disturbed.
How to activate the theft warning
system
1. Close all windows.
2. Remove the key from the ignition switch.
3. Close all doors, hood and trunk lid. Lock
all doors by pressing the
buttonon the
multi-remote controller.At this time,
the turn signal lights blink twice, indicat-
ing all doors are locked.The system can be activated even if the
windows are open.
4. Confirm that the SECURITY indicator
light in the instrument cluster illuminates.
cThe SECURITY light stays on for about
30 seconds and then begins to flash
once every three seconds. The system is
now activated.
The theft warning system is NOT activated if
one of the following occurs:
cThe door is unlocked or the ignition key is
turned to the ACC or ON position during
the 30 seconds in which the SECURITY
light stays on.
cThe SECURITY light blinks at a steady
1/2 second on - 1/2 second off rate
because a door, the trunk, or the hood is
open and the key is not in the ACC or ON
position. When the ignition key is turned
to the ACC or ON position, the SECU-
RITY light turns off.Theft warning system operation
The theft warning system emits the follow-
ing alarm:
cThe headlights blink and the horn sounds
IC0005
THEFT WARNING
(If so equipped)
1-8
ZX
Page 17 of 191

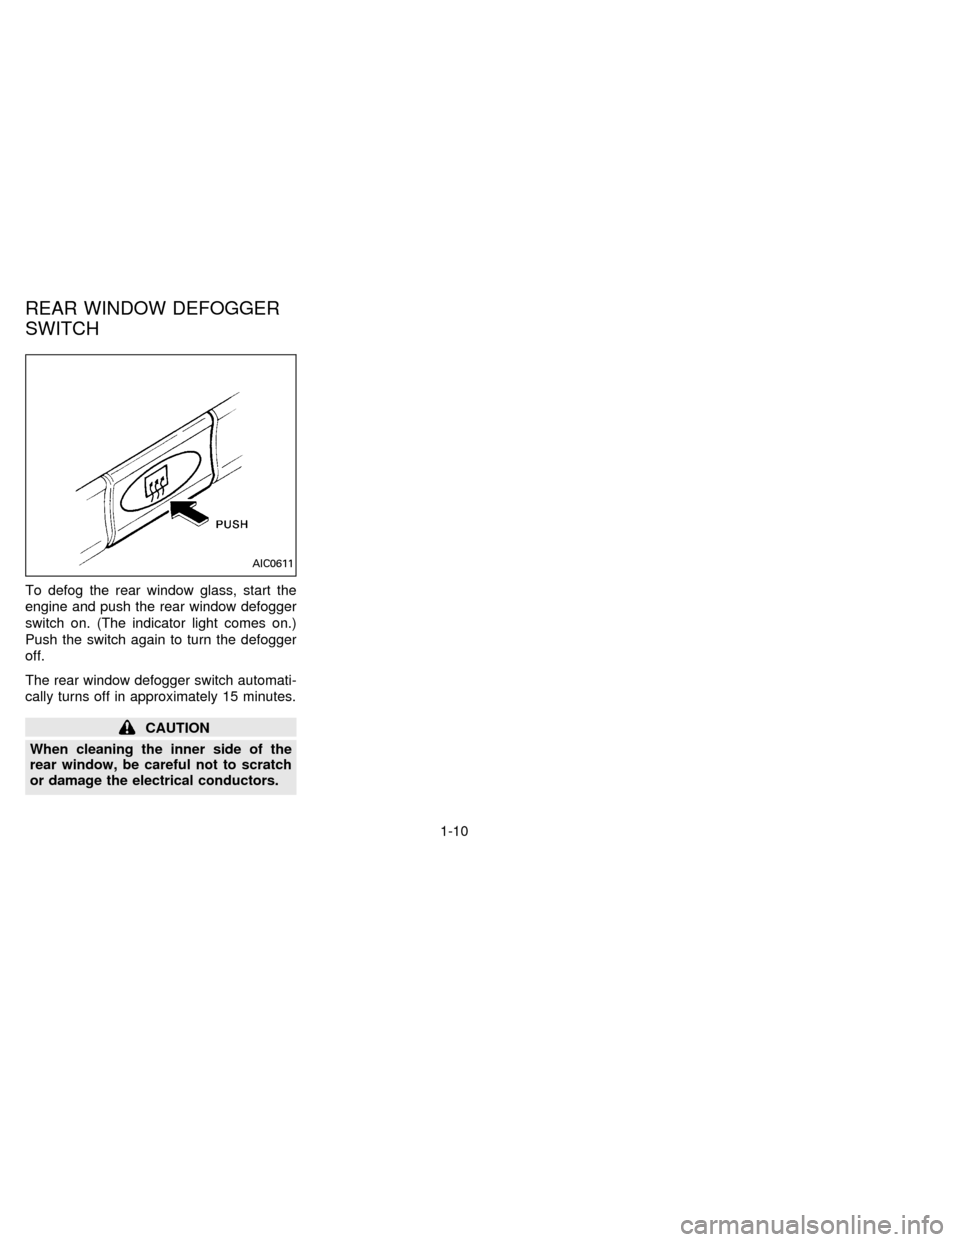
To defog the rear window glass, start the
engine and push the rear window defogger
switch on. (The indicator light comes on.)
Push the switch again to turn the defogger
off.
The rear window defogger switch automati-
cally turns off in approximately 15 minutes.
CAUTION
When cleaning the inner side of the
rear window, be careful not to scratch
or damage the electrical conductors.
AIC0611
REAR WINDOW DEFOGGER
SWITCH
1-10
ZX
Page 22 of 191

MANUAL WINDOW OPERATION
(If so equipped)
The side windows can be opened or closed
by turning the hand crank on each door. To
open the window, turn the crank counter-
clockwise. To close the window, turn the
crank clockwise.The power windows operate only when the
ignition key is in the ON position.
To open the window, lightly tap the driver
side button until the desired position is
reached. To close the window, lift the switch
upward. The driver side control panel is
equipped with switches to open or close all
the windows.
Locking passengers' windows
When the window lock button is depressed,
only the driver side window can be opened
or closed. Push it again to cancel the win-
dow lock function.The passenger side switch opens or closes
only the corresponding window. To open
the window, push the switch downward. To
close the window, lift the switch upward.
WARNING
cMake sure that all passengers have
their hands, etc. inside the vehicle
before closing the windows.
cDo not leave children unattended in-
side the vehicle. They could unknow-
ingly activate switches.
AIC0630AIC0612AIC0613
POWER WINDOWS
(If so equipped)
1-15
ZX
Page 23 of 191

Rear power windows (If so equipped)
The rear power window switches open or
close only the corresponding window. To
open the window, push the switch down-
ward. To close the window, lift the switch
upward.
Automatic power window switch
To fully open the driver side window, press
the automatic power window switch down
and release it; it need not be held. The
window automatically opens all the way.The sun roof only operates when the igni-
tion key is in the ON position.
Sliding the sun roof
To open the roof, push the switch toward
DOWN/OPEN.
To close the roof, push the switch toward
UP/CLOSE.
Tilting the sun roof
Close the sun roof by pushing the switch
toward UP/CLOSE. Continuing to push the
UP/CLOSE button tilts the sun roof up.
AIC0614AIC0615AIC0616
SUN ROOF
(If so equipped)
1-16
ZX
Page 65 of 191

WARNING
Do not use the recirculation mode (if so
equipped) for long periods of time. It
may cause the interior air to become
stale and the windows to fog up.
Air conditioner button
This button is provided only on those ve-
hicles equipped with air conditioning.
Start the engine, move the fan control dial to
the desired (1 to 4) position, and push the
air conditioner button to turn on the air
conditioner. The indicator light comes on
when the air conditioner is on. To turn off the
air conditioner, push the button again.
The air conditioner cooling function op-
erates only when the engine is running.
WARNING
Positioning of the heating or air condi-
tioning controls should not be done
while driving, in order that full attention
may be given to the driving operation.
HEATER OPERATION
Heating
This mode is used to direct hot air mainly
from the floor outlets. A small amount of air
also flows from the defrost vents.
1. Push the air recirculation button (if so
equipped) to the OFF position for normal
heating.
2. Move the air control dial to the
po-
sition.
3. Move the fan control dial to the desired
position.
4. Move the temperature control dial to the
desired position between the middle and
the hot position.
Ventilation
This mode directs outside air from the side
and center vents.
1. Push the air recirculation button (if so
equipped) to the OFF position.
2. Move the air control dial to the
po-
sition.3. Move the fan control dial to the desired
position.
4. Move the temperature control dial to the
desired position.
Defrosting or defogging
This mode is used to defrost/defog the
windows.
1. Push the air recirculation button (if so
equipped) to the OFF position.
2. Move the air control dial to the
po-
sition.
3. Move the fan control dial to the desired
position.
4. Move the temperature control dial to the
desired position between the middle and
the hot position.
cIf it is difficult to defog the windshield
glass, turn the air conditioner on (if so
equipped). This helps dehumidify the air.
Outside air is drawn into the passenger
compartment to improve the defogging per-
formance.
3-4
ZX
Page 67 of 191

5. Move the temperature control dial to the
desired position.
Dehumidified defogging
This mode is used to defog the windows
and dehumidify.
1. Push the air recirculation button to the
OFF position.
2. Move the air control dial to the
po-
sition.
3. Move the fan control dial to the desired
position.
4. Push on the air conditioner button. The
indicator light comes on.
5. Move the temperature control dial to the
desired position.
Operating tips
cKeep windows and sun roof closed while
the air conditioner is in operation.
cAfter parking in the sun, drive for two or
three minutes with the windows open to
vent hot air from the passenger compart-
ment. Then, close the windows. This
allows the air conditioner to cool the
interior more quickly.cThe air conditioning system should be
operated for about ten minutes at
least once a month. This helps pre-
vent damage to the system due to lack
of lubrication.
cIf the engine coolant temperature
gauge indicates engine coolant tem-
perature over the normal range, turn
the air conditioner off. See ``If your
vehicle overheats'' in the ``In case of
emergency'' section for additional in-
formation.
AIR FLOW CHARTS
The following charts show the button and
dial positions forMAXIMUM AND QUICK
heating, cooling or defrosting.The air recir-
culation switch should always be in the
OFF position for heating and defrosting.
3-6
ZX
Page 75 of 191

Clock Priority Mode
In this mode the clock is shown in the
display. If any radio or cassette tape func-
tions are activated, the radio (or cassette
tape) display illuminates for ten seconds
then returns to the clock mode.
NOTE:
After clock adjustment, the radio is in the
clock priority mode.
Radio/Cassette Tape Priority Mode
In this mode, the radio station illuminates in
the display during radio operation. During
cassette tape operation, TAPE illuminates
in the display.
Selecting the desired band
Push the band select button (FM/AM) to
change from AM to FM reception.
The stereo indicator illuminates during FM
stereo reception. When the stereo broad-
cast signal is weak, the radio automatically
changes from stereo to monaural reception.
Tuning
WARNING
The radio should not be tuned while
driving in order that full attention may
be given to the driving operation.
Manual tuning
Push either manual tuning button
or
.
SEEK tuning
Push the SEEK/SCAN tuning button
for less than 1.5 seconds. SEEK tun-
ing begins from low to high frequencies and
stops at the next broadcasting station. Push
the button again for less than 1.5 seconds,
and the next highest broadcasting station is
tuned. Once the highest broadcasting sta-
tion is reached, the radio continues in the
SEEK mode at the lowest broadcast station.
SCAN tuning
Push the SEEK/SCAN tuning button
for more than 1.5 seconds. SCAN
illuminates in the display window. SCAN
tuning begins from low to high frequencies
and stops at each broadcasting station forfive seconds. Pushing the button again dur-
ing this five second period stops SCAN
tuning and the radio remains tuned to that
station.
3-14
ZX