Page 27 of 198

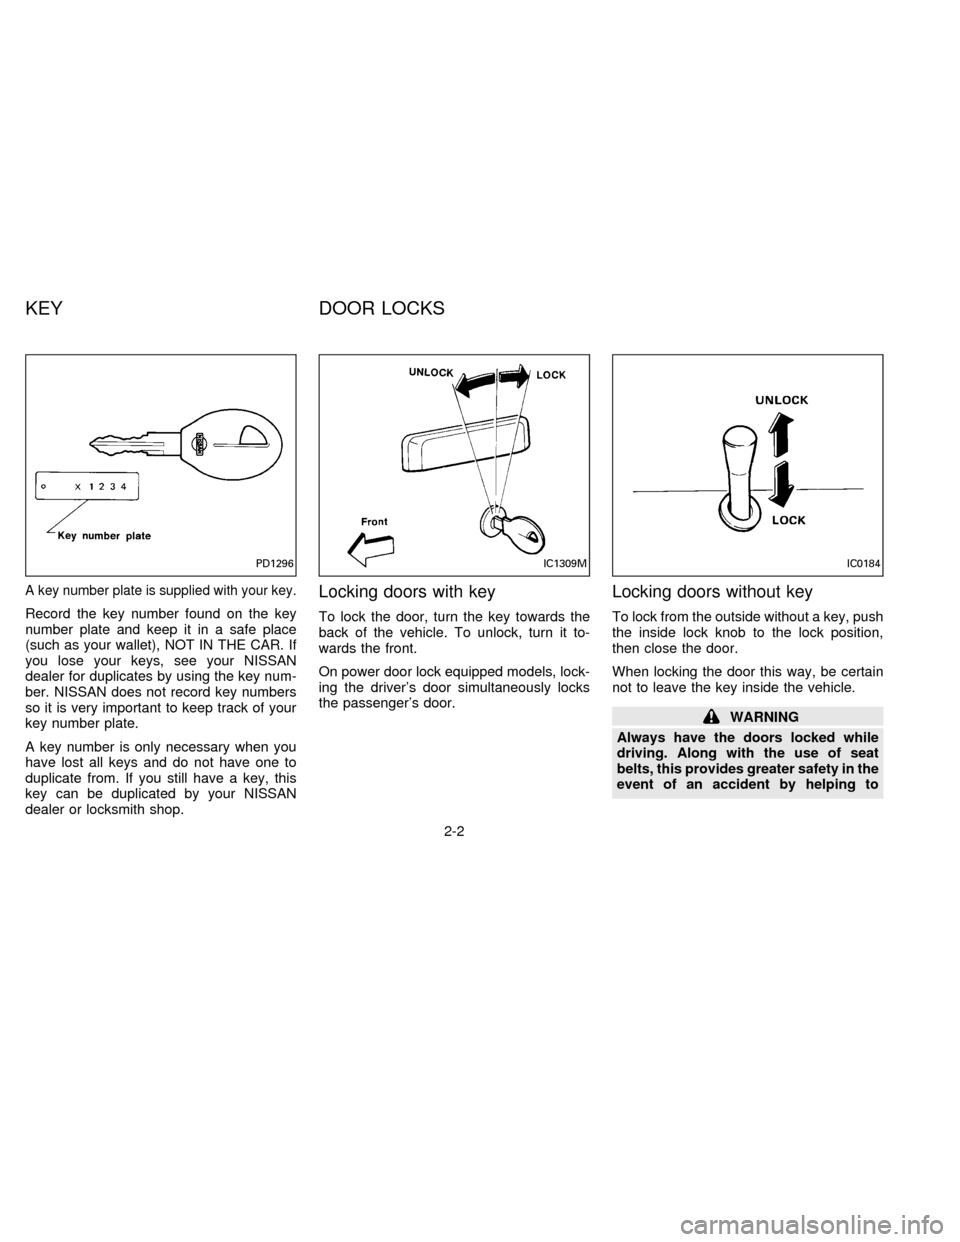
A key number plate is supplied with your key.
Record the key number found on the key
number plate and keep it in a safe place
(such as your wallet), NOT IN THE CAR. If
you lose your keys, see your NISSAN
dealer for duplicates by using the key num-
ber. NISSAN does not record key numbers
so it is very important to keep track of your
key number plate.
A key number is only necessary when you
have lost all keys and do not have one to
duplicate from. If you still have a key, this
key can be duplicated by your NISSAN
dealer or locksmith shop.
Locking doors with key
To lock the door, turn the key towards the
back of the vehicle. To unlock, turn it to-
wards the front.
On power door lock equipped models, lock-
ing the driver's door simultaneously locks
the passenger's door.
Locking doors without key
To lock from the outside without a key, push
the inside lock knob to the lock position,
then close the door.
When locking the door this way, be certain
not to leave the key inside the vehicle.
WARNING
Always have the doors locked while
driving. Along with the use of seat
belts, this provides greater safety in the
event of an accident by helping to
PD1296IC1309MIC0184
KEY DOOR LOCKS
2-2
ZX
Page 28 of 198
prevent persons from being thrown
from the vehicle. This also helps keep
children and others from unintention-
ally opening the doors, and will help
keep out intruders.
POWER DOOR LOCK
(If so equipped)
The power door lock system allows you to
lock or unlock both doors simultaneously.
cPressing the door lock/unlock button to-
ward the rear of the vehicle locks both
doors. Pressing the same button toward
the front of the vehicle unlocks both
doors.
cTurning the driver's door key toward the
front of the vehicle unlocks both doors.
Turning the key toward the back of the
vehicle locks both doors.cPushing the driver's inside lock knob
down locks both doors. Pulling the lock
knob up unlocks both doors.
WARNING
cBefore opening the door, always
look for and avoid oncoming traffic.
cDo not leave children unattended in
a locked vehicle. If an emergency
occurs, it will be difficult to help
them.
APD0701
2-3
ZX
Page 29 of 198
1. Pull the hood lock release handle located
below the instrument panel; the hood
then springs up slightly.
2. Raise the lever at the front of the hood
with your fingertips and raise the hood.3. Insert the assist bar into the slot in the
front edge of the hood.
4. When closing the hood, reset the assist
bar to its original position, then slowly
close the hood and make sure it locks
into place.The glove box may be opened by turning
the key as shown.
WARNING
Keep glove box lid closed while driving
to prevent injury in an accident or dur-
ing a sudden stop.
APD0702SIC0055
HOOD RELEASE GLOVE BOX LOCK
(If so equipped)
2-4
ZX
Page 40 of 198
Warning labels about the supplemental air
bag system are placed in the vehicle as
shown in the illustration.The supplemental air bag light, displaying
AIR BAG in the instrument panel, monitors
the circuits of the supplemental air bag. The
circuits monitored by the supplemental air
bag light are the diagnosis sensor unit, the
supplemental air bag module and all related
wiring.
When the ignition key is in the ON or START
position, the supplemental air bag warning
light illuminates for about 7 seconds and
then turns off. This means the system is
operational.
If any of the following conditions occur, the
supplemental air bag needs servicing and
APD0705APD0706
WARNING LABELS SUPPLEMENTAL AIR BAG
WARNING LIGHT
2-15
ZX
Page 41 of 198

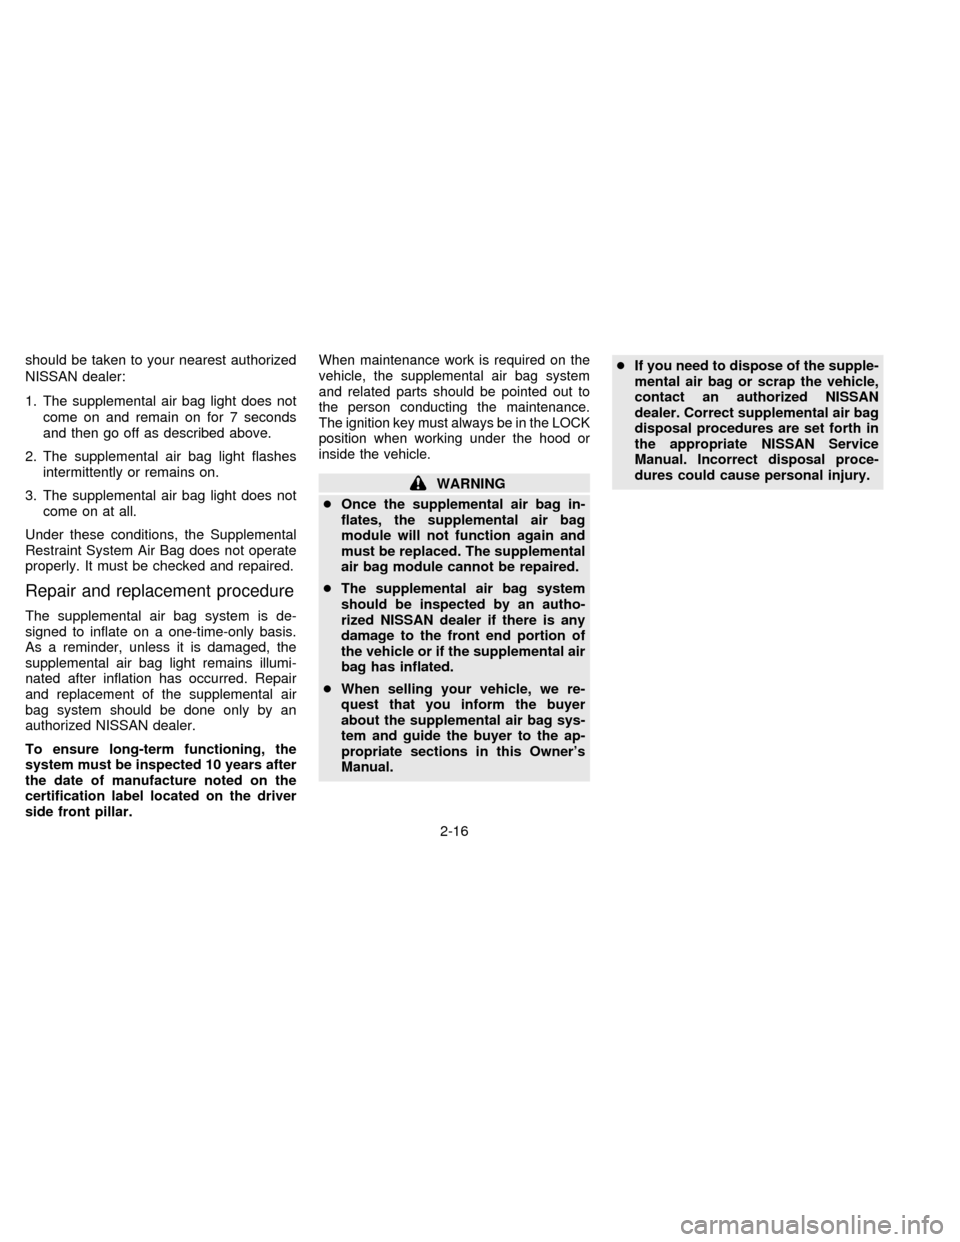
should be taken to your nearest authorized
NISSAN dealer:
1. The supplemental air bag light does not
come on and remain on for 7 seconds
and then go off as described above.
2. The supplemental air bag light flashes
intermittently or remains on.
3. The supplemental air bag light does not
come on at all.
Under these conditions, the Supplemental
Restraint System Air Bag does not operate
properly. It must be checked and repaired.
Repair and replacement procedure
The supplemental air bag system is de-
signed to inflate on a one-time-only basis.
As a reminder, unless it is damaged, the
supplemental air bag light remains illumi-
nated after inflation has occurred. Repair
and replacement of the supplemental air
bag system should be done only by an
authorized NISSAN dealer.
To ensure long-term functioning, the
system must be inspected 10 years after
the date of manufacture noted on the
certification label located on the driver
side front pillar.
When maintenance work is required on the
vehicle, the supplemental air bag system
and related parts should be pointed out to
the person conducting the maintenance.
The ignition key must always be in the LOCK
position when working under the hood or
inside the vehicle.
WARNING
cOnce the supplemental air bag in-
flates, the supplemental air bag
module will not function again and
must be replaced. The supplemental
air bag module cannot be repaired.
cThe supplemental air bag system
should be inspected by an autho-
rized NISSAN dealer if there is any
damage to the front end portion of
the vehicle or if the supplemental air
bag has inflated.
cWhen selling your vehicle, we re-
quest that you inform the buyer
about the supplemental air bag sys-
tem and guide the buyer to the ap-
propriate sections in this Owner's
Manual.cIf you need to dispose of the supple-
mental air bag or scrap the vehicle,
contact an authorized NISSAN
dealer. Correct supplemental air bag
disposal procedures are set forth in
the appropriate NISSAN Service
Manual. Incorrect disposal proce-
dures could cause personal injury.
2-16
ZX
Page 63 of 198
To turn the radio on, turn the ignition key to
ACC or ON. If you listen to the radio with the
engine not running, turn the key to the ACC
position.
Radio reception is affected by station signal
strength, distance from radio transmitter,
buildings, bridges, mountains and other ex-
ternal influences. Intermittent changes in
reception quality normally are caused by
these external influences.
AHA0606
RADIO
3-10
ZX
Page 66 of 198

Adjusting tone quality and sound
balance
To adjust BASS, TREB (treble), FADER,
and BAL (balance) the control knobs must
be released from their stowed positions.
Pushing the knobs once moves them to the
released position.
In the released position, the knobs control
tone quality. Turn the control knobs to ad-
just BASS and TREB to the most pleasing
level.
From the released position, the knobs must
be pulled out in order to control FADER andBAL. FADER adjusts the sound level be-
tween the front and rear speakers, and BAL
adjusts the sound level between the right
and left speakers.
Once sound quality is set to the desired
levels, return the control knobs to the
stowed position by pushing them in com-
pletely and releasing.
CASSETTE TAPE OPERATION
Turn the ignition key to ACC or ON, then
lightly insert the cassette tape into the tape
door.
The cassette tape automatically pulls into
the player. The word TAPE and an arrow
indicating tape side illuminates in the dis-
play window.
Do not force the cassette tape into the
tape door.
Pressing strongly could cause player
damage.
AHA0522AIC0709
3-13
ZX
Page 72 of 198

CASSETTE TAPE OPERATION
Turn the ignition key to ACC or ON, then
lightly insert the cassette tape into the tape
door.
The cassette tape automatically pulls into
the player. The word TAPE and an arrow
indicating tape side illuminates in the dis-
play window.
The radio turns off and the cassette tape
begins to play.
Do not force the cassette tape into the
tape door.Pressing strongly could cause player
damage.
The cassette tape automatically changes
direction to play the other side when the first
side is complete. At this time, the arrow in
the display window changes direction.
PLAY/STOP button
Push the PLAY/STOP button to resume
tape play when:
cthe tape has stopped playing.
cthe tape is in the fast forward mode.
cthe tape is in the rewind mode.
Pressing the PLAY/STOP button during
tape play stops the tape and turns the audio
system off.
Fast forwarding or rewinding the
tape
Push either the FF (fast forward) or REW
(rewind) button for the desired direction.
Automatic Program Search (APS)
fast forwarding or APS rewinding
the tape
Push either the APS FF or APS REW button
while the cassette tape is playing. The tape
runs quickly, stops, then plays the next
selection.
This system searches for the blank intervals
between selections. If there is a blank inter-
val within one program or there is no interval
between programs, the system may not
stop in the desired or expected location.
Changing the direction of tape play
Push the PROG (program) select button.
Dolby NR (noise reduction)
Push theDOLBY NR button for
DOLBY NR encoded tapes to reduce high
frequency tape noise. The indicator light
comes on.
Dolby NR is manufactured under license
from Dolby Laboratories Licensing Corpora-
tion. Dolby NR and the double-D symbol are
trademarks of Dolby Laboratories Licensing
Corporation.
AIC0713
3-19
ZX