1996 NISSAN ALTIMA lock
[x] Cancel search: lockPage 6 of 183

1 Instruments and controls
Meters and gauges .............................................. 1-2
Speedometer and odometer ................................ 1-3
Tachometer .......................................................... 1-3
Engine coolant temperature gauge and
Fuel gauge ........................................................... 1-4
Warning/indicator lights and chimes .................... 1-5
Theft warning (If so equipped) ............................. 1-8
Windshield wiper and washer switch ................... 1-9
Rear window defogger switch ............................ 1-10
Headlight and turn signal switch ........................ 1-11
Cornering light .................................................... 1-12Instrument brightness control ............................. 1-12
Front fog light switch (If so equipped) ............... 1-13
Hazard warning flasher switch ........................... 1-13
Cigarette lighter (accessory) and ashtray .......... 1-14
Cup holder .......................................................... 1-14
Power windows (If so equipped) ........................ 1-15
Sunroof (If so equipped) .................................... 1-17
Clock Ð instrument panel (If so equipped) ....... 1-18
Interior light......................................................... 1-18
Spotlight (If so equipped) ................................... 1-19
Trunk light........................................................... 1-19
ZX
Page 10 of 183

Checking bulbs
Apply the parking brake and turn the ignition
key to ``ON'' without starting the engine. The
following lights will come on:
,or,,,
The following lights come on briefly and
then go off:
or,,
If any light fails to come on, it may indicate
a burned-out bulb or an open circuit in theelectrical system. Have the system repaired
promptly.
Engine oil pressure warning
light
This light warns of low engine oil pressure. If
the light flickers or comes on during normal
driving, pull off the road in a safe area, stop
the engineimmediatelyand call a NISSAN
dealer or other authorized repair shop.Run-
ning the engine with the oil pressure
warning light on could cause serious
damage to the engine.The oil pressure warning light is not
designed to indicate a low oil level. Use
the dipstick to check the oil level.See
``Engine oil'' in the ``Do-it-yourself opera-
tions'' section.Charge warning light
If this light comes on while the engine is
running, it may indicate that there is some-
thing wrong with the charging system. Turn
the engine off and check the generator belt.
If the belt is loose, broken, missing or if the
light remains on, see your NISSAN dealer
immediately.
orBrake warning lightSeat belt warning lightEngine oil pressure warning light
Turn signal/hazard indicator lightsLow washer fluid warning light
(Canada only)CRUISE indicator light
High beam indicator lightorAnti-lock brake warning lightAir bag warning light
Charge warning lightOverdrive off indicator lightRear window defogger indicator light
Door open warning lightMalfunction indicator light (emission
system)Theft warning light (If so equipped)
WARNING/INDICATOR
LIGHTS AND CHIMES
1-5
ZX
Page 12 of 183

cPressing the brake pedal with the
engine stopped and/or low brake
fluid level may increase your stop-
ping distance and require greater
pedal effort as well as greater pedal
travel.
Brake pad wear warning
The disc brake pads have audible wear
warnings. When a brake pad requires re-
placement, it will make a high pitched scrap-
ing sound when the vehicle is in motion
whether or not the brake pedal is de-
pressed. Have the brakes checked as soon
as possible if the warning sound is heard.
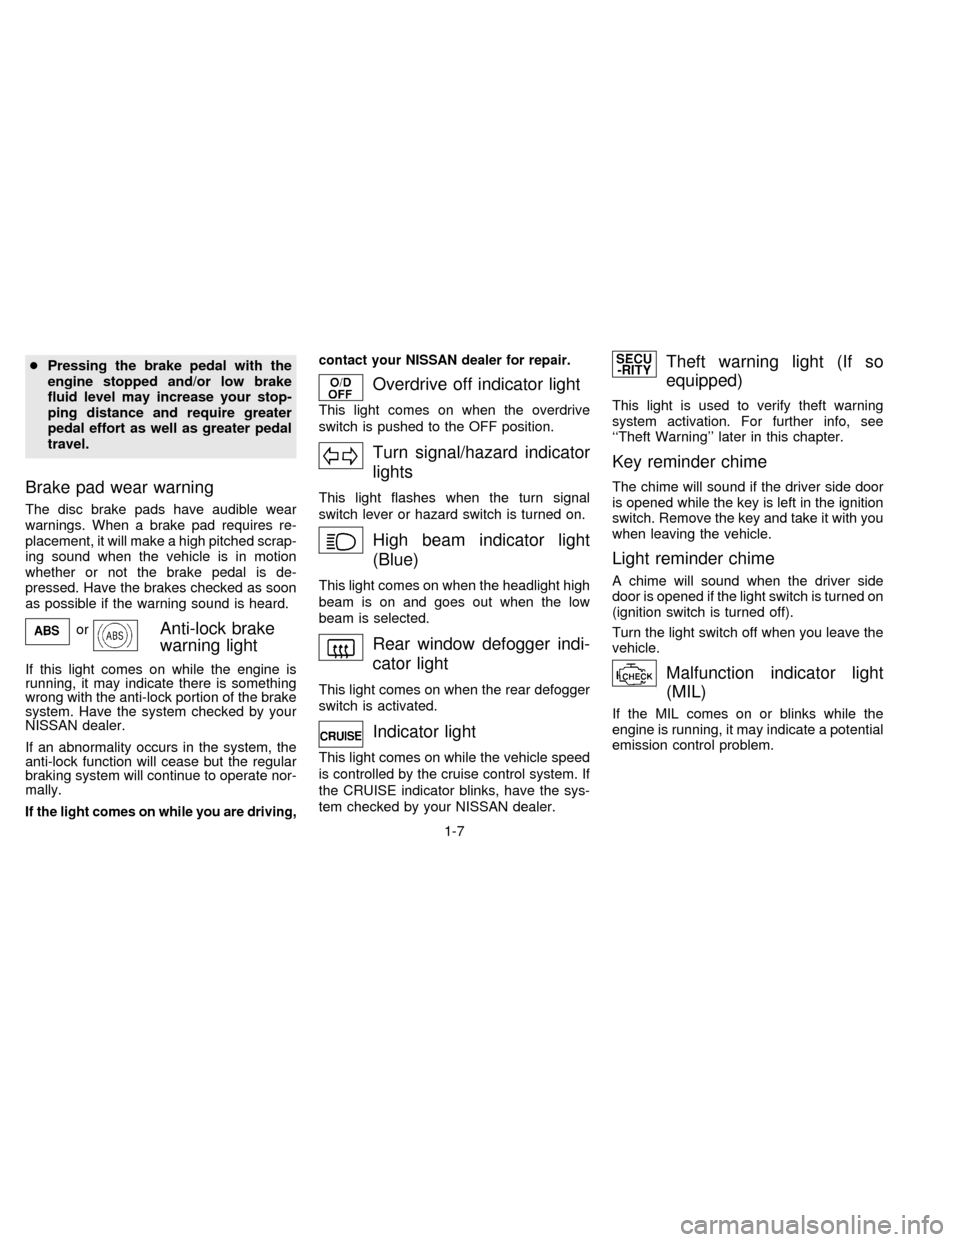
orAnti-lock brake
warning light
If this light comes on while the engine is
running, it may indicate there is something
wrong with the anti-lock portion of the brake
system. Have the system checked by your
NISSAN dealer.
If an abnormality occurs in the system, the
anti-lock function will cease but the regular
braking system will continue to operate nor-
mally.
If the light comes on while you are driving,contact your NISSAN dealer for repair.
Overdrive off indicator light
This light comes on when the overdrive
switch is pushed to the OFF position.
Turn signal/hazard indicator
lights
This light flashes when the turn signal
switch lever or hazard switch is turned on.
High beam indicator light
(Blue)
This light comes on when the headlight high
beam is on and goes out when the low
beam is selected.
Rear window defogger indi-
cator light
This light comes on when the rear defogger
switch is activated.
Indicator light
This light comes on while the vehicle speed
is controlled by the cruise control system. If
the CRUISE indicator blinks, have the sys-
tem checked by your NISSAN dealer.
Theft warning light (If so
equipped)
This light is used to verify theft warning
system activation. For further info, see
``Theft Warning'' later in this chapter.
Key reminder chime
The chime will sound if the driver side door
is opened while the key is left in the ignition
switch. Remove the key and take it with you
when leaving the vehicle.
Light reminder chime
A chime will sound when the driver side
door is opened if the light switch is turned on
(ignition switch is turned off).
Turn the light switch off when you leave the
vehicle.
Malfunction indicator light
(MIL)
If the MIL comes on or blinks while the
engine is running, it may indicate a potential
emission control problem.
1-7
ZX
Page 13 of 183

CAUTION
cContinued operation without having
the emission control system
checked and repaired as necessary
could lead to poor driveability, re-
duced fuel economy, and possible
damage to the emission control sys-
tem which may affect your warranty
coverage.
cAlthough the vehicle is still drive-
able, see your nearest NISSAN
dealer as soon as possible. To avoid
system damage, do not drive at
speeds above 45 MPH (72 km/h). If
possible, avoid hard acceleration or
deceleration.
If the fuel filler cap is not tightened properly,
the MIL may come on. Check and securely
tighten the fuel filler cap, and have your
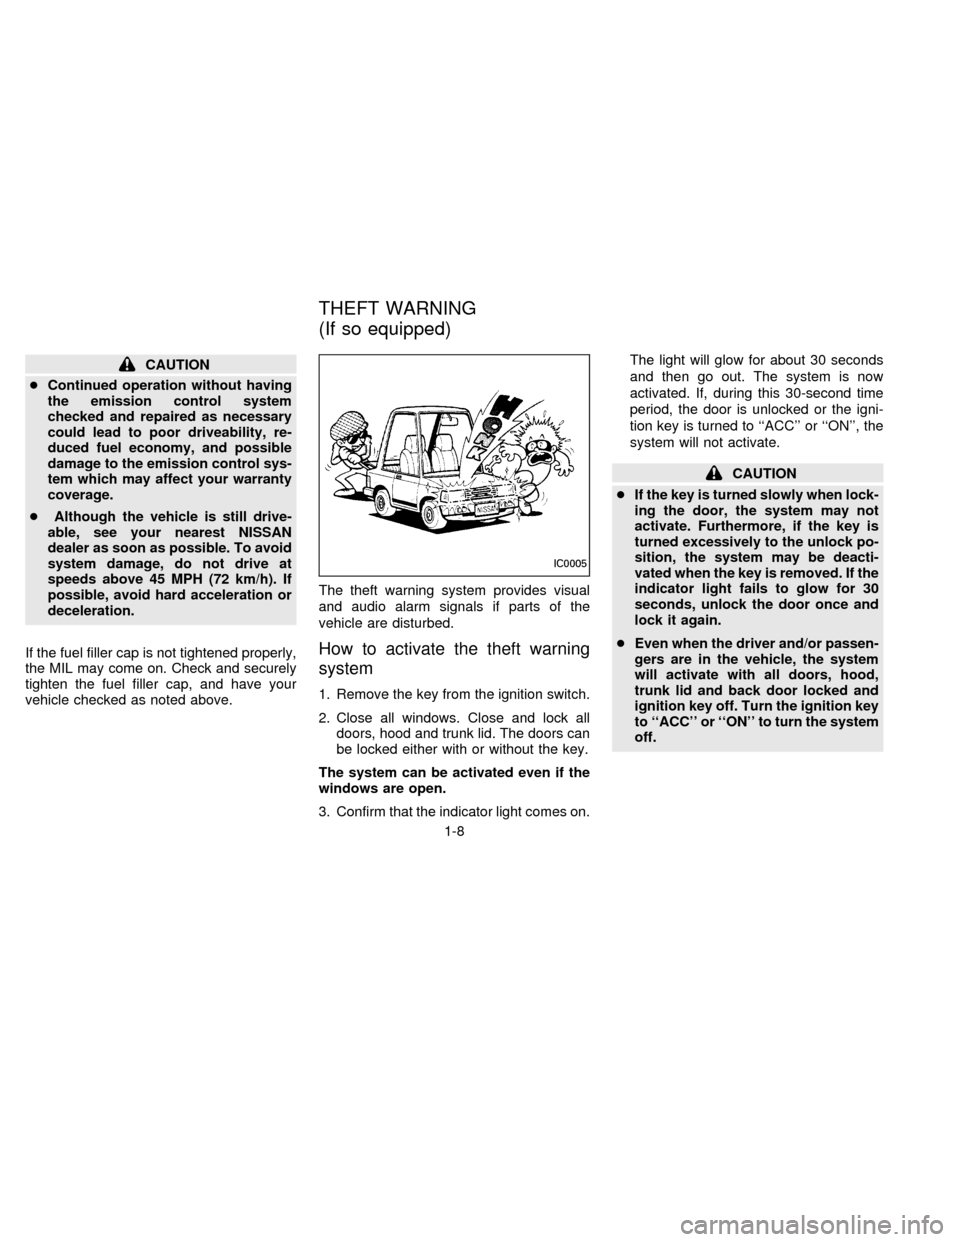
vehicle checked as noted above.The theft warning system provides visual
and audio alarm signals if parts of the
vehicle are disturbed.
How to activate the theft warning
system
1. Remove the key from the ignition switch.
2. Close all windows. Close and lock all
doors, hood and trunk lid. The doors can
be locked either with or without the key.
The system can be activated even if the
windows are open.
3. Confirm that the indicator light comes on.The light will glow for about 30 seconds
and then go out. The system is now
activated. If, during this 30-second time
period, the door is unlocked or the igni-
tion key is turned to ``ACC'' or ``ON'', the
system will not activate.
CAUTION
cIf the key is turned slowly when lock-
ing the door, the system may not
activate. Furthermore, if the key is
turned excessively to the unlock po-
sition, the system may be deacti-
vated when the key is removed. If the
indicator light fails to glow for 30
seconds, unlock the door once and
lock it again.
cEven when the driver and/or passen-
gers are in the vehicle, the system
will activate with all doors, hood,
trunk lid and back door locked and
ignition key off. Turn the ignition key
to ``ACC'' or ``ON'' to turn the system
off.
IC0005
THEFT WARNING
(If so equipped)
1-8
ZX
Page 14 of 183

Theft warning system operation
The warning system will give the following
alarm:
cThe headlights blink and the horn sounds
intermittently. In addition, the starter mo-
tor will not operate.
cThe alarm automatically turns off after 2
to 3 minutes; however, the alarm will
reactivate if the vehicle is tampered with
again. The alarm can be shut off by
unlocking a door or trunk lid with the key.
The alarm is activated by:
cOpening the door or trunk lid without
using the key (even if the door is un-
locked by releasing the door inside lock
switch) or opening the trunk lid by oper-
ating the opener lever.
cOpening the hood.
cPushing in or pulling out of the key
cylinder on the door or trunk lid.
How to stop the alarm
The alarm will stop only by unlocking a door
or the trunk lid with the key. The alarm will
not stop if the ignition switch is turned to
``ACC'' or ``ON''.If the system does not operate as de-
scribed above, have it checked by your
NISSAN dealer.
Push the lever down to operate the wind-
shield wipers. Pull the lever toward you to
operate the washer.
Intermittent operation can be adjusted from
2 to approximately 20 seconds by turning
the knob (Type B only).
AIC0079
WINDSHIELD WIPER AND
WASHER SWITCH
1-9
ZX
Page 17 of 183

Turn signal
Move the lever up or down to signal the
turning direction. When the turn is com-
pleted, the turn signals cancel automati-
cally.
Lane change signal
To indicate a lane change, move the lever
up or down to the point where lights begin
flashing.
The cornering light provides additional illu-
mination toward the turning direction on
some models. The light on the turning direc-
tion side will come on when the turn signal
lever is moved to the right or left with the
headlights on.The instrument brightness control operates
when the light switch is in the ``
'' or
``'' position.
Turn the control to adjust the brightness of
instrument panel lights.
NOTE: For vehicles with the clock located in
the instrument panel (if so equipped) the
instrument brightness control function has
no effect on the brightness of the clock.
IC1030IC1269
CORNERING LIGHT INSTRUMENT BRIGHTNESS
CONTROL
1-12
ZX
Page 20 of 183

WARNING
Avoid abrupt starting and braking
when the cup holder is being used to
prevent spilling the drink. If the liquid is
hot it can scald you or your passenger.
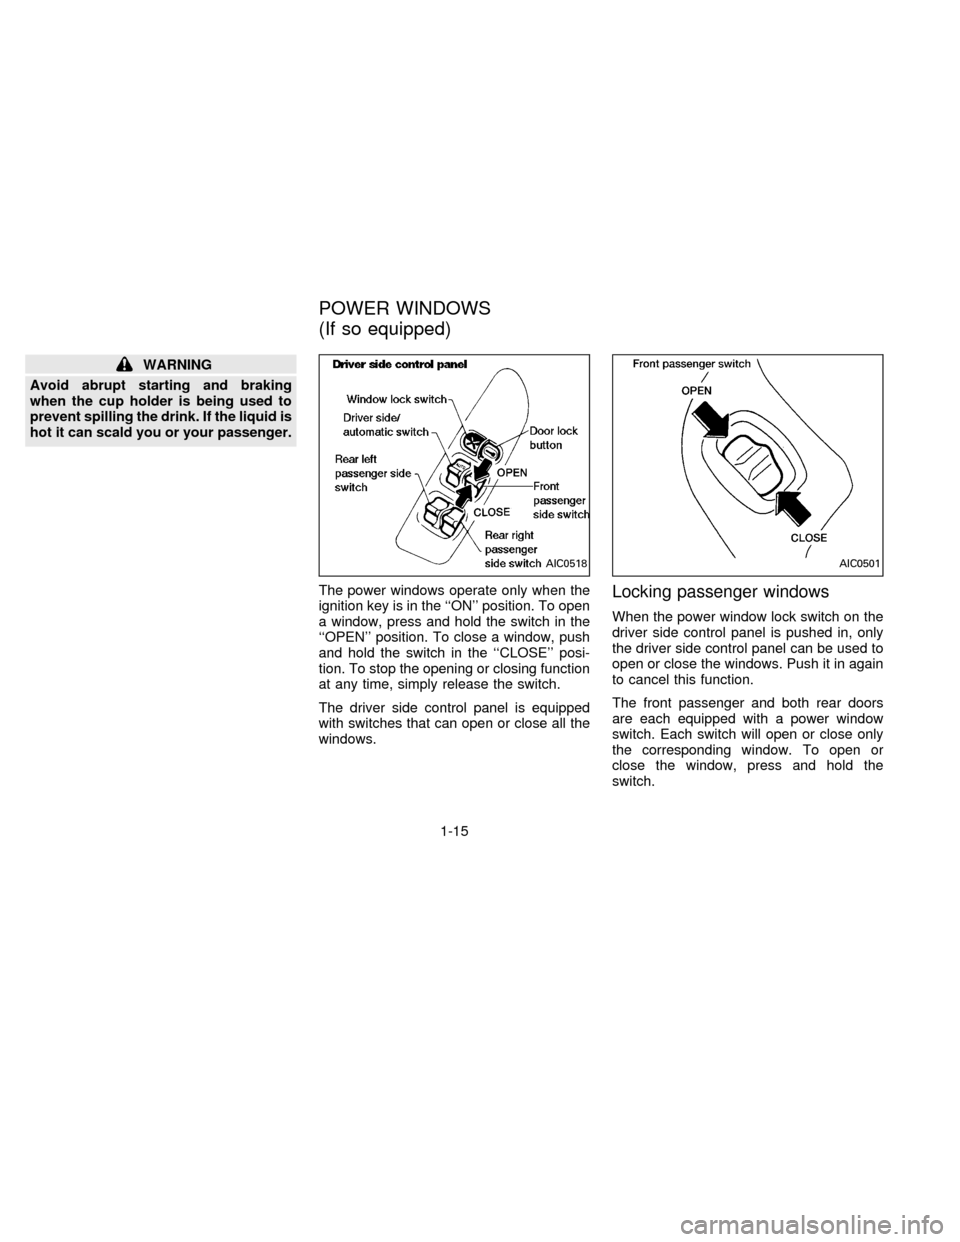
The power windows operate only when the
ignition key is in the ``ON'' position. To open
a window, press and hold the switch in the
``OPEN'' position. To close a window, push
and hold the switch in the ``CLOSE'' posi-
tion. To stop the opening or closing function
at any time, simply release the switch.
The driver side control panel is equipped
with switches that can open or close all the
windows.
Locking passenger windows
When the power window lock switch on the
driver side control panel is pushed in, only
the driver side control panel can be used to
open or close the windows. Push it in again
to cancel this function.
The front passenger and both rear doors
are each equipped with a power window
switch. Each switch will open or close only
the corresponding window. To open or
close the window, press and hold the
switch.
AIC0518AIC0501
POWER WINDOWS
(If so equipped)
1-15
ZX
Page 23 of 183

CAUTION
Turn the ignition key to the ``OFF''
position.
1. Remove the spotlight unit. The shaft end
of the sunroof motor will be visible.
2. Using a 5mm (0.20 in) hex wrench, turn
the shaft clockwise to close the sunroof.
Have the sunroof system checked and re-
paired by your NISSAN dealer.
The digital clock displays time when the
ignition key is in ``ACC'' or ``ON''.
If the power supply is disconnected, the
clock will not indicate the correct time.
Readjust the time.
Adjusting the time
Push theHbutton to adjust the hour.
Push theMbutton to adjust the minute.
NOTE: The clock displays 12-hour time with
no AM/PM indications.The interior light will operate regardless of
ignition key position.
The interior light has a three-position switch.
cWhen the switch is in the ªOFFº position,
the interior light will not illuminate, re-
gardless of door position.
cWhen the switch is in the center ``j''
position, the interior light will illuminate
when a door is opened.
cWhen the switch is in the ªONº position,
the interior light will illuminate, whether
any door is open or closed.
AIC0500IC1235M
CLOCK Ð INSTRUMENT
PANEL (If so equipped)INTERIOR LIGHT
1-18
ZX