Page 6 of 183

1 Instruments and controls
Meters and gauges .............................................. 1-2
Speedometer and odometer ................................ 1-3
Tachometer .......................................................... 1-3
Engine coolant temperature gauge and
Fuel gauge ........................................................... 1-4
Warning/indicator lights and chimes .................... 1-5
Theft warning (If so equipped) ............................. 1-8
Windshield wiper and washer switch ................... 1-9
Rear window defogger switch ............................ 1-10
Headlight and turn signal switch ........................ 1-11
Cornering light .................................................... 1-12Instrument brightness control ............................. 1-12
Front fog light switch (If so equipped) ............... 1-13
Hazard warning flasher switch ........................... 1-13
Cigarette lighter (accessory) and ashtray .......... 1-14
Cup holder .......................................................... 1-14
Power windows (If so equipped) ........................ 1-15
Sunroof (If so equipped) .................................... 1-17
Clock Ð instrument panel (If so equipped) ....... 1-18
Interior light......................................................... 1-18
Spotlight (If so equipped) ................................... 1-19
Trunk light........................................................... 1-19
ZX
Page 17 of 183
Turn signal
Move the lever up or down to signal the
turning direction. When the turn is com-
pleted, the turn signals cancel automati-
cally.
Lane change signal
To indicate a lane change, move the lever
up or down to the point where lights begin
flashing.
The cornering light provides additional illu-
mination toward the turning direction on
some models. The light on the turning direc-
tion side will come on when the turn signal
lever is moved to the right or left with the
headlights on.The instrument brightness control operates
when the light switch is in the ``
'' or
``'' position.
Turn the control to adjust the brightness of
instrument panel lights.
NOTE: For vehicles with the clock located in
the instrument panel (if so equipped) the
instrument brightness control function has
no effect on the brightness of the clock.
IC1030IC1269
CORNERING LIGHT INSTRUMENT BRIGHTNESS
CONTROL
1-12
ZX
Page 23 of 183

CAUTION
Turn the ignition key to the ``OFF''
position.
1. Remove the spotlight unit. The shaft end
of the sunroof motor will be visible.
2. Using a 5mm (0.20 in) hex wrench, turn
the shaft clockwise to close the sunroof.
Have the sunroof system checked and re-
paired by your NISSAN dealer.
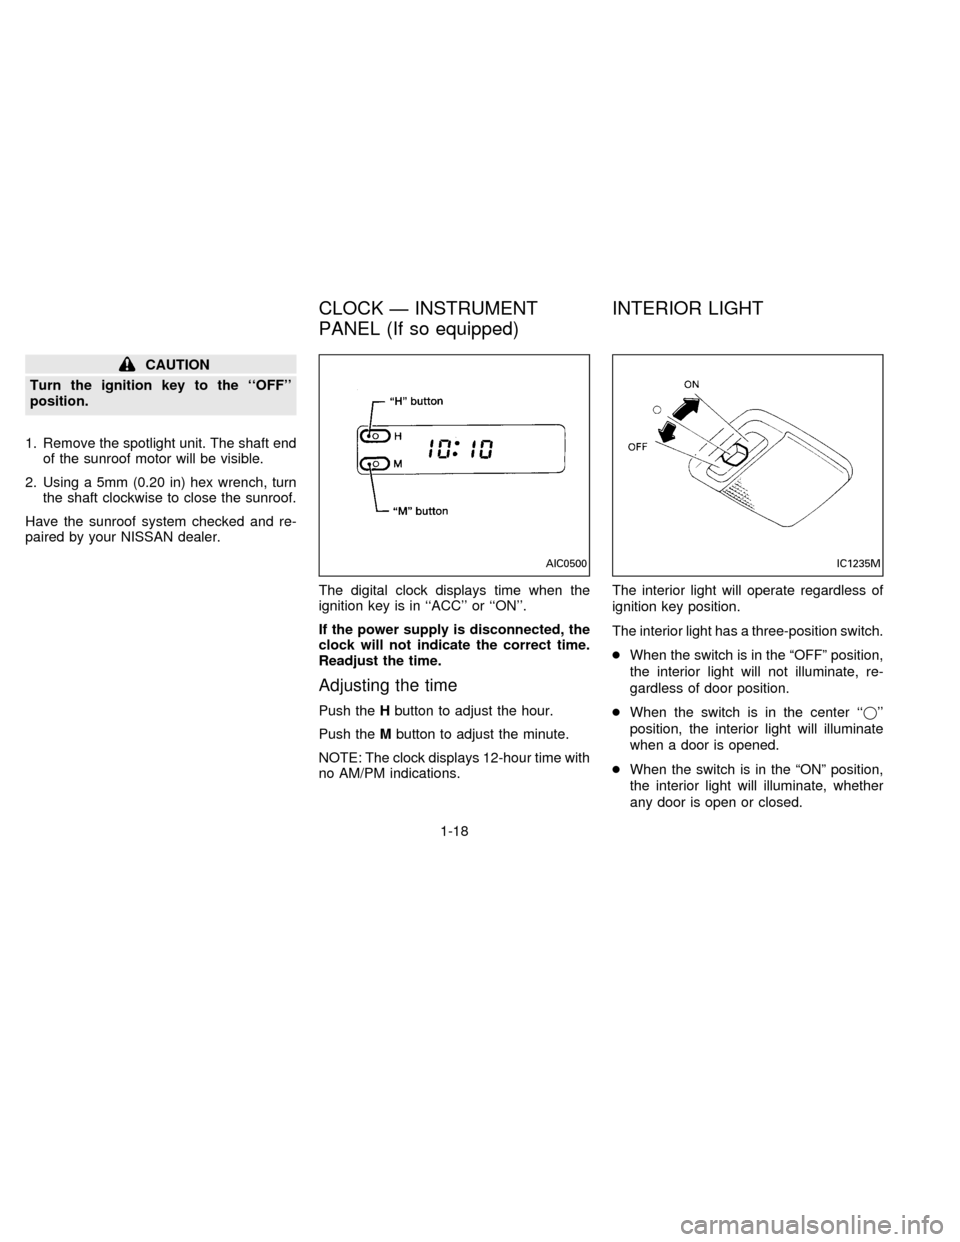
The digital clock displays time when the
ignition key is in ``ACC'' or ``ON''.
If the power supply is disconnected, the
clock will not indicate the correct time.
Readjust the time.
Adjusting the time
Push theHbutton to adjust the hour.
Push theMbutton to adjust the minute.
NOTE: The clock displays 12-hour time with
no AM/PM indications.The interior light will operate regardless of
ignition key position.
The interior light has a three-position switch.
cWhen the switch is in the ªOFFº position,
the interior light will not illuminate, re-
gardless of door position.
cWhen the switch is in the center ``j''
position, the interior light will illuminate
when a door is opened.
cWhen the switch is in the ªONº position,
the interior light will illuminate, whether
any door is open or closed.
AIC0500IC1235M
CLOCK Ð INSTRUMENT
PANEL (If so equipped)INTERIOR LIGHT
1-18
ZX
Page 31 of 183
Opener lever
The trunk lid opener lever is located on the
outside of the driver side seat. To open the
trunk lid, pull up the trunk lid opener lever.
To close, lower and push the trunk lid down
securely.
Key operation
To open the trunk lid, turn the key clock-
wise. To close, lower and push the trunk lid
down securely.
WARNING
Do not drive with the trunk lid open.
This could allow dangerous exhaust
gases to be drawn into the vehicle.
APD0506PD1312
TRUNK LID LOCK
OPERATION
2-6
ZX
Page 33 of 183

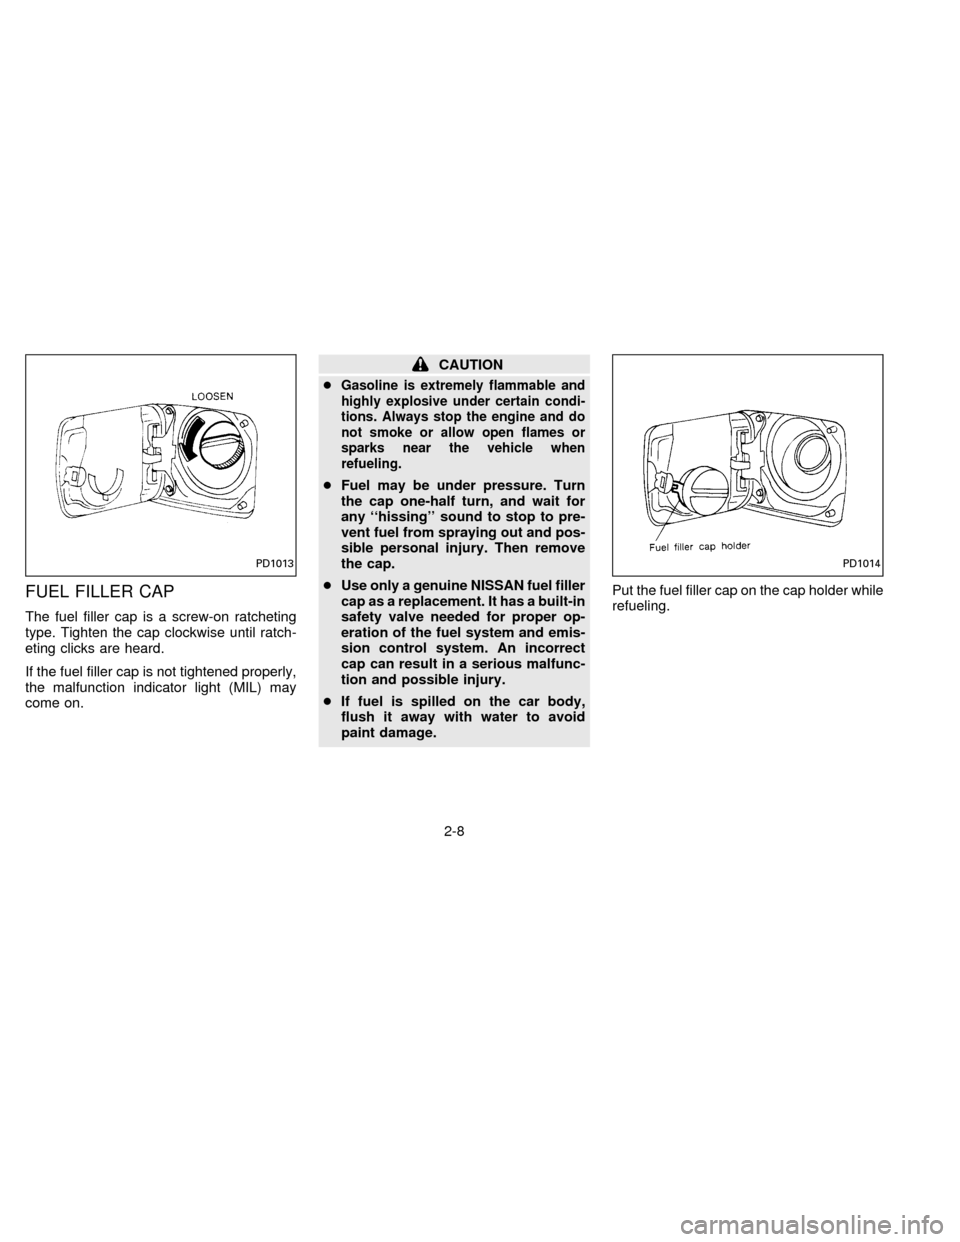
FUEL FILLER CAP
The fuel filler cap is a screw-on ratcheting
type. Tighten the cap clockwise until ratch-
eting clicks are heard.
If the fuel filler cap is not tightened properly,
the malfunction indicator light (MIL) may
come on.
CAUTION
c
Gasoline is extremely flammable and
highly explosive under certain condi-
tions. Always stop the engine and do
not smoke or allow open flames or
sparks near the vehicle when
refueling.
cFuel may be under pressure. Turn
the cap one-half turn, and wait for
any ``hissing'' sound to stop to pre-
vent fuel from spraying out and pos-
sible personal injury. Then remove
the cap.
cUse only a genuine NISSAN fuel filler
cap as a replacement. It has a built-in
safety valve needed for proper op-
eration of the fuel system and emis-
sion control system. An incorrect
cap can result in a serious malfunc-
tion and possible injury.
cIf fuel is spilled on the car body,
flush it away with water to avoid
paint damage.Put the fuel filler cap on the cap holder while
refueling.
PD1013PD1014
2-8
ZX
Page 58 of 183
3 Heater, air conditioner and audio system
Ventilators............................................................. 3-2
Heater and air conditioner (manual) .................... 3-2
Air flow charts....................................................... 3-6
Heater and air conditioner (automatic)
(If so equipped) .................................................... 3-8
Radio .................................................................. 3-10
Clock-radio ......................................................... 3-10
AM-FM radio with cassette player ..................... 3-11
AM-FM radio with cassette player and
compact disc player ........................................... 3-16
Antenna .............................................................. 3-21
CB radio or car phone........................................ 3-22
ZX
Page 67 of 183

The sensor on the instrument panel helps
maintain a constant temperature; do not put
anything on or around this sensor.
Servicing air conditioning
The air conditioning system in your NISSAN
vehicle is charged with a new refrigerant
designed with the environment in mind.
This new refrigerant will not harm the
earth's ozone layer.
Special charging equipment and lubricant is
required when servicing your NISSAN air
conditioner. Using improper refrigerants or
lubricants will cause severe damage to your
air conditioning system. See ``Air condition-
ing system refrigerant and lubricant recom-
mendations'' in the ``Technical and con-
sumer information'' section of this manual.
Your NISSAN dealer will be able to service
your environmentally conscious air condi-
tioning system.To turn the radio on, turn the ignition key to
``ACC'' or ``ON''. If you listen to the radio with
the engine not running, turn the key to the
``ACC'' position.
Radio reception is affected by station signal
strength, distance from radio transmitter,
buildings, bridges, mountains and other ex-
ternal influences. Intermittent changes in
reception quality normally are caused by
these external influences.
CLOCK-RADIO (If so equipped)
On vehicles equipped with an AM-FM radio
and cassette player, a clock is integrated
into the audio system. For further details,
refer to Clock Operation later in this section.AHA0501
RADIO
3-10
ZX
Page 68 of 183
AM-FM RADIO WITH CASSETTE
PLAYER
Radio operation
Push the ON-OFF/VOL knob to turn the
radio on. Push the ON-OFF/VOL knob once
more to turn the radio off.
Turn the knob to adjust the volume.
Inserting a cassette tape into the cassette
player while the radio is on will turn the radio
off and turn the cassette player on.
Pushing the ON-OFF/VOL knob while the
cassette tape is playing will turn off the
cassette player.
Clock Operation
By pressing the ªCLOCKº button, you can
alternate the clock and the radio/cassette
tape options in the display.
Clock Set
Depressing the ``CLOCK'' and the ``''
buttons together will set hours. Depressing
the ``CLOCK'' and ``
'' buttons together
will set minutes.
AHA0524
3-11
ZX