Page 100 of 240

Audio System
Tape Search Functions
With a cassette playing, you can usethe FF, REW, RPT, or SKIP function
to find a desired program.
FF/REW — Fast Forward and
Rewind move the tape rapidly. To
rewind the tape, push the FF/REW/
SKIP switch down, then release it.
You will see REW in the display. To fast forward the tape, push the switch up, then release it. You will
see FF displayed. Press the PLAY
button to take the system out of rewind or fast forward. If the system
reaches the end of the tape while in
fast forward or rewind, it auto- matically stops that function,
reverses direction, and begins to play. SKIP — The SKIP function lets you
skip over a song or passage. You
activate SKIP with the FF/REW/
SKIP switch. To skip to the
beginning of a song or passage currently playing, push the switch
down and hold it until you hear a
beep. You will see REW flashing in
the display as the tape rewinds. To skip to the beginning of the next
song, push the switch up and hold it
until you hear a beep. You will see
FF flashing in the display as the tape
fast forwards. When the system
finds the beginning of a song or
passage, it goes back to PLAY. REPEAT — The Repeat function
continuously replays the current
song or passage. Press the RPT
button to activate it; you will see RPT displayed as a reminder. When thesystem reaches the end of the song
or passage currently playing, it will
automatically go into rewind. When
it senses the beginning of the same song or passage, the system returns
to PLAY mode. It will continue to repeat this same program until youdeactivate REPEAT by pressing the
button again.
The SKIP and REPEAT functions use silent periods on the tape to find
the end of a song or passage. These
features may not work to yoursatisfactorily if there is almost no
gap between selections, a high noise
level between selections, or a silent period in the middle of selection.
Comfort and Convenience FeaturesProCarManuals.comMain Menu s t Table of Contents
Page 103 of 240

Audio System
Press the CD button until "CD"
appears in the display. The system
will start to play the first track of the first disc in the magazine.
When that disc ends, the next disc inthe magazine is loaded and played.
After the last disc finishes, the system returns to disc 1.
To select a different disc than the one that is playing, press theappropriate preset button (1 — 6).
The system will load that disc and begin playing it from the first track.
You can use the TUNE/SEEK switch to select tracks within a disc.
If you push and release the TUNE/
SEEK switch, the system will move
to the beginning of a track. Push the switch up to move to the beginning
of the next track, and push theswitch down to move to the begin-
ning of the current track.
If you push and hold the TUNE/
SEEK switch, you will hear a beep
and the system will continue to move across tracks. Release the switch
when you think it has reached the desired place on the disc.
RPT — When you activate the Repeat feature by pressing the A.SEL/RPT button, the system continu-
ously replays the current track. You
will see RPT in the display as a reminder. Press the button again to
turn it off.
RANDOM PLAY — This feature,
when activated, plays the tracks on a CD in random order, rather than in
the order they are recorded on the CD. To activate Random Play, press
the A. SEL/RPT button until you see
A. SEL in the display. The system will then select and play tracksrandomly on the current disc. When
all tracks on that disc have been
played, the next disc is loaded and
played randomly. This continues
until you deactivate Random Play by
pressing A. SEL/RPT again.
If the system is in Repeat mode, you
must turn it off by pressing A. SEL/
RPT before you can select Random
Play. Then press the button again
until you see A. SEL displayed.
To take the system out of CD mode, press the AM or FM button, or inserta cassette in the player. When you
return to CD mode, play will contin-
ue at the same disc and track.
If you turn the system off while a CD
is playing, either with the PWR/VOL
knob or the ignition switch, play will
continue at the same disc and track
when you turn it back on.
Comfort and Convenience FeaturesProCarManuals.comMain Menu s t Table of Contents
Page 104 of 240
Audio System
Protecting Compact DiscsHandle a CD by its edges; never
touch either surface. Contamination
from fingerprints, liquids, felt-tip pens, and labels can cause the CD to
not play properly, or possibly jam inthe drive.
When a CD is not being played, store it in its case to protect it from dustand other contamination. To prevent
warpage, keep CDs out of direct sunlight and extreme heat. To clean a disc, use a clean soft cloth.Wipe across the disc from the center to the outside edge. A new CD may be rough on the
inner and outer edges. The small
plastic pieces causing this roughness
can flake off and fall on the re-cording surface of the disc, causingskipping or other problems. Remove
these pieces by rubbing the inner
and outer edges with the side of a
pencil or pen.
Never try to insert foreign objects in
the CD player or the magazine.
Comfort and Convenience FeaturesProCarManuals.comMain Menu s t Table of Contents
Page 105 of 240
Audio System
CD Error Indications
If you see an error indication in the display while in CD mode, find the
cause in the chart to the right. If you cannot clear the error indication,
take the car to your Honda dealer.
Comfort and Convenience FeaturesProCarManuals.comMain Menu s t Table of Contents
Page 106 of 240

Audio System
Theft Protection
On U.S. EX model
Your car's audio system will disable itself if it is disconnected fromelectrical power for any reason. To
make it work again, the user must enter a specific five-digit code in the
Preset buttons. Because there are
hundreds of number combinations possible from five digits, making the system work without knowing the
exact code is nearly impossible.
You should have received a card that lists your audio system's code number and serial number. It is best
to store this card in a safe place at
home, or to keep it in your wallet or
purse. In addition, you should write the audio system's serial number in
this Owner's Manual. If you should
happen to lose the card, you must
obtain the code number from yourHonda dealer. To do this, you will
need the system's serial number. If your car's battery is disconnected
or goes dead, the audio system will
disable itself. If this happens, you
will see "Code" in the frequency display the next time you turn on the
system. Use the Preset buttons toenter the five-digit code. If it is
entered correctly, the radio will start
playing.
If you make a mistake entering thecode, do not start over or try to
correct your mistake. Complete the
five-digit sequence, then enter the correct code. You have three tries toenter the correct code. If you are
unsuccessful in three attempts, you
must then leave the system on for one hour before trying again. You will have to store your favorite
stations in the Preset buttons after
the system begins working. Your original settings were lost when
power was disconnected.
Comfort and Convenience FeaturesProCarManuals.comMain Menu s t Table of Contents
Page 126 of 240

The Braking System, Driving in Bad Weather
A car with ABS may require a longer distance to stop on loose or uneven
surfaces than an equivalent car with-
out Anti-lock. The ABS cannot make
up for road conditions or bad judg-
ment. It is still your responsibility to
drive at reasonable speeds for
weather and traffic conditions, and
to leave a margin of safety.
For a technical description of the
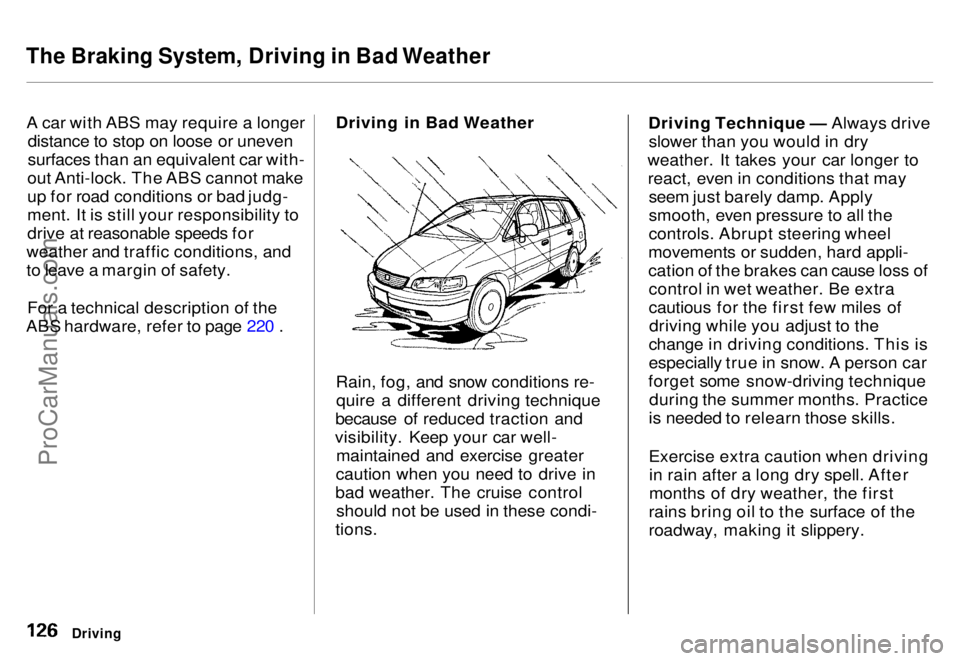
ABS hardware, refer to page 220 . Driving in Bad Weather
Rain, fog, and snow conditions re-
quire a different driving technique
because of reduced traction and
visibility. Keep your car well- maintained and exercise greater
caution when you need to drive in
bad weather. The cruise control should not be used in these condi-
tions. Driving Technique — Always drive
slower than you would in dry
weather. It takes your car longer to react, even in conditions that may seem just barely damp. Apply
smooth, even pressure to all the
controls. Abrupt steering wheel
movements or sudden, hard appli-
cation of the brakes can cause loss of control in wet weather. Be extra
cautious for the first few miles ofdriving while you adjust to the
change in driving conditions. This is
especially true in snow. A person car
forget some snow-driving technique during the summer months. Practice
is needed to relearn those skills.
Exercise extra caution when driving in rain after a long dry spell. After
months of dry weather, the first
rains bring oil to the surface of the
roadway, making it slippery.
DrivingProCarManuals.comMain Menu s t Table of Contents
Page 129 of 240

Towing a Trailer
The best way to confirm that your total towing package is within thesespecifications is to get it weighed.
Load the car and trailer as you
normally would while towing, and
take them to a public scale. Have them check the total weight and the
weight at each axle, then compare the weights to the specifications. Trailer Hitches
Your Honda dealer, or the HondaCustomer Relations Zone Office, can
give you advice on the proper hitch
for your car. Never use a hitch that mounts only to the rear bumper. The
bumper is not designed to handle that type of load. The hitch should
bolt to the underbody of the car and distribute the load over a wide area.
Always have a trailer hitch installed by a qualified technician.
A trailer hitch that is not adequate for the size of the trailer, or a hitch that isimproperly installed, can cause damage
to the underside of your car.
Driving
NOTICE
Improperly loading your car and
trailer can seriously affect its
steering and braking performance, causing a crashin which you can be seriously
injured.
Check the loading of your car
and trailer carefully before
starting to drive.ProCarManuals.comMain Menu s t Table of Contents
Page 133 of 240
Towing a Trailer
If you have to stop while going uphill,
do not hold the car in place by
pressing on the accelerator. This can cause the automatic transmission to
overheat. Use the parking brake or
footbrake.
When parking your car and trailer, especially on a hill, be sure to follow
all the normal precautions. Turn
your front wheels into the curb, set the parking brake firmly, and put the
transmission in Park. In addition, place wheel chocks at each of the
trailer's tires. Backing up with a trailer is difficult
and takes practice. Drive slowly,
make small movements with the steering wheel, and have someone
stand outside to guide you. Grip the
steering wheel on the bottom (rather
than the usual position near the top). Move your hand to the left to get thetrailer to move to the left, and right
to move the trailer right.
DrivingProCarManuals.comMain Menu s t Table of Contents