1996 CHEVROLET TAHOE set clock
[x] Cancel search: set clockPage 98 of 403
Downloaded from www.Manualslib.com manuals search engine Ending Cruise Control Lamps
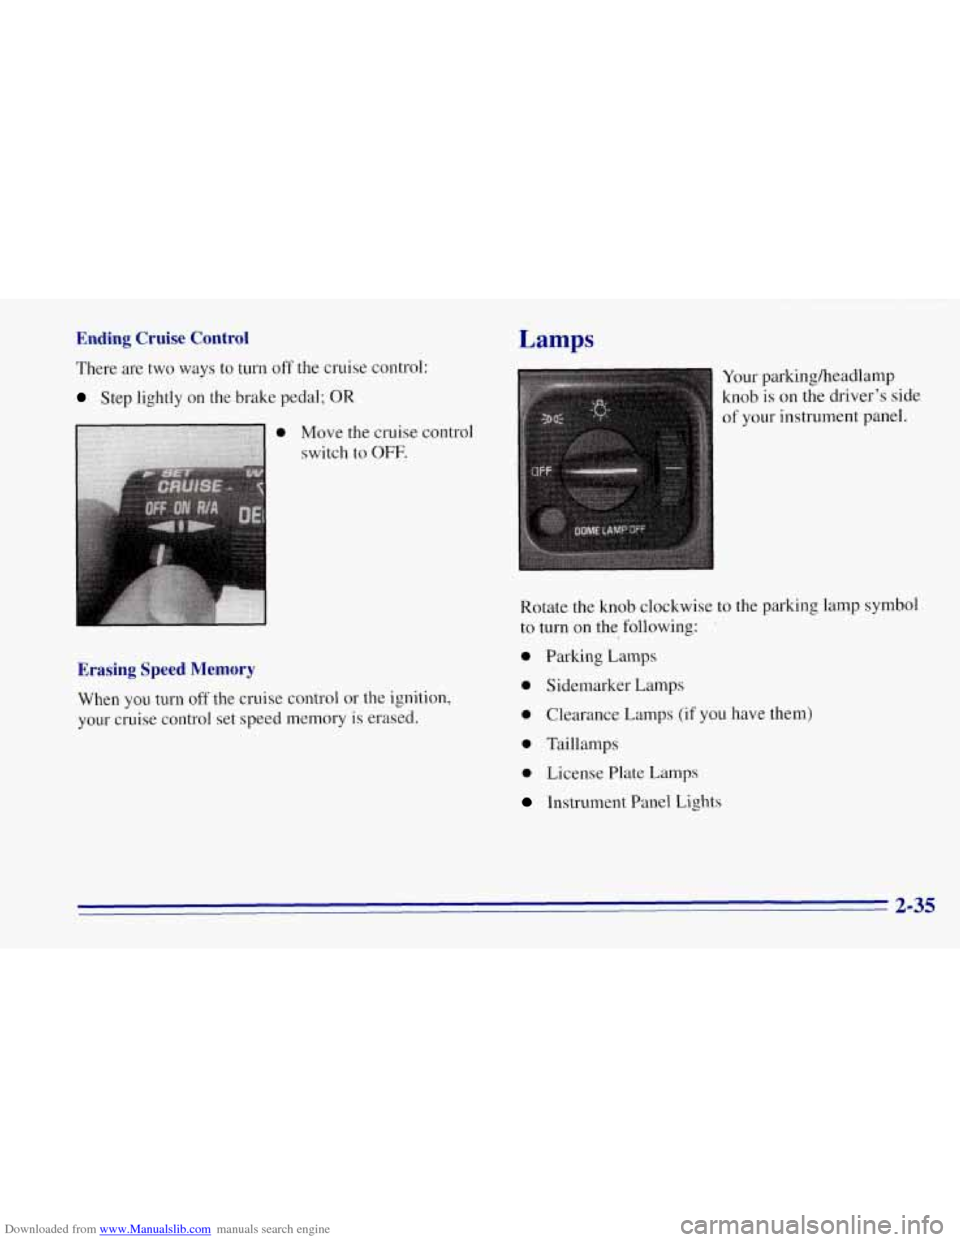
There are two ways to turn off the cruise control:
Step lightly on the brake pedal; OR
Move the cruise control
switch to
OFF.
Erasing Speed Memory
When you turn off the cruise control or the ignition,
your cruise control set speed memory is erased. Your
parkingheadlamp
knob is
on the driver’s side
of your instrument panel.
Rotate the knob clockwise to the parking lamp symbol
to turn on the following:
’
0 Parking Lamps
0 Sidemarker Lamps
0 Clearance Lamps (if you have them)
0 Taillamps
0 License Plate Lamps
Instrument Panel Lights
2-35
Page 99 of 403
Downloaded from www.Manualslib.com manuals search engine Rotate the knob clockwise again to the master
lighting symbol to turn on all
the lamps listed as
well as the headlamps.
Rotate the knob counterclockwise to the
OFF symbol to
turn
off your lamps.
Rotate the thumb wheel next to the knob up
to adjust
instrument panel lights. Rotate the thumb wheel up to
the first notch
to return the radio display and gearshift
indicator LED display to full intensity when the
headlamps or parking lamps are on.
To turn on the dome
lamps (with the vehicle doors closed) rotate the thumb
wheel up to the second notch position.
You can switch your headlamps from high
to low beam
by pulling on the turn signalhigh beam lever.
A circuit breaker protects your headlamps. If you have
an electrical overload, your headlamps will flicker on
and
off. Have your headlamp wiring checked right away
if this happens.
Headlamps-On Reminder
A buzzer will sound when your headlamps are turned
on and your ignition
is in OFF, LOCK or ACCESSORY.
If you need to use your headlamps when the ignition
switch is
in OFF, LOCK or ACCESSORY, the buzzer
can be turned off
by turning the thumb wheel next to the
parkingheadlamp switch all the way down.
Daytime Running Lamps
Daytime Running Lamps (DRL) can make it easier
for others to see the front of your vehicle during the
day. DRL can be helpful in many different driving
conditions, but they can be especially helpful
in the
short periods after dawn and before sunset.
The DRL system will make your headlamps come on
at a reduced brightness when:
The ignition is on,
0 The headlamp switch is off, and
The parking brake is released.
2-36
Page 132 of 403
Downloaded from www.Manualslib.com manuals search engine Section 3 Comfort Controls and Audio Systems
In this section you’ll find out how to operate the comfort
control and audio systems offered with your vehicle. Be
sure to read about the particular systems supplied with
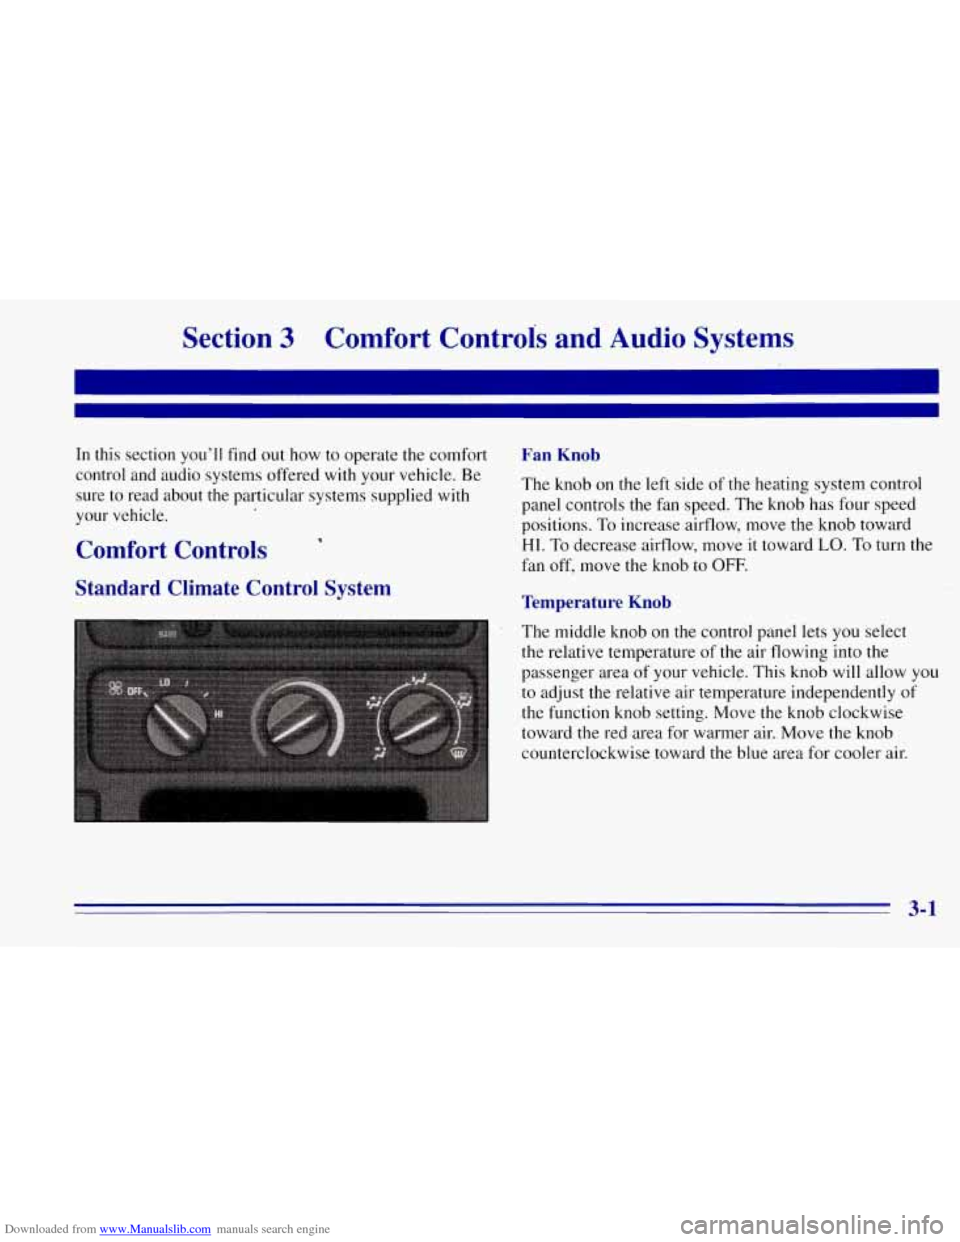
your vehicle. Fan Knob
The knob on the left side of the heating system control
panel controls the fan speed. The knob has four speed
positions. To increase airflow, move the knob toward
HI. To decrease airflow, move it toward LO. To turn the
fan off, move the knob to
OFF. Comfort Controls
Standard Climate Control System Temperature Knob
The middle knob on the control panel lets you select
the relative temperature of the air flowing into the
passenger area of your vehicle. This knob will allow
you
to adjust the relative air temperature independently of
the function knob setting. Move the knob clockwise
toward the red area for warmer air. Move the knob
counterclockwise toward the blue area for cooler air.
3-1
Page 134 of 403
Downloaded from www.Manualslib.com manuals search engine Temperature Knob
The middle knob on the control pane-1 lets you select
the relative temperature of the air flowing into the
passenger area of your vehicle. This knob will allow you
to adj.ust the relative air temperature independently of
the function knob setting, Move the knob clockwise
toward the red area for warmer air. Move the knob
counterclockwise toward the blue area for cooler air.
Mode Knob
The right knob on the control panel allows you to
choose the direction of air delivery. The control knob
can be placed in any position between any two mode
settings to blend the flow of air.
+e
# VENT This setting directs air through the
instrument panel outlets.
+’ VENTMEAT Use this setting to divide airflow.
between the floor outlets and instrument panel outlets.
+e
HEATER: This setting directs air through the
floor outlets.
+# DEFOG: This setting directs air to the heater
outlets and toward the windshield.
9 DEFROST This setting directs air toward
the windshield.
w.
Rear Air Conditioning and Heating Systems
(Suburban)
’
If your vehicle has either or both of these systems, you
can increase and decrease the airflow at the rear vents.
Depending on the system
you have and the setting
selected,
you can send cooled or heated air to the rear of
the vehicle.
Rear Air Conditioning (Without Rear Heater)
If your vehicle has rear air conditioning (without rear
heater), the controls are located above the front and
second seats. The front and rear overhead controls let
you increase and decrease the airflow at the rear vents.
To operate the rear air conditioning system, the front air
conditioning system must be on. With the front air
conditioning system off, the rear system controls can be
used to circulate air in the rear of the vehicle.
3-3
Page 137 of 403
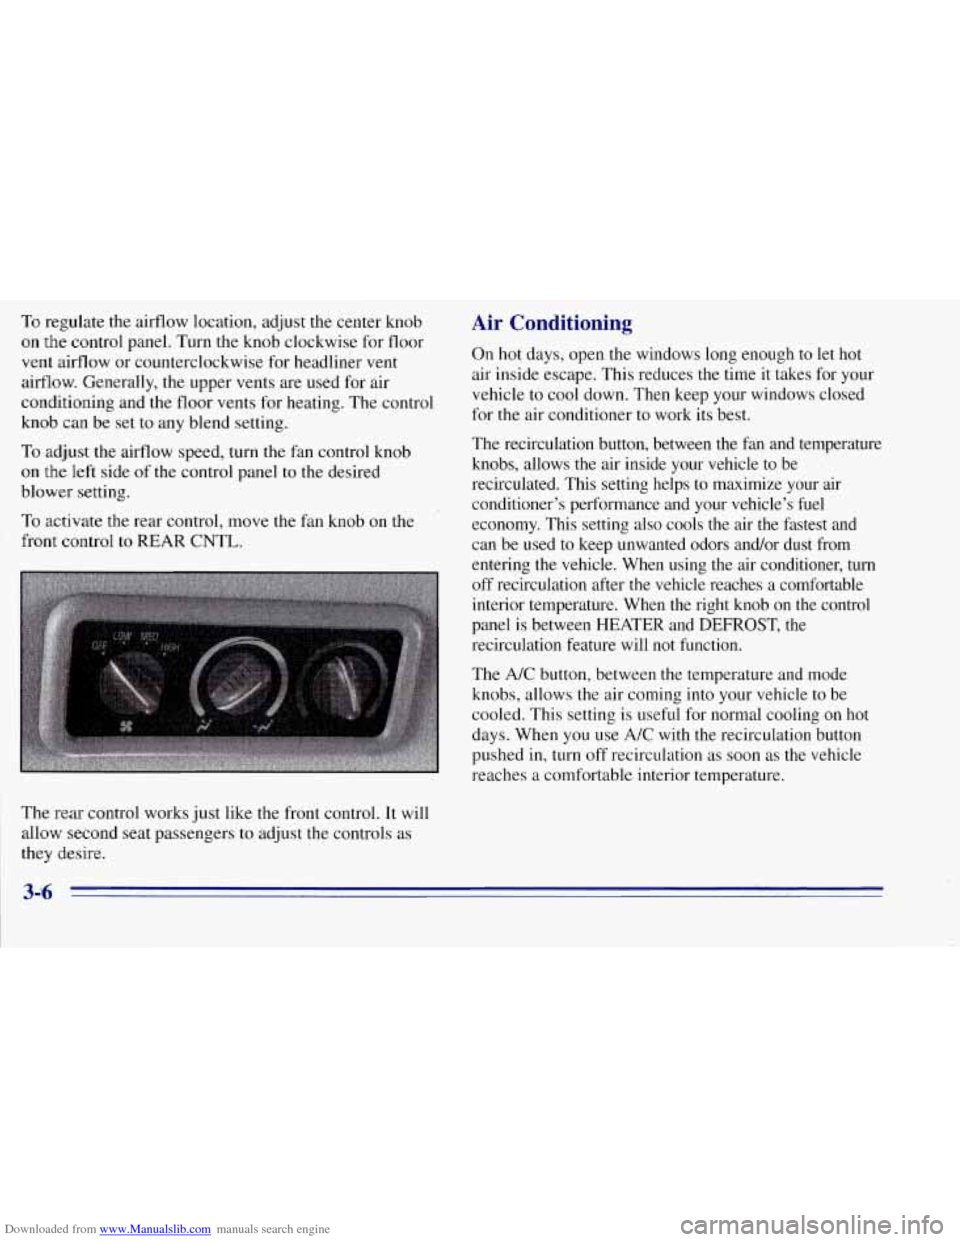
Downloaded from www.Manualslib.com manuals search engine To regulate the airflow location, adjust the center knob
on the control panel. Turn the knob clockwise for floor
vent airflow or counterclockwise for headliner vent
airflow. Generally, the upper vents are used for air
conditioning and the floor vents for heating. The control
knob can
be set to any blend setting.
To adjust the aifflow speed, turn the fan control knob
on the left side of the control panel to the desired
blower setting.
To activate the rear control, move the fan knob on the
front control
to REAR CNTL.
Air Conditioning
On hot days, open the windows long enough to let hot
air inside escape. This reduces the time it takes for your
vehicle to cool down. Then keep your windows closed
for the air conditioner to work its best.
The recirculation button, between the fan and temperature
knobs, allows the air inside your vehicle to be
recirculated. This setting helps to maximize your air
conditioner’s performance and your vehicle’s fuel
economy. This setting also cools the air the fastest and
can be used to keep unwanted odors and/or dust from
entering the vehicle. When using the air conditioner, turn
off recirculation after the vehicle reaches a comfortable
interior temperature. When the right knob on the control
panel is between HEATER and DEFROST, the
recirculation feature will not function.
The A/C button, between the temperature and mode
knobs, allows the air coming into your vehicle to be
cooled. This setting is useful for normal cooling on hot
days. When
you use A/C with the recirculation button
pushed in, turn off recirculation as soon as the vehicle
reaches a comfortable interior temperature.
The
rear control works just like the front control. It will
allow second seat passengers to adjust the controls as
they desire.
Page 138 of 403
Downloaded from www.Manualslib.com manuals search engine With the A/C on, move the temperature knob to MAX
for maximum cooling. This setting also puts the system
in the recirculation mode and helps to maximize your air
conditioner’s performance and your vehicle’s fuel
economy. This setting also cools the air the fastest. After
the vehicle’s interior reaches a comfortable temperature,
move the temperature knob clockwise to place the air
conditioning system in the normal mode.
The heater works best if you keep your windows closed
while using it. On cold days, use the HEATER or
VENT/HEAT setting with the temperature knob in the
red area.
If you use the engine coolant heater before starting your
engine (in cold weather (20°F (-8OC) or lower), your
heating system will produce warmer air faster, to heat
the passenger compartment in cold weather.
The use of an engine coolant heater also reduces the
time it takes for the engine to reach normal operating
temperature, and shortens the time it takes the heater to
reach full output. For more information, see “Engine
Coolant Heater” in the Index. Ventilation System
For mild outside temperature when little heating or
cooling is needed, use VENT to direct outside air
through your vehicle. Air will flow through the
instrument panel outlets.
Your vehicle’s ventilation system supplies outside
air to the inside
of your vehicle when it is moving.
With the side windows closed, air will flow into the
front air inlet grilles, through the vehicle, and out the
air exhaust valves.
Outside air will also enter the vehicle when the heater or
the air conditioning fan is running, unless you have the
recirculation button pushed in. For more information
on
the recirculation button, see “Air Conditioning” earlier
in this section.
- .. G 3-7
Page 141 of 403
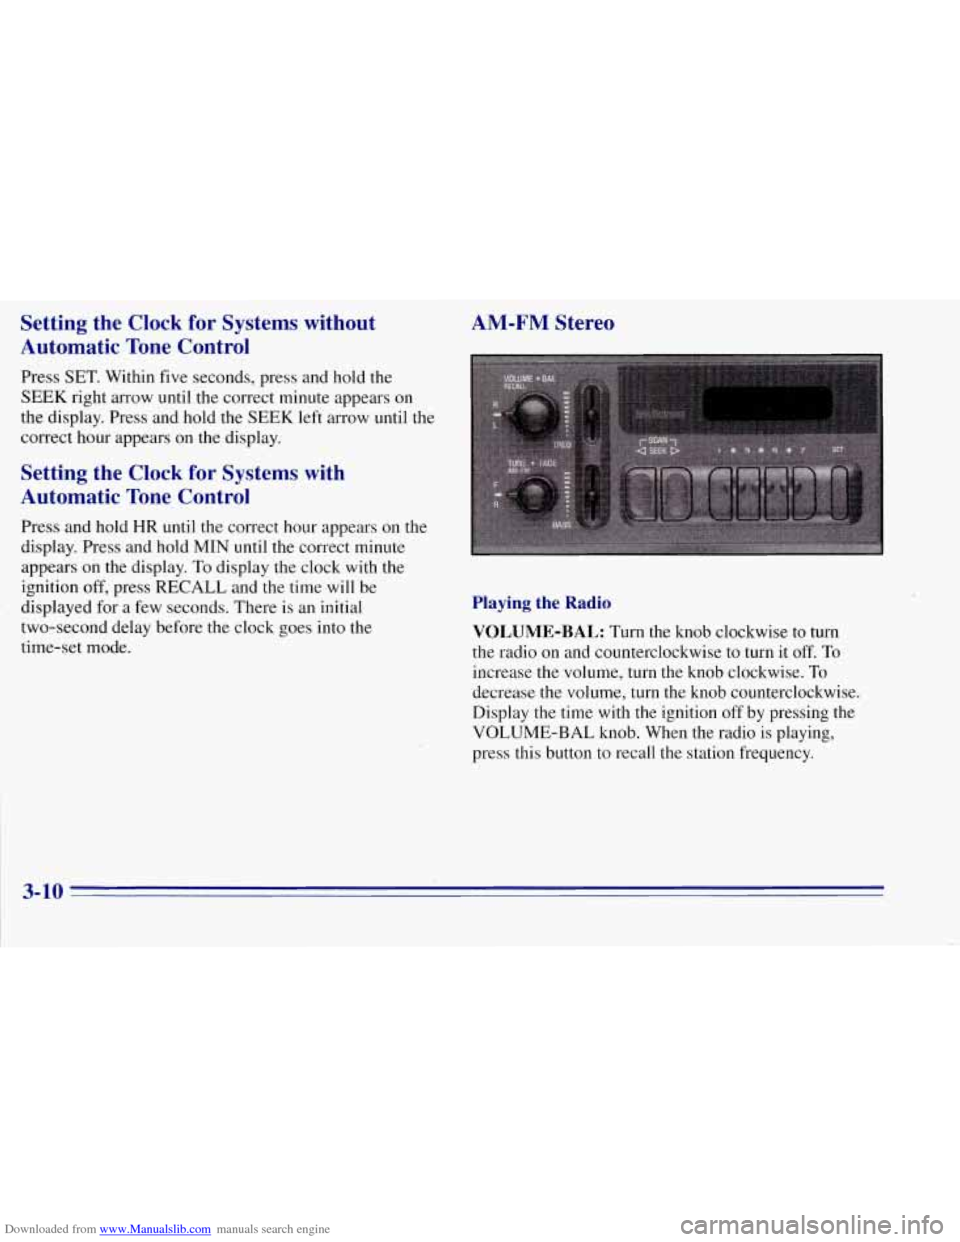
Downloaded from www.Manualslib.com manuals search engine Setting the Clock for Systems without
Automatic Tone Control
Press SET. Within five seconds, press and hold the
SEEK right arrow until the correct minute appears on
the display. Press and hold the SEEK left arrow until the
correct hour appears on the display.
Setting the Clock for Systems with
Automatic Tone Control
Press and hold HR until the correct hour appears on the
display. Press and hold MIN until the correct minute
appears on the display. To display the clock with the
ignition off, press RECALL and the time will be
displayed for a few seconds. There is an initial
two-second delay before the clock goes into the
time-set mode.
AM-FM Stereo
Playing the Radio
VOLUME-BAL: Turn the knob clockwise to turn
the radio on and counterclockwise
to turn it off. To
increase the volume, turn the knob clockwise. To
decrease the volume, turn
the knob counterclockwise.
Display the time with the ignition off by pressing the
VOLUME-BAL knob. When the radio is playing,
press this button to recall the station frequency.
3-10
Page 143 of 403
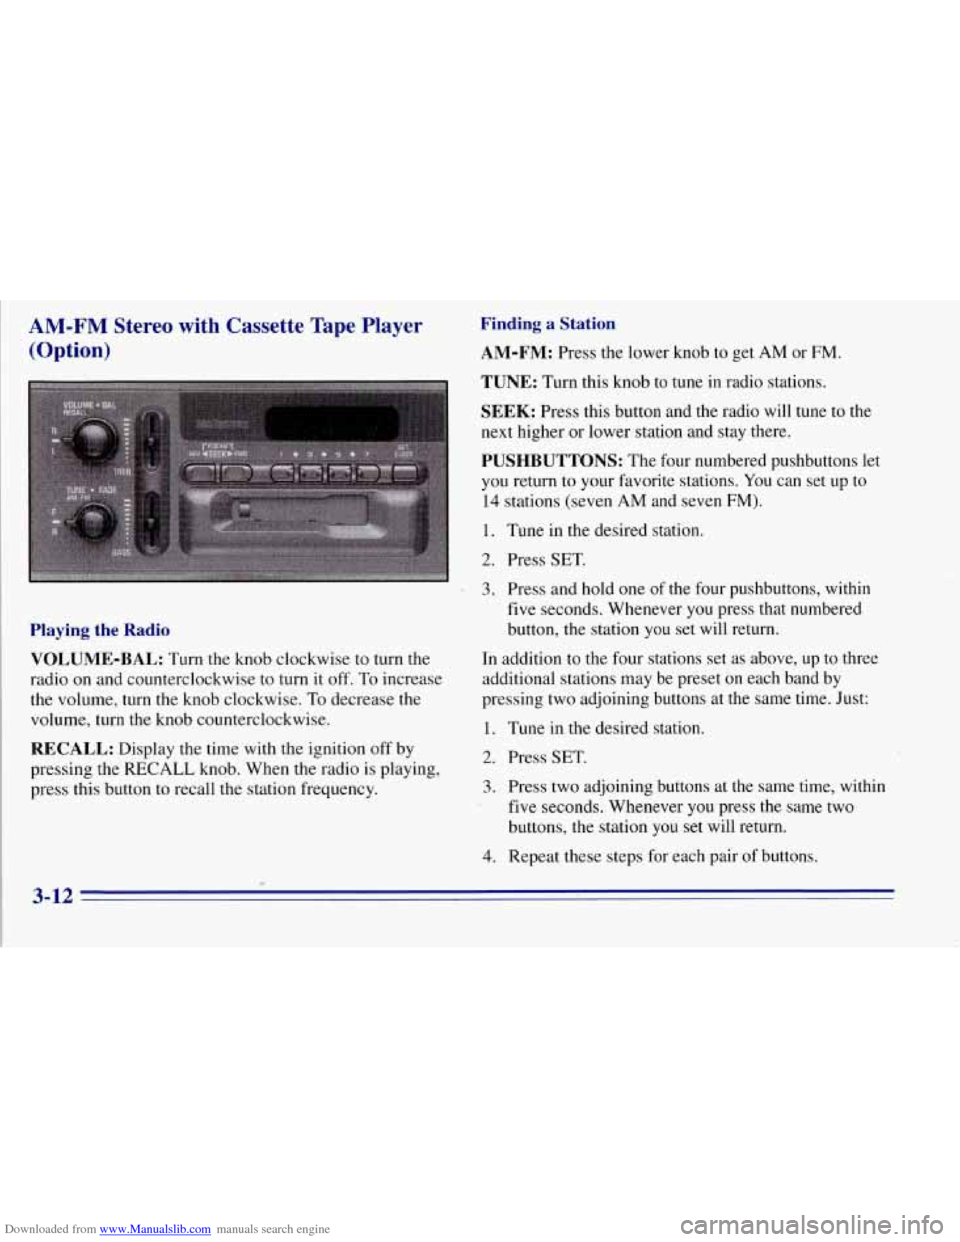
Downloaded from www.Manualslib.com manuals search engine AM-FM Stereo with Cassette Tape Player
(Option)
Playing the Radio
VOLUME-BAL:
Turn the knob clockwise to turn the
radio on and counterclockwise to turn it
off. To increase
the volume, turn the knob clockwise.
To decrease the
volume, turn the knob counterclockwise.
RECALL: Display the time with the ignition off by
pressing the RECALL knob. When the radio is playing,
press this button to recall the station frequency.
Finding a Station
AM-FM:
Press the lower knob to get AM or FM.
TUNE: Turn this knob to tune in radio stations.
SEEK: Press this button and the radio will tune to the
next higher or lower station and stay there.
PUSHBUTTONS: The four numbered pushbuttons let
you return to your favorite stations. You can set up to
14 stations (seven AM and seven FM).
1. Tune in the desired station.
2. Press SET.
7 3, Press and hold one of the four pushbuttons, within
five seconds. Whenever you press that numbered
button, the station you set will return.
In addition to the four stations set as above,
up to three
additional stations may be preset on each band by
pressing two adjoining buttons at the same time. Just:
1. Tune in the desired station.
2. Press SET.
3. Press two adjoining buttons at the same time, within
five seconds. Whenever you press the same two
buttons, the station you set will return.
4. Repeat these steps for each pair of buttons.
3-12