1996 CHEVROLET TAHOE coolant level
[x] Cancel search: coolant levelPage 210 of 403
Downloaded from www.Manualslib.com manuals search engine Making Turns
NOTICE:
Making very sharp turns while trailering could
cause the trailer to come in contact with the
vehicle. Your vehicle could be damaged. Avoid
making very sharp turns while trailering.
When you’re turning with a trailer, make wider turns than
normal.
Do this so your trailer won’t strike soft shoulders,
curbs, road signs, trees or other objects. Avoid jerky or
sudden maneuvers. Signal well in advance.
nrn Signals When Towing a Trailer
The green arrows on your instrument panel will flash
whenever you signal
a turn or lane change. Properly
hooked up, the trailer lamps will also flash, telling other
drivers you’re about to turn, change lanes or stop.
When towing a trailer, the green arrows on your
instrument panel will flash for turns even if the bulbs on
the trailer are burned out. Thus, you may think drivers
behind you are seeing your signal
when they are not. It’s
important to check occasionally to be sure the trailer
bulbs are still working.
Driving On Grades
Reduce speed and shift to a lower gear before you start
down
a long or steep downgrade. If you don’t shift
down,
you might have to use your brakes so much that
they would get hot and no longer work well.
On a long uphill grade, shift down and reduce your
speed to around
45 mph (70 km/h) to reduce the
possibility of engine and transmission overheating.
If you have an automatic transmission you should use
THIRD
(3) (or, as you need to, a lower gear) when
towing a trailer. Operating your vehicle in THIRD
(3)
when towing a trailer will minimize heat buildup and
extend the life of your transmission.
When towing at high altitude
on steep uphill grades,
consider the following: Engine coolant will boil at a
lower temperature than at normal altitudes. If you turn
your engine off immediately after towing at high altitude
on steep uphill grades, your vehicle may show signs
similar to engine overheating. To avoid this, let the
engine run while parked (preferably on level ground)
with the automatic transmission in
PARK (P) for a
few minutes before turning the engine off. If you do
get the overheat warning, see “Engine Overheating”
in the Index.
4-51
Page 227 of 403
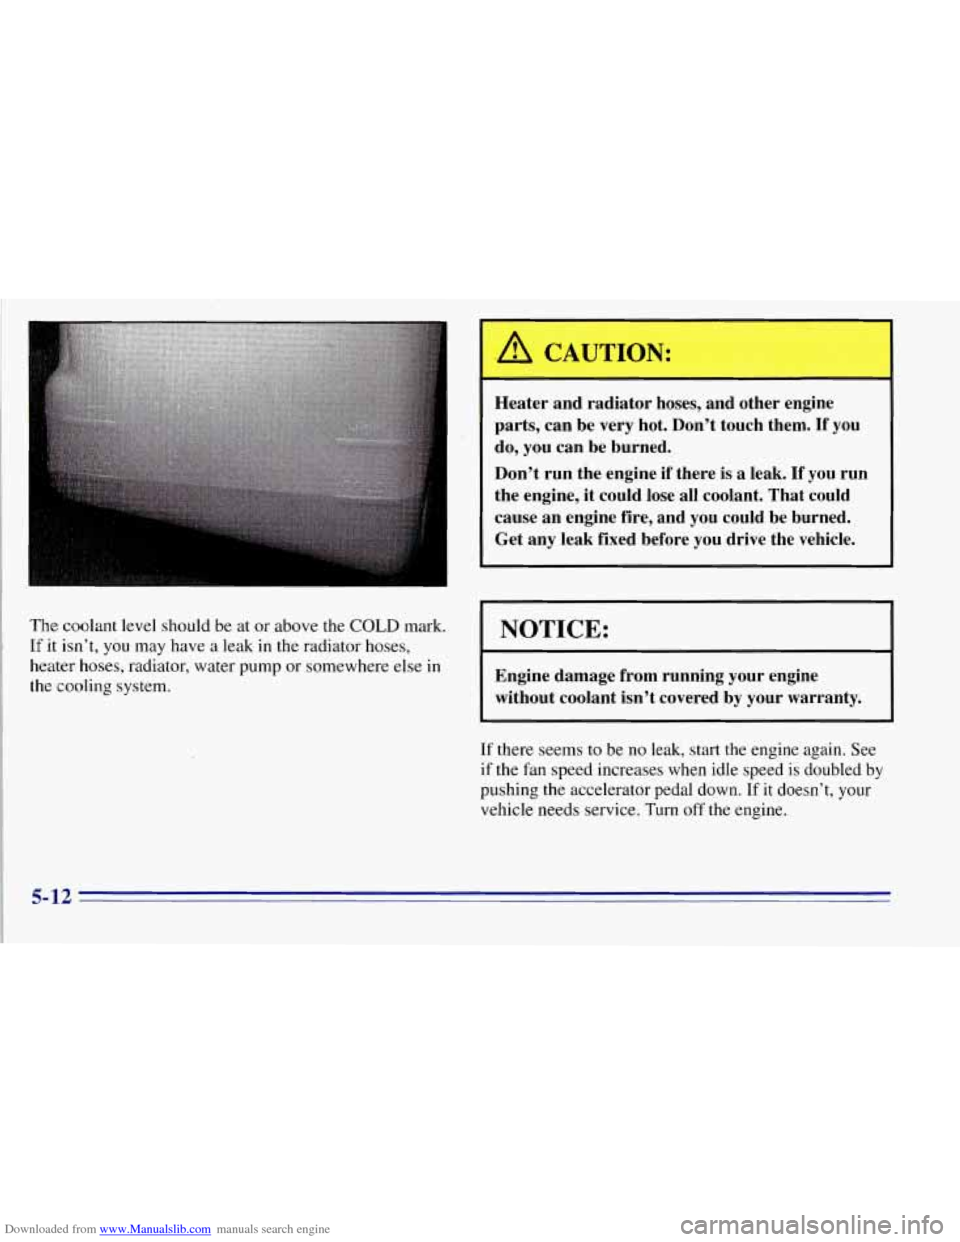
Downloaded from www.Manualslib.com manuals search engine The coolant level should be at or above the COLD mark.
If it isn’t, you may have a leak in the radiator hoses,
heater hoses, radiator, water pump or somewhere else in
the cooling system.
.A CAUTION: I I
Heater and radiator hoses, and other engine
parts, can be very hot. Don’t touch them.
If you
do, you can be burned.
Don’t run the engine
if there is a leak. If you run
the engine,
it could lose all coolant. That could
cause an engine fire, and y~u could be burned.
Get any leak fixed before you drive the vehicle.
I NOTICE:
Engine damage from running your engine
without coolant isn’t covered by your warranty.
If there seems to be no leak, start the engine again. See
if the
fan speed increases when idle speed is doubled by
pushing the accelerator pedal down. If it doesn’t, your
vehicle needs service. Turn
off the engine.
5-12
Page 228 of 403
Downloaded from www.Manualslib.com manuals search engine How to Add Coolant to the Coolant
Recovery Tank
If you haven’t found a problem yet, but the coolant level
isn’t at or above the COLD mark, add a
50/50 mixture
of clean
water (preferably distilled) and DEX-COOL”
(orange-colored, silicate-free) antifreeze at the coolant
recovery tank. (See “Engine Coolant”
in the Index for
more information.)
Adding only plain water to your cooling system
can be dangerous. Plain water, or some other
liquid like alcohol, can boil before the proper
coolant mix will. Your vehicle’s coolant warning
system
is set for the proper coolant mix. With
plain water or the wrong mix, your engine could
get too hot but you wouldn’t get the overheat
warning. Your engine could catch fire and you or
others could be burned. Use a
50/50 mix of clean
water and
DEX-COOL TM antifreeze.
NOTICE:
In cold weather, water can freeze and crack the
engine, radiator, heater core and other parts.
Use the recommended coolant and the proper
coolant mix.
5-13
Page 233 of 403
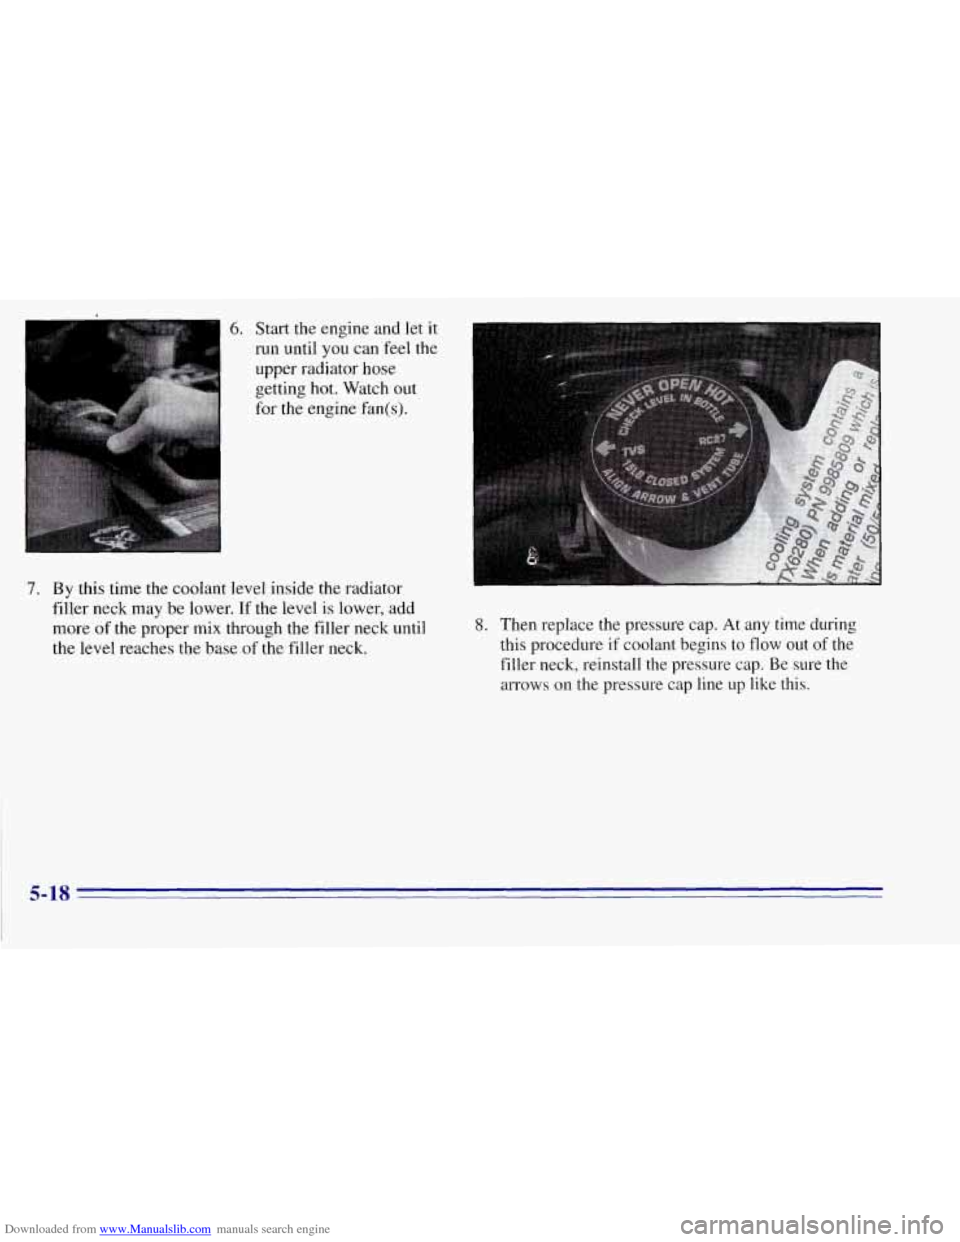
Downloaded from www.Manualslib.com manuals search engine 6. Start the engine and let it
run until you can feel the
upper radiator hose
getting hot. Watch out
for the engine fan(s).
7. By this time the coolant level inside the radiator
filler neck may
be lower. If the level is lower, add
more
of the proper mix through the filler neck until
the level reaches the base
of the filler neck.
8. Then replace the pressure cap. At any time during
this procedure if coolant begins to
flow out of the
filler neck, reinstall
the pressure cap. Be sure the
arrows on the pressure cap line up like this.
5-18
Page 280 of 403
Downloaded from www.Manualslib.com manuals search engine Checking Coolant Adding Coolant
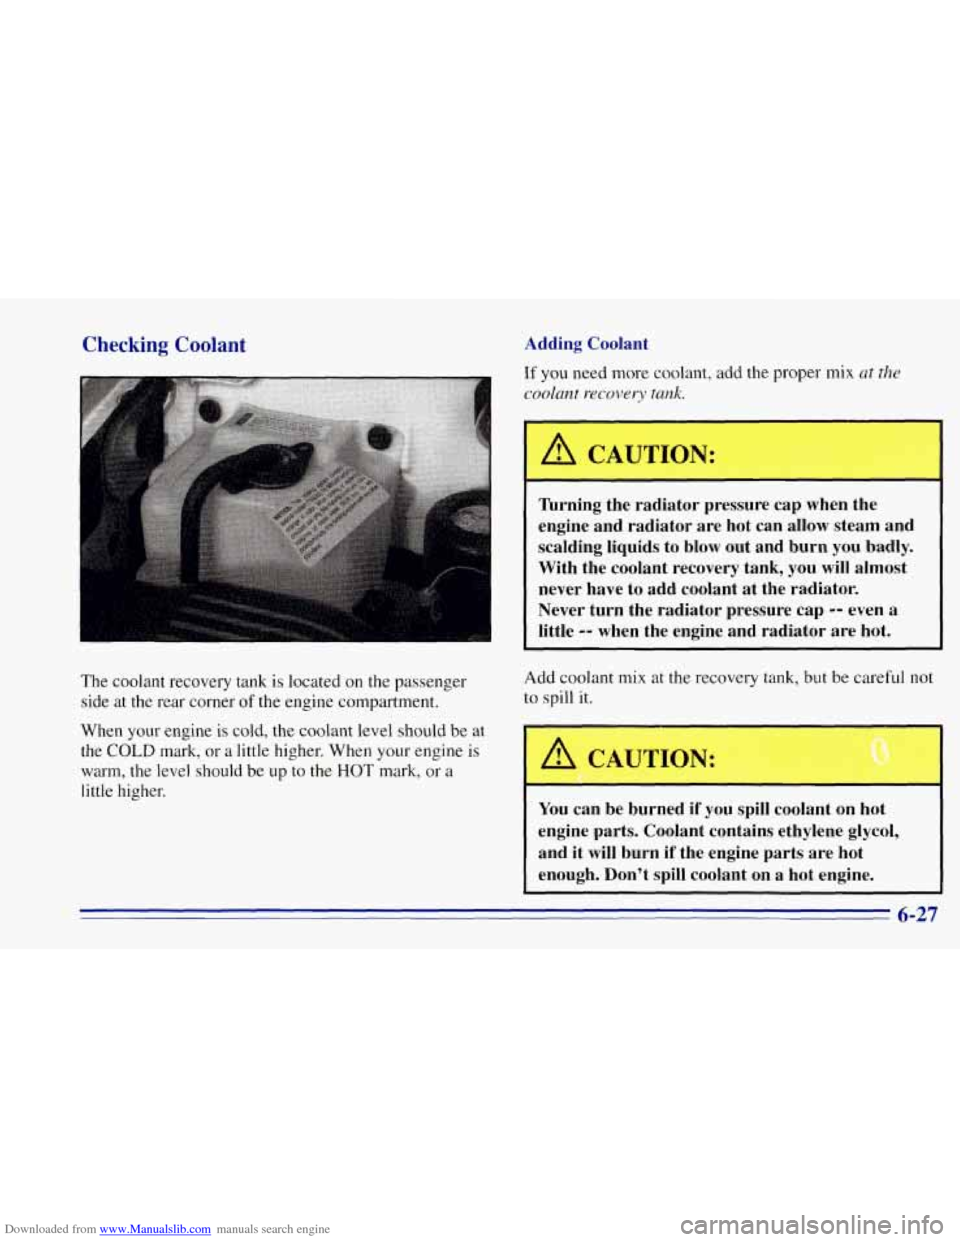
The coolant recovery tank is located on the passenger side at the rear corner
of the engine compartment.
When your engine
is cold, the coolant level should be at
the
COLD mark, or a little higher. When your engine is
warm, the level should be up to the HOT mark, or a
little higher.
If you need more coolant, add the proper mix at the
coolant
recovery tank.
A CAUTION:
' Turning the radiator pressure cap when the
engine and radiator are hot can allow steam and
scalding liquids to
blow out and burn you badly.
With the coolant recovery tank, you will almost
never have to add coolant at the radiator.
Never turn the radiator pressure cap
-- even a
~ little -- when the engine and radiator are hot.
Add coolant mix at the recovery tank, but be careful not
to spill
it.
AUTION: 0
You can be burned if you spill coolant on hot
engine parts. Coolant contains ethylene glycol,
and it will burn if the engine parts are hot
enough. Don't spill coolant on a hot engine.
6-27
Page 354 of 403

Downloaded from www.Manualslib.com manuals search engine k i
0 Change en,gine oil and filter (or every
3 months, whichever occurs first).
An Emission Control Service.
0 Lubricate chassis components; see footnote #
(or every 3 months, whichever occurs first).
0 Check readfront axle fluid level and add
fluid as needed. Check constant v
**
DATE SERVICED BY ACTUAL MILEAGE
‘, I
0 Drain, flush and refill cooling system (or
,, every 60 months since last service, whichever
occurs first). See “Engine Coolant” in the
Index for what to use. Inspect hoses. Clean
radiator, condenser, pressure cap and neck.
Pressure test cooling system and pressure cap.
An Emission Control Service. 7
0 Inspect spark plug wires.
0 Replace spark plugs.
An Emission Control Service.
An Emission
Control Service.
(Continued)
7-27
Page 367 of 403
Downloaded from www.Manualslib.com manuals search engine Long Tripmighway Maintenance Schedule -- Gasoline Engines
97,500 Miles (162 500 km).
Cl&ge engine oil and filter (or every 12 months, whichever occurs first).
An Emission Control Service.
0 Lubricate chassis components; see footnote #
(or every 12 months, whichever occurs first).
0 Check readfront axle fluid level and add fluid
as needed. Check constant velocity joints and axle seals for leaking.
**
0 Rotate tires. See “Tire Inspection and Rotation’’
in the Index for proper rotation pattern and
additional information. During tire rotation,
check brake calipers for freedom of movement.
Refer to the appropriate
GM service manual for
100,000 Miles (1 66 000 km)
Cl Drain., flush and refill cooling system
(or every
60 months since last service,
whichever occurs first). See “Engine
Coolant”
in the Index for what to use.
Inspect hoses. Clean radiator, condenser,
pressure cap and neck. Pressure test the
cooling system and pressure cap.
An Emission Control Service.
0 Inspect spark plug wires.
An Emission Control Service.
proper caliper service procedures.
DATE
SERVICED BY: ACTUAL MILEAGE.
‘7-40
Page 369 of 403
Downloaded from www.Manualslib.com manuals search engine Part B: Owner Checks and Services
Listed below are owner checks and services which
should be performed at the intervals specified to help
ensure the safety, dependability and emission control
performance
of your vehicle.
Be sure any necessary repairs are completed at once.
Whenever any fluids
or lubricants are added to your
vehicle, make sure they are the proper ones, as shown
in Part
D.
At Each Fuel Fill
It is important for you or a service station attendant to
pe$orm these underhood checks at each fuel
fill.
Engine Oil Level Check
Check the engine oil level and add the proper oil
if necessary. See “Engine
Oil” in the Index for
further details.
Engine Coolant Level Check
Check the engine coolant level and add the proper
coolant
mix if necessary. See “Engine Coolant” in the
Index for further details.
Windshield Washer Fluid Level Check
Check the windshield washer fluid level in the
windshield washer tank and add the proper fluid if
necessary. See “Windshield Washer Fluid” in
the Index
for further details.
At Least Once a Month
Tire Inflation Check
Make sure tires are inflated to the correct pressures.
See “Tires” in the Index for further details.
Cassette Deck Service
Clean cassette deck. Cleaning should be done every
50 hours of tape play. See “Audio Systems” in the
Index for further details.
7-42