Page 236 of 403
Downloaded from www.Manualslib.com manuals search engine Removing the Spare Tire and Tools
The equipment you’ll need is located in the rear cargo
area. You’ll also find your spare tire there.
On two-door Utility and Suburban models, the spare tire
is located at the rear
of the vehicle. To remove the spare
tire, first open the tire cover, if you have one. Turn the
wing nut counterclockwise and take it, and the adapter,
off the bolt. Take the tire out
of the vehicle and remove
the tire cover.
On four-door utility models, the spare tire may be stored
under the vehicle in an underbody carrier.
4-Door Utility Models
A. Hoist Assembly
B. Hoist Shaft
C. Ratchet
D. Jack Handle
E. Retainer
E Valve Stem, Pointed Down
G. Spare Tire
5-21
Page 237 of 403

Downloaded from www.Manualslib.com manuals search engine Follow these instructions to lower the spare tire:
1. One side of the ratchet has an UP marking. The other
side has a
DOWN marking. Assemble the ratchet to
the hook near the end
of the jack handle (as
illustrated) with the
DOWN marking facing you.
Insert the other end through the hole in the rear
bumper and into the hoist shaft.
2. Turn the ratchet to lower the spare tire to the ground.
Continue to turn the ratchet until the spare tire can be
pulled out from under the vehicle.
3. When the tire has been lowered, tiltlthe retainer at
the end
of the cable so it can be pulled up through
the wheel opening.
4. Put the spare tire near the flat tire. If
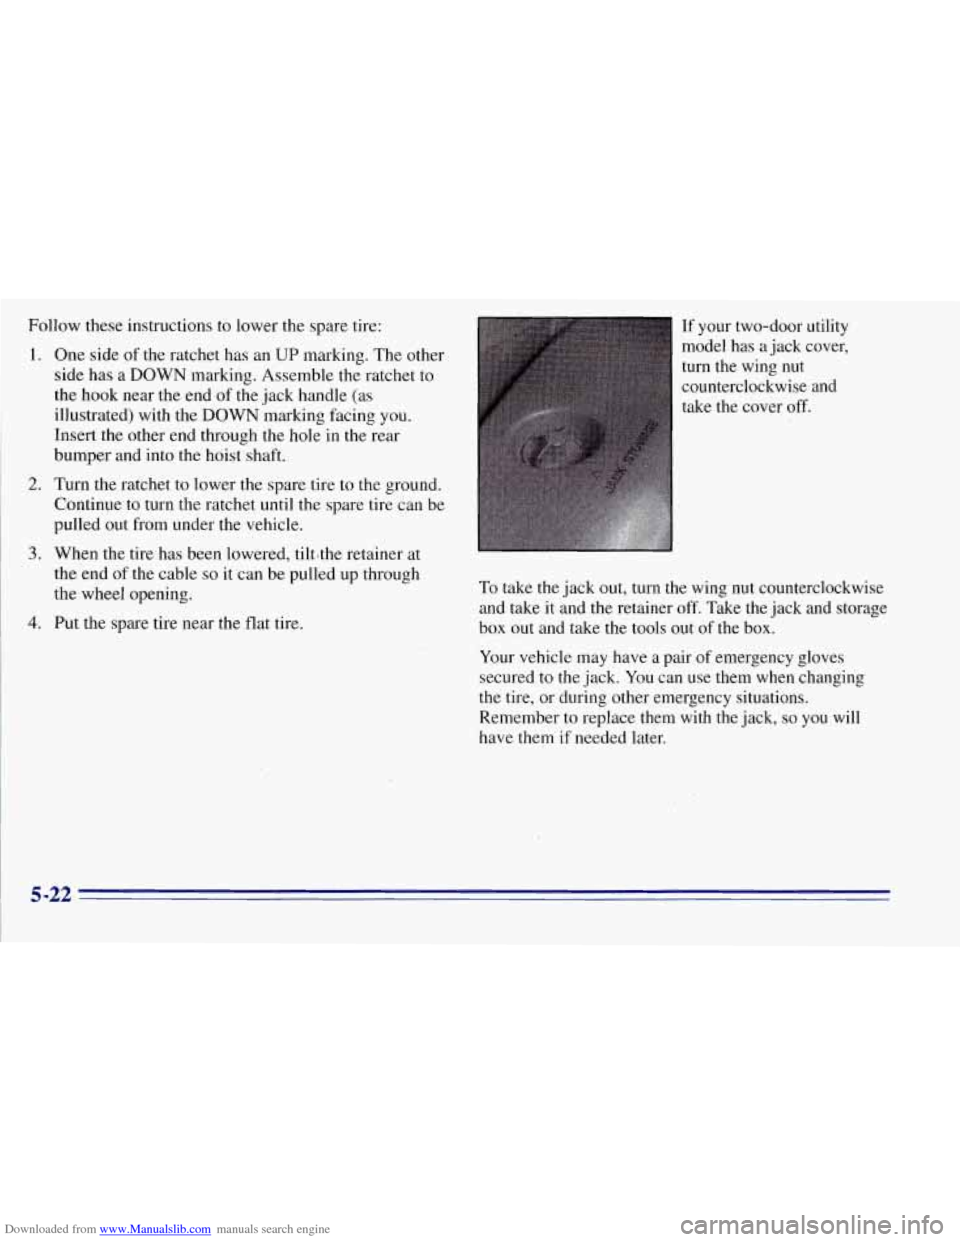
your two-door utility
model has a jack cover,
turn the wing nut
counterclockwise and
take the cover off.
To take the jack out, turn the wing nut counterclockwise
and take it and the retainer off. Take the jack and storage
box out and take the tools out of the box.
Your vehicle may have a pair of emergency gloves
secured to the jack. You can use them when changing
the tire, or during other emergency situations.
Remember to replace them with the jack,
so you will
have them
if needed later.
5-22
Page 238 of 403

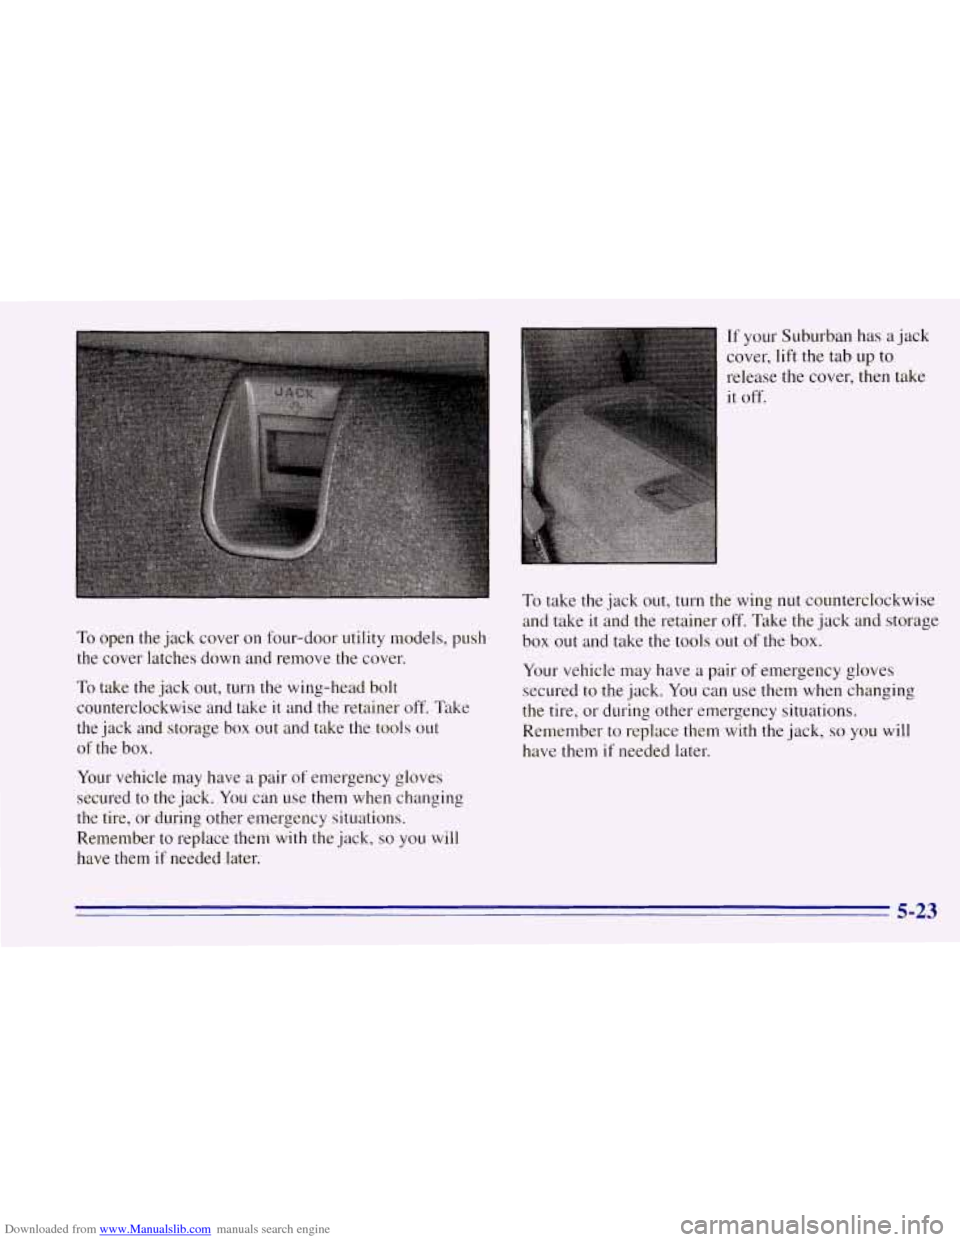
Downloaded from www.Manualslib.com manuals search engine To open the jack cover on four-door utility models, push
the cover latches down and remove the cover.
To take the jack out, turn the wing-head bolt
counterclockwise and take
it and the retainer off. Take
the jack and storage box out and take the
tools out
of the box.
Your vehicle may have a pair of emergency gloves
secured to the jack.
You can use them when changing
the tire, or during other emergency situations.
Remember to replace them with the jack,
so you will
have them
if needed later.
If your Suburban has a jack
cover, lift the tab
up to
release the cover, then take
it off.
To take the jack out, turn the wing nut counterclockwise
and take it and the retainer off. Take the jack and storage
box out and take the tools out of the box.
Your vehicle may have a pair of emergency gloves
secured to the jack. You can use them when changing
the tire, or during other emergency situations.
Remember to replace them with the jack,
so you will
have them
if needed later.
5-23
Page 249 of 403
Downloaded from www.Manualslib.com manuals search engine Stow the flat tire in the cargo area of two-door Utility
and Suburban models and secure it to the tire carrier. To
stow the flat tire:
1. Put the cover back on the tire if your vehicle has one.
2. Put the flat tire in the cargo area of the vehicle, over
the retainer bolt.
3. Slide the adapter onto the bolt in the proper location
for your model and put the wing nut on.
4. Turn the wing nut clockwise until the adapter is tight
and secure against the wheel.
5. Close the tire cover, if you have one-
Spare Tire -- Two-Door Utility Model
1. Carrier 6. Cover
2. J-Bolt 7. Pins
3. Adapter 8. J-Bolt
4. Spare Tire 9. Use Upper Hole and Pin for P265
5. Nut Tire or Lower Hole and Pin for
LT225/245, P245 and
P235 Tires
Be sure the J-bolt is hooked properly for your model or
tire size
as shown.
5-34
Page 258 of 403
Downloaded from www.Manualslib.com manuals search engine Filling Your Tank
Your vehicle ignition
must be in the
OFF
position during refueling of the vehicle.
The fuel cap is behind
a hinged door on the left side of
your vehicle.
To take off the cap, turn it slowly to the left
(counterclockwise).
I
Gasoline vapor is highly flammable. It burns
violently, and that can cause very bad injuries.
Don’t smoke if you’re near gasoline or refueling
your vehicle. Keep sparks, flames and smoking
materials away from gasoline.
A CAUTION:
If you get gasoline on yourself and then
something ignites it, you could be badly burned.
Gasoline can spray out on you if you open the
fuel filler cap too quickly. This spray can happen
if your tank
is nearly full, and is more likely in
hot weather. Open the fuel filler cap slowly and
wait for any “hiss” noise to stop. Then unscrew
the cap all the
way.
6-5
Page 316 of 403
Downloaded from www.Manualslib.com manuals search engine Instrument Panel Fuse Block
The fuse block access door
is
on the driver’s side edge
of the instrument panel.
Pull
off the cover to access the
fuse block. You
can remove fuses with a fuse extractor. The fuse
extractor is mounted to the fuse block access door.
To remove fuses if you don’t have a fuse extractor, hold
the end of the fuse between your thumb and index finger
and pull straight out.
6-63
Page 318 of 403
Downloaded from www.Manualslib.com manuals search engine Fuse Usage
13 ........ Power Amp, Rear Liftglass, Cigarette
Lighter, Door Lock Relay, Power
Lumbar Seat
Comfort Controls, instrument
Switches, Radio Illumination,
Chime Module
15
........ DRL Relay, Fog Lamp Relay
16
........ Front and Rear Turn Signals, Back-up
Lamps, BTSI Solenoid
17
........ Radio (Ignition)
18
........ 4WAL/VCM, ABS, Cruise Control
19
........ Radio (Battery)
14
........ 4WD Indicator, Cluster,
Front and Rear
Fuse Usage
20 ........ PRNDL, Automatic Transmission,
4. ,,/ J - ;c- ; Speedometer, Check Gages, .. '.. - *. 1'). 'I :,,:-: . .-.?Warning ,. Lights .- .
21 ........ Not Used
22
........ Not Used
23
........ Rear Wiper, Rear Washer Pump
24
........ Front Axle, 4WD Indicator Lamp, TP2
Relay (Gasoline Engine)
A ......... Power Door Lock, Six-Way Power
Seat, Keyless Entry Module
B ......... Power Windows
6-65
Page 370 of 403

Downloaded from www.Manualslib.com manuals search engine At Least Twice a Year
Restraint System Check
Make sure the safety belt reminder light and all your
belts, buckles, latch plates, retractors and anchorages are
working properly. Look for any other loose or damaged
safety belt system parts.
If you see anything that might
keep a safety belt system from doing its job, have it
repaired. Have any torn or frayed safety belts replaced.
Also look for any opened or broken air bag covers, and
have them repaired or replaced. (The air bag system
does
not need regular maintenance.)
Air Cleaner Filter Restriction Indicator Check
Your vehicle has an indicator on the engine that lets you
know when the air cleaner filter is dirty and needs to be
changed. Check indicator at least twice a year or when
your oil is changed. See “Air Cleaner” in the Index for
more information.
Automatic Transmission Check
Check the transmission fluid level; add if needed. See
“Automatic Transmission”
in the Index. A fluid loss
may indicate a problem. Check the system and repair
if needed.
At Least Once a Year
Key Lock Cylinders Service
Lubricate the key lock cylinders with the lubricant
specified in Part
D.
Body Lubrication Service
Lubricate all fuel door, body hood and body door
hinges, rear compartment hinges, tailgate handle pivot
points, latches, locks and folding seat hardware. Part
D
tells you what to use. More frequent lubrication may be
required when exposed to a corrosive environment.
Starter Switch Check
CAUTION:
When you are doing this check, the vehicle could
move suddenly.
If it does, you or others could be
injured. Follow the steps below.
7-43