1996 CHEVROLET TAHOE door lock
[x] Cancel search: door lockPage 66 of 403
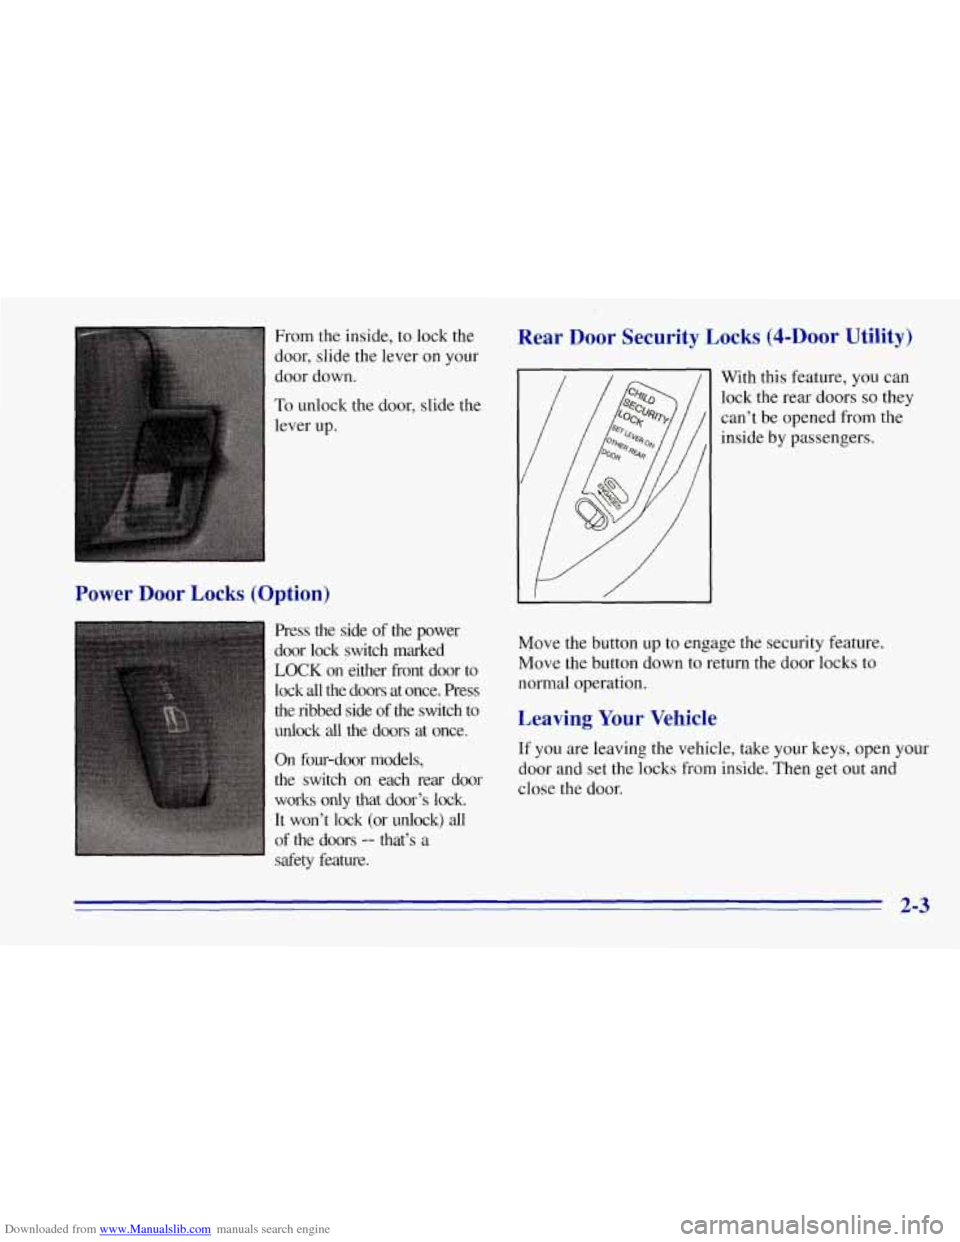
Downloaded from www.Manualslib.com manuals search engine From the inside, to lock the
door, slide the lever on your
door down.
To unlock the door, slide the
Power Door Locks (Option)
Press the side of the power
door lock switch marked
LOCK on either fi-ont door to
lock all the doors at once. Press
the ribbed side
of the switch to
unlock all the doors at once.
On fok-door models,
the switch on each rear door
works only that door’s lock.
It won’t lock (or unlock)
all
of the doors -- that’s a
safety feature.
Rear Door Security Locks ($-Door Utility)
With this feature, you can
lock the rear doors
so they
can’t be opened from the
inside by passengers.
Move the button up to engage the security feature.
Move the button down to return the door locks to
normal operation.
Leaving Your Vehicle
If you are leaving the vehicle, take your keys, open your
door and set the locks from inside. Then get out and
close the door.
2-3
Page 67 of 403
Downloaded from www.Manualslib.com manuals search engine Keyless Entry System (Option)
If your vehicle has this option, you can lock and unlock
your doors or your tailgate from up to
30 feet (9 m)
away using the key chain transmitter supplied with
your vehicle.
Your Keyless Entry System operates on a radio
frequency subject to Federal Communications
Commission (FCC) Rules.
This device complies with Part
15 of the FCC Rules.
Operation is subject to the following two conditions:
(1) This device may not cause harmful interference,
and
(2) This device must accept any interference
received, including interference that may cause
undesired operation.
Should interference to this system occur, try this:
Check to determine if battery replacement is
necessary. See the instructions
on battery replacement.
0 Check the distance. You may be too far from your
vehicle. This product has a maximum range.
Check the location. Other vehicles or objects may
be blocking the signal.
See your GM dealer or a qualified technician for service.
Changes or modifications to this system by other than an
authorized service facility could void authorization to
use this equipment.
Operation
To unlock the driver’s door, press the UNLOCK button.
If you press this button again within five seconds, all the
doors will unlock. Press the
REAR button to unlock the
rear door only, or to release the tailgate glass.
Press the LOCK button to lock all the doors.
When the UNLOCK button is pushed, the interior dome
lamps are turned on for
40 seconds or until the ignition
switch is activated.
When the LOCK button is pushed, the interior lamps
are turned on for two seconds
if the doors are closed.
If the LOCK button is pushed when a door is open, the
interior lamps will stay on for two seconds after the door
is closed.
Page 70 of 403

Downloaded from www.Manualslib.com manuals search engine Tailgate Glass and Tailgate
If your vehicle has a tailgate, you must raise the rear
glass before lowering the tailgate.
To open the glass from the outside, use your key. With
the key in the lock, turn the key clockwise to release the
glass, then lift
it up.
To release the glass from the inside, use the electric
tailgate glass release switch on the instrument panel. For
more information, see “Tailgate
-- Electric Glass
Release” in the Index.
Open the tailgate by lifting up on the handle while
pulling the tailgate toward you.
Close the tailgate before closing the rear glass. After
closing, make sure the tailgate is securely latched by
pulling it toward you. After closing the rear glass, pull
up on its handle to make sure it is locked.
Panel Doors
To open the rear panel doors, you must open the
passenger’s side door first. If the door is locked, insert
your door key in the lock and turn it counterclockwise to
unlock it.
To open the passenger’s side door, pull up on the handle
and pull the door open.
To open the driver’s side door, first open the passenger’s
side, door. Then, pull the handle on the left door edge out
and pull the door open.
The rear doors have a check assembly
to keep them
from fully opening during normal use. Tofully open
either rear door, you must release the check strap.
First, open the door partway until the white mark on the
check strap is fully outside the door edge. If the end of
the strap catches the pin on the door, the door
is open
too far.
2-7
Page 71 of 403
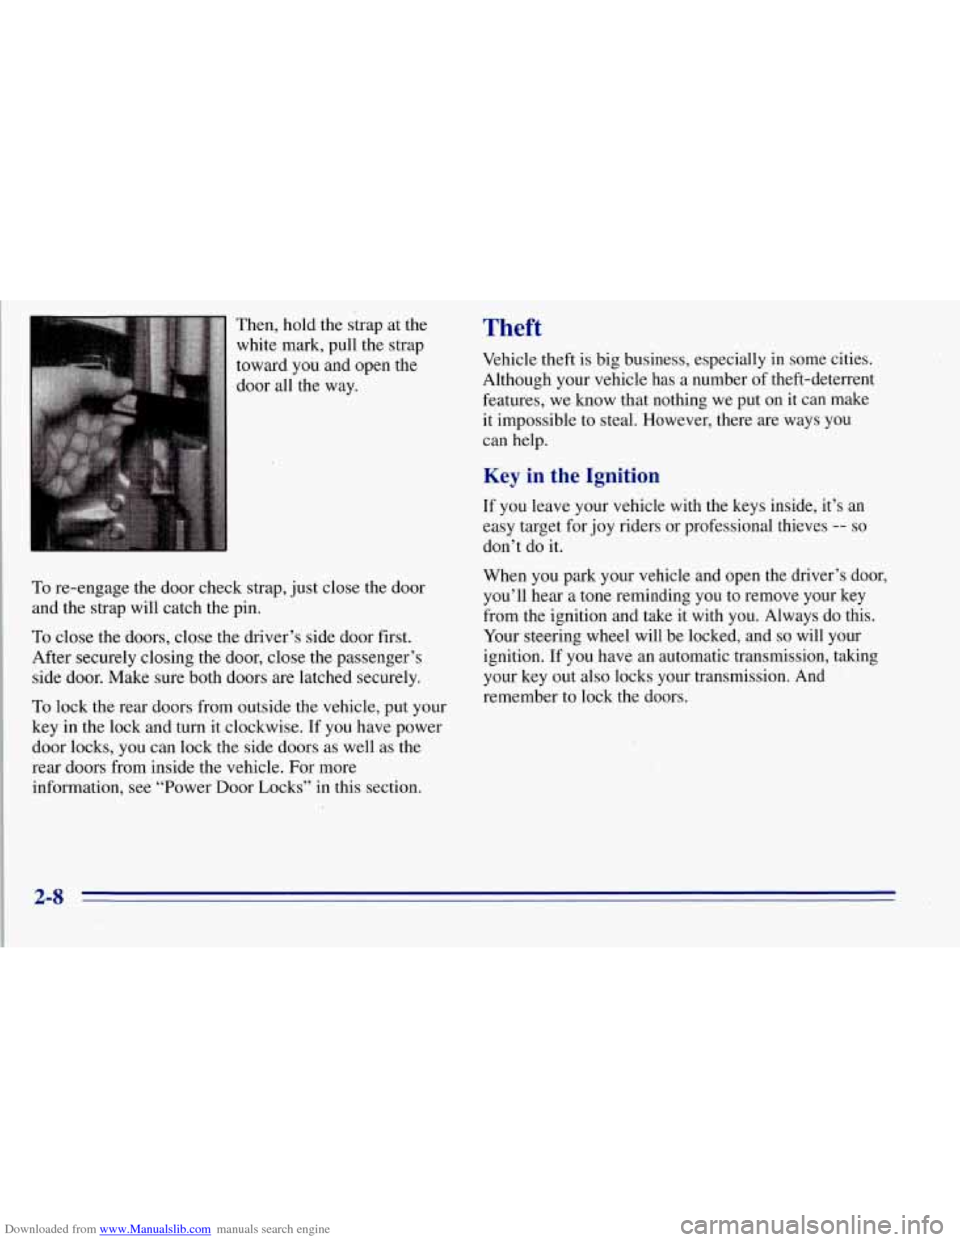
Downloaded from www.Manualslib.com manuals search engine Then, hold the strap at the
white mark, pull the strap
toward you and open the
door all the way.
To re-engage the door check strap, just close the door
and the strap will catch the pin.
To close the .doors, close the driver’s side door first.
After securely closing the door, close the passenger’s
side door. Make sure both doors
are latched securely.
To lock the rear doors from outside the vehicle, put your
key in the lock and turn it clockwise. If you have power
door locks, you can lock the side doors as well as the
rear doors from inside the vehicle. For more
information, see “Power Door Locks” in this section.
Theft
Vehicle theft is big business, especially in some cities.
Although your vehicle
has a number of theft-deterrent
features, we
know that nothing we put on it can make
it impossible
to steal. However, there are ways you
can help.
Key in the Ignition
If you leave your vehicle with the keys inside, it’s an
easy target for joy riders or professional thieves -- so
don”t do it.
When you park your vehicle and open the driver’s door,
you’ll hear a tone reminding you to remove your key
from the ignition and take it with you. Always do this.
Your steering wheel will be locked, and
so will your
ignition.
If you have an automatic transmission, taking
your key
out also locks your transmission. And
remember to lock the doors.
34
Page 72 of 403
Downloaded from www.Manualslib.com manuals search engine Parking at Night
Park in a lighted spot, close all windows and lock your
vehicle. Remember to keep
your valuables out of sight.
Put them in a storage area,
or take them with you.
Parking Lots
If you park in a lot where someone will be watching
your vehicle, it’s best
to lock it up and take your keys.
But what
if you have to leave your ignition key? What if
you have to leave something valuable in your vehicle?
Put your valuables in a storage area, like your
0 Lock all the doors except the driver’s.
glove box.
New Vehicle “Break-In”
NOTICE:
Your
modern vehicle doesn’t need an elaborate
“break-in.” But it wil1,perform better in the long
run
if you follow these guidelines:
0
0
0
0
Keep your speed at 55 mph (88 kmh) or
less for the first
500 miles (804 km).
Don’t drive at any one speed 0- fast or
slow
-- for the first 500 miles (804 km).
Don’t make full-throttle starts.
Avoid making hard stops for the
first
200 miles (322-km) or so. During this time
your new brake linings aren’t yet broken
in. Hard stops with new linings can mean
premature wear and earlier replacement.
Follow this breaking-in guideline every
time you get new brake linings.
Don’t tow a trailer during break-in.
See “Towing a Trailer” in the Index for
more information.
2-9
Page 90 of 403

Downloaded from www.Manualslib.com manuals search engine Windows
Manual Windows
To open your manual windows, turn the hand crank on
each door to raise or lower your side door windows.
Power Windows (Option)
If you have the optional
power windows, the controls are on each of the
side doors.
The driver’s door has a switch for the passenger
windows as well. Your power windows will work when
the ignition has been turned to
ACC or RUN.
Push the rear of the switch with the power window
symbol on it to lower the window.
Push the front of the switch with the power window
symbol on
it to raise the window.
The driver’s window switch has an express down feature
that allows the window to lower without holding the
switch. Press and hold the side
of the window switch
marked
AUTO for one second to activate the express
down mode. The express down mode can be canceled at
any time by pressing the opposite side
of the switch. To
open the window part way, lightly tap the switch until
the window is at the desired position.
If you have a four-door vehicle and power windows, the
power window switch has a lockout feature. This feature
prevents the rear windows from operating except from
the driver’s position, when the front driver’s side switch
is in the lockout position. When the switch is moved out
of the lockout position, the rear power windows will
operate again.
Electric Tailgate Glass Release
Before operating your electric tailgate glass release, see
the caution under “Your Doors and How They Work’’ in
this section.
2-27
Page 99 of 403
Downloaded from www.Manualslib.com manuals search engine Rotate the knob clockwise again to the master
lighting symbol to turn on all
the lamps listed as
well as the headlamps.
Rotate the knob counterclockwise to the
OFF symbol to
turn
off your lamps.
Rotate the thumb wheel next to the knob up
to adjust
instrument panel lights. Rotate the thumb wheel up to
the first notch
to return the radio display and gearshift
indicator LED display to full intensity when the
headlamps or parking lamps are on.
To turn on the dome
lamps (with the vehicle doors closed) rotate the thumb
wheel up to the second notch position.
You can switch your headlamps from high
to low beam
by pulling on the turn signalhigh beam lever.
A circuit breaker protects your headlamps. If you have
an electrical overload, your headlamps will flicker on
and
off. Have your headlamp wiring checked right away
if this happens.
Headlamps-On Reminder
A buzzer will sound when your headlamps are turned
on and your ignition
is in OFF, LOCK or ACCESSORY.
If you need to use your headlamps when the ignition
switch is
in OFF, LOCK or ACCESSORY, the buzzer
can be turned off
by turning the thumb wheel next to the
parkingheadlamp switch all the way down.
Daytime Running Lamps
Daytime Running Lamps (DRL) can make it easier
for others to see the front of your vehicle during the
day. DRL can be helpful in many different driving
conditions, but they can be especially helpful
in the
short periods after dawn and before sunset.
The DRL system will make your headlamps come on
at a reduced brightness when:
The ignition is on,
0 The headlamp switch is off, and
The parking brake is released.
2-36
Page 114 of 403
Downloaded from www.Manualslib.com manuals search engine Don’t exceed the maximum vehicle capacity when
loading your vehicle. For more information on vehicle
capacity and loading, see “Loading Your Vehicle” in
the Index.
To prevent damage or loss of cargo as you’re driving,
check now and then to make sure the luggage carrier and
cargo are still securely fastened.
Be sure the cargo is properly loaded.
0
0
If small heavy objects are placed on the roof, place
the load in the area over the rear wheels (behind the
rear side door on Suburbans).
If you need to, cut a
piece of
3/8 inch plywood to fit inside the crossrails
and side rails to spread the load.
If plywood is used,
tie it to the side rail supports..
Tie the load to the crossrails or the side rail supports.
Use the crossrails only to keep the load from sliding.
0 If you need to carry long items, move the crossrails
as far apart as they will go. Tie the load to the
crossrails and the side rails or side rail supports. Also
tie the load to the bumpers.
Do not tie the load so
tightly that the crossrails or side rails are damaged.
0 After moving the crossrails, be sure to tighten all the
slider screws.
Your vehicle has a Center High-Mounted Stoplamp
(CHMSL) located above the tailgate glass or above the
rear load doors.
If items are loaded on the roof of the vehicle, as in a
luggage carrier, care should be taken not to block or
damage the CHMSL unit.