1996 CHEVROLET S10 check engine
[x] Cancel search: check enginePage 18 of 375
Downloaded from www.Manualslib.com manuals search engine Safety Belts: They’re for Everyone
This part of the manual tells you how to use safety belts
properly. It also tells you some things
you should not do
with safety belts.
And it explains the Supplemental Inflatable Restraint
(SIR), or air bag system.
L.
A CAUTION:
Don’t let anyone ride where he or she can’t wear
a safety belt properly. If you are
in a crash and
you‘re not wearing a safety belt, your injuries
can be much worse.
You can hit things inside the
vehicle or be ejected from it.
You can be seriously
injured or killed. In the same crash,
you might
not be
if you are buckled up. Always fasten your
safety belt, and check that your passengers’ belts
are fastened properly too. Your
vehicle has a light
that comes on as a reminder
to buckle up. (See “Safety
Belt Reminder Light” in
the Index.)
In most states and Canadian provinces, the law says
to
wear safety belts. Here’s why: They work.
You never know if you’ll be in a crash. If you do have a
crash,
you don’t know if it will be a bad one.
A few crashes are mild, and some crashes can be
so
serious that even buckled up a person wouldn’t survive.
But most crashes are in between. In many
of them,
people who buckle up can survive and sometimes walk
away. Without belts they could have been badly hurt
or killed.
After more than
25 years of safety belts in vehicles,
the facts are clear. In
most crashes buckling up does
matter
... a lot!
1-7
Page 30 of 375
Downloaded from www.Manualslib.com manuals search engine P A 1 TTTf
Air bags are designed to work only in moderate to
severe crashes where the front of your vehicle hits
something. They aren’t designed to inflate at all in
rollover, rear, side or low-speed frontal crashes.
Everyone in your vehicle, including the driver,
should wear a safety belt properly
-- whether or
not there’s an air bag for that person.
A CArTTION:
Air bags inflate with great force, faster than the
blink of an eye.
If you’re too close to an inflating
air bag, it could seriously injure you. Safety belts
help keep you in position for
an air bag inflation
in a crash.
Always wear your safety belt, even
with an air bag, and sit as far back as you can
while still maintaining control of your vehicle. There
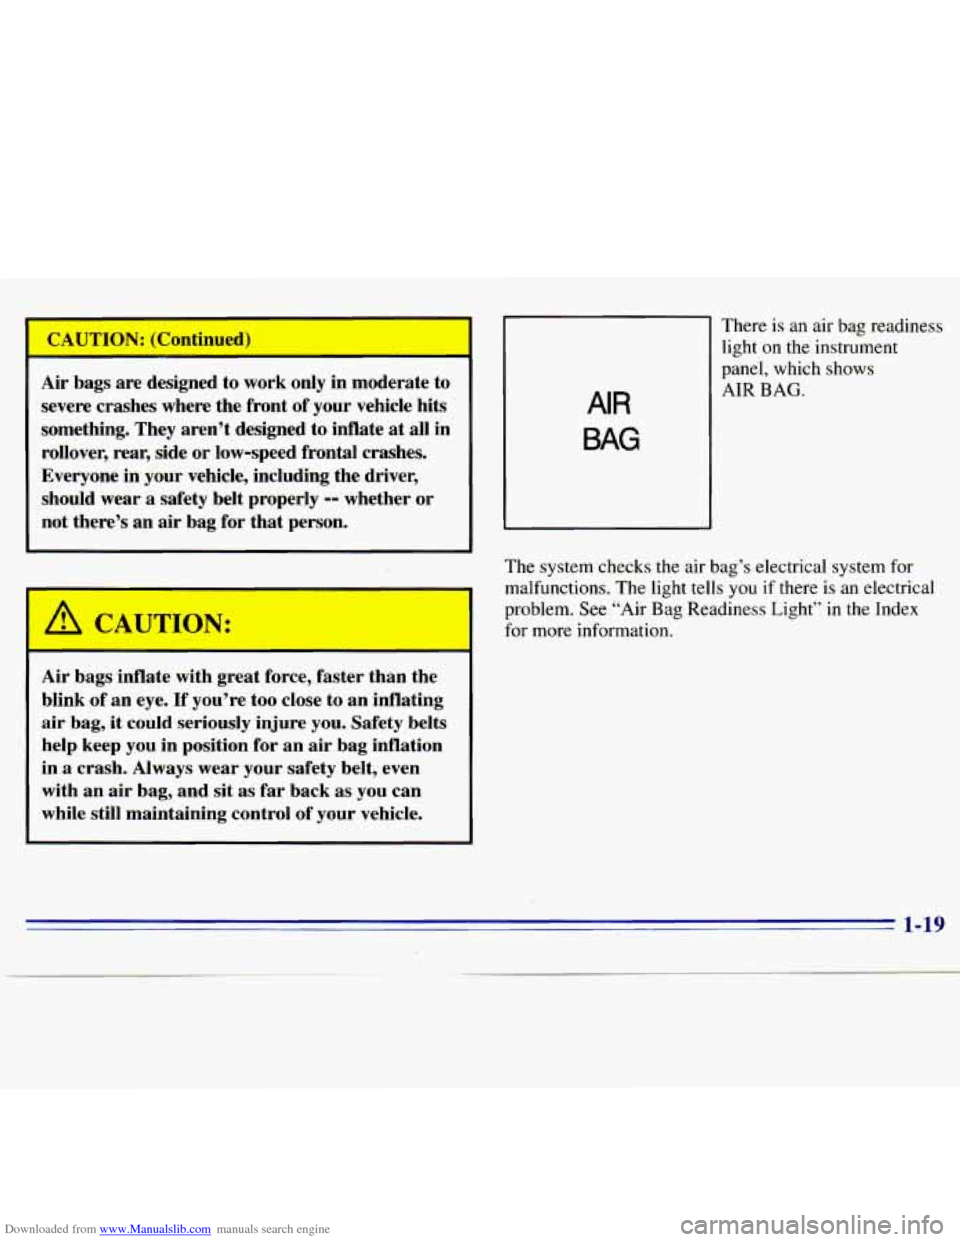
is. an air
bag readiness
light on the instrument
panel, which shows
AIR
BAG
The system checks the air bag’s electrical system for
malfunctions. The light tells
you if there is an electrical
problem. See “Air Bag Readiness Light’’
in the Index
for more information.
1-19
Page 49 of 375
Downloaded from www.Manualslib.com manuals search engine Safety Belt Extender
If the vehicle’s safety belt will fasten around you, you
should use it.
But if a safety belt isn’t long enough to fasten, your
dealer
will order you an extender. It’s free. When you go
in to order it, take the heaviest coat you will wear,
so the
extender will be long enough for you. The extender will
be just for you, and just for the seat
in your vehicle that
you choose. Don’t let someone else use it, and use it
only for the seat it is made to fit. To wear it, just attach it
to the regular safety belt.
Checking Your Restraint Systems
Now and then, make sure the safety belt reminder light
and
all your belts, buckles, latch plates, retractors and
anchorages are working properly. Look for any other
loose or damaged safety
belt system parts. If you see
anything that might keep a safety belt system from
doing its
job, have it repaired.
Torn or frayed safety belts may not protect you in a
crash. They can rip apart under impact forces.
If a belt is
torn or frayed, get
a new one right away.
Also look for any opened or broken air bag covers, and
have them repaired or replaced. (The air
bag system
does not need regular maintenance.)
1-38
Page 56 of 375
Downloaded from www.Manualslib.com manuals search engine Keyless Entry System (Option)
If your vehicle has this option, you can lock and unlock
your doors from up to
30 feet (9 m) away using the key
chain transmitter supplied with your vehicle.
Your Keyless
Entry System operates on a radio
frequency subject
to Federal Communications
Commission
(FCC) Rules.
This device complies with Part 15 of the FCC Rules.
Operation is subject to the following two conditions:
(1) This device may not cause harmful interference, and
(2), This device must accept any interference received,
including interference that may cause undesired operation.
Should interference to this system occur, try this:
0
0
0
0
Check to determine if battery replacement is necessary.
See the instructiohs on battery replacement.
Check the distance.
You may be too far from your
vehicle.
This product has a maximum range.
Check the location. Other vehicles or objects may be
blocking the signal.
See your
GM dealer or a qualified technician
for service.
Changes or modifications to this system by other than an
authorized service facility could void authorization to
use this equipment.
Operation
When you press UNLOCK, the driver's door will
unlock 'automatically.
If you press UNLOCK again
within five seconds, all the doors will unlock. Press
LOCK to lock all the doors.
.Matching Transmitter(s) To Your Vehicle
Each key chain transmitter is coded to prevent another
transmitter
from unlocking. your vehicle. If a transmitter is
lost or stolen, a replacement can
be .purchased through
your dealer. Remember to bring any remaining transmitters
with you when you
go to your dealer. When the dealer
matches the replacement'transmitter to your vehicle, any
remaining transmitters must also be matched. Once the
new transmitter is coded, the lost transmitter will not
unlock your vehicle. Each vehicle can have only two
transmitters matched to it.
Battery Replacement
Under normal use, the batteries in your key chain
transmitter should last about two years.
You can tell the batteries are weak if the transmitter
won't work at the normal range in any location.
If you
have to get close to your vehicle before the transmitter
works, it's probably time to change the batteries.
2-5
,
Page 57 of 375
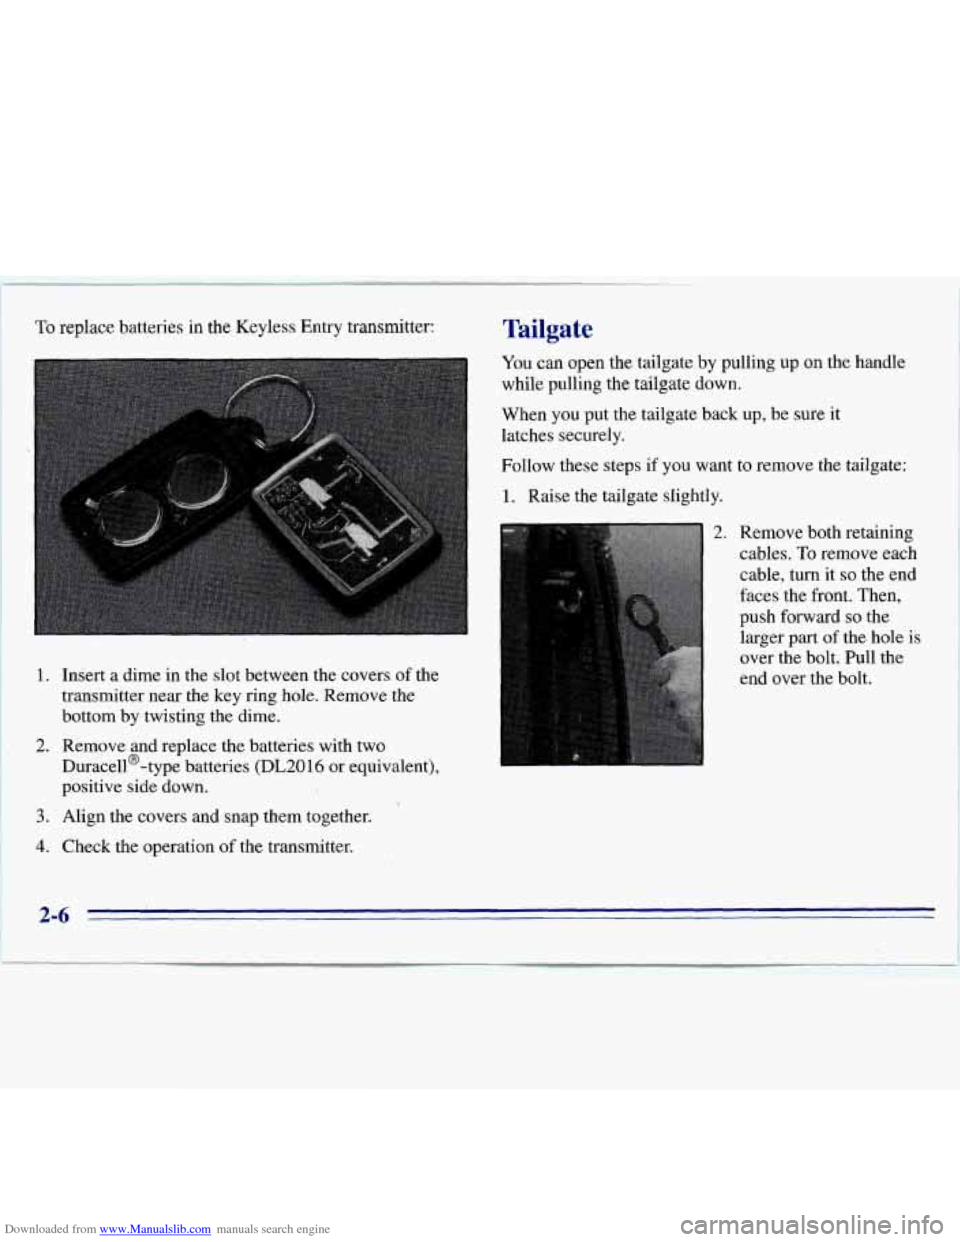
Downloaded from www.Manualslib.com manuals search engine To replace batteries in the Keyless Entry transmitter:
1. Insert a dime in the slot between' the covers of the
transmitter near the key ring hole. Remove the
bottom by twisting the dime.
2. Remove and replace the batteries with two
Duracell@-type batteries (DL2016 or equivalent),
positive side down.
3. Align the covers and snap them together.
4. Check the operation of the transmitter.
Tailgate
You can open the tailgate by pulling up on the handle
while pulling the tailgate down.
When you put the tailgate back up, be sure it
latches securely.
Follow these steps if you want
to remove the tailgate:
1. Raise the tailgate slightly.
2. Remove both retaining
cables.
To remove each
cable, turn it
so the end
faces the front. Then,
push forward
so the
larger part
of the hole is
over the bolt. Pull the
end over the bolt,
2-6 I
Page 62 of 375
Downloaded from www.Manualslib.com manuals search engine Manual transmission
The gear selector should be in NEUTRAL (N). Hold
the clutch pedal to the floor and start the engine. Your
vehicle won’t start
if the clutch pedal is not all the way
down
-- that’s a safety feature.
Starting Your 2.2 Liter Engine
1. Without pushing the accelerator pedal, turn your
ignition key to START. When
the engine starts, let
go
of the key. The idle speed will go down as your
engine gets warm.
1
Holding your key in START for longer than
15 seconds at a time will cause your battery to be
drained much sooner. And the excessive heat can
1
damage your starter motor. I
2. If your engine still won’t start (or starts but then
stops), it could be flooded with too much gasoline.
Try pushing your accelerator pedal all the way
to the
floor and holding
it there as you hold the key in
START for about three seconds. If the vehicle starts
briefly but then stops again, do the same thing, but
this time keep the pedal down for five or six seconds.
This clears the extra gasoline from
the engine.
NOTICE:
Your engine is designed to work with the
electronics in your vehicle. If you add electrical
parts or accessories, you could change the
way
the engine operates. Before adding electrical
equipment, check with your dealer.
If you don’t,
your engine might not perform properly.
If you ever have to have your vehicle towed, see
the part of this manual that tells how to do it
without damaging your vehicle. See “Towing
Your Vehicle” in the Index.
2-11
Page 63 of 375
Downloaded from www.Manualslib.com manuals search engine Starting Your “VORTEC” 4300 Engine
1. Without pushing the accelerator pedal, turn your
ignition key to
START. When the engine starts, let
go of the key. The idle speed will go down as your
engine gets warm.
NOTICE:
Holding your key in START for longer than
15 seconds at a time will cause your battery to be
drained much sooner. And the excessive heat can
damage your starter motor.
2. If it doesn’t start right away, hold your key in
START. If it doesn’t start in 10 seconds, push the
accelerator pedal all the way down for five more
seconds, or until
it starts.
3. ‘If your engine still won’t start (or starts but then
stops), wait
15 seconds and start over.
When
the engine starts, let go of the key and the
accelerator pedal.
NOTICE:
Your engine is designed to work with the
electronics in your vehicle. If you add electrical
parts or accessories, you could change the
way
the engine operates. Before adding electrical
equipment, check with your dealer. If you don’t,
your engine might not perform properly.
If you ever have to have your vehicle towed, see
the part
of this manual that tells how to do it
without damaging your vehicle. See “Towing
Your Vehicle” in the Index.
2-12
Page 72 of 375
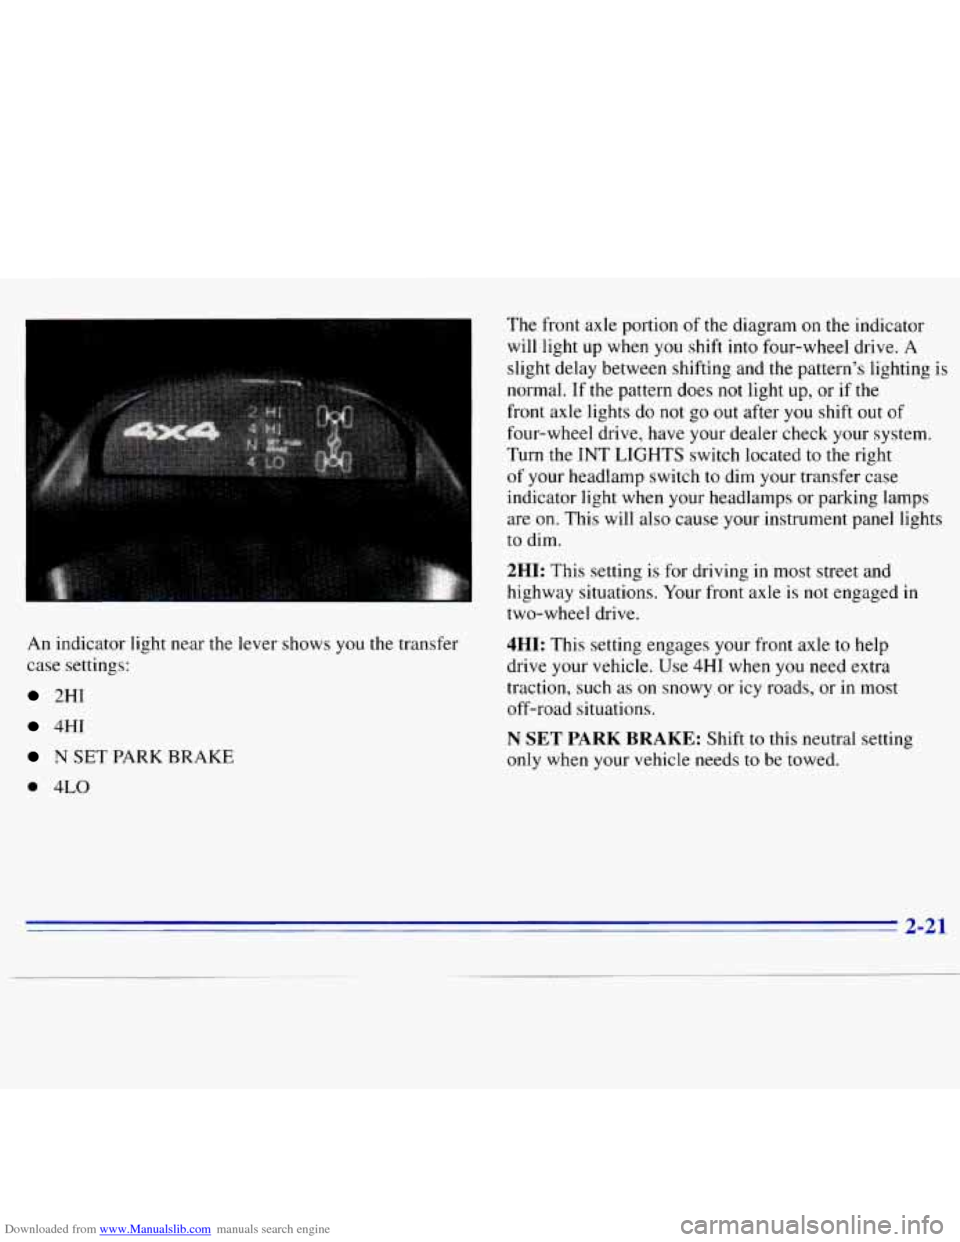
Downloaded from www.Manualslib.com manuals search engine An indicator light near the lever shows you the transfer
case settings:
2HI
4HI
N SET PARK BRAKE
0 4LO
The front axle portion of the diagram on the indicator
will light up when you shift into four-wheel drive.
A
slight delay between shifting and the pattern’s lighting is
normal. If the pattern does not light up, or if
the
front axle lights do not go out after you shift out of
four-wheel drive, have your dealer check your system.
Turn the INT
LIGHTS switch located to the right
of your headlamp switch to dim your transfer case
indicator light when your headlamps or parking lamps
are on. This will also cause your instrument panel lights
to dim.
2HI: This setting is for driving in most street and
highway situations. Your front axle is not engaged
in
two-wheel drive.
4HI: This setting engages your front axle to help
drive your vehicle. Use
4HI when you need extra
traction, such as
on snowy or icy roads, or in most
off-road situations.
N SET PARK BRAKE: Shift to this neutral setting
only when your vehicle needs to be towed.
2-21