1996 CHEVROLET CORVETTE audio
[x] Cancel search: audioPage 2 of 386
Downloaded from www.Manualslib.com manuals search engine n
The 1996 Corvette Owner’s Manual
Seats and Restraint Systems ............................................................... 1-1
This section tells you how to use your seats and safety belts properly. It also explains the air bag system.
Features and Controls .................................................................. 2-1
This section explains how to start and operate your Corvette.
Comfort Controls and Audio Systems ..................................................... 3-1
This section tells you how to adjust the ventilation and comfort controls and how to operate your
audio system.
Here you’ll find helpful information and tips about the road and how to drive under different conditions.
YourDrivingandtheRoad .............................................................. 4-1
ProblemsontheRoad .................................................................. 5-1
This section tells you what to do if you have a problem while driving, such as a flat tire or overheated
engine, etc.
Service and Appearance Care.. .......................................................... 6-1
Maintenanceschedule .................................................................. 7-1
Customer Assistance Information ........................................................ 8-1
Here the manual tells you how to keep your Corvette running properly and looking good.
This section tells you when to perform vehicle maintenance and what fluids and lubricants to use.
This section tells you how to contact Chevrolet for assistance and how to get service and owner publications.
It also gives you information on “Reporting Safety Defects” on page
8-9.
Index ........................................................................\
......... 9-1
Here’s an alphabetical listing of almost every subject in this manual. You can use it to quickly find
something you want to read.
i
Page 60 of 386
Downloaded from www.Manualslib.com manuals search engine Key Release Button
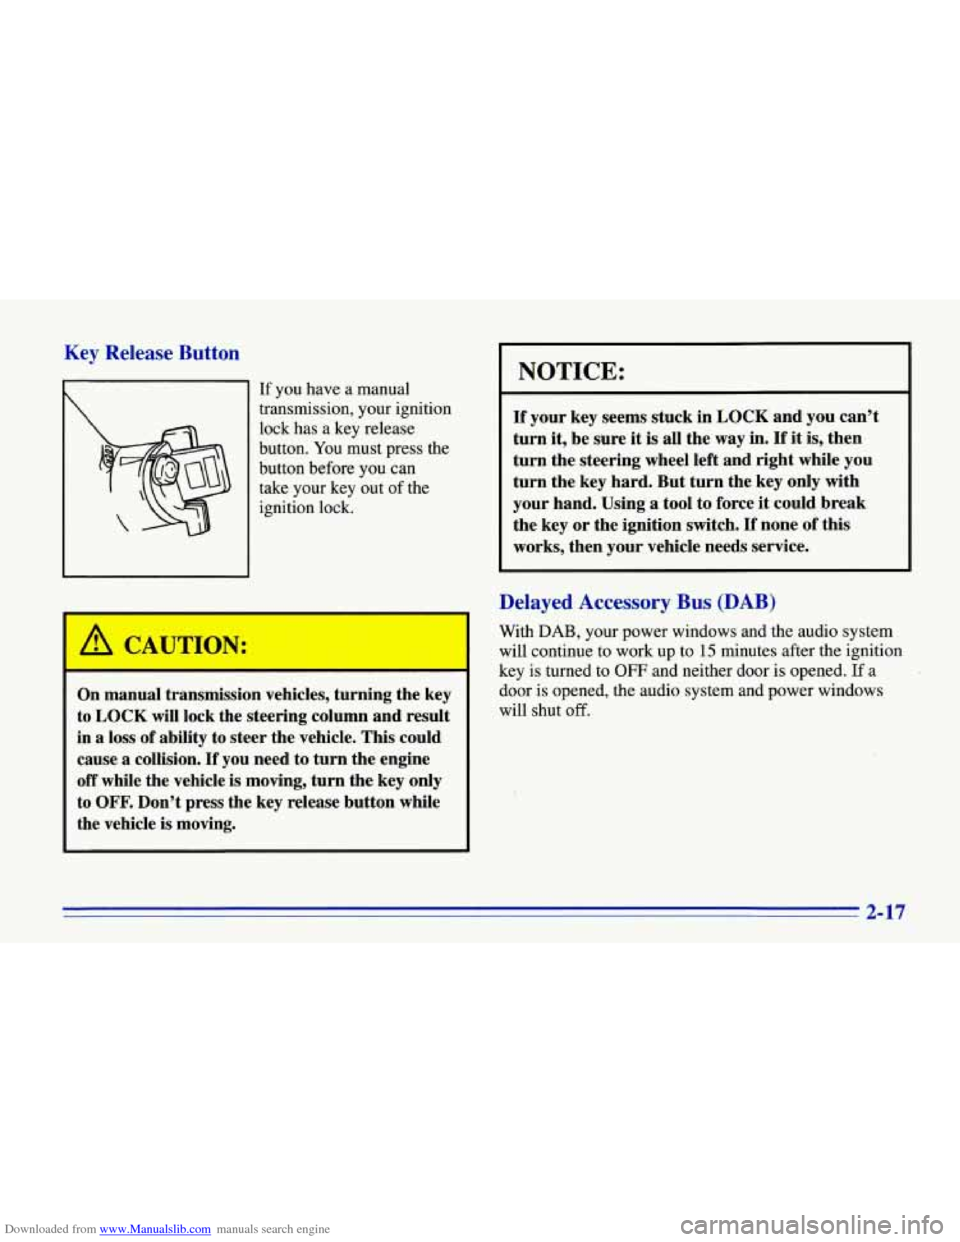
If you have a manual
transmission, your ignition
lock has a key release
button. You must press the
button before you can
take your key out
of the
ignition lock.
CAUTION:
On manual transmission vehicles, turning the key
to LOCK will lock the steering column and result
in a loss of ability to steer the vehicle. This could
cause a colIision.
If you need to turn the engine
off while the vehicle is moving, turn the key only
to
OFF. Don’t press the key release button while
the vehicle
is moving.
I NOTICE:
If your key seems stuck in LOCK and you can’t
turn
it, be sure it is all the way in. If it is, then
turn the steering wheel left and right while you
turn the key hard. But turn the key only with
your hand. Using
a tool to force it could break
the key or the ignition switch.
If none of this
works, then your vehicle needs service.
Delayed Accessory Bus (DAB)
With DAB, your power windows and the audio system
will continue to work up to
15 minutes after the ignition
key is turned to
OFF and neither door is opened. If a
door is opened, the audio system and power windows
will shut
off.
Y
2-17
Page 114 of 386
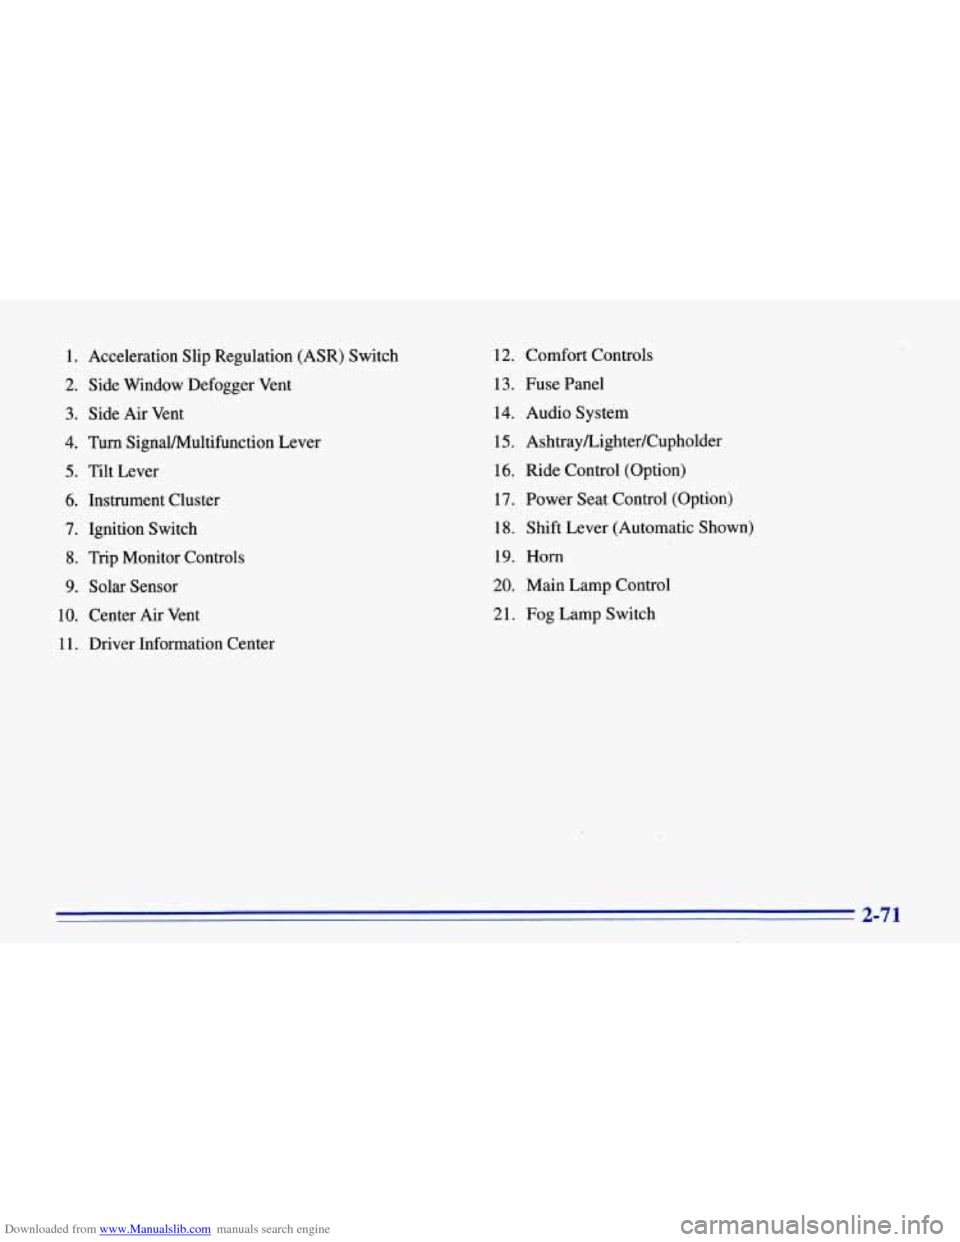
Downloaded from www.Manualslib.com manuals search engine 1. Acceleration Slip Regulation (ASR) Switch
2. Side Window Defogger Vent
3. Side Air Vent
4. Turn SignaVMultifunction Lever
5. Tilt Lever
6. Instrument Cluster
7. Ignition Switch
8. Trip Monitor Controls
9. Solar Sensor
10. Center Air Vent
1
1. Driver Information Center 12.
Comfort Controls
13. Fuse Panel
14. Audio System
15.
Ashtray/Lighter/Cupholder
16. Ride Control (Option)
17. Power Seat Control (Option)
18. Shift Lever (Automatic Shown)
19. Horn
20. Main Lamp Control
21. Fog Lamp Switch
2-71
Page 120 of 386
Downloaded from www.Manualslib.com manuals search engine Voltmeter
El
VOLTS
18
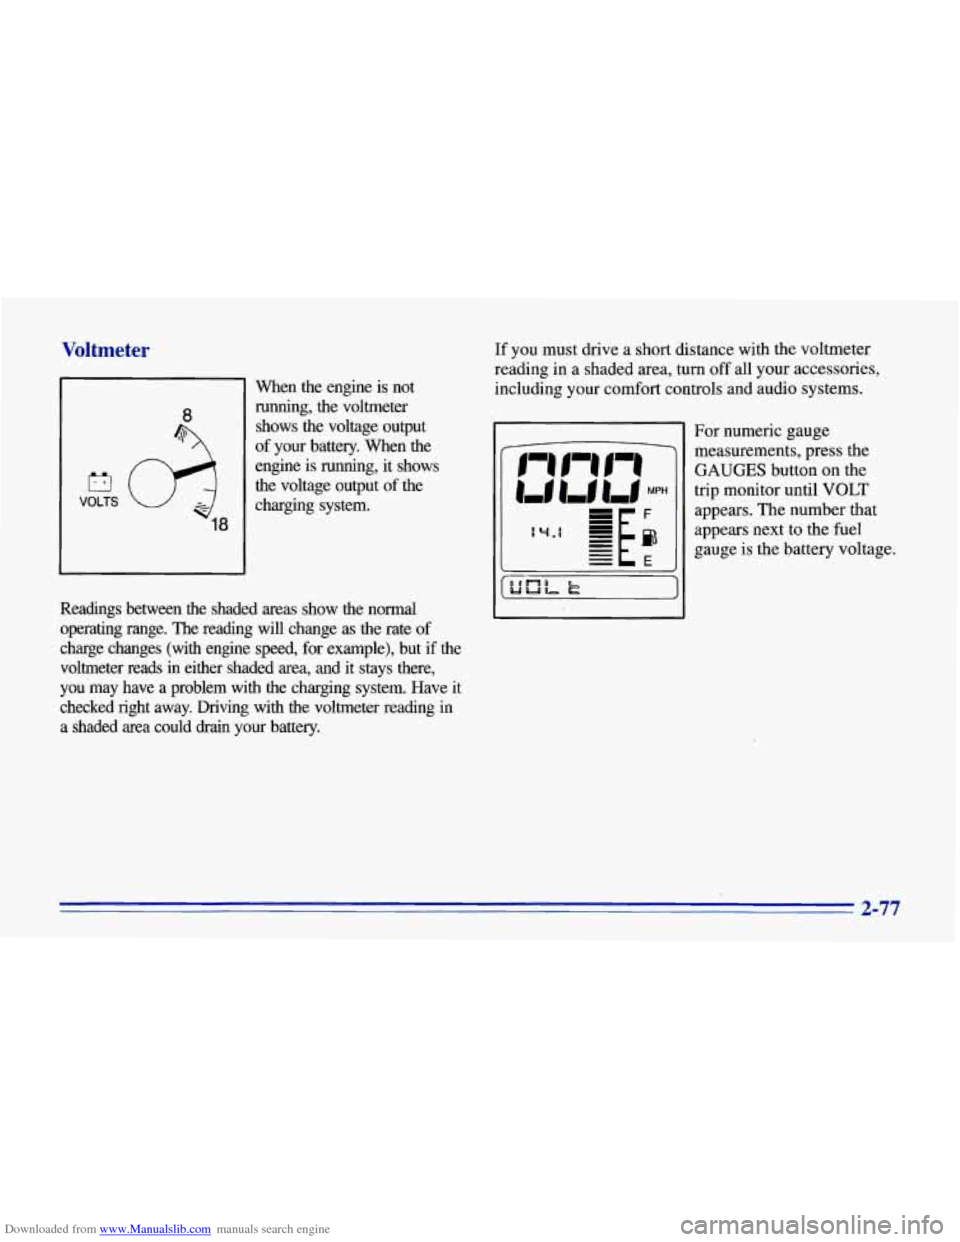
When the engine is not running, the voltmeter
shows the voltage output
of your battery.
When the
engine is running, it shows
the voltage output of the
charging system.
Readings between the shaded areas show the normal
operating range. The reading will change as the rate of
charge changes (with engine speed, for example), but
if the
voltmeter reads in either shaded area, and it stays there,
you may have a problem with the charging system. Have it
checked right away. Driving with the voltmeter reading
in
a shaded area could drain your battery. If you
must drive a short distance with the voltmeter
reading in a shaded area, turn
off all your accessories,
including your comfort controls and audio systems.
For numeric gauge
measurements, press the
GAUGES button on the
trip monitor until
VOLT
appears. The number that
appears next to the fuel
gauge is the battery voltage.
2-77
Page 142 of 386
Downloaded from www.Manualslib.com manuals search engine n
Section 3 Comfort Controls and Audio Systems
In this section you’ll find out how to operate the comfort
control and audio systems offered with your Corvette.
Be sure to read about the particular systems supplied
with your vehicle.
Comfort Controls
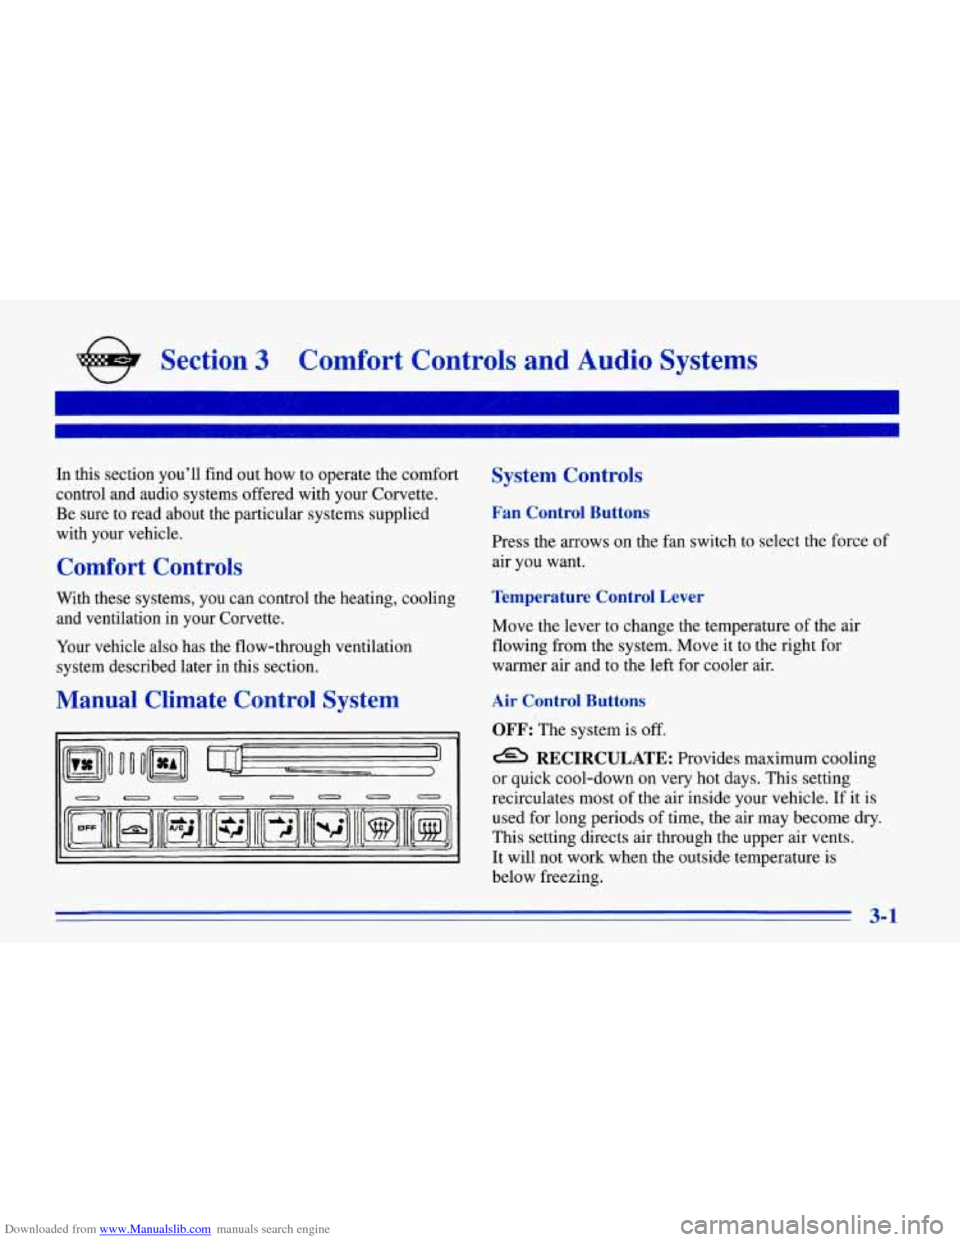
System Controls
Fan Control Buttons
Press the arrows on the fan switch to select the force of
air you want.
With these systems, you can control the heating, cooling
Temperature Control Lever
and ventilation in your Corvette.
Your vehicle also has the flow-through ventilation
system described later in this section.
Manual Climate Control System
I’
Move the lever to change the temperature of the air
flowing from the system. Move it to the right for
warmer air and to the left for cooler air.
Air Control Buttons
OFF: The system is off.
e RECIRCULATE: Provides maximum cooling
or quick cool-down on very hot days. This setting
recirculates most of the air inside your vehicle.
If it is
used for long periods of time, the air may become dry.
This setting directs air through the upper air vents.
It will not work when the outside temperature is
below freezing.
3-1
Page 151 of 386
Downloaded from www.Manualslib.com manuals search engine Ventilation Tips
0
0
0
Keep the hood and front air inlet free of ice, snow or
any other obstruction (such as leaves). The heater
and defroster will work far better, reducing the
chance of fogging the inside of your windows.
When you enter a vehicle in cold weather, adjust the
fan to the highest speed for a few moments before
driving off. This helps clear the intake ducts of snow
and moisture, and reduces the chance of fogging the
inside of your windows.
Keep the air path under the front seats clear
of
objects. This helps air to circulate throughout
your vehicle.
Audio Systems
Your Delco@ audio system has been designed to operate
easily and give years of listening pleasure.
You will get
the most enjoyment out
of it if you acquaint yourself
with it first. Find out what your Delco system can do
and how to operate all its controls, to be sure you’re
getting the most out of the advanced engineering that
went into it.
Setting the Clock
Make sure the radio is off and then press SET. Within
five seconds, press and hold the down arrow until the
correct hour appears. Press and hold the up arrow until
the correct minute appears.
Noise Reduction
Your audio system has automatic Dolby@ B Noise
Reduction.
Dolby Noise Reduction
is manufactured under a license
from Dolby Laboratories Licensing Corporation. Dolby
and the double-D symbol
are trademarks of Dolby
Laboratories Licensing Corporation.
3-10
Page 156 of 386
Downloaded from www.Manualslib.com manuals search engine Delco-Bose AM-FM Stereo with Cassette
Tape
and Compact Disc Players (Option)
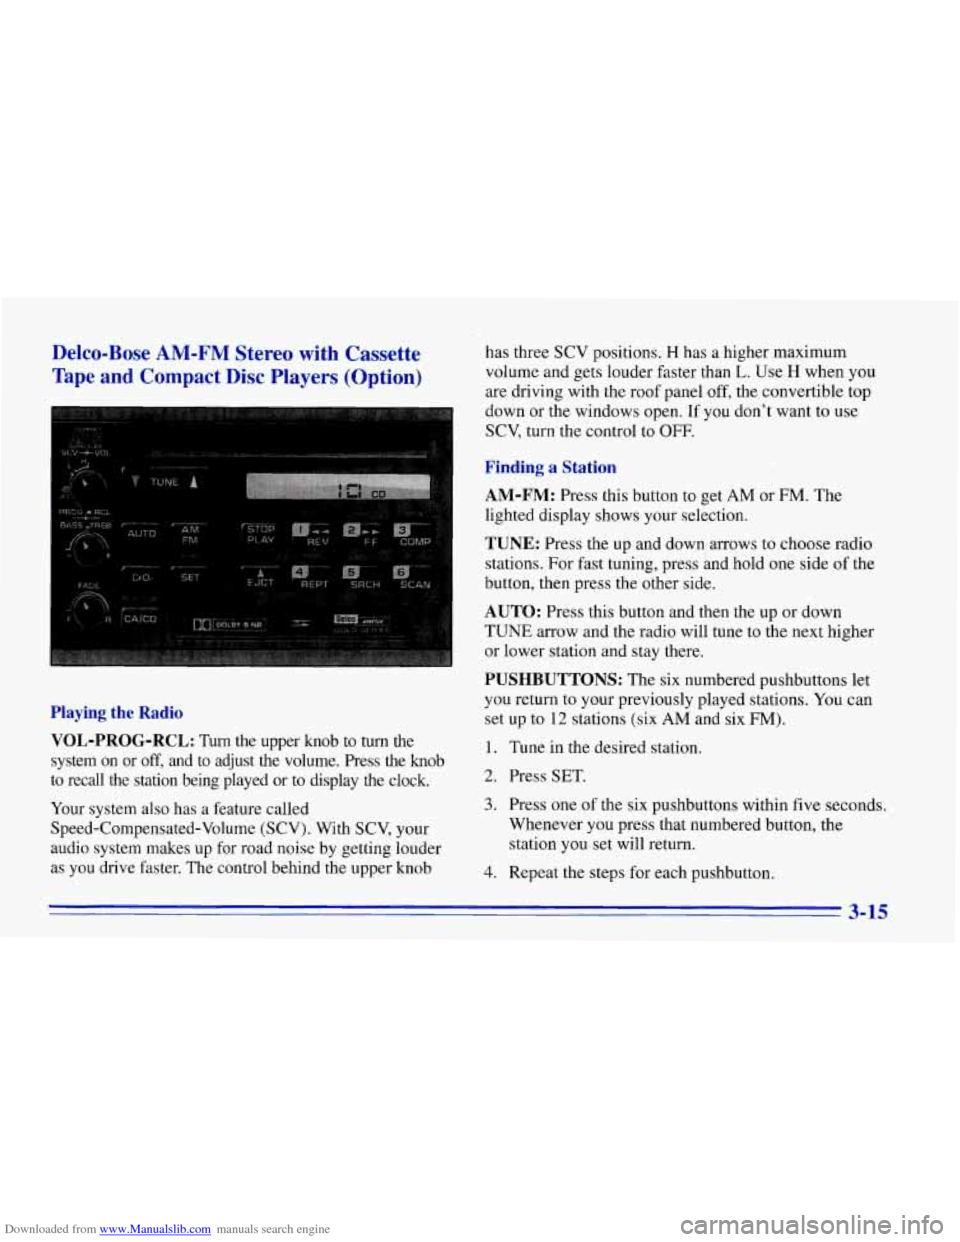
Playing the Radio
VOL-PROG-RCL:
Turn the upper knob to turn the
system on or
off, and to adjust the volume. Press the knob
to recall the station being played or to display the clock.
Your system also has a feature called
Speed-Compensated-Volume (SCV). With SCV, your
audio system makes up for road noise by getting louder
as you drive faster. The control behind the upper knob has three
SCV positions.
H has a higher maximum
volume and gets louder faster than
L. Use H when you
are driving with the roof panel off, the convertible top
down or the windows open. If you don't want to use
SCV, turn the control to OFF.
Finding a Station
AM-FM:
Press this button to get AM or FM. The
lighted display shows your selection.
TUNE: Press the up and down arrows to choose radio
stations. For fast tuning, press and hold one side of the
button, then press the other side.
AUTO: Press this button and then the up or down
TUNE arrow and the radio will tune to the next higher
or lower station and stay there.
PUSHBUTTONS: The six numbered pushbuttons let
you return to your previously played stations.
You can
set up to
12 stations (six AM and six FM).
1. Tune in the desired station.
2. Press SET.
3. Press one of the six pushbuttons within five seconds.
Whenever
you press that numbered button, the
station you
set will return.
4. Repeat the steps for each pushbutton.
3-15
Page 158 of 386
Downloaded from www.Manualslib.com manuals search engine Playing a Compact Disc
Don’t use the mini-discs (three-inch singles). They
will eject, and they won’t play. Use only full-size
compact discs.
With the audio system on, insert a disc into the slot with
the label side up. CD will appear on the display and
track one will begin to play.
If both a tape and a compact
disc are loaded into the system, press CNCD to select
the one you want.
If the disc comes back
out and ERR appears on the
display, it could be that:
0 The disc is upside down.
0 It is dirty, scratched or wet.
There’s too much moisture in the air. (Wait about an
hour and try again.)
You are driving on a very rough road.
0 The temperature is too hot or too cold.
RCL: Press this button to see what track is playing.
Press it again within five seconds to
see how long it has
been playing, the elapsed time (EL TIME).
REV: Press and hold this button to return to a
previously played passage rapidly. The decreasing
elapsed time will show on the display.
FF: Press and hold this button to fast forward or
advance through passages. The increasing elapsed time
will show on the display.
REPT: Press this button to go to the beginning of the
current track after eight seconds or more of play. After
eight seconds or less of play, the player will return to the
beginning of the previous track.
SRCH: Press this button to go to the beginning of the
next track.
SCAN: Press this button to listen to the first eight
seconds of each track. Press it again to stop scanning.
COMP: Press this button to make loud and soft passages
more nearly equal
in volume. Press it again for normal play.
Stopping the Disc Player
0 Turn the power off or turn the ignition key to off. The
disc stays in the player and will resume playing at the
point where it stopped when the ignition is turned on.
switch to the radio. Press it again to restart the disc at
the point where it stopped.
Press EJCT to eject the disc and switch to the radio.
If the ignition or audio system
is turned off, the
player will pull the disc back in
if you don’t remove
it from the opening within
30 seconds.
0 Press STOP-PLAY to stop playing the disc and
3-17