1996 CHEVROLET CORVETTE brake
[x] Cancel search: brakePage 11 of 386
Downloaded from www.Manualslib.com manuals search engine Vehicle Symbols
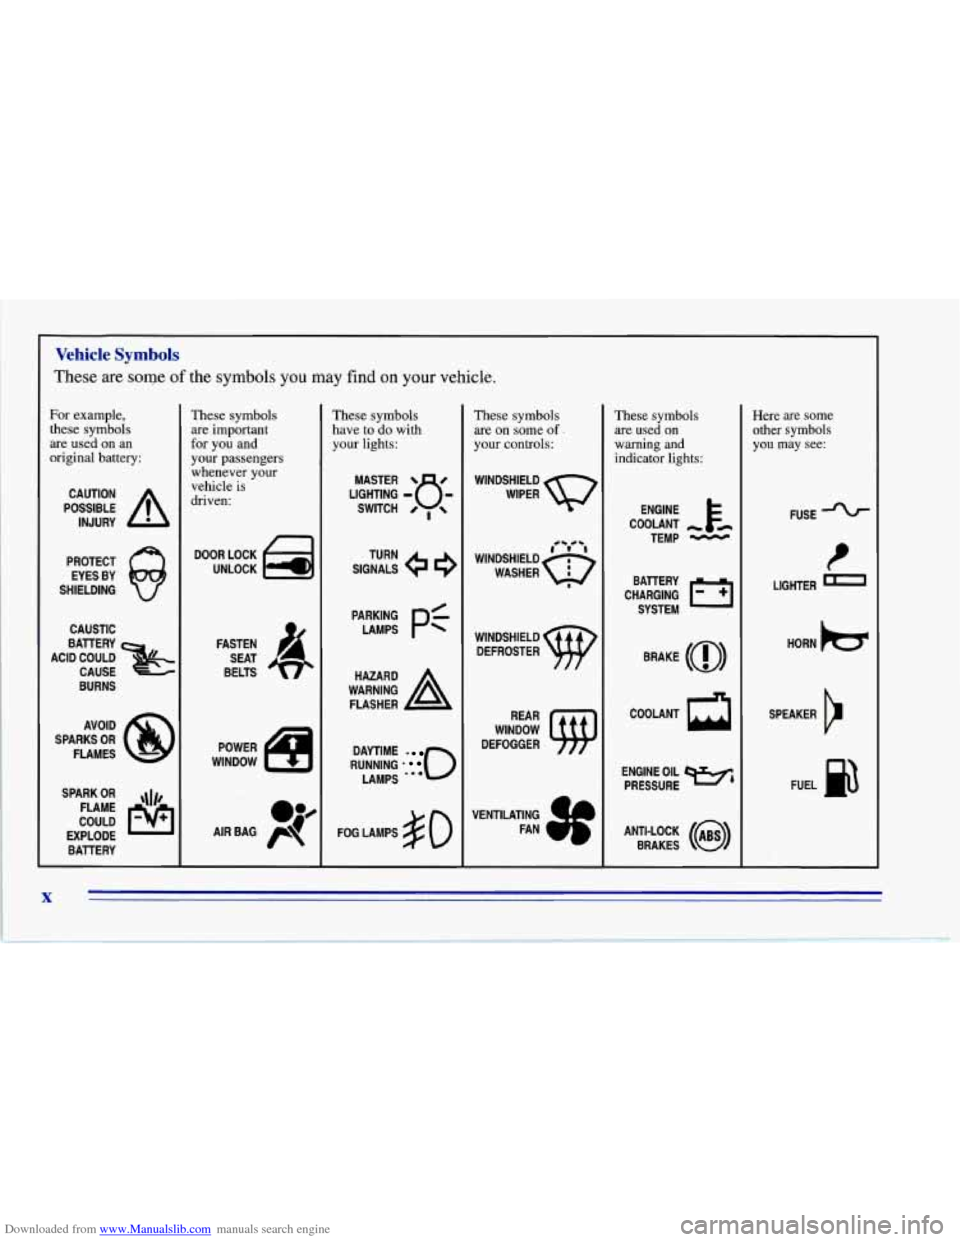
These are some of the symbols you may find on your vehicle.
For example,
these symbols
are used on an
original battery:
POSSIBLE A
CAUTION
INJURY
PROTECT EYES BY
SHIELDING
Q
CAUSTIC
ACID COULD BATTERY
CAUSE
BURNS
AVOID
SPARKS
OR
FLAMES
SPARK
OR ,\I/,
COULD FLAME
EXPLODE BAllERY
These symbols
are important
for you and
your passengers
whenever your
vehicle is
driven:
UNLOCK El
FASTEN
SEAT
BELTS
POWER
WINDOW
These symbols
have to
do with
your lights:
SIGNALS e e
TURN
RUNNING
* 0
DAYTIME *
LAMPS -**
FOG LAMPS $0
These symbols
are on some of.
your controls:
WINDSHIELD
DEFROSTER
VENTILATING FAN
These symbols
are used on
warning and
indicator lights:
COOLANT -,F-
TEMP -
ENGINE
BRAKE
(0)
ENGINE OIL w,
PRESSURE
ANTI-LOCK
(a)
BRAKES
1
Here are some
other symbols
you may see:
FUSE +
LIGHTER -
HORN )cr
SPEAKER
b
FUEL p3
X
Page 52 of 386
Downloaded from www.Manualslib.com manuals search engine Replacing Your Battery
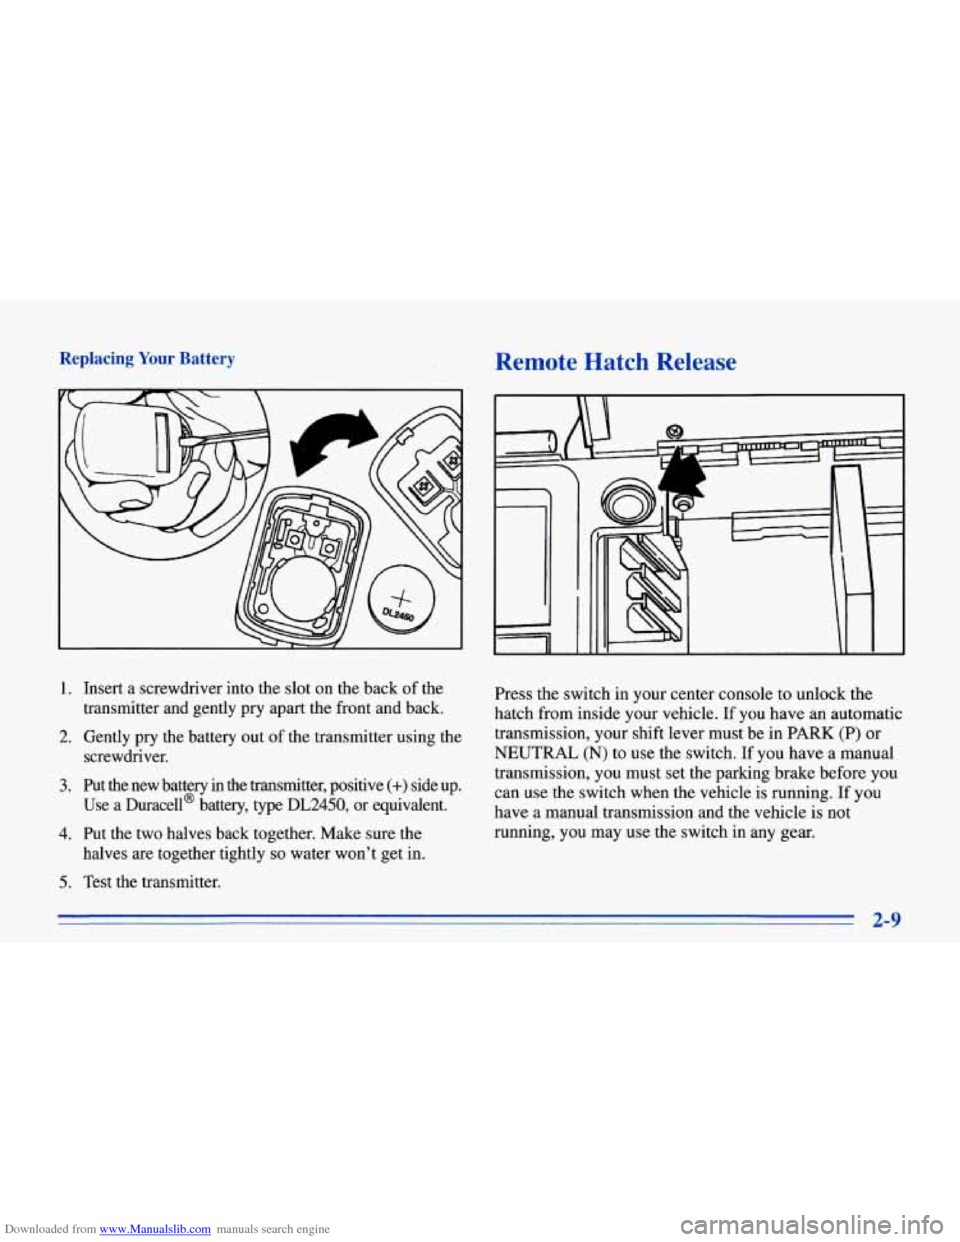
1. Insert a screwdriver into the slot on the back of the
transmitter and gently pry apart the front and back.
2. Gently pry the battery out
of the transmitter using the
screwdriver.
3. Put the new battery in the transmitter, positive (+) side up.
Use a Duracell@ battery, type DL2450, or equivalent.
4. Put the two halves back together. Make sure the
halves are together tightly
so water won’t get in.
5. Test the transmitter.
Remote Hatch Release
Press the switch in your center console to unlock the
hatch from inside your vehicle. If you have an automatic
transmission, your shift lever must be in PARK (P) or
NEUTRAL
(N) to use the switch. If you have a manual
transmission, you must set the parking brake before you
can use the switch when the vehicle is running. If you
have a manual transmission and the vehicle
is not
running, you may use the switch in any gear.
2-9
Page 58 of 386
Downloaded from www.Manualslib.com manuals search engine If the resistor pellet is damaged or missing, the starter
won’t work. Use the other ignition key, and see your
Chevrolet dealer or a locksmith who can service the
PASS-Key to have a new key made.
If the SECURITY light comes on while driving, have
your vehicle serviced as soon as possible.
If you lose or damage
a PASS-Key ignition key, see
your Chevrolet dealer or a locksmith who can service
PASS-Key. In an emergency, call the Chevrolet
Roadside Assistance Program at 1 -800-CHEV-USA
(1-800-243-8872).
New Vehicle “Break-In”
NOTICE:
Your modern Corvette doesn’t need an elaborate
“break-in.” But
it will perform better in the long
run if you follow these guidelines:
0 Keep your speed at 55 mph (88 km/h) or
less for the
first 500 miles (804 km).
0 Don’t drive at any one speed -- fast or
slow
-- for the first 500 miles (804 km).
Don’t make full-throttle starts.
200 miles (322 km) or so. During this time
your new brake linings aren’t yet broken
in. Hard stops with new linings can mean
premature wear and earlier replacement.
Follow this “breaking-in” guideline every
time you get new brake linings.
0 Avoid making hard stops for the first
2-15
Page 64 of 386
Downloaded from www.Manualslib.com manuals search engine Automatic Transmission Operation
a
R
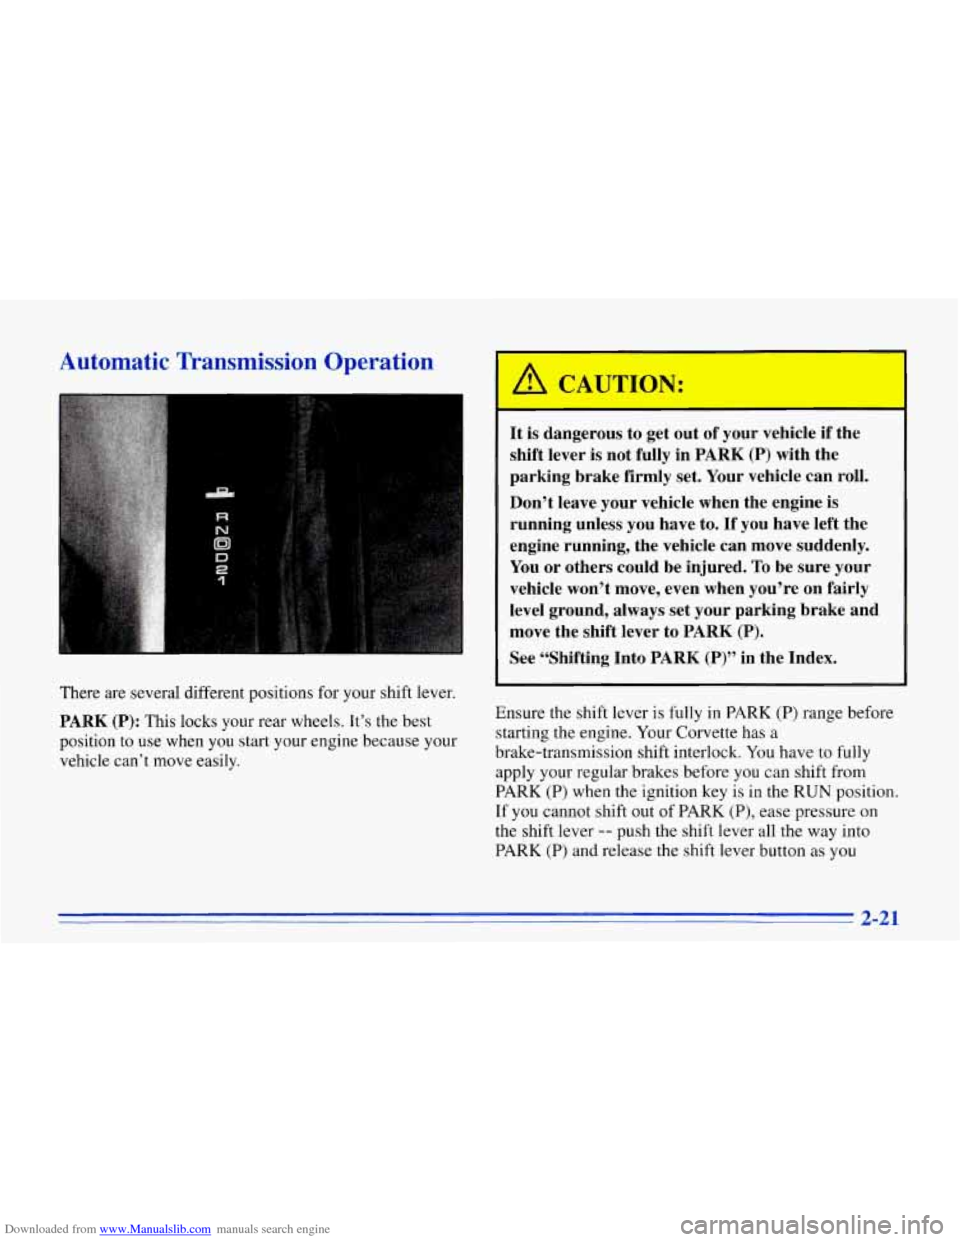
There are several different positions for your shift lever.
PARK (P): This locks your rear wheels. It’s the best
position to use when you start your engine because your
vehicle can’t move easily.
It is dangerous to get out of your vehicle if the
shift lever is not fully in
PARK (P) with the
parking brake firmly set. Your vehicle can roll.
Don’t leave your vehicle when the engine is
running unless you have to.
If you have left the
engine running, the vehicle can move suddenly.
You
or others could be injured. To be sure your
vehicle won’t move, even when you’re on fairly
level ground, always set your parking brake and
move the shift lever to
PARK (P).
See “Shifting Into PARK (P)” in the Index.
Ensure the shift lever is fully in PARK (P) range before
starting the engine. Your Corvette has
a
brake-transmission shift interlock. You have to fully
apply your regular brakes before you can shift from
PARK (P) when the ignition key is in the RUN position.
If you cannot shift out of PARK (P), ease pressure on
the shift lever -- push the shift lever all the way into
PARK (P) and release the shift lever button as you
2-21
Page 65 of 386
Downloaded from www.Manualslib.com manuals search engine maintain brake application. Then press the shift lever
button and move the shift lever into the gear you wish.
See “Shifting Out
of PARK (P)” in the Index.
REVERSE (R): Use this gear to back up.
NOTICE:
Shifting to REVERSE (R) while your vehicle is
moving forward could damage your
transmission. Shift to REVERSE (R) only after
your vehicle
is stopped.
To rock your vehicle back and forth to get out of snow,
ice or sand without damaging your transmission, see
“Stuck:
In Sand, Mud, Ice or Snow” in the Index.
NEUTRAL (N): In this position, your engine doesn’t
connect with the wheels.
To restart when you’re already
moving, use NEUTRAL
(N) only. Also, use
NEUTRAL (N) when your vehicle is being towed.
Shifting out’of PARK (P) or NEUTRAL (N) while
your engine
is “racing” (running at high speed) is
dangerous. Unless your foot is firmly on the
brake pedal, your vehicle could move very
rapidly. You could lose control and hit people or
objects. Don’t shift out of PARK
(P) or
NEUTRAL
(N) while your engine is racing.
I NOTICE:
I
~~~ ~
Damage to your transmission caused by shifting
out of PARK
(P) or NEUTRAL (N) with the
engine racing isn’t covered
by your warranty.
Page 66 of 386
Downloaded from www.Manualslib.com manuals search engine AUTOMATIC OVERDRIVE (0): This position is for
normal driving.
If you need more power for passing, and
you’re:
Going less than about 35 mph (56 km/h), push your
accelerator pedal about halfway down.
Going about 35 mph (56 km/h) or more, push the
accelerator all the way down.
You’ll shift down to the next gear and have more power.
DRIVE (D): This position is also used for normal
driving, however, it offers more power and lower fuel
economy than AUTOMATIC OVERDRIVE
(0).
Here are some times you might choose DRIVE (D)
instead
of AUTOMATIC OVERDRIVE (0):
0 When driving on hilly, winding roads
When going down a steep hill
SECOND (2): This position gives you more power but
lower fuel economy. You can use SECOND
(2) on hills.
It can help control your speed as you go down steep
mountain roads, but then you would also want to use
your brakes off and on.
FIRST (1): This position gives you even more power
(but lower fuel economy) than SECOND
(2). You can
use it on very steep hills, or in deep snow or mud. If the
selector lever is put in
FIRST (I), the transmission
won’t shift into first gear until the vehicle is going
slowly enough.
I NOTICE:
If your rear wheels can’t rotate, don’t try to
drive. This might happen
if you were stuck in
very deep sand or mud or were up against a solid
object.
You could damage your transmission.
Also, if you stop when going uphill, don’t hold
your vehicle there with only the accelerator
pedal. This could overheat and damage the
transmission. Use your brakes or shift into
PARK (P) to hold your vehicle in position
on a hill.
Maximum engine speed is limited to protect driveline
components from improper operation.
2-23
Page 67 of 386
Downloaded from www.Manualslib.com manuals search engine Manual Transmission
6-Speed
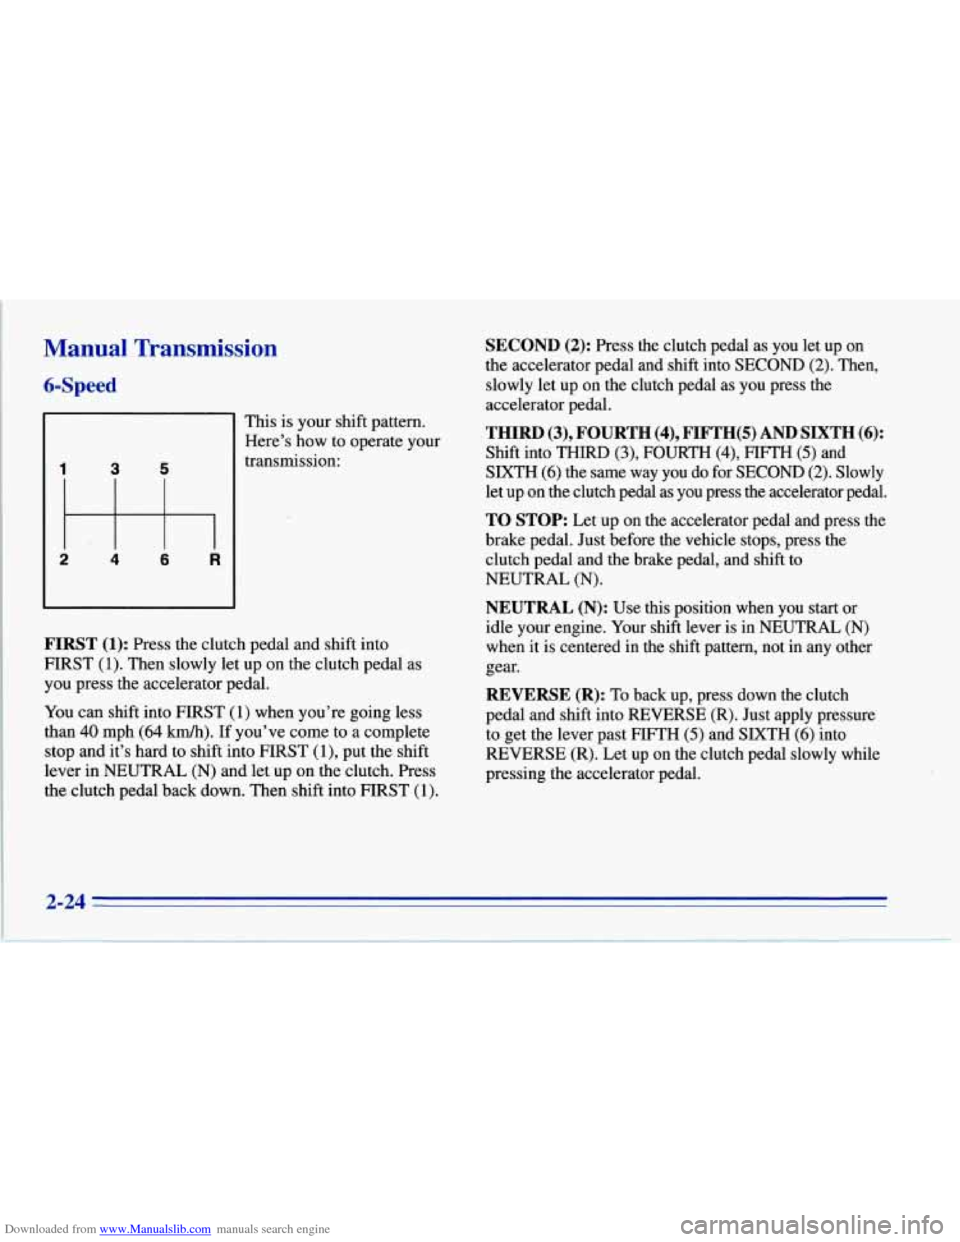
This is your shift pattern.
Here’s how to operate your
transmission:
5 3
FIRST (1): Press the clutch pedal and shift into
FIRST (1). Then slowly let up on the clutch pedal as
you press the accelerator pedal.
You can shift into FIRST
(1) when you’re going less
than
40 mph (64 km/h). If you’ve come to a complete
stop and it’s hard to shift into HRST
(I), put the shift
lever in NEUTRAL (N) and let up on the clutch. Press
the clutch pedal back down. Then shift into FIRST (1).
SECOND (2): Press the clutch pedal as you let up on
the accelerator pedal and shift into
SECOND (2). Then,
slowly let up on the clutch pedal as you press the
accelerator pedal.
THIRD(3),FOURTH(4),FIFTH(S)ANDSIXTH(6):
Shift into THIRD (3)’ FOURTH (4), F’IFTH (5) and
SIXTH (6) the same way you do for SECOND (2). Slowly
let up on the clutch pedal as you press the accelerator pedal.
TO STOP: Let up on the accelerator pedal and press the
brake pedal. Just before the vehicle stops, press the
clutch pedal and the brake pedal, and shift to
NEUTRAL
(N).
NEUTRAL (N): Use this position when you start or
idle your engine. Your shift lever is in NEUTRAL (N)
when it is centered in the shift pattern, not in any other
gear.
REVERSE (R): To back up, press down the clutch
pedal and shift into REVERSE (R). Just apply pressure
to get the lever past FIFTH
(5) and SIXTH (6) into
REVERSE
(R). Let up on the clutch pedal slowly while
pressing the accelerator pedal.
2-24
Page 71 of 386
Downloaded from www.Manualslib.com manuals search engine TOUR: Use for city and highway driving. Provides a
smooth, soft ride. Parking Brake
SPORE Use where road conditions or personal
preference demand more control. Provides more “feel,”
or response to the road conditions.
PERF’: Use for performance driving. Provides a tight,
firm ride and precise response to road conditions.
You can select a setting at any time. Based on road
conditions and your vehicle speed, the system
automatically adjusts to provide the best ride and
handling. Select a new setting whenever driving
conditions change.
The SERVICE RIDE CONTROL light monitors the
system. Refer to “Service Ride Control Light” in
the Index.
Limited-Slip Rear Axle
Your rear axle can give you additional traction on snow,
mud, ice, sand
or gravel. It works like a standard axle
most
of the time, but when one of the rear wheels has no
traction and the other does, the limited-slip feature will
allow the wheel with traction to move the vehicle. To
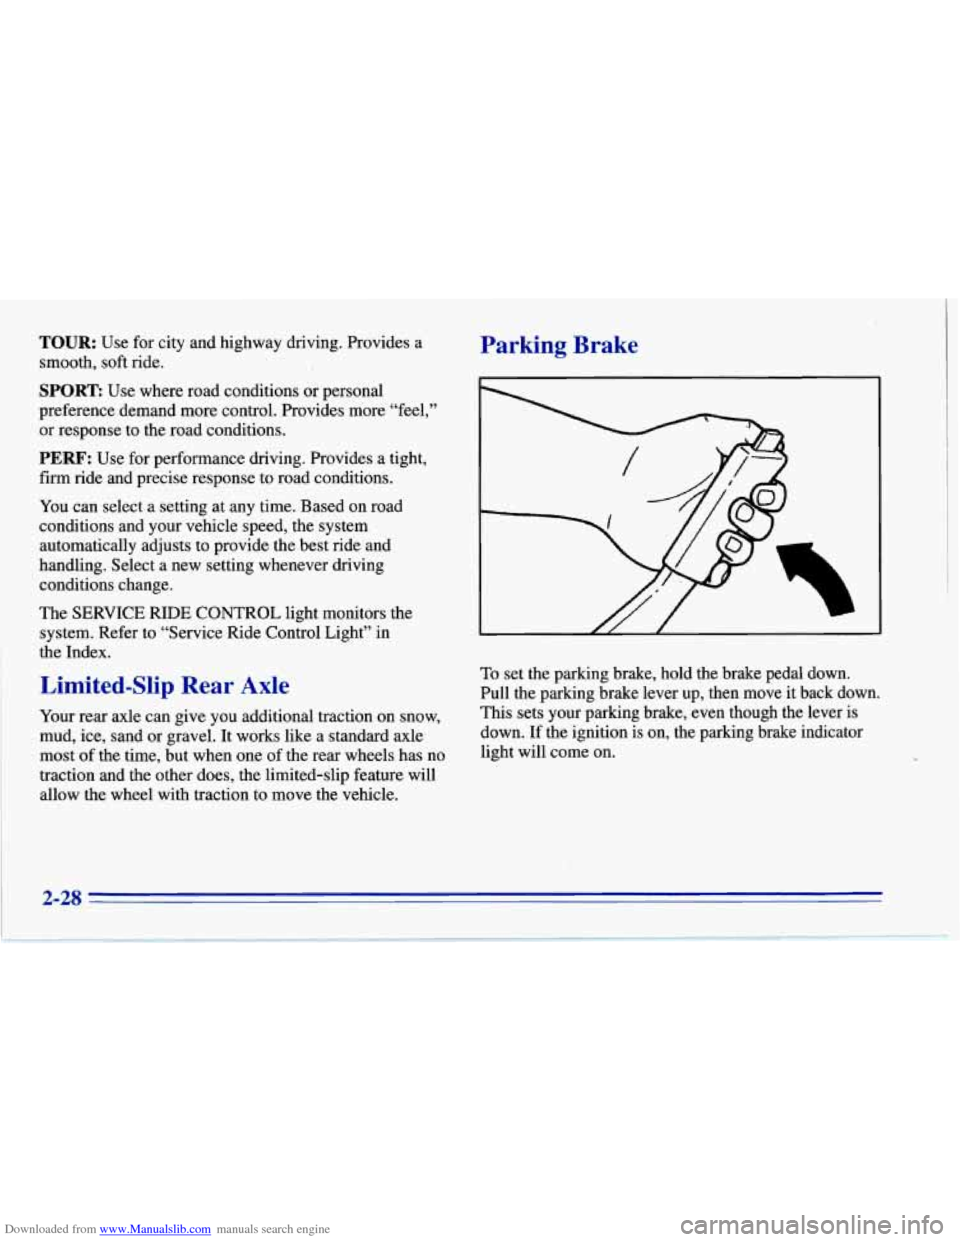
set the parking brake, hold the brake pedal down.
Pull the parking brake lever up, then move it back down.
This sets your parking brake, even though the lever is
down. If the ignition is on, the parking brake indicator
light will come on.
2-28