1996 CHEVROLET CORVETTE stop start
[x] Cancel search: stop startPage 121 of 386
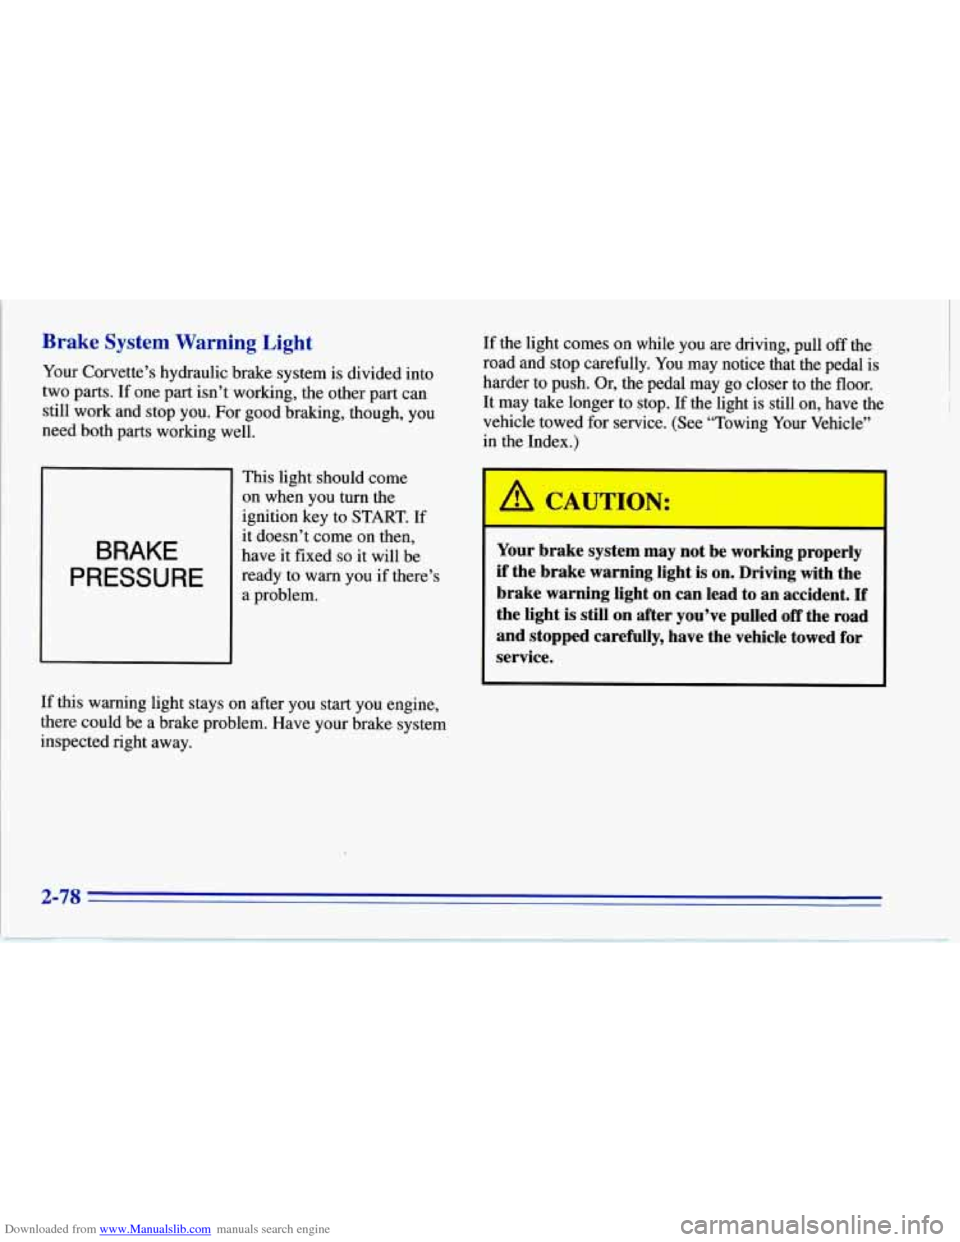
Downloaded from www.Manualslib.com manuals search engine Brake System Warning Light
Your Corvette’s hydraulic brake system is divided into
two parts. If one part isn’t working, the other part can
still work and stop you. For good braking, though, you
need both parts working well.
BRAKE
PRESSURE
This light should come
on when you turn the
ignition key to START.
If
it doesn’t come on then,
have it fixed
so it will be
ready to warn you if there’s
a problem. If
the light comes on while you are driving, pull
off the
road and stop carefully. You may notice that the pedal is
harder to push. Or, the pedal may go closer to the floor.
It may take longer to stop. If the light is still on, have the
vehicle towed for service. (See “Towing Your Vehicle”
in the Index.)
A TT-T~=T
vce. Your brake system may not be working properly
if the brake warning light
is on. Driving with the
brake warning light
on can lead to an accident. If
the light is still on after you’ve pulled off the road
and stopped carefully, have the vehicle towed for
If this warning light stays on after you start you engine,
there could be a brake problem. Have your brake system
inspected right away.
Page 122 of 386
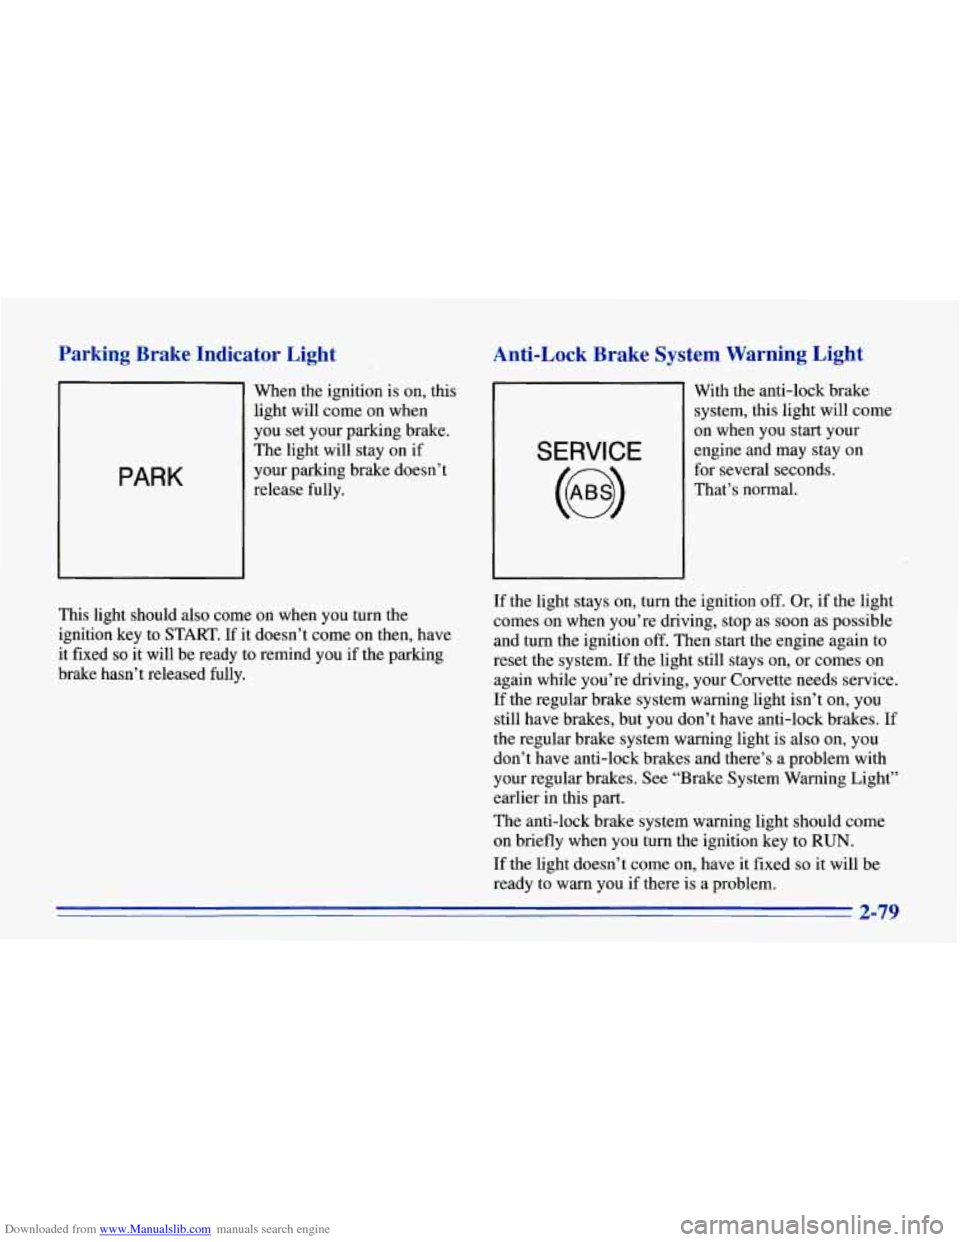
Downloaded from www.Manualslib.com manuals search engine Parking Brake Indicator Light
PARK
When the ignition is on, this
light will come on when
you set your parking brake.
The light will stay on if
your parking brake doesn’t
release fully.
Anti-Lock Brake System Warning Light
SERVICE
With the anti-lock brake
system, this light will come
on when you start your
engine and may stay on
for several seconds.
That’s normal.
I
This light should also come on when you turn the
ignition key to START. If it doesn’t come on then, have
it fixed
so it will be ready to remind you if the parking
brake hasn’t released fully. If
the light stays on, turn the ignition
off. Or, if the light
comes on when you’re driving, stop as soon as possible
and turn the ignition off. Then start the engine again to
reset the system.
If the light still stays on, or comes on
again while you’re driving, your Corvette needs service.
If the regular brake system warning light isn’t on, you
still have brakes, but you don’t have anti-lock brakes.
If
the regular brake system warning light is also on, you
don’t have anti-lock brakes and there’s a problem with
your regular brakes. See “Brake System Warning Light”
earlier in this part.
The anti-lock brake system warning light should come
on briefly when you turn the ignition key to
RUN.
If the light doesn’t come on, have it fixed so it will be
ready to warn you if there is a problem.
2-79
Page 123 of 386
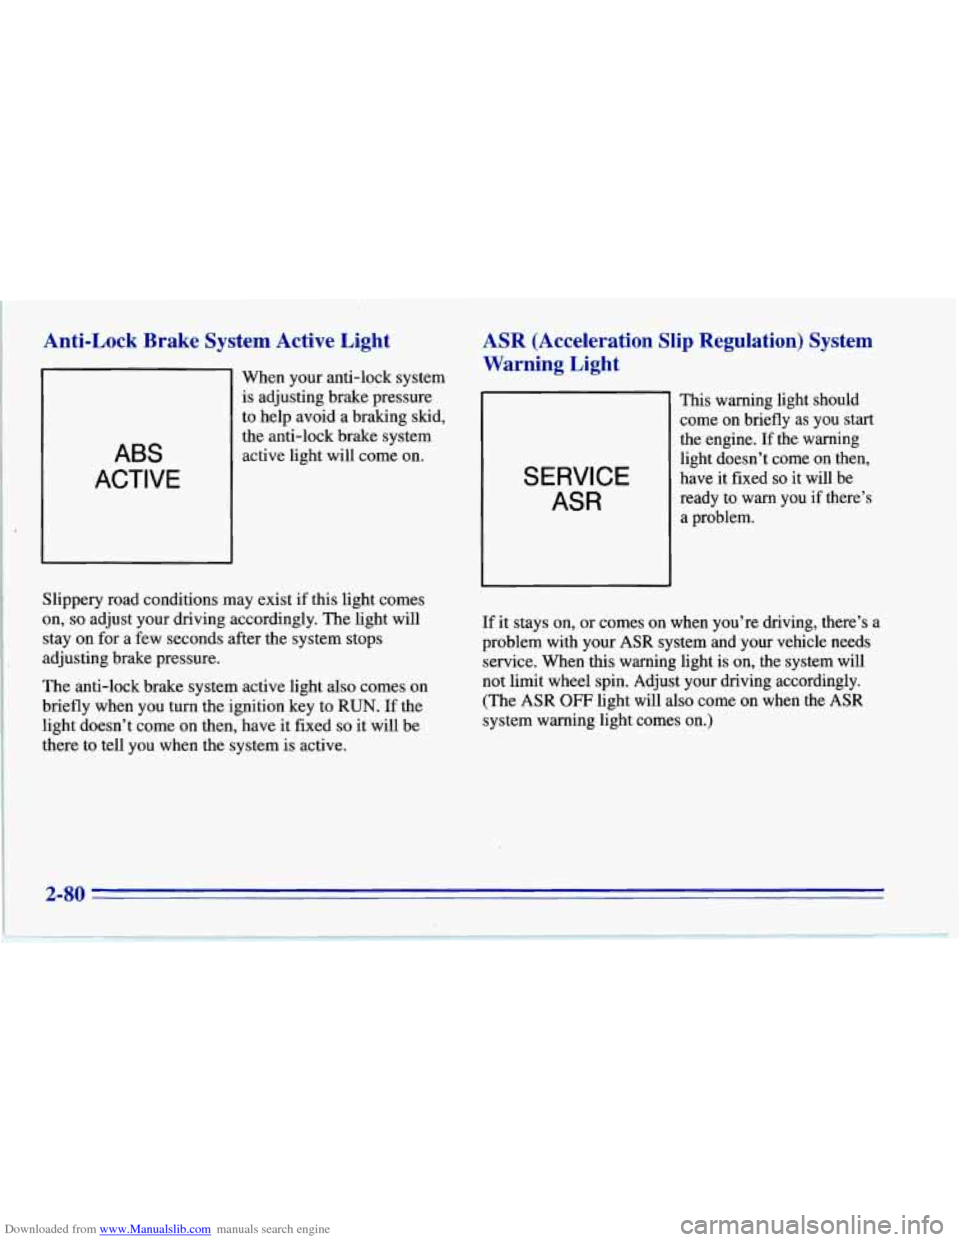
Downloaded from www.Manualslib.com manuals search engine Anti-Lock Brake System Active Light
ABS
ACTIVE
When your anti-lock system
is adjusting brake pressure
to help avoid a braking skid,
the anti-lock brake system
active light will come on.
ASR (Acceleration Slip Regulation) System
Warning Light
SERVICE
ASR
This warning light should
come on briefly as you start
the engine. If the warning
light doesn’t come on then,
have it fixed
so it-will be
ready to
warn you if there’s
a problem.
Slippery road conditions may exist if this light comes
on, so adjust your driving accordingly. The light will
stay on for a few seconds after the system stops
adjusting brake pressure.
The anti-lock brake system active light
also comes on
briefly when you turn the ignition key to
RUN. If the
light doesn’t come on then, have it fixed
so it will be
there to tell you when the system is active. If it
stays on, or comes on when you’re driving, there’s a
problem with your
ASR system and your vehicle needs
service. When this warning light is on, the system will
not limit wheel spin. Adjust your driving accordingly.
(The
ASR OFF light will also come on when the ASR
system warning light comes on.)
2-80
Page 130 of 386
Downloaded from www.Manualslib.com manuals search engine If the Light Is Flashing
The following may prevent more serious damage to
your vehicle:
If the Light Is On Steady
You may be able to correct the emission system
malfunction by considering the following:
Did you just put fuel into your vehicle?
If
so, reinstall the fuel cap, making sure to fully install
the cap. The diagnostic system can determine if the fuel
cap has been left
off or improperly installed. This will
allow fuel to evaporate into the atmosphere.
A few
driving trips should turn the light
off.
Did you just drive through a deep puddle of water?
If
so, your electrical system may be wet. The condition
will usually
be corrected when the electrical system
dries out. A few driving trips should turn the light
off.
Are you low on fuel?
As your engine starts to run out of fuel, your engine may
not run as efficiently as designed since small amounts of
air are sucked into the fuel line causing a misfire. The
system can detect this. Adding fuel should correct this
condition. Make sure to install the fuel cap properly. It
will take a few driving trips to turn the light
off.
Reduce vehicle speed.
Avoid hard accelerations.
0 Avoid steep uphill grades.
If the light stops flashing and remains
on steady see “If
the Light Is On Steady” following.
If
the light continues to flash, when it is safe to do so,
stop the vehicle. Put your vehicle in PARK (P). Turn the
key off,
wait at least 10 seconds and restart the engine.
If the light remains on steady, see “If the Light Is On
Steady” following. If the light is still flashing follow the
previous steps, and drive the vehicle to your dealer or
qualified service center for service.
2-87
Page 134 of 386
Downloaded from www.Manualslib.com manuals search engine Engine Oil Life Monitor
CHANGE
OIL
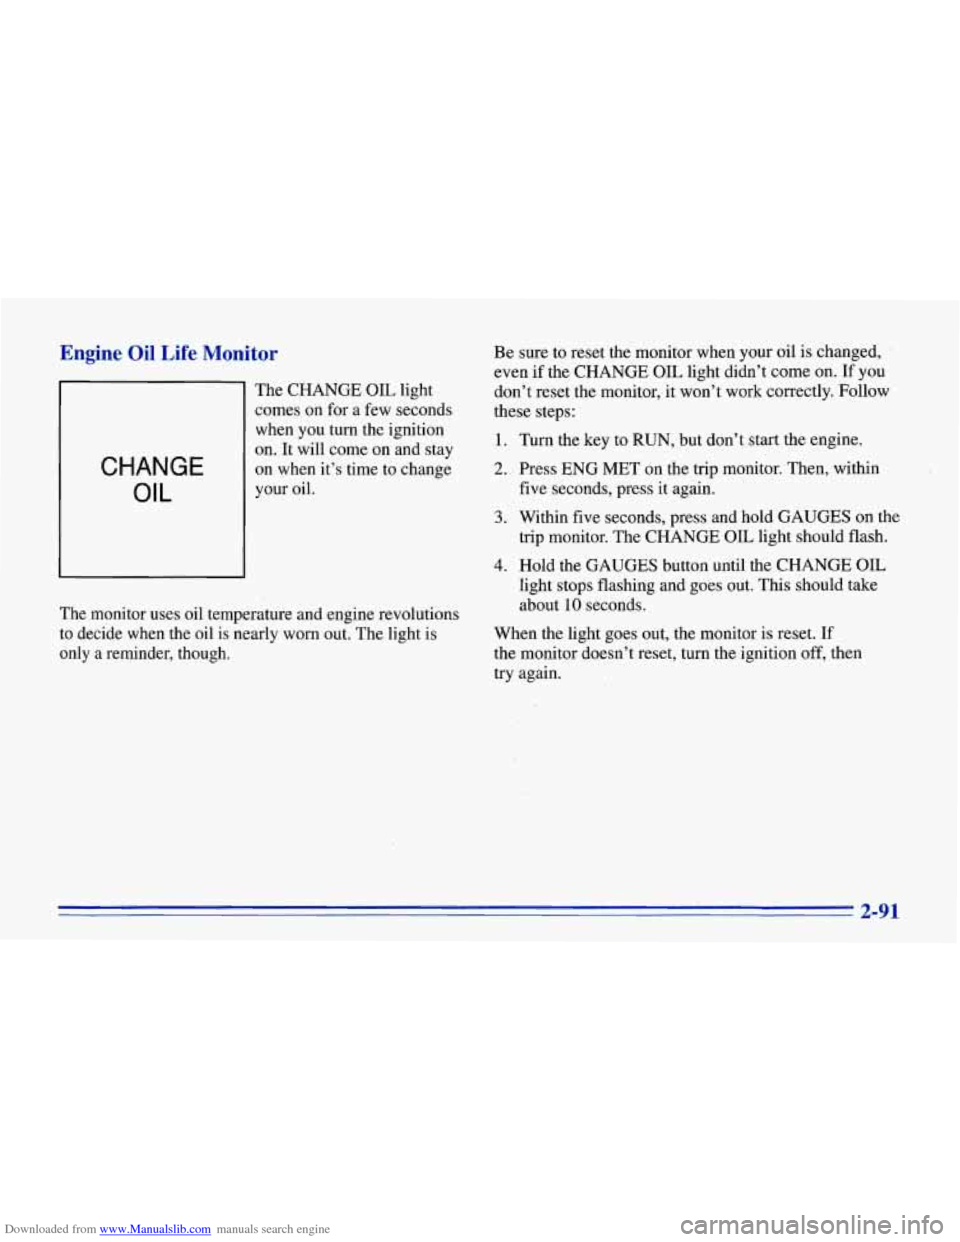
The CHANGE OIL light
comes on for a few seconds
when you turn the ignition
on. It will come on and stay
on when it’s time to change
your oil.
The monitor uses oil temperature and engine revolutions
to decide when the oil
is nearly worn out. The light is
only a reminder, though. Be sure
to reset the monitor when your oil
is changed,
even
if the CHANGE OIL light didn’t come on. If you
don’t reset the monitor, it won’t work correctly. Follow
these steps:
1. Turn the key to RUN, but don’t start the engine.
2. Press ENG MET on the trip monitor. Then, within
five seconds, press it again.
3. Within five seconds, press and hold GAUGES on the
trip monitor. The CHANGE OIL light should flash.
4. Hold the GAUGES button until the CHANGE OIL
light stops flashing and goes out. This should take
about
10 seconds.
When the light goes out, the monitor is reset. If
the monitor doesn’t reset, turn the ignition off, then
try again.
2-91
Page 149 of 386
Downloaded from www.Manualslib.com manuals search engine I
System Problems
If the light above an air control button flashes when you
turn on the ignition, your system may have an electrical
problem. The flashing will continue for one minute,
then stop.
The flashing light could also mean the refrigerant level
is too low in your system. The light will continue to
flash, even if refrigerant is added, until the system is
reset. Have your system checked and serviced if needed.
To reset your system:
1. Turn your ignition key to OFF or LOCK.
2. Remove the courtesy lamps and radio fuses from the
main fuse panel and wait one minute. See “Fuses and
Circuit Breakers” in the Index.
3. Put the fuses back in and start your vehicle.
The light shouldn’t come on and your system should be
working properly. If you still have
a problem, see
your dealer.
Rear Window Defogger
II
0 n
0
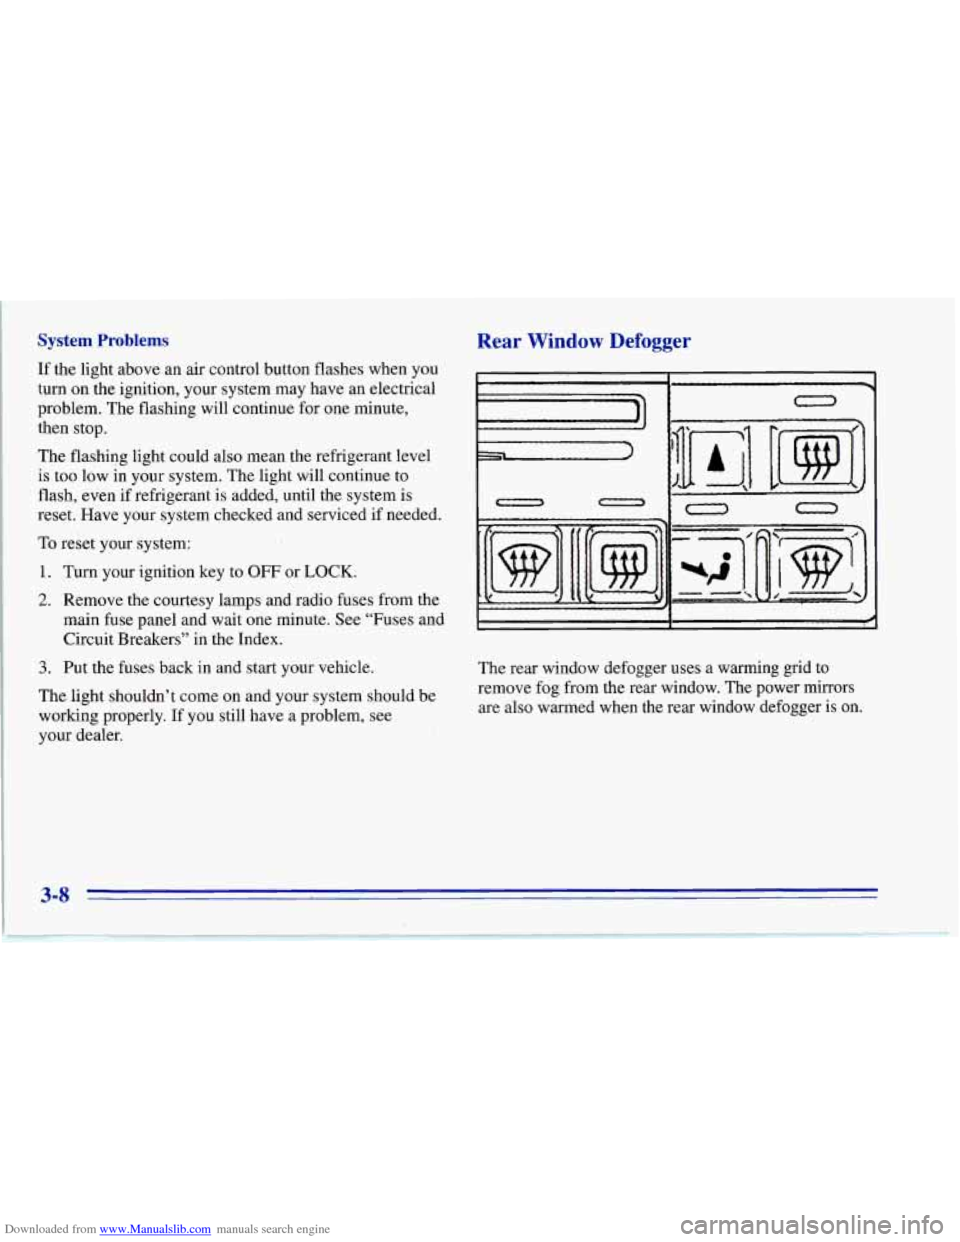
The rear window defogger uses a warming grid to
remove fog from the rear window. The power mirrors
are also warmed when the rear window defogger is on.
3-8
Page 153 of 386

Downloaded from www.Manualslib.com manuals search engine Setting the Tone
BASS:
Turn this knob to the right to hear more bass.
TREB: Turn this control behind the BASS knob to the
right to hear more treble.
Adjusting the Speakers
BAL:
Turn the control behind the FADE knob to move
the sound between the right and left speakers.
FADE: Turn this knob to move the sound between the
front and rear speakers. Turn it counterclockwise to hear
more sound from the front speakers and clockwise to
hear more sound from the rear speakers. Note that
if you
turn the knob all the way to
F or R, you may still get
some sound from the opposite speakers.
Playing a Cassette Tape
Your tape player is built to work best with tapes that are
30 to 45 minutes long on each side. Tapes longer than
that are
so thin they may not work well in this player.
The longer side with the tape visible goes in first. If you
hear nothing or hear just a garbled sound, it may not
be in squarely. Press EJCT to remove the tape and
start over.
Once the tape
is playing, use the knobs for VOL, FADE
and
BAL, just as you do for the radio.
REV: Press this button to return to a previously played
passage rapidly. Press it again to play the passage. The
radio will play while the tape is rewinding.
FF: Press this button to fast forward or advance the tape
rapidly. Press it again to play. The radio will play while
the tape is advancing.
REPT Press this button to go to the beginning of the
current selection after
10 seconds or more of play. After
five seconds or less of play, the player will return to the
beginning of the previous selection.
SRCH: Press this button to go to the beginning of the
next selection.
SCAN: Press this button to listen to the first eight
seconds of each passage. Press it again to stop scanning.
PROG-RCL: Press the upper knob to change the side
of the tape that
is playing. The lighted arrows show
which
side is currently playing.
E JCT Press this button to remove the tape.
STOP-PLAY: Press this button to listen to the radio
without ejecting the cassette tape. Press it again to go
back to the tape.
Cr02: Press this button when playing high-bias chrome
or metal tapes.
3-12
Page 155 of 386
Downloaded from www.Manualslib.com manuals search engine Setting the Tone
BASS:
Turn this knob to the right to hear more bass.
TREB: Turn this control behind the BASS knob to the
right to hear more treble.
Adjusting the Speakers
BAL:
With the DelcoBose system, your speakers are
electronically balanced.
FADE: Turn this knob to move the sound between the
front and rear speakers. Note that, with the Delco/Bose
system, if you turn the knob all the way to
F or R, you
may still get some sound from the opposite speakers.
Playing a Cassette Tape
Your tape player is built to work best with tapes that are
30 to 45 minutes long on each side. Tapes longer than
that
are so thin they may not work well in this player.
The longer side with the tape visible goes in first. If you
hear nothing or hear just a garbled sound, it may not
be in squarely. Press EJCT to remove the tape and
start over.
Once the tape is playing, use the knobs for
VOL, FADE
and BAL, just as you do for the radio.
REV: Press this button to return to a previously played
passage rapidly. Press it again to play .the passage. The
radio will play while the tape is rewinding.
FF: Press this button to fast forward or advance the tape
rapidly. Press it again to play the passage. The radio will
play while the tape is advancing.
REPT Press this button to go to the beginning of the
current selection after 10 seconds or more of play. After
five seconds or less
of play, the player will return to the
beginning of the previous selection.
SRCH: Press this button to go to the beginning of the
next selection.
SCAN: Press this button to listen to the first eight seconds
of each passage.
Press it again to ,stop scanning.
PROG-RCL: Press the upper knob to change the side
of the tape that is playing. The lighted
arrows show
which side is currently playing.
EJCT Press this button to remove the tape.
STOP-PLAY: Press this button to listen to the radio
without ejecting the cassette tape. Press it again to
go
back to the tape.
CrO2: Press this button when playing high-bias chrome
or metal tapes.
3-14