1996 CHEVROLET CAVALIER light
[x] Cancel search: lightPage 130 of 372
Downloaded from www.Manualslib.com manuals search engine If the Light Is Flashing
The following may prevent more serious damage to
your vehicle:
0 Reduce vehicle speed.
0 Avoid hard accelerations.
Avoid steep uphill grades.
If towing a trailer, reduce the amount of cargo being
hauled as soon as it is possible.
If the light stops flashing and remains on steady, see “If
the Light Is On Steady” following.
If the light continues to flash, when it
is safe to do so,
stop the vehicle. Put your vehicle in PARK (P). Turn the
key off, wait at least
10 seconds and restart the engine.
If the light remains on steady, see “If the Light Is On
Steady” following. If the light is still flashing follow the
previous steps, and drive the vehicle to your dealer or
qualified service center for service,
If the Light Is On Steady
You may be able to correct the emission system
malfunction by considering the following:
Did you just put fuel into your vehicle?
If
so, reinstall the fuel cap, making sure to fully install
the cap. The diagnostic system can determine if the fuel
cap has been left off or improperly installed. This will
allow fuel to evaporate into the atmosphere. A few
driving trips should turn the light off.
Did you just drive through a deep puddle
of water?
If so, your electrical system may be wet. The condition
will usually be corrected when the electrical system
dries out. A few driving trips should
turn the light off.
Are you low
on fuel?
As your engine starts
to run out of fuel, your engine may
not run as efficiently as designed since small amounts of
air are sucked into the fuel line causing a misfire. The
system can detect this. Adding fuel should correct this
condition. Make sure to install the fuel cap properly. It
will
take a few driving trips to turn the light off.
2-72
Page 131 of 372
Downloaded from www.Manualslib.com manuals search engine Have you recently changed brands of fuel?
If
so, be sure to fuel your vehicle with quality fuel (see
“Fuel” in the Index).
Poor fuel quality will cause your
engine not to run as efficiently as designed. You may
notice this as stalling after start-up, stalling when you
put the vehicle into gear, misfiring, hesitation on
acceleration or stumbling on acceleration. (These
conditions may go away once the engine is warmed up.)
This will be detected by the system and cause the light
to turn on.
If you experience this condition, change the fuel brand
you use. It will require at least one full tank of the
proper
fuel to turn the light off.
If none of the above steps have made the light turn
off,
have your dealer or qualified service center check the
vehicle. Your dealer has the proper test equipment and
diagnostic tools to fix any mechanical or electrical
problems that may have developed.
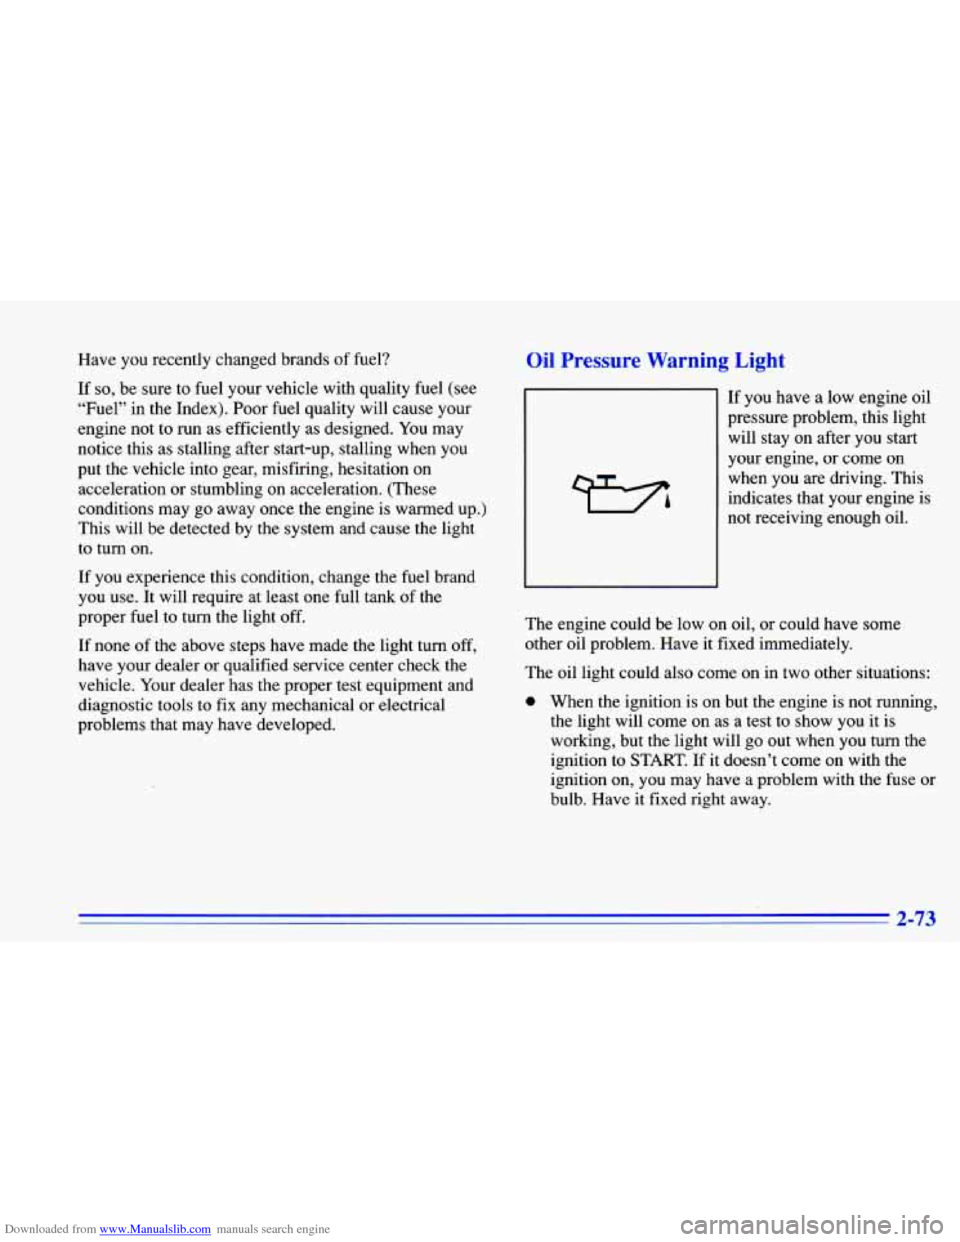
Oil Pressure Warning Light
If you have a low engine oil
pressure problem, this light
will stay on after you start
your engine, or come on
when you are driving. This
indicates that your engine is
not receiving enough oil.
The engine could be low on oil, or could have some
other oil problem. Have it fixed immediately.
The oil light could also come on in two other situations:
0 When the ignition is on but the engine is not running,
the light will come on as a test to show you it is
working, but the light will go out when you turn the
ignition to
START. If it doesn’t come on with the
ignition on, you may have a problem with the fuse or
bulb. Have it fixed right away.
2-73
Page 132 of 372
Downloaded from www.Manualslib.com manuals search engine If you’re idling at a stop sign, the light may blink on
If you make a hard stop, the light may come on for a
and then off.
moment. This is normal.
Don’t keep driving if the oil pressure is low. If
you do, your engine can become
so hot that it
catches fire.
You or others could be burned.
Check your
oil as soon as possible and have your
vehicle serviced.
I NOTICE:
Damage to your engine from neglected oil
problems can be costly and
is not covered by your
warranty.
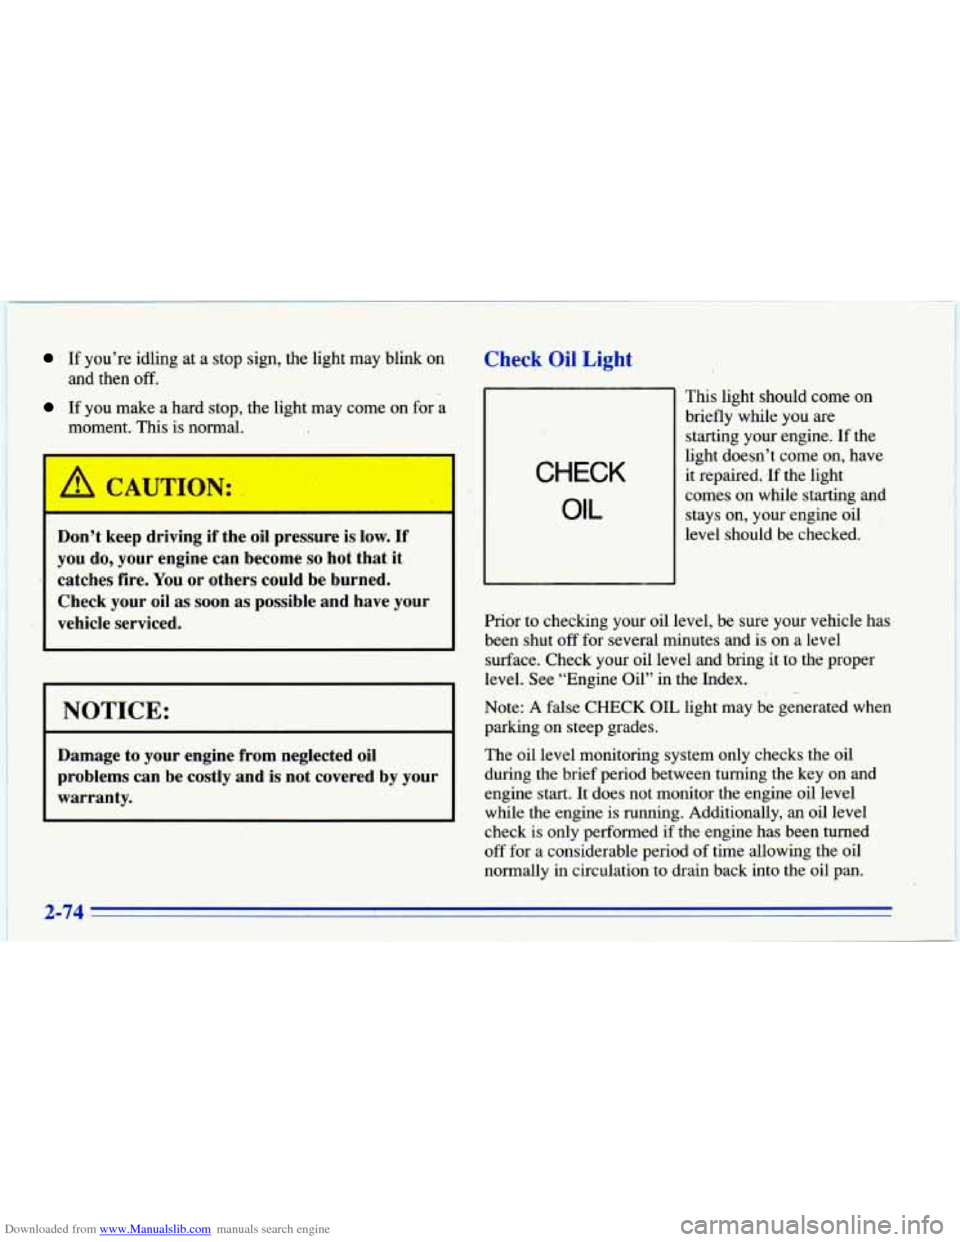
Check Oil Light
CHECK
OIL
Prior to checking your oil le! This light should come
on
briefly while you are
starting your engine. If the
light doesn’t come on, have
it repaired.
‘If the light
comes on while starting and
stays on, your engine oil
level should be checked.
,el, be sure
yo bur vehicle has
been shut
off for several minutes and is on a level
surface. Check your oil level and bring it to the proper
level. See “Engine Oil” in the Index.
Note: A false CHECK
OIL light may. be generated when
parking on steep grades.
The oil level monitoring system only checks the oil
during the brief period between turning the key on and
engine start. It does not monitor the engine oil level
while the engine
is running. Additionally, an oil level
check is only performed
if the engine has been turned
off for a considerable period of time allowing the oil
normally in circulation to drain back into the oil pan.
Page 133 of 372
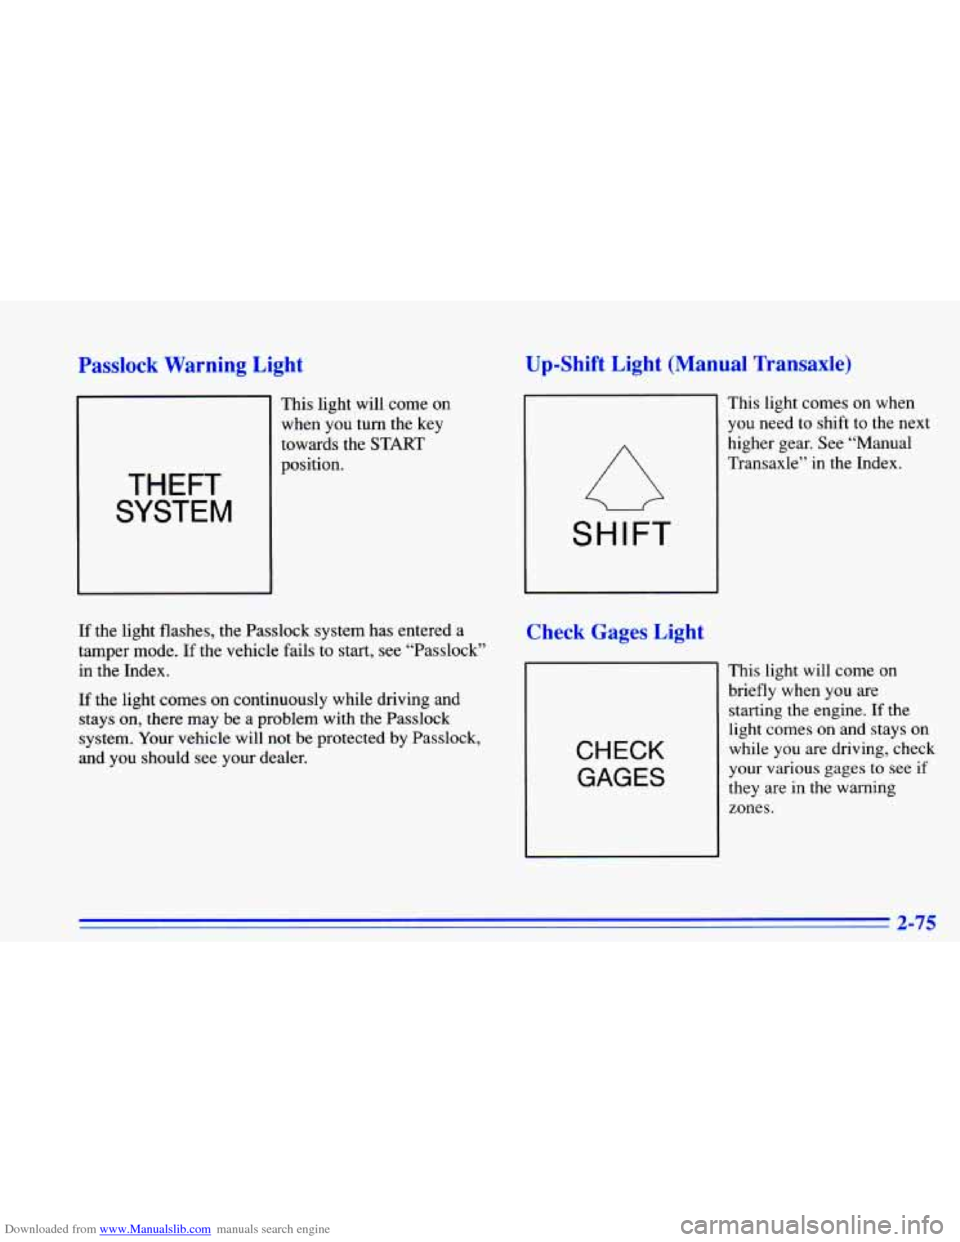
Downloaded from www.Manualslib.com manuals search engine Passlock Warning Light
THEFT
SYSTEM
This light will come on
when you turn the key
towards the START
position.
If the light flashes, the Passlock system has entered a
tamper mode.
If the vehicle fails to start, see “Passlock”
in the Index.
If the light comes on continuously while driving and
stays on, there may be
a problem with the Passlock
system. Your vehicle will not be protected by Passlock,
and you should see your dealer.
Up-Shift Light (Manual Transaxle)
This light comes on when
you need
to shift to the next
higher gear. See “Manual
Transaxle” in the Index.
SHIFT
Check Gages Light
CHECK
GAGES
This light will come on
briefly when
you are
starting the engine. If the
light comes on and stays on
while you are driving, check
your various gages to see if
they are in the warning
zones.
2-75
Page 140 of 372
Downloaded from www.Manualslib.com manuals search engine '!! FLOOR: This setting sends most of the air through
the ducts near the floor.
The rest comes out of the
defroster and side window vents.
9 DEFOG: This setting allows half of the air to go
to the floor ducts and half to the defroster and side
window vents.
9 DEFROST This setting directs most of the air
through the defroster and side window vents. Some of
the air goes to the floor ducts. The air conditioning
compressor will run automatically in this setting when it
is needed
to help dry the air in the vehicle.
Air Conditioning Compressor Button
Press the A/C button to operate the air conditioner
compressor. The indicator light above the button
will glow when the button is pressed. You don't have
to press the button to run the compressor in
MAX
or DEFROST.
Air Conditioning (Option)
On very hot days, open the windows long enough to
let hot, inside air escape. This reduces the time it
takes for your vehicle to cool down, which should
help fuel economy.
For quick cool-down on very hot days, use
MAX with
the temperature knob all the way in the blue area. If this
setting is used for long periods
of time, the air in your
vehicle may become too dry.
For normal cooling on hot days, use
VENT with the
temperature knob
in the blue area and the A/C button
pushed in. The system will bring in outside
air and cool it.
On cool, but sunny days,
the sun may warm your upper
body, but your lower body may not be warm enough.
You can use
BI-LEVEL with the temperature knob in
the middle and the
A/C button pushed in. The system
will bring in outside air and direct slightly warmer air
to
your lower body. You may notice this temperature
difference more at some times than others.
3-4
Page 148 of 372
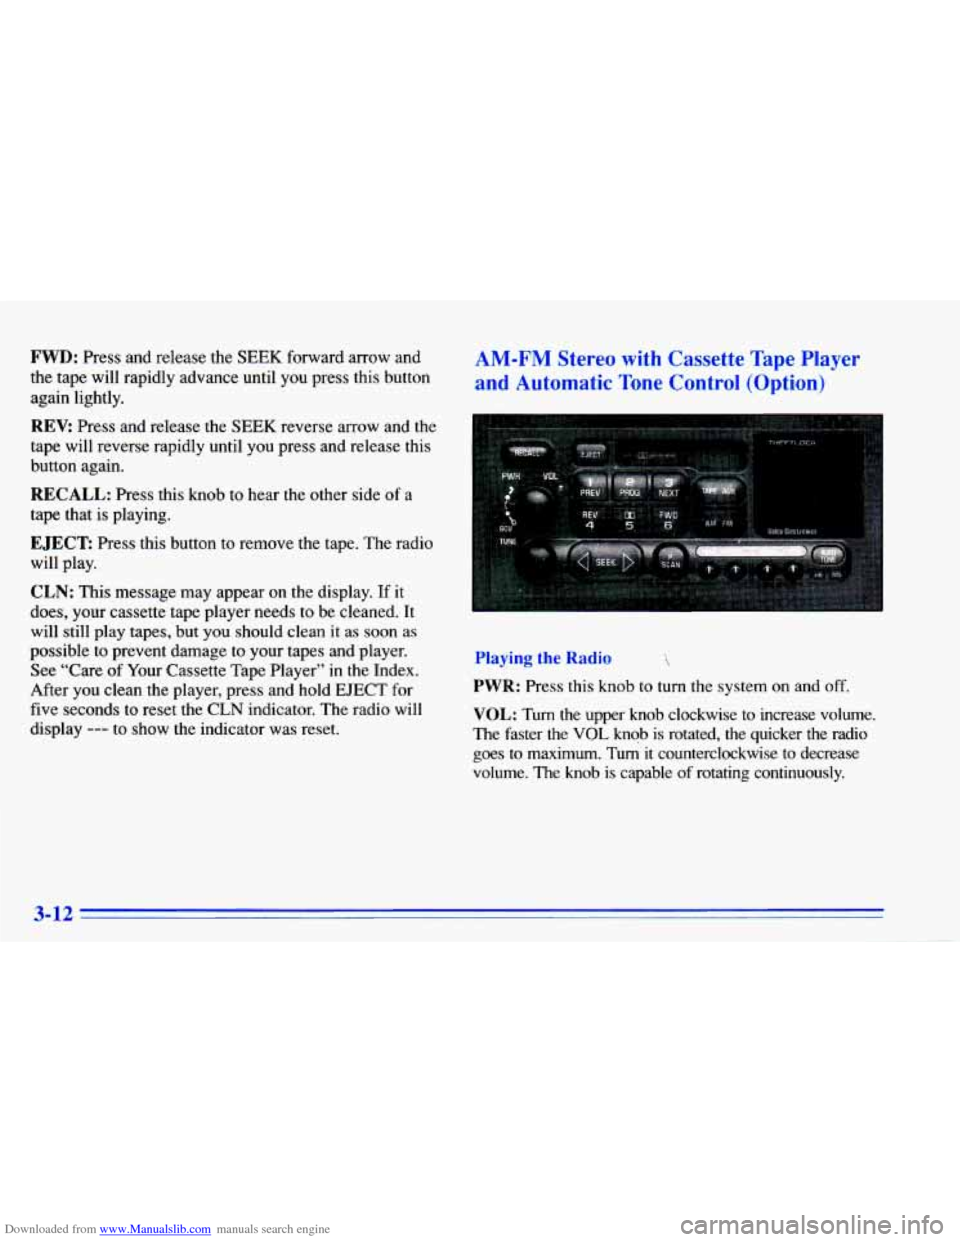
Downloaded from www.Manualslib.com manuals search engine FWD: Press and release the SEEK forward arrow and
the tape will rapidly advance until you press this button
again lightly.
REV: Press and release the SEEK reverse arrow and the
tape will reverse rapidly until you press and release this
button again.
RECALL: Press this knob to hear the other side of a
tape that is playing.
EJECT Press this button to remove the tape. The radio
will play.
CLN: This message may appear on the display. If it
does, your cassette tape player needs to be cleaned. It
will still play tapes, but you should clean it
as soon as
possible to prevent damage to your tapes and player.
See “Care of Your Cassette Tape Player” in the Index.
After you clean the player, press and hold
EJECT for
five seconds to reset the CLN indicator. The radio will
display
--- to show the indicator was reset.
AM-FM Stereo with Cassette Tape Player
and Automatic
Tone Control (Option)
Playing the Radio
PWR: Press this knob to turn the system on and off.
VOL: Turn the upper knob clockwise to increase volume.
The faster the
VOL knob is rotated, the quicker the radio
goes to maximum. Tu4 it counterclockwise to decrease
volume. The
knob is capable of rotating continuously.
3-12
Page 149 of 372
Downloaded from www.Manualslib.com manuals search engine SCV Your system has a feature called
Speed-Compensated-Volume (SCV). With SCV,’ your
audio system adjusts to make up for road and wind noise
as you drive. The volume should always sound the same
level to you as you drive. The control behind the upper
knob has SCV positions. The top position has a higher
maximum volume and gets louder faster than the middle
two positions. If you don’t want to use
SCV, turn the
control all the way down.
AM-FM: Press this button to alternate between AM,
FM1 and FM2. The display shows your selection.
RECALL: Press this button to recall the station being
played. If you press the button when the ignition is
off,
the clock will show for a few seconds.
TUNE: Press this knob lightly so it extends. ,Turn it to
choose radio stations. Push the knob back in when
you’re not using it.
SEEK: Press the forward or backward arrow to go to
the next higher or lower station. The sound will be
muted while seeking.
SCAN: Press one of the SEEK arrows for two seconds,
and SCAN will appear on the display. Use SCAN to
listen to stations for a few seconds. The radio will go
to
a station, stop for a few seconds, then go on to the next
station. Press SEEK again to stop scanning. The sound
will be muted while scanning.
P.SCAN: Press this button to listen to each of your
favorite stations stored on your pushbuttons for a few
seconds. The radio will scan through each
of the stations
stored on your pushbuttons, except those stations with
weak reception. The
AUTO TONE setting stored for
that pushbutton will be automatically chosen. Press
P.SCAN or one of the pushbuttons again to stop
scanning. P.SCAN will be displayed whenever the tuner
is in the P.SCAN mode. The channel number
(Pl-P6)
will appear momentarily just before the frequency is
displayed. In
FM mode, this function will scan through
both FM1 and FM2 preset stations and FM1 or FM2
will appear on the display.
3-13
Page 150 of 372
Downloaded from www.Manualslib.com manuals search engine PUSHBUTTONS: The six numbered pushbuttons
let you return to your favorite stations. You can set up
to
1.
2.
3.
4.
5.
18 stations (six AM, six FM1 and six FM2).
Press AM-FM to select the band.
Find the station
you want by using TUNE or SEEK.
Press AUTO TONE
to select the graph that best suits
the type
of station selected.
Press and hold one
of the six numbered buttons.
The sound will mute. When
it returns, release the
button. Whenever you press that numbered button,
the station you set will return and the AUTO TONE equalization that you selected will also be
automatically selected for that button.
If you manually tune or use SEEK or SCAN to find
a frequency stored
in a preset, the AUTO TONE
equalization stored for that frequency will be recalled.
Always check the display first
to make sure you have
the correct band.
Setting the Tone
AUTO TONE: This feature allows you to choose
preset treble
and bass equalization settings designed for
classical, news, rock, pop and jazz stations. CLASSIC
will appear on the display when you first press AUTO
TONE. Each time you press it, another setting will appear on
the display. Press it again after JAZZ appears and
MAN will appear. Tone control will return to the
TREB
and BASS knobs. Also, if you use the TREB and BASS
knobs, control will return to them
and MAN will appear.
BASS: Press this knob lightly so it extends.
Turn the knob clockwise to increase bass. Turn it
counterclockwise to decrease bass. The middle position
is a detent. When you use this control,
the radio’s
AUTO TONE setting.wil1 switch to manual.
TREB: Press this knob lightly so it extends. Turn the
knob clockwise to increase treble. Turn it
counterclockwise to decrease treble. The middle
position is a detent. When you use
this control, the
radio’s AUTO TONE setting will switch to manual.
Push the knobs back
in when you’re not using them.
3-14