1996 CHEVROLET CAVALIER ECO mode
[x] Cancel search: ECO modePage 100 of 372
Downloaded from www.Manualslib.com manuals search engine Illuminated Entry
When you open either front door, or open a rear door,
the lamps inside
your vehicle will go on. These lamps
will fade
off after about 40 seconds, or when the ignition
is turned
on after all the doors have been closed.
If the ignition has been off for less than two minutes,
the lamps inside
your vehicle will stay on for about
15 seconds to provide an illuminated exit when you
remove the key from the ignition.
After you exit the vehicle and all of the doors have been
closed, the lamps will stay
on for an additional four
seconds before fading
off. These lamps will also go on
when
you press the DOOR or UNLOCK button on the
optional Keyless Entry Transmitter.
Front Reading Lamps (Models with
Sunroof or Convertible Top)
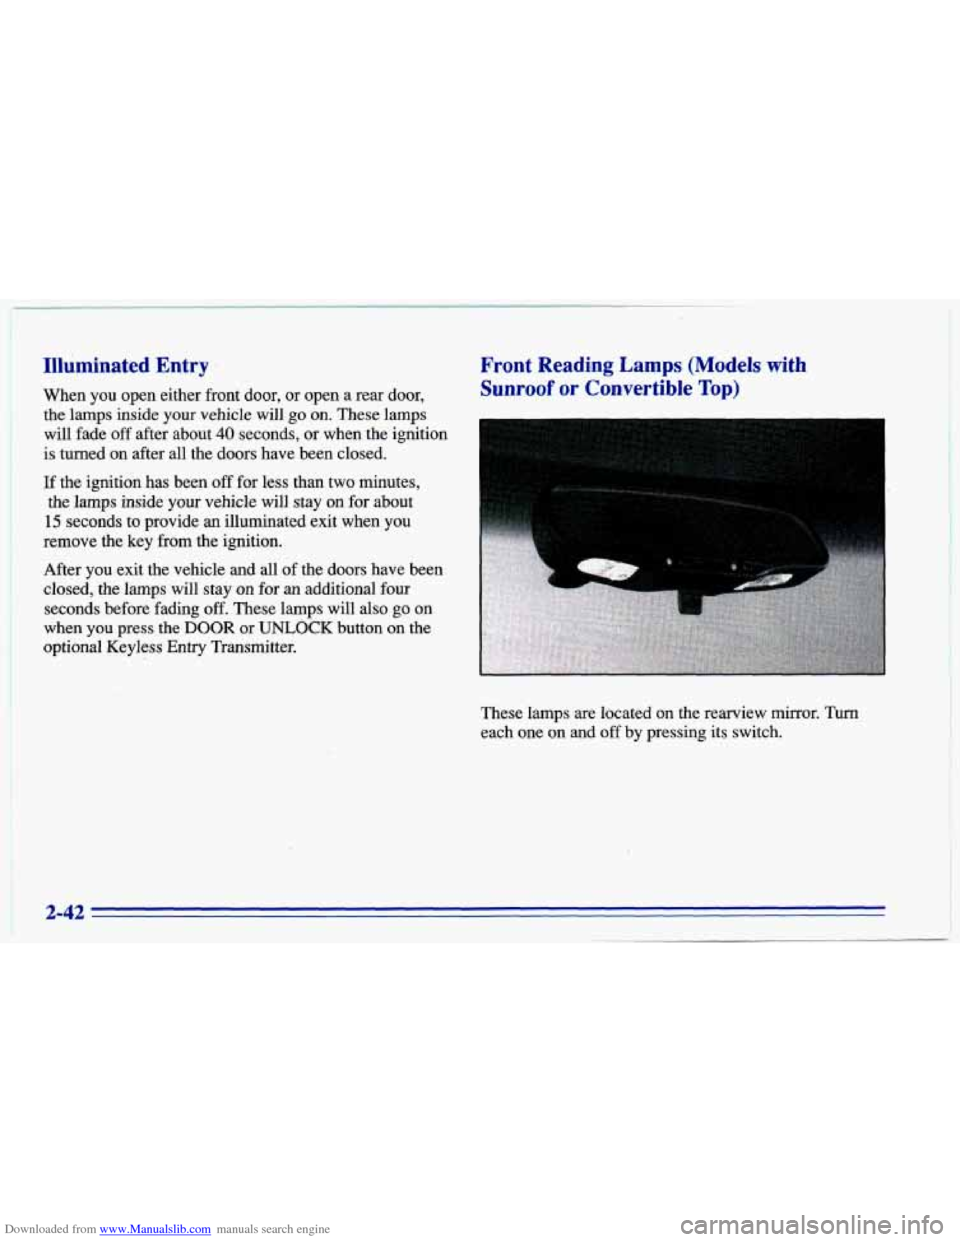
These lamps are located on the rearview mirror. Turn
each one on and off by pressing its switch.
2-42
1
Page 149 of 372
Downloaded from www.Manualslib.com manuals search engine SCV Your system has a feature called
Speed-Compensated-Volume (SCV). With SCV,’ your
audio system adjusts to make up for road and wind noise
as you drive. The volume should always sound the same
level to you as you drive. The control behind the upper
knob has SCV positions. The top position has a higher
maximum volume and gets louder faster than the middle
two positions. If you don’t want to use
SCV, turn the
control all the way down.
AM-FM: Press this button to alternate between AM,
FM1 and FM2. The display shows your selection.
RECALL: Press this button to recall the station being
played. If you press the button when the ignition is
off,
the clock will show for a few seconds.
TUNE: Press this knob lightly so it extends. ,Turn it to
choose radio stations. Push the knob back in when
you’re not using it.
SEEK: Press the forward or backward arrow to go to
the next higher or lower station. The sound will be
muted while seeking.
SCAN: Press one of the SEEK arrows for two seconds,
and SCAN will appear on the display. Use SCAN to
listen to stations for a few seconds. The radio will go
to
a station, stop for a few seconds, then go on to the next
station. Press SEEK again to stop scanning. The sound
will be muted while scanning.
P.SCAN: Press this button to listen to each of your
favorite stations stored on your pushbuttons for a few
seconds. The radio will scan through each
of the stations
stored on your pushbuttons, except those stations with
weak reception. The
AUTO TONE setting stored for
that pushbutton will be automatically chosen. Press
P.SCAN or one of the pushbuttons again to stop
scanning. P.SCAN will be displayed whenever the tuner
is in the P.SCAN mode. The channel number
(Pl-P6)
will appear momentarily just before the frequency is
displayed. In
FM mode, this function will scan through
both FM1 and FM2 preset stations and FM1 or FM2
will appear on the display.
3-13
Page 153 of 372
Downloaded from www.Manualslib.com manuals search engine Playing the Radio
PWR: Press this knob to turn the system on and off.
VOL: Turn the upper knob clockwise to increase volume.
The faster the
VOL knob is rotated, the quicker the radio
goes
to maximum. Turn it counterclockwise to decrease
volume. The knob is capable of rotating continuously.
SCV Your system has a feature called
Speed-Compensated-Volume (SCV). With SCV, your
audio system adjusts to make up for road and wind noise
as you drive. The volume should always sound the same
level
to you as you drive. The control behind the upper
knob has SCV positions. The top position has a higher
maximum volume and gets louder faster than the middle
two positions. If you don’t want to use SCV, turn the
control all the way down.
AM-FM: Press this button to alternate between AM,
FMl and FM2. The display shows your selection.
RECALL: Press this button to recall the station being
played. If
you press the button when the ignition is off,
the clock will show for a few seconds.
TUNE: Press this knob lightly so it extends. Turn it to
choose radio stations. Push the knob back in when
you’re not using it.
SEEK: Press the forward or backward arrow to go to
the
next higher or lower station. The sound will be
muted while seeking.
SCAN: Press one of the SEEK arrows for two seconds,
and SCAN will appear on the display. Use SCAN
to
listen to stations for a few seconds. The radio will go to
a station, stop for
a few seconds, then go on to the next
station. Press SEEK again
to stop scanning. The sound
will be muted while scanning.
P.SCAN: Press this button to listen to each of your
favorite stations stored on your pushbuttons for a few
seconds.
The radio will scan through each of the stations
stored on your pushbuttons, except
those stations with
weak reception. The AUTO TONE setting stored for
that pushbutton will be automatically chosen. Press P.SCAN or one of the pushbuttons again to stop
scanning. P.SCAN will be displayed whenever the tuner
is in the P.SCAN mode. The channel number (Pl-P6)
will appear momentarily just before the frequency is
displayed. In FM mode, this function will scan through
both
FM 1 and FM2 preset stations and FM 1 or FM2 will
appear on
the display.
3-17
Page 196 of 372
Downloaded from www.Manualslib.com manuals search engine NOTICE:
Pulling a trailer improperly can damage your
vehicle and result in costly repairs not covered by
your warranty.
To pull a trailer correctly, follow
the advice in this part, and see your Chevrolet
dealer for important information about towing a
trailer with your vehicle.
Do not tow a trailer if your vehicle is equipped with a
2.2L (Code
4) engine. You also cannot tow a trailer if
your vehicle is equipped with
a manual or a three-speed
automatic transaxle, or is a convertible model.
Your vehicle can tow
a trailer if it is equipped with a
2.4L (Code
T) engine, a four-speed automatic transaxle
and proper trailer towing equipment.
To identify what
the vehicle trailering capacity
is for your vehicle, you should read the informarlon in “Weight of the Trailer’’\
that appears later in this section. But trailering is
different than just driving your vehicle by itself.
Trailering .means changes
in handling, durability, and
fuel economy. Successful, safe trailering takes correct
equipment, and it has to be used properly.
That’s the reason for this part. In
it are many
time-tested, important trailering tips and safety rules.
Many of these
are important for your safety and that of
your passengers.
So please read this section carefully
before you pull a trailer.
Load-pulling components such as the engine, transaxle,
wheel assemblies and tires are forced to work harder
against the drag
of the added weight. The engine is
required to operate at relatively higher speeds and under
greater loads, generating extra heat. What’s more, the
trailer adds considerably to wind resistance, increasing
the pulling requirements.
4-34
Page 269 of 372
Downloaded from www.Manualslib.com manuals search engine Brake Pedal Travel
See your dealer if the brake pedal does not return to
normal height, or if there is a rapid increase in pedal
travel. This could be a sign of brake trouble.
Brake Adjustment
Every time you make a moderate brake stop, your disc
brakes adjust for wear.
If you rarely make a moderate or
heavier stop, then your brakes might not adjust correctly. If you drive in that way, then
-- very carefully -- make
a few moderate brake stops about every
1,000 miles
(1 600 km), so your brakes will adjust properly.
If your brake pedal goes down farther than normal, your
rear drum brakes may need adjustment. Adjust them by
backing up and firmly applying the brakes a few times.
Replacing Brake System Parts
The braking system on a modern vehicle is complex. Its
many parts have to be of top quality and work well
together if the vehicle is to have really good braking. Vehicles we
design and test have top-quality GM brake
parts in them, as your Chevrolet does when it is new.
When you replace parts of your braking system
-- for
example, when your brake linings wear down and you
have to have new ones put in
-- be sure you get new
genuine GM replacement parts. If you don’t, your
brakes may no longer work properly. For example, if
someone puts in brake linings that are wrong for your
vehicle, the balance between your front and rear brakes
can change
-- for the worse. The braking performance
you’ve come to expect can change in many other ways if
someone puts in the wrong replacement brake parts.
Battery
Every new Chevrolet has a Delco Freedom@ battery.
You never have to add water to one of these. When it’s
time for a new battery, we recommend
a Delco
Freedom@ battery. Get one that has the replacement
number shown on the original battery’s label.
6-31