Page 119 of 372
Downloaded from www.Manualslib.com manuals search engine Your instrument panel is designed to let you know at a glance how your vehicle is running. You’ll know how fast
you’re going, how much fuel you’re using, and many other things you’ll need to drive safely and economically.
The main components of your instrument panel are:
1. Instrument Panel Intensity Control
2. Turn Signal/Multifunction Lever
3. Hazard Warning Flashers Switch
4. Ignition Switch
5. Windshield Wiperwasher Controls
6. Audio System
7. Climate Controls and Rear Window Defogger
8. Ashtray .
9. Parking Brake Lever
10. Tilt Steering Wheel Lever (Option)
11. Hood Release Lever
12. Fuse Panel
2-61
Page 120 of 372
Downloaded from www.Manualslib.com manuals search engine Instrument Panel Clusters
UNLEADED FUEL ONLY
Your Chevrolet is equipped with one of these instrument panel clusters, which include indicator warning lights and
gages that
are explained on the following pages. Be sure to read about those that apply to the instrument panel cluster
for
your vehicle.
2-62
Page 124 of 372
Downloaded from www.Manualslib.com manuals search engine Air Bag Readiness Light
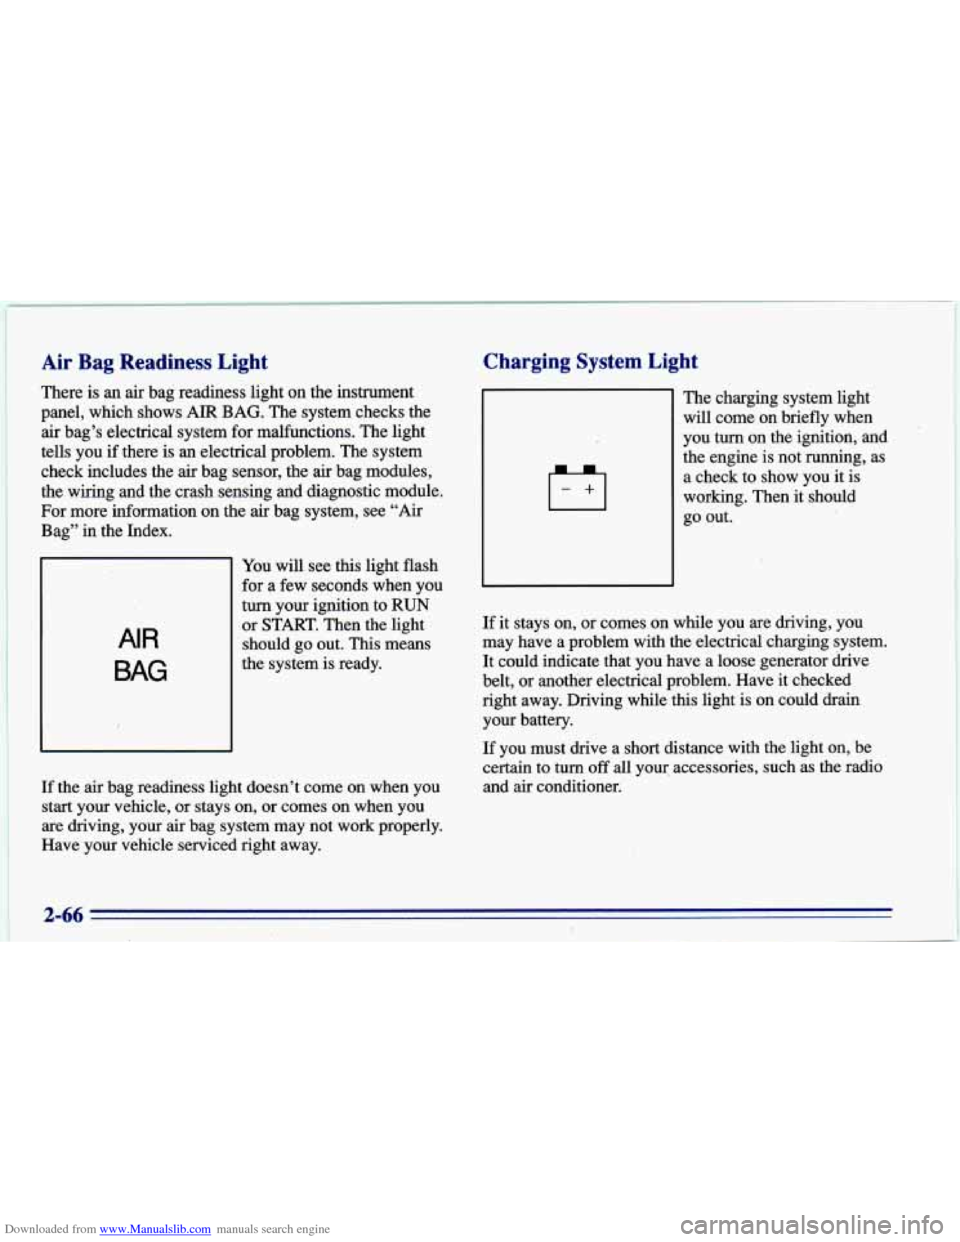
There is an air bag readiness light on the instrument
panel, which shows
AIR BAG. The system checks the
air bag’s electrical system for malfunctions. The light
tells you if ,there’ is an electrical problem. The system
check includes the
air bag sensor, the air bag modules,
the wiring and the crash sensing and diagnostic module.
For more information on the air bag system, see “Air
Bag” in the Index.
AIR
BAG
You will see this light flash
,for a few seconds when you
turn your ignition to RUN
or START. Then the light
should go out. This means
the system is ready.
If the air bag readiness light doesn’t come on when you
start your vehicle, or stays on, or comes on when you
are driving, your
air bag system may not work properly.
Have your vehicle serviced right away.
Charging System Light
El
The charging system light
will come on briefly when
you
turn on the ignition, and
the engine is not running,
as
a check to show you it is
working. Then it should
go out.
If it stays on, or comes on while you are driving, you
may have a problem with the
electrical charging system.
It could indicate that you have a loose generator drive
belt, or another electrical problem. Have it checked
right away. Driving while this light is on could drain
your battery.
If you must drive a short distance
with the light on, be
certain to
turn off all yoq accessories, such as the radio
and
air conditioner.
2-66
Page 138 of 372
Downloaded from www.Manualslib.com manuals search engine Fan Knob
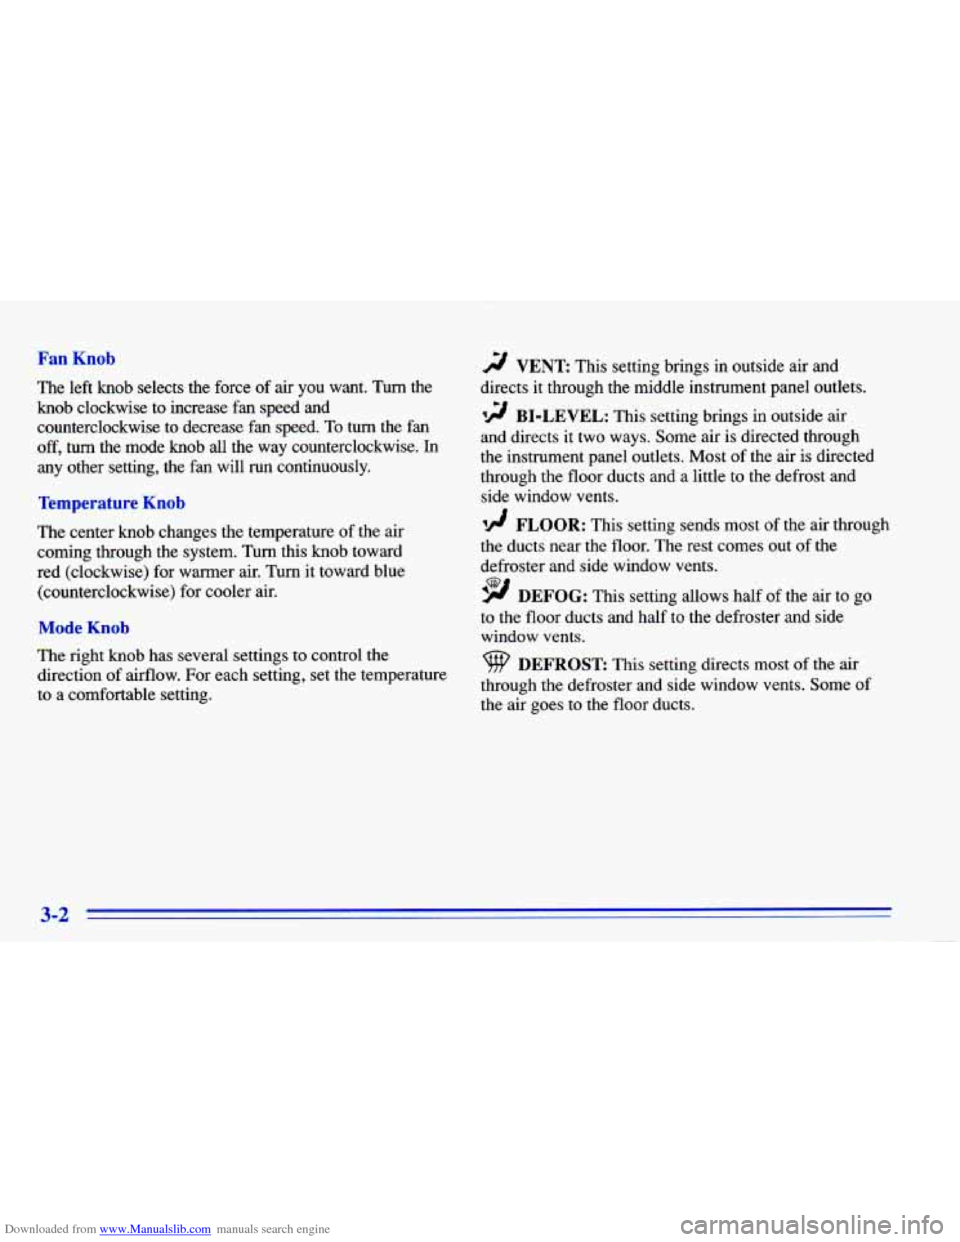
The left knob selects the force of air you want. Turn the
knob clockwise to increase fan speed and counterclockwise to decrease fan speed.
To turn the fan
off, turn the mode knob all the way counterclockwise. In
any other setting, the fan will run continuously.
Temperature Knob
The center knob changes the temperature of the air
coming through the system. Turn this knob toward
red (clockwise) for warmer air. Turn it toward blue
(counterclockwise) for cooler air.
Mode Knob
The right knob has several settings to control the
direction of airflow. For each setting, set the temperature
to a comfortable setting.
2 VENT This setting brings in outside air and
directs it through the middle instrument panel outlets.
12 BI-LEVEL: This setting brings in outside air
and directs it two ways. Some air is directed through
the instrument panel outlets. Most of the air is directed
through the floor ducts and a little to the defrost and
side window vents.
Id FLOOR: This setting sends most of the air through
the ducts near the floor. The rest comes out of the
defroster and side window vents.
9 DEFOG: This setting allows half of the air to go
to the floor ducts and half to the defroster
and side
window vents.
DEFROST This setting directs most of the air
through the defroster and side window vents. Some of
the air goes to the floor ducts.
3-2
Page 139 of 372
Downloaded from www.Manualslib.com manuals search engine Climate Control System with Air
Con g (Optiol
-. . .
Fan Knob
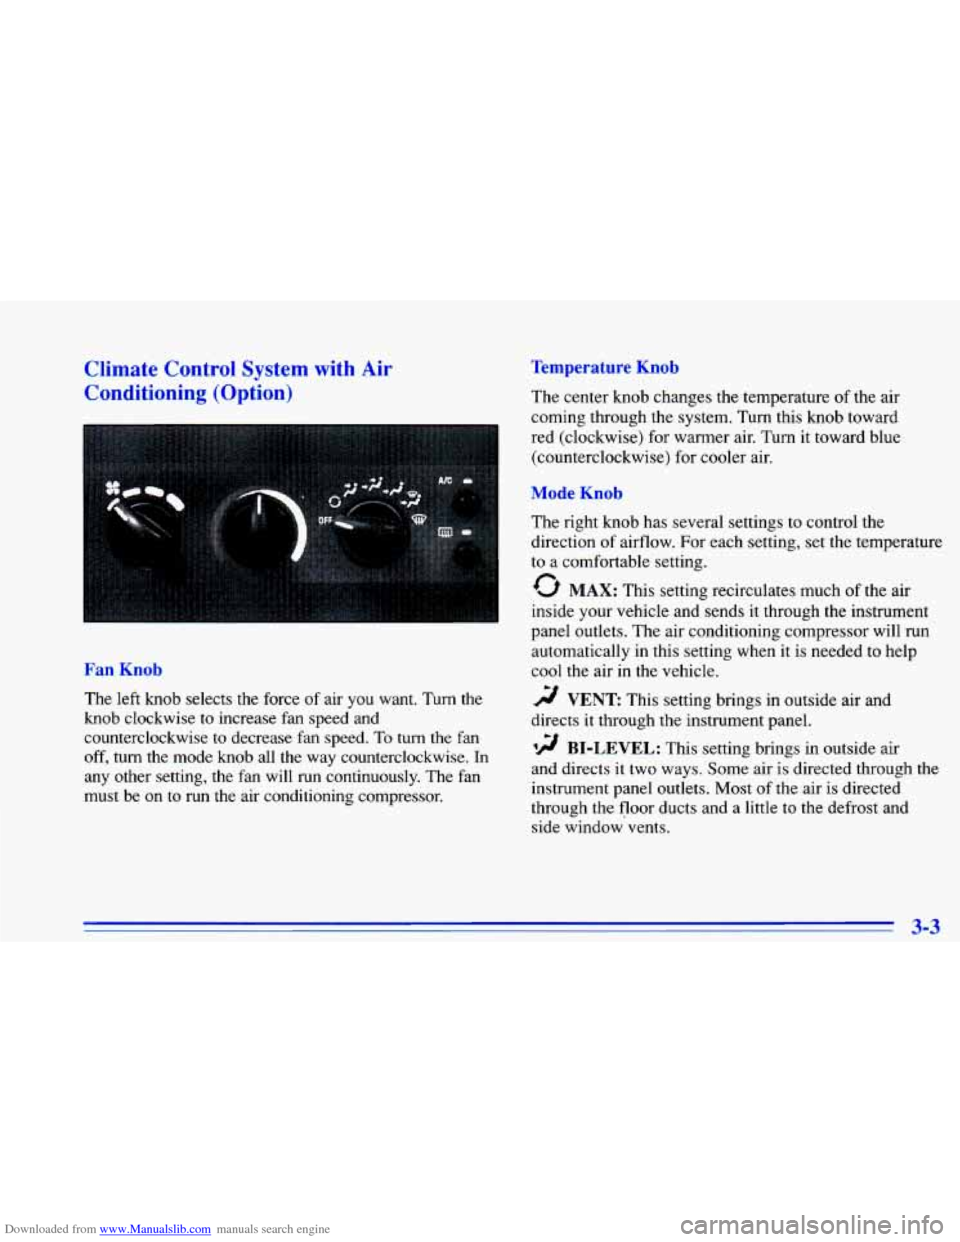
The left knob selects the force of air you want. Turn the
knob clockwise to increase fan speed and
counterclockwise
to decrease fan speed. To turn the fan
off, turn the mode knob all the way counterclockwise. In
any other setting,
the fan will run continuously. The fan
must be on
to run the air conditioning compressor.
Temperature Knob
The center knob changes the temperature of the air
coming through the system.
Turn this knob toward
red (clockwise) for warmer air. Turn it toward blue
(counterclockwise) for cooler air.
Mode Knob
The right knob has several settings to control the
direction
of airflow. For each setting, set the temperature
to a comfortable setting.
0 MAX: This setting recirculates much of the air
inside
your vehicle and sends it through the instrument
panel outlets. The air conditioning compressor will run
automatically in this setting when it is needed to help
cool
the air in the vehicle.
r;/ VENT This setting brings in outside air and
directs it through the instrument panel.
'!! BI-LEVEL: This setting brings in outside air
and directs it two ways. Some air is directed through the
instrument panel outlets. Most of the air is directed
through the floor ducts and a little to the defrost and
side window vents.
3-3
Page 191 of 372
Downloaded from www.Manualslib.com manuals search engine Run your engine only as long as you must. This saves
fuel. When you run the engine, make it.go a little faster
than just idle. That is, push the accelerator slightly. This
uses less fuel for the heat that you get and it keeps the
battery charged.
You will need a well-charged battery to
restart the vehicle, and possibly for signaling later
on
with your headlamps. Let the heater run for awhile.
Then, shut the engine off and close the window almost
all the way
to preserve the heat. Start the engine again
and repeat this only when you feel really uncomfortable
from the cold. But do it as little as possible. Preserve the
fuel as long as you can.
To help keep warm, you can get
out of the vehicle and do some fairly vigorous exercises
every half hour or
so until help comes.
Recreational Vehicle Towing
You can tow your vehicle behind another vehicle for use
at your destination. Be sure
to use the proper towing
equipment designed for recreational towing. Follow the
instructions for the towing equipment.
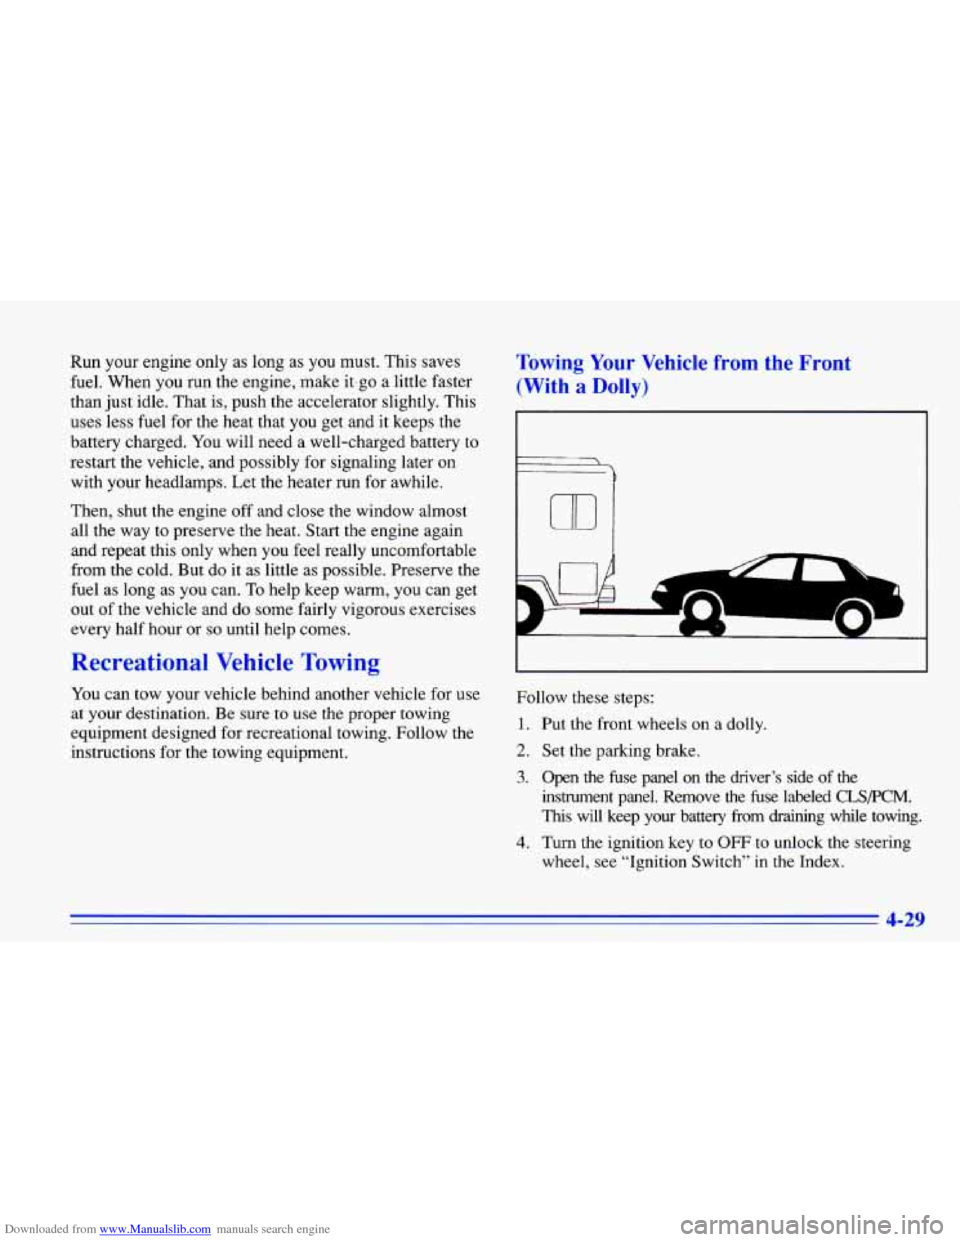
Towing Your Vehicle from the Front
(With a Dolly)
€
7
m
Follow these steps:
1. Put the front wheels on a dolly.
2. Set the parking brake.
3. Open the fuse panel on the driver’s side of the
instrument panel. Remove the fuse labeled
CLSPCM.
This will keep your battery from draining while towing.
4. Turn the ignition key to OFF to unlock the steering
wheel, see “Ignition Switch’’ in the Index.
4-29
Page 192 of 372
Downloaded from www.Manualslib.com manuals search engine 5. Clamp the steering wheel in a straight-ahead position
6. Release the parking brake.
When you
are finished towing, make sure you replace
the CLS/PCM fuse in the instrument panel fuse block.
with a clamping device designed for towing.
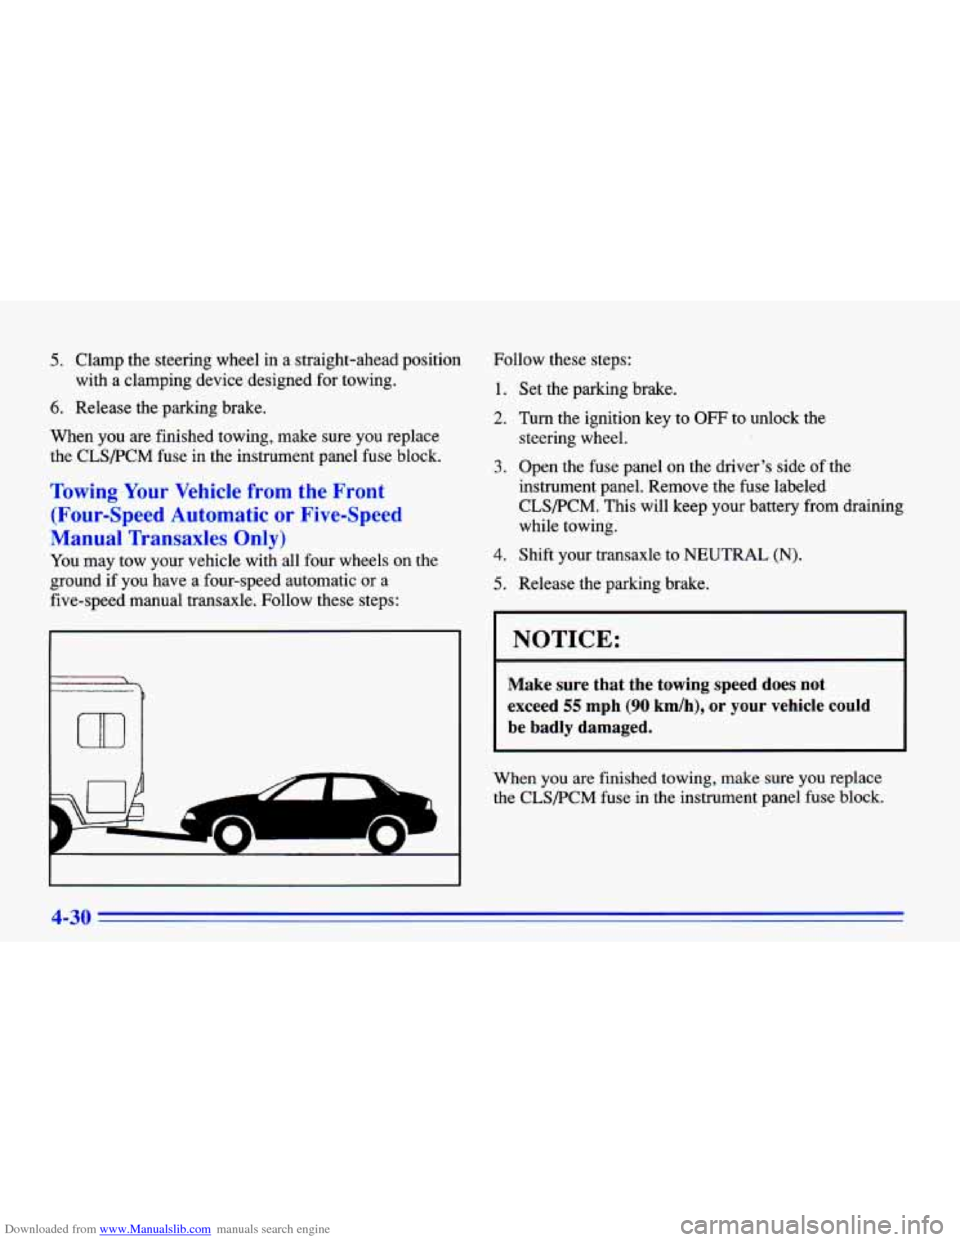
Towing Your Vehicle from the Front
(Four-Speed Automatic
or Five-Speed
Manual Transaxles Only)
You may tow your vehicle with all four wneels on the
ground
if you have a four-speed automatic or a
five-speed manual transaxle. Follow these steps:
r
m
.
*-
Follow these steps:
1. Set the parking brake.
2. Turn the ignition key to OFF to unlock the
3. Open the fuse panel on the driver’s side of the
instrument panel. Remove the fuse labeled
CLS/PCM. This will keep your battery from draining
while towing. steering wheel.
4. Shift your transaxle to NEUTRAL (N).
5. Release the parking brake.
NOTICE:
Make sure that the towing speed does not
exceed
55 mph (90 km/h), or your vehicle could
be badly damaged.
When you are finished towing, make sure you replace
the CLS/PCM fuse in the instrument panel fuse block.
4-30
Page 201 of 372
Downloaded from www.Manualslib.com manuals search engine firn Signals When Towing a Trailer
The green arrows on your instrument panel will flash
whenever you signal a turn or lane change. Properly
hooked up, the trailer lamps will also flash, telling other
drivers you’re about to turn, change lanes or stop.
When towing a trailer, the green arrows on your
instrument panel will flash for turns even if the bulbs on
the trailer are burned out. Thus, you may think drivers
behind you are seeing your signal when they are not.
It’s important to check occasionally to be sure the trailer
bulbs are still working.
Driving On Grades
Reduce speed and shift to a lower gear before you start
down
a long or steep downgrade. If you don’t shift
down, you might have to use your brakes
so much that
they would get hot and no longer work well.
On a long uphill grade, shift down and reduce your
speed to around
45 mph (70 km/h) to reduce the
possibility of engine and transaxle overheating.
Parking on Hills
You really should not park your vehicle, with a trailer
attached, on a hill. If something goes wrong, your
rig
could start to move. People can be injured, and both
your vehicle and the trailer can be damaged.
But if you ever have to park your rig on a hill, here’s
how to do
it:
1. Apply your regular brakes, but don’t shift into
2. Have someone place chocks under the trailer wheels. PARK
(P) yet.
3. When the wheel
chocks are in place, release the
regular brakes until the chocks absorb the load.
4. Reapply the regular brakes. Then apply your parking
brake, and then shift to PARK
(P).
5. Release the regular brakes.
4-39