1996 CHEVROLET CAVALIER battery
[x] Cancel search: batteryPage 156 of 372
Downloaded from www.Manualslib.com manuals search engine use the counter reading on the display to locate a
passage
more easily.
FWD (6): Press and hold this button to advance quickly
within
a track. Release it to resume playing. You can
use the counter reading on the display to locate a
passage easily.
AM-FM: Press this button to play the radio when a
disc is in the player. The CD disc symbol
will remain on
the display.
CD AUX: Press this button to change to the disc
function when the radio is on. The CD disc symbol
will
appear on the display when the disc is in the player,
whether it is active or not. If equipped with a remote
cassette, press this button a second time to activate
it.
EJECT Press this button to remove the disc. The radio
will play. The disc will start at the first track when you
reinsert
it.
If the ignition is off, you may still press this button to
eject the disc.
If you turn off the ignition or radio with a disc in the
player, it will stay in the player. When you turn on the ignition or system, the disc will start playing where it
was stopped.
If you press EJECT but don't remove the
disc, the player will pull the disc back in
to protect it
after about one minute.
Theft-Deterrent Feature
THEFTLOCK" is designed to discourage theft of your
radio. It works by using a secret code to disable all radio
functions whenever battery power is removed.
The THEFTLOCK feature for the radio may be used or
ignored.
If ignored, the system plays normally and the
radio
is not protected by the feature. If THEFTLOCK is
activated, your radio will not operate
if stolen.
When THEFTLOCK is activated, the radio will display
LOC to indicate a locked condition anytime battery power is removed. If your battery loses power for any
reason, you must unlock the radio with the secret code
before
it will operate.
3-20
Page 158 of 372
Downloaded from www.Manualslib.com manuals search engine Unlocking the Theft-Deterrent Feature After a
Power
Loss
Enter your secret code as follows; pause no more than
15 seconds between steps:
1. LOC appears when the ignition is on.
2. Press MN and 000 will appear on the display.
3. Press MN again to make the last two digits agree
4. Press HR to make the first one or two digits agree
with your code.
with your code.
5. Press AM-FM after you have confirmed that the
code matches the secret code you have written down.
The display will show
SEC, indicating the radio is
now operable and secure.
If you enter the wrong code eight times, INOP will
appear
on the display. You will have to wait an hour
with the ignition on before you can try again. When you
try again, you will only have three chances
to enter the
correct code before INOP appears.
If you lose or forget your code, contact your dealer.
Disabling the Theft-Deterrent Feature
Enter your secret code as follows; pause no more
than 15 seconds between steps:
1. Turn the ignition to the ACCESSORY or
RUN position.
2. Turn the radio off.
3. Press the 1 and 4 buttons together. Hold them down
4. Press MN and 000 will appear on the display.
5. Press MN again to make the last two digits agree
until
SEC shows on the display.
with your code.
6. Press HR to make the first one or two digits agree
with your code.
7. Press AM-FM after you have confirmed that the
code matches the secret code you have written down.
The display will show
---, indicating that the radio is
no longer secured.
If the code entered is incorrect,
SEC will appear on the
display. The radio will remain secured until the correct
code is entered.
When battery power is given to a secured radio, the
radio won’t turn on and
LOC will appear on the display.
3-22
Page 191 of 372
Downloaded from www.Manualslib.com manuals search engine Run your engine only as long as you must. This saves
fuel. When you run the engine, make it.go a little faster
than just idle. That is, push the accelerator slightly. This
uses less fuel for the heat that you get and it keeps the
battery charged.
You will need a well-charged battery to
restart the vehicle, and possibly for signaling later
on
with your headlamps. Let the heater run for awhile.
Then, shut the engine off and close the window almost
all the way
to preserve the heat. Start the engine again
and repeat this only when you feel really uncomfortable
from the cold. But do it as little as possible. Preserve the
fuel as long as you can.
To help keep warm, you can get
out of the vehicle and do some fairly vigorous exercises
every half hour or
so until help comes.
Recreational Vehicle Towing
You can tow your vehicle behind another vehicle for use
at your destination. Be sure
to use the proper towing
equipment designed for recreational towing. Follow the
instructions for the towing equipment.
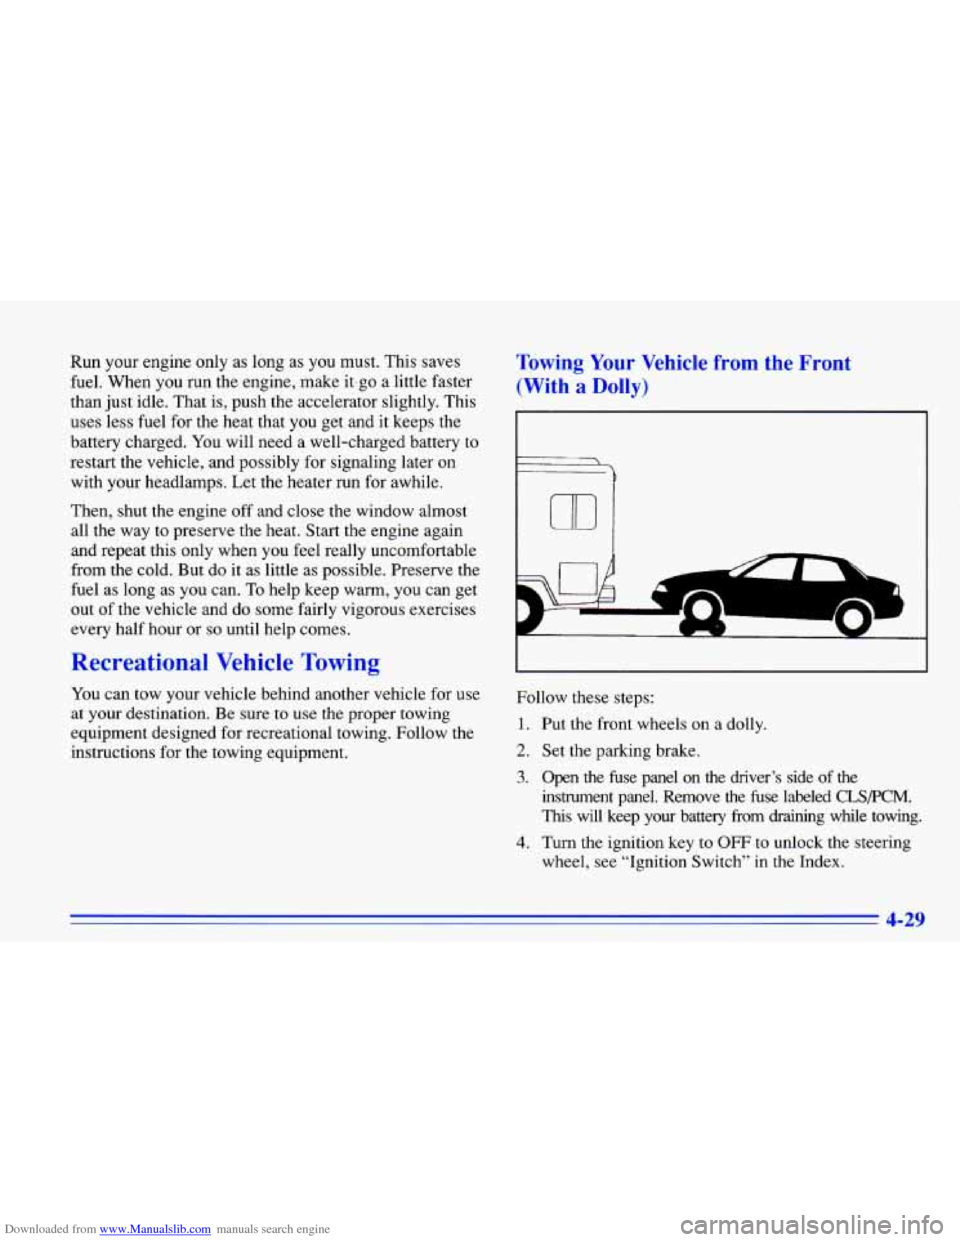
Towing Your Vehicle from the Front
(With a Dolly)
€
7
m
Follow these steps:
1. Put the front wheels on a dolly.
2. Set the parking brake.
3. Open the fuse panel on the driver’s side of the
instrument panel. Remove the fuse labeled
CLSPCM.
This will keep your battery from draining while towing.
4. Turn the ignition key to OFF to unlock the steering
wheel, see “Ignition Switch’’ in the Index.
4-29
Page 192 of 372
Downloaded from www.Manualslib.com manuals search engine 5. Clamp the steering wheel in a straight-ahead position
6. Release the parking brake.
When you
are finished towing, make sure you replace
the CLS/PCM fuse in the instrument panel fuse block.
with a clamping device designed for towing.
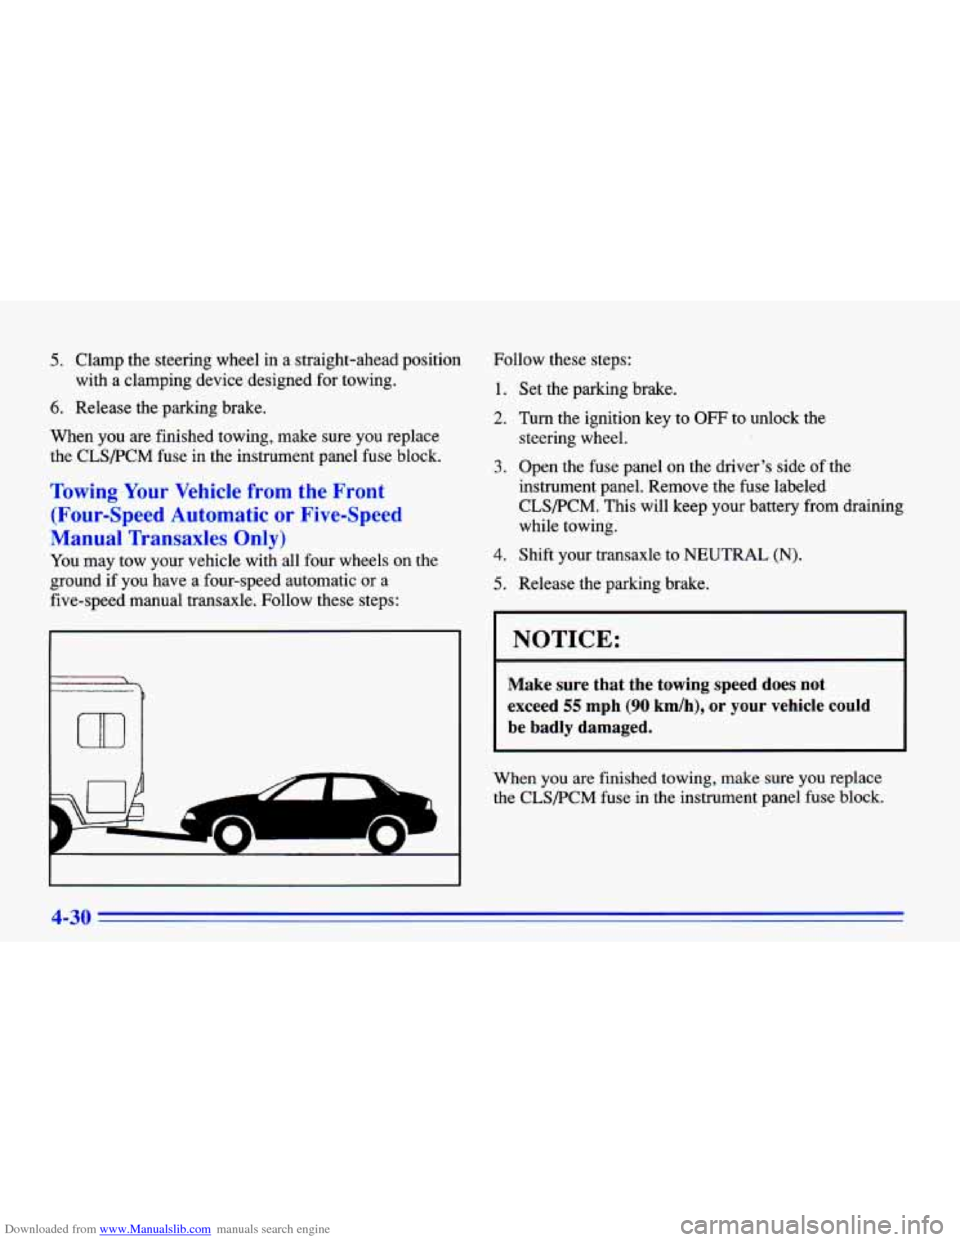
Towing Your Vehicle from the Front
(Four-Speed Automatic
or Five-Speed
Manual Transaxles Only)
You may tow your vehicle with all four wneels on the
ground
if you have a four-speed automatic or a
five-speed manual transaxle. Follow these steps:
r
m
.
*-
Follow these steps:
1. Set the parking brake.
2. Turn the ignition key to OFF to unlock the
3. Open the fuse panel on the driver’s side of the
instrument panel. Remove the fuse labeled
CLS/PCM. This will keep your battery from draining
while towing. steering wheel.
4. Shift your transaxle to NEUTRAL (N).
5. Release the parking brake.
NOTICE:
Make sure that the towing speed does not
exceed
55 mph (90 km/h), or your vehicle could
be badly damaged.
When you are finished towing, make sure you replace
the CLS/PCM fuse in the instrument panel fuse block.
4-30
Page 206 of 372
Downloaded from www.Manualslib.com manuals search engine When the hazard warning flashers are on, your turn
signals won’t work.
Other Warning Devices
If you carry reflective triangles, you can set one up at
the side of the road about
300 feet (100 m) behind your
vehicle.
Jump Starting
If your battery has run down, you may want to use
another vehicle and some jumper cables
to start your
Chevrolet. But please follow the steps below to do
it safely.
I NOTICE:
Ignoring these steps could result in costly
damage to your vehicle that wouldn’t be covered
by your warranty.
Trying to
start your Chevrolet by pushing or
pulling it could damage your vehicle, even if
you
have a manual transaxle. And if you have an
automatic transaxle, it won’t
start that way. Batteries can
hurt you. They can be dangerous
because:
They contain acid that can burn you.
0 They contain gas that can explode or ignite.
0 They contain enough electricity to burn you.
If you don’t follow these steps exactly, some or all
of these things can hurt you.
1. Check the other vehicle. It must have a 12-volt
battery
with a negative ground system.
I NOTICE:
If the other system isn’t a 12-volt system with a
negative ground, both vehicles can be damaged.
5-2
Page 207 of 372
Downloaded from www.Manualslib.com manuals search engine 2. Get the vehicles close enough so the jumper cables
can reach, but be sure the vehicles aren’t touching
each other. If they are, it could cause
a ground
connection you don’t want. You wouldn’t be able to
start your Chevrolet, and the bad grounding could
damage the electrical systems.
You could be injured if the vehicles roll. Set the
parking brake firmly on each vehicle. Put an
automatic transaxle in
PARK (P) or a manual
transaxle in
NEUTRAL (N).
3. Turn off the ignition on both vehicles. Unplug
unnecessary accessories plugged into the cigarette
lighter.
Turn off all lamps that aren’t needed as well
as radios. This will avoid sparks and help save both
batteries. In addition, it could save your ra&o.
NOTICE:
If you leave your radio on, it could be badly
damaged. The repairs wouldn’t be covered by
your warranty.
4. Open the hoods and locate the batteries.
An electric fan can start up even when the engine
is not running and can injure you. Keep hands,
clothing and tools away from any underhood
electric fan.
5. Find the positive (+) and negative (-) terminals on
each battery.
5-3
Page 208 of 372
Downloaded from www.Manualslib.com manuals search engine Using a match near a battery can cause battery
gas to explode. People have been hurt doing this,
’
and some have been blinded. Use a flashlight if
you need more light.
Be
sure the battery has enough water. You don’t
need
to add water to the Delco Freedom@ battery
installed in every new
GM vehicle. But if a
battery has filler caps, be sure the right amount
of fluid is there.
If it is low, add water to take care
of that first. If you don’t, explosive gas could
be
present.
Battery fluid contains acid that can burn
you.
Don’t get it on you. If you accidentally get it in
your eyes or on your skin, flush the place with
water and get medical help immediately.
6. Check that ,the jumper cables don’t have loose or
missing insulation.
If they do, you could get a shock.
The vehicles could be damaged, too.
Before you connect the cables, here are some basic
things you should know. Positive
(+) will go to
positive
(+) and negative (-) will go to negative (-)
or a metal engine part. Don’t connect positive (+) to
negative
(-) or you’ll get a short that would damage
the battery and maybe other parts, too.
a JTION: I
Fans or other moving engine parts can injure you
badly. Keep your hands away from moving parts
once
the engines are running.
5-4
Page 209 of 372
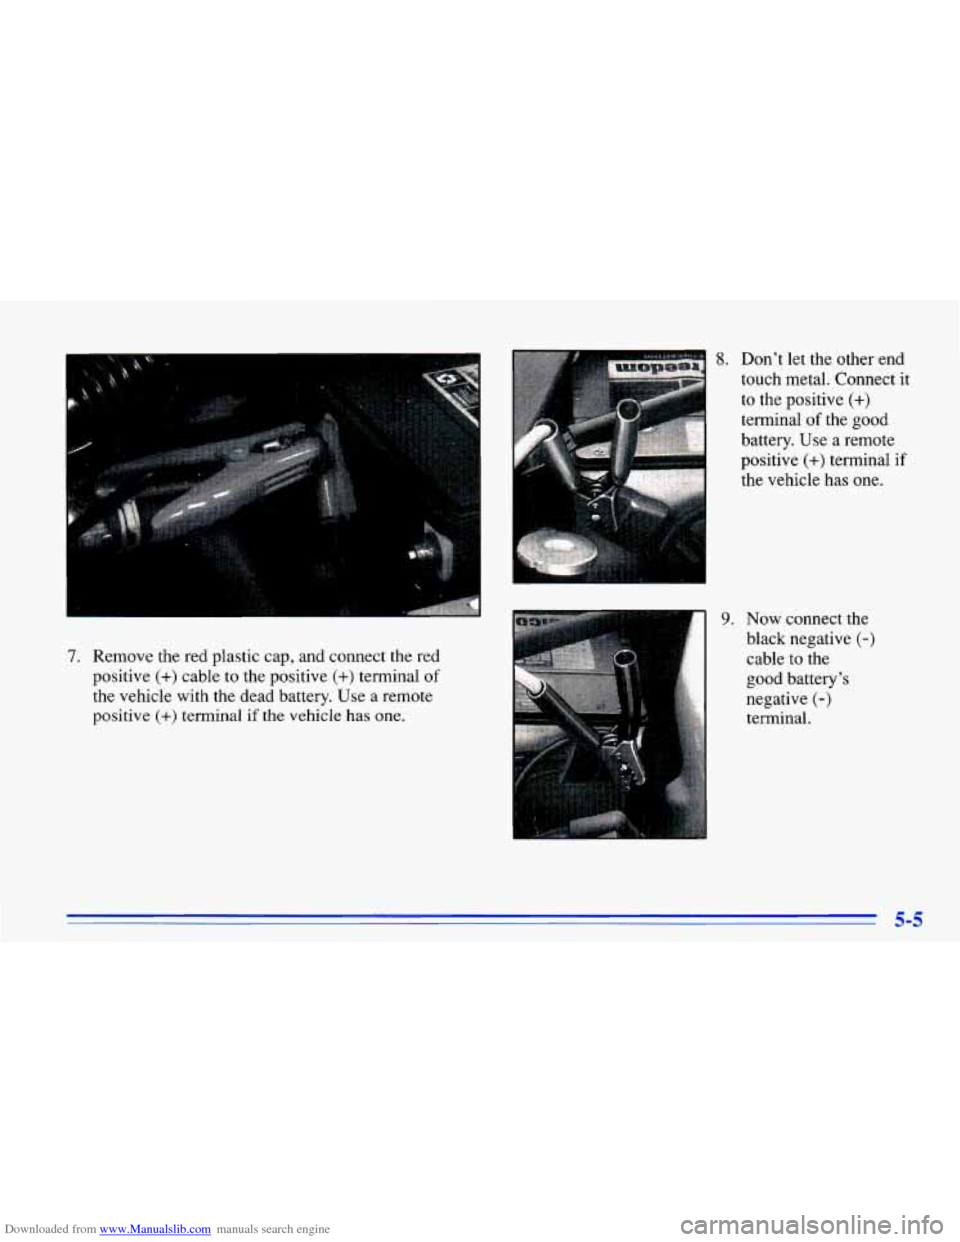
Downloaded from www.Manualslib.com manuals search engine 7. Remove the red plastic cap, and connect the red
positive
(+) cable to the positive (+) terminal of
the vehicle with the dead battery. Use a remote
positive
(+) terminal if the vehicle has one.
8. Don’t let the other end
touch metal. Connect it
to the positive
(+)
terminal of the good
battery. Use
a remote
positive
(+) terminal if
the vehicle has one.
9. Now connect the
black negative
(-)
cable to the
good battery’s
negative
(-)
terminal.