1996 CHEVROLET BLAZER manual radio set
[x] Cancel search: manual radio setPage 82 of 392
Downloaded from www.Manualslib.com manuals search engine To shift into or out of 4LO:
1. The vehicle must be moving less than 3 mph
(4.8 kmrdh) with the transmission in NEUTRAL (N)
for an automatic transmission. For a manual
transmission, the clutch pedal must be engaged.
The preferred method for shifting into or
out of
4LO is to have your vehicle moving 1 to 2 mph
(1.6 to 3.2 kdh).
2. Press the transfer case shift button and shift in one
continuous motion.
Don’t pause
in N SET PARK BRAKE as you shift into
or out
of 4L0, or your gears could clash.
Remember that driving in
4HI or 4LO may reduce
fuel economy.
Also, driving in four-wheel drive on
dry.pavement could cause your tires to wear faster and
make your transfer case harder
to shift and reduce
powertrain longevity.
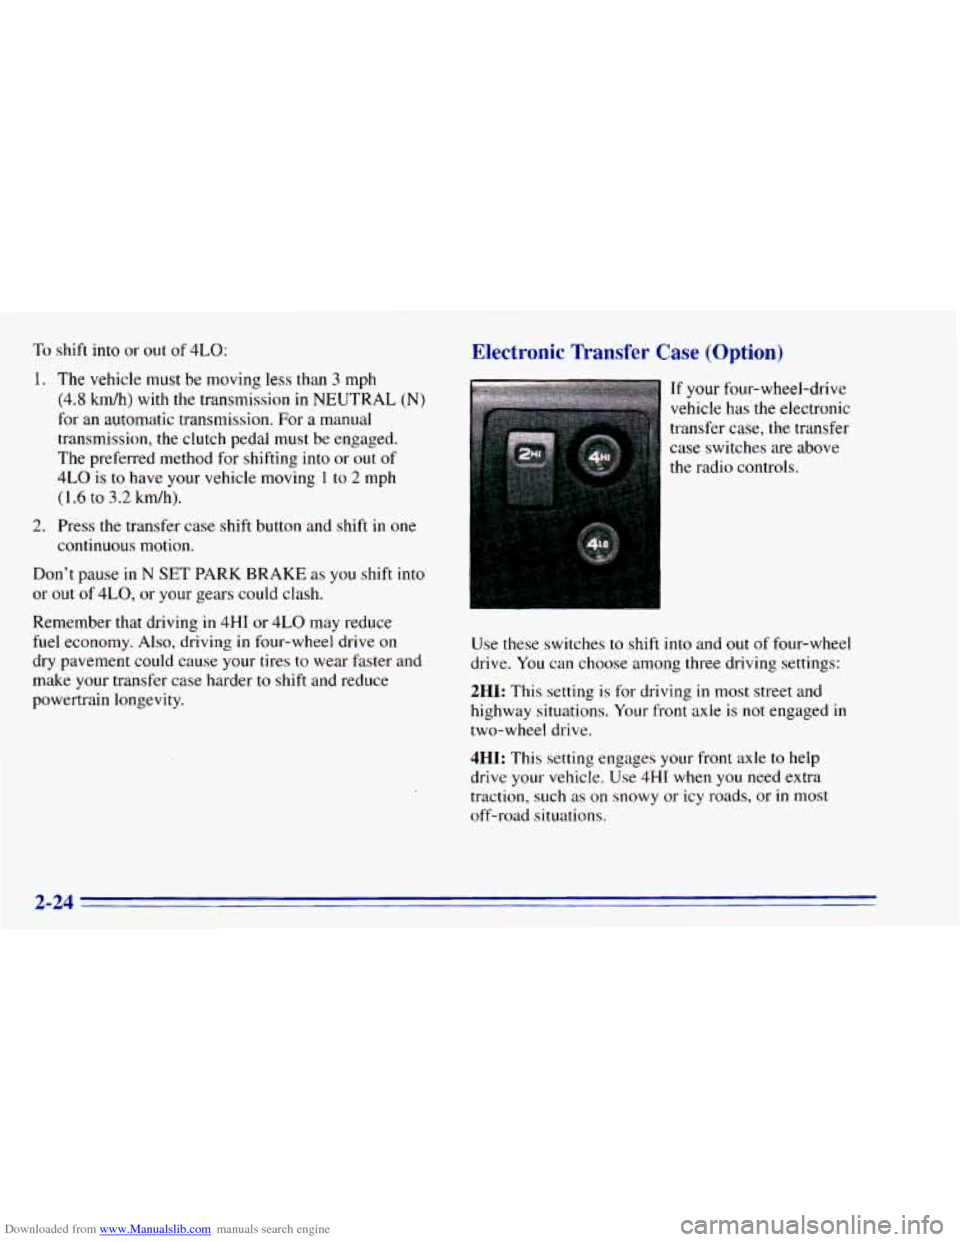
Electronic Transfer Case (Option)
If your four-wheel-drive
vehicle has the electronic
transfer case, the transfer
case switches are above
the radio controls.
Use these switches to shift into and out of four-wheel
drive. You can choose among three driving settings:
2HI: This setting is for driving in most street and
highway situations. Your front axle is
not engaged in
two-wheel drive.
4HI: This setting engages your front axle to help
drive your vehicle.
Use 4HI when you need extra
traction, such as on snowy or icy roads, or
in most
off-road situations.
2-24
Page 112 of 392
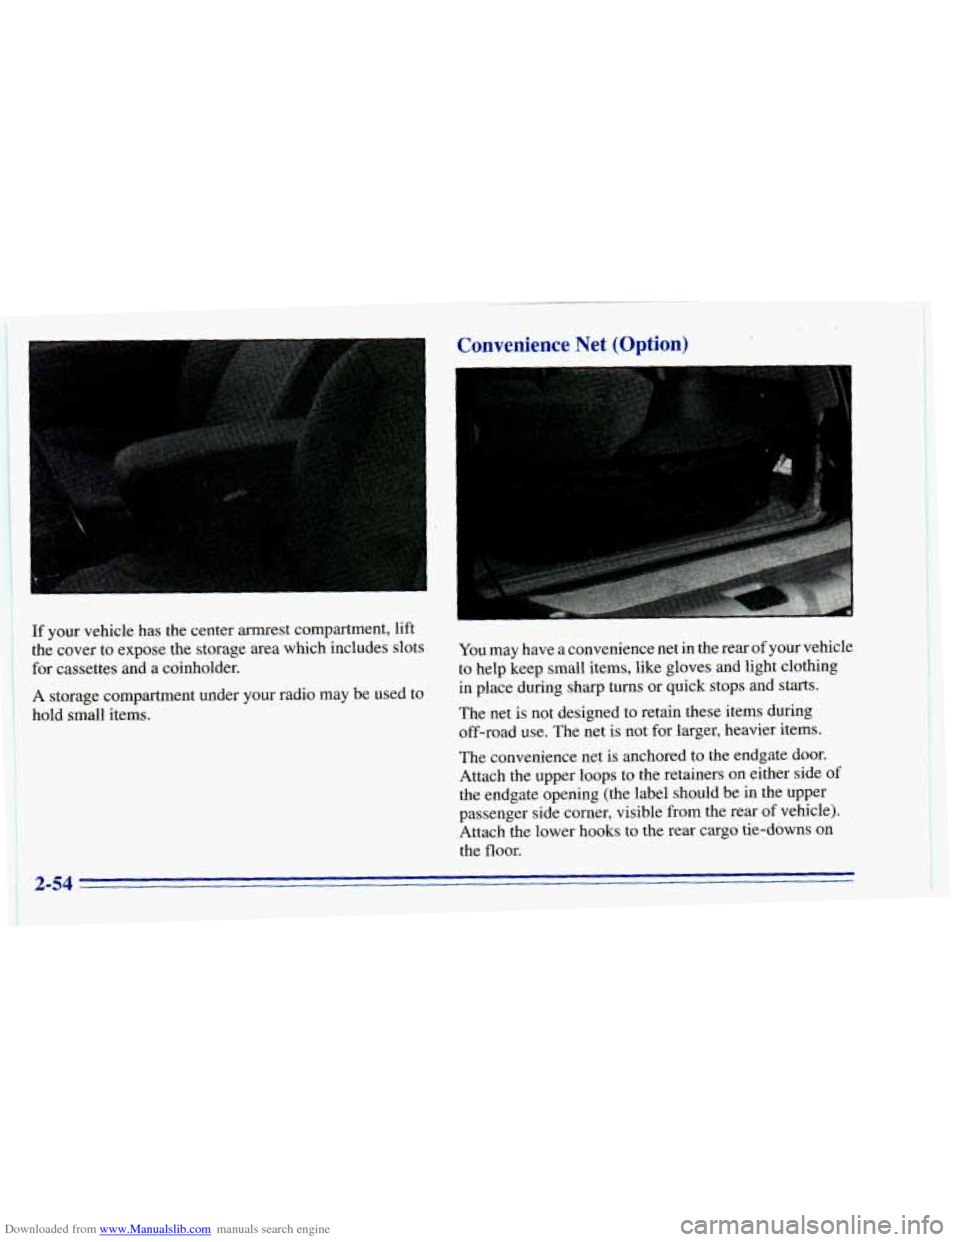
Downloaded from www.Manualslib.com manuals search engine If your vehicle has the center armrest compartment, lift
the cover to expose the storage area which includes slots
for cassettes and a coinholder.
A storage compartment under your radio may be used to
hold small items.
Convenience Net (Option) L
You may have a convenience net in the rear of your vehicle
to help keep small items, like gloves and light clothing
in place during sharp turns
or quick stops and starts.
The net
is not designed to retain these items during
off-road use. The net is not for larger, heavier items.
The convenience net is anchored to the endgate door.
Attach the upper loops
to the retainers on either side of
the endgate opening (the label should be in the upper
passenger side corner,. visible from the rear
of vehicle).
Attach the lower hooks to the rear cargo tie-downs on
the
floor.
2-54
Page 139 of 392
Downloaded from www.Manualslib.com manuals search engine The rear window defogger will stay on for five to seven
minutes, then turn off. If you need additional warming
time, turn
it on again. You can turn the defogger off at
any time by pressing OFF.
Do not attach a temporary vehicle license, tape or decals
across the defogger grid
on the rear window.
NOTICE:
Don’t use a razor blade or something else sharp
on the inside
of the rear window. If you do, you
could cut or damage the warming grid, and the
repairs wouldn’t be covered by your warranty.
Audio Systems
Your Deb@ audio system has been designed to operate
easily and give years
of listening pleasure. You will get
the most enjoyment out of it
if you acquaint yourself
with
it first. Find out what your Delco system can do
and how to operate all its controls, to be sure you’re
getting the most out
of the adyanced engineering that
went into
it.
Setting the Clock for All Systems Except
AM-FM Stereo with Compact Disc Player
Press SET. Within five seconds, press and hold SEEK
until the correct minute appears on the display. Press and
hold
SCAN until the correct hour appears on the display.
Setting the Clock for AM-FM Stereo with
Compact Disc Player
Press SET. (The radio may be on or off.) Within five
seconds, press
the SEEK right or left arrow until the
correct minute appears on the display. Press and hold
SCAN until the correct hour appears on the display.
3-5
Page 140 of 392
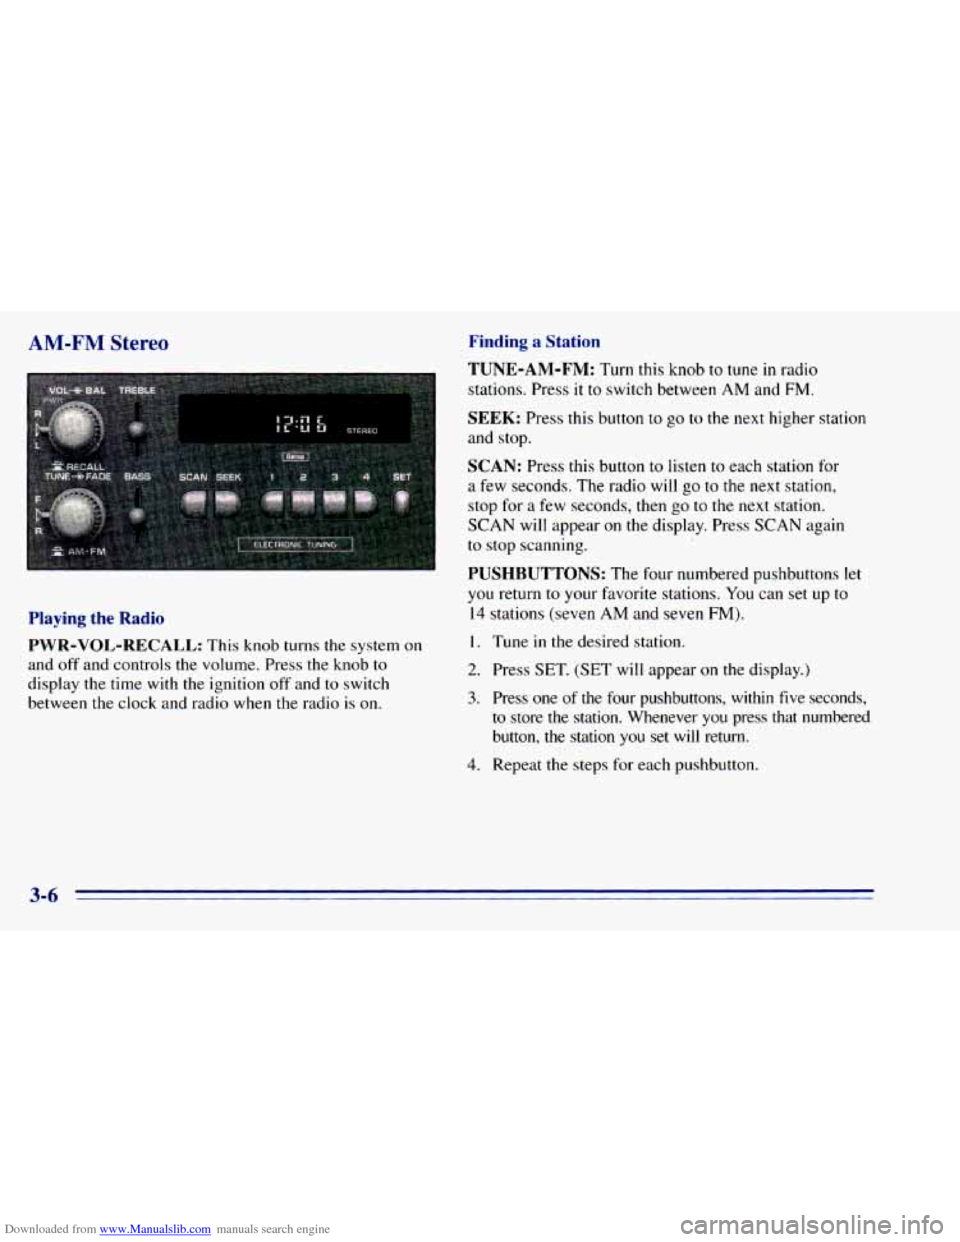
Downloaded from www.Manualslib.com manuals search engine AM-FM Stereo
Playing the Radio
PWR-VOL-RECALL:
This knob turns the system on
and off and controls the volume. Press the knob
to
display the time with the ignition off and to switch
between the clock and radio when the radio
is on.
Finding a Station
TUNE-AM-FM:
Turn this knob to tune in radio
stations. Press
it to switch between AM and FM.
SEEK: Press this button to go to the next higher station
and stop.
SCAN: Press this button to listen to each station for
a few seconds. The radio will go to the next station,
stop for
a few seconds, then go to the next station.
SCAN will appear on the display. Press SCAN again
to stop scanning.
PUSHBUTTONS: The four numbered pushbuttons let
you return to your fmorite stations. You can set up to
14 stations (seven AM and seven FM).
I. Tune in the desired station.
2. Press SET. (SET will appear on the display.)
3. Press one of the four pushbuttons, within five seconds,
to store
the station. Whenever you press that numbered
button,
the station you set will return.
4. Repeat the steps for each pushbutton.
3-6
Page 141 of 392
Downloaded from www.Manualslib.com manuals search engine In addition to the four stations set as above, up to three
additional stations may be preset
on each band by
pressing two adjoining buttons at
the same time. Just:
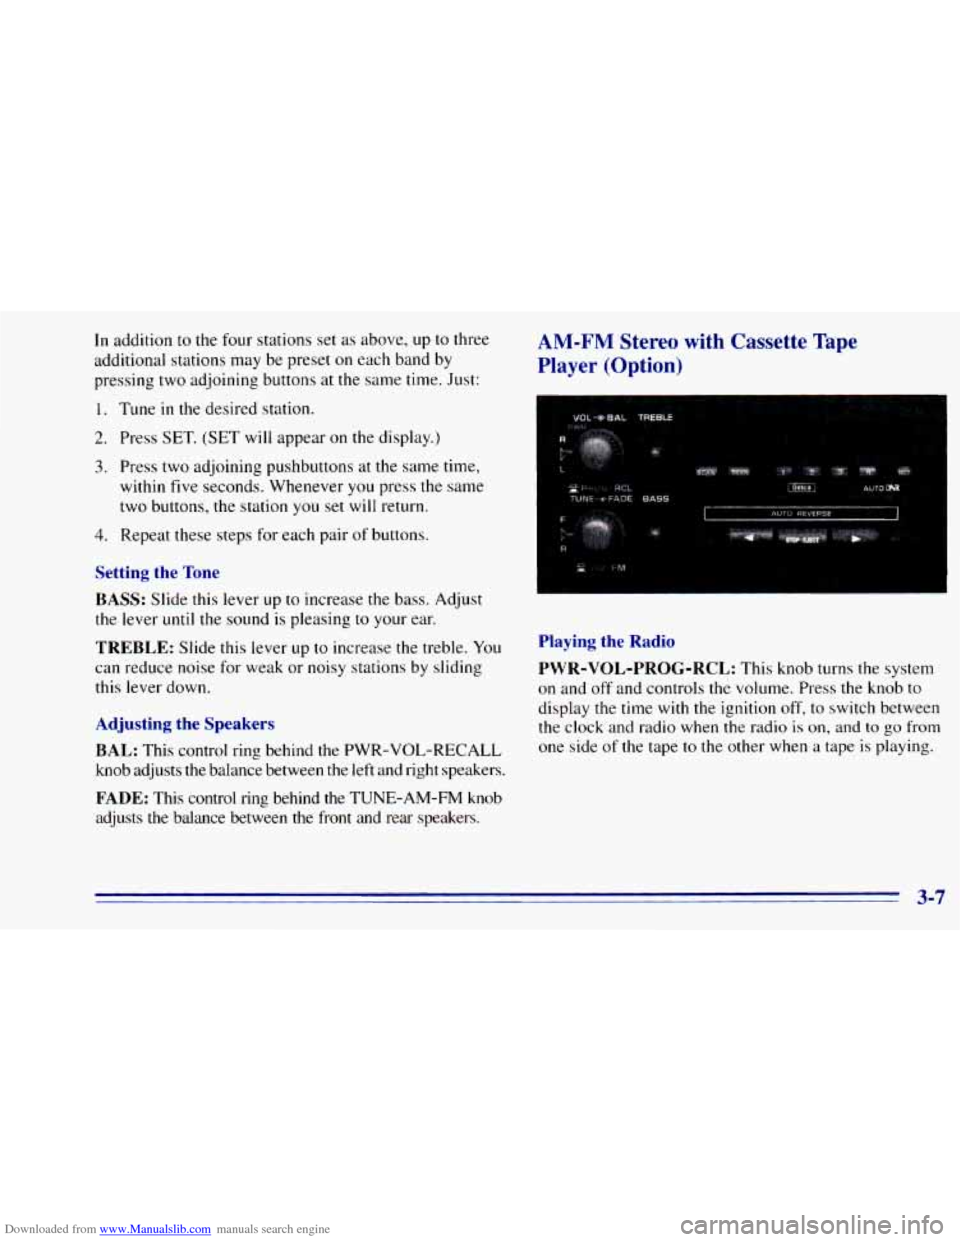
AM-FM Stereo with Cassette Tape
Player (Option)
1. Tune in the desired station.
2. Press
SET. (SET will appear on the display.)
3. Press two adjoining pushbuttons at the same time,
within five seconds. Whenever you press
the same
two buttons, the station you set will return.
4. Repeat these steps for each pair of buttons.
Setting the Tone
BASS:
Slide this lever up to increase the bass. Adjust
the lever
until the sound is pleasing to your ear.
TREBLE: Slide this lever up to increase the treble. You
can reduce noise for weak or noisy stations by sliding
this lever down.
Adjusting the Speakers
BAL:
This control ring behind the PWR-VOL-RECALL
knob adjusts the balance between the left and right speakers.
FADE: This control ring behind the TUNE-AM-FM knob
adjusts the balance between the front and rear speakers.
Playing the Radio
PWR-VOL-PROG-RCL:
This knob turns the system
on and
off and controls the volume. Press the knob to
display the time with the ignition off,
to switch between
the clock and radio when the radio
is on, and to go from
one side
of the tape to the other when a tape is playing.
3-7
Page 142 of 392
Downloaded from www.Manualslib.com manuals search engine Finding a Station
TUNE-AM-FM: Turn this knob to tune in radio
stations. Press
it to switch between AM and FM.
SEEK: Press this button to go to the next higher station
and stop.
SCAN: Press this button to listen to each station for
a few seconds. The radio will go to the next station,
stop for
a few seconds, then go to the next station.
SCAN will appear
on the display. Press SCAN again
to stop scanning.
PUSHBUTTONS: The four numbered pushbuttons let
you return to your favorite stations. You can set up to
b
. 14 stations (seven AM and seven FM).
1. Tune in the desired station.
2. Press SET. (SET will appear on the display.)
3. Press one of the four pushbuttons, within five
seconds,
to store the station. Whenever you press
that numbered button, the station
you set will return.
4. Repeat the steps for each pushbutton.
In addition to the four stations set as above, up to three
additional stations may be preset on each band by
pressing two adjoining buttons at the same time. Just:
1. Tune in the desired station.
2. Press SET. (SET will appear on the display.)
3. Press two adjoining pushbuttons at the same time,
within five seconds. Whenever you press the same
two buttons, the station you set will return.
4. Repeat these steps for each pair of buttons.
Setting the Tone
BASS: Slide this lever up to increase the bass. Adjust
the lever
until the sound is pleasing to your ear.
TREBLE: Slide this lever up to increase the treble. You
can reduce noise for weak
or noisy stations by sliding
this lever down.
Adjusting the Speakers
BAL: This control ring behind the PWR-VOL-PROG-RCL
knob adjusts the balance between the left and right speakers.
3-8
Page 143 of 392
Downloaded from www.Manualslib.com manuals search engine FADE: This control ring behind the TUNE-AM-FM knob
adjusts
the balance between the front and rear speakers.
Playing a Cassette Tape
Your tape player is built to work best with tapes that are
30 to 45 minutes long on each side. Tapes longer than
that are so thin they may not work well in this player.
Once the tape is playing, use
the PWR-VOL-PROG-RCL
knob, just
as you do for radio. A lighted arrow will be
displayed to show tape play direction.
FORWARD: Press the arrow button in the direction that
the lighted arrow points to advance quickly
to another
part
of the tape. Press STOP-EJECT lightly to stop
forwarding and play the tape.
REVERSE: Press the arrow button in the opposite
direction that the lighted arrow points
to reverse quickly
to another part of the tape. Press STOP-EJECT lightly
to stop reversing and play the tape.
PWR-VOL-PROG-RCL: Press this knob to go from
one side
of the tape to the other.
STOP-EJECT Press this button to remove the tape or
stop playing the tape to play the radio.
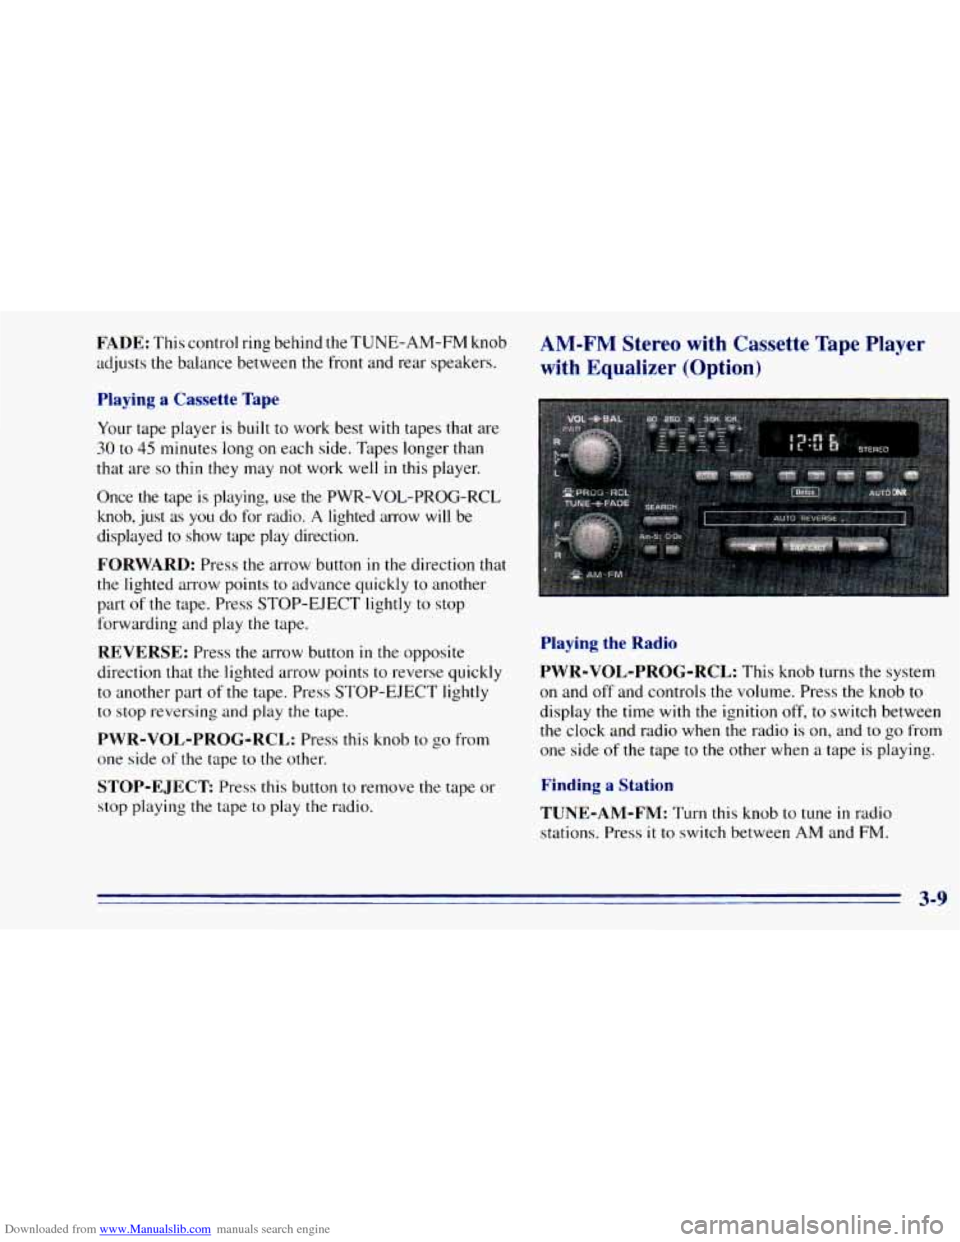
AM-FM Stereo with Cassette Tape Player
with Equalizer (Option)
Playing the Radio
PWR-VOL-PROG-RCL:
This knob turns the system
on and off and controls the volume. Press the knob to
display the time with the ignition off, to switch between
the clock and radio when the radio is on, and to go from
one side of the tape to the other when a tape is playing.
Finding a Station
TUNE-AM-FM:
Turn this knob to tune in radio
stations. Press it
to switch between AM and FM.
Page 144 of 392
Downloaded from www.Manualslib.com manuals search engine SEEK: Press this button to go to the next higher station
and stop.
SCAN: Press this button to listen to each station for
a few seconds. The radio
will go to the next station,
stop for a few seconds, then go to the next station.
SCAN will appear on the display. Press SCAN again
to stop scanning.
PUSHBUTTONS: The four numbered pushbuttons let
you return to your favorite stations. You can set up to
14 stations (seven
AM and seven FM).
I. Tune in the desired station.
2. Press SET.
3. Press one of the four pushbuttons, within five
seconds,
to store the station. Whenever you press
that numbered button, the station you set
will return.
4. Repeat the steps for each pushbutton.
In addition to the four stations set as above, up to
three additional stations may be preset on each band by
pressing two adjoining buttons at the same time. Just:
I. Tune in the desired station.
2. Press SET. (SET will appear on the display.)
3. Press two adjoining pushbuttons at the same time,
within five seconds. Whenever you press the same
two buttons, the station you set
will return.
4. Repeat these steps for each pair of buttons.
AM-ST Press this button to tune- an AM station that
broadcasts
in stereo. Your STEREO light will come on
when you’re receiving
AM stereo. If you press AM-ST
and there
is no more noise, it means the station is weak.
You’ll hear the station better
if you do not use AM-ST.
Press the button again to delete stereo.