1996 CHEVROLET BLAZER check oil
[x] Cancel search: check oilPage 130 of 392
Downloaded from www.Manualslib.com manuals search engine Engine Oil Pressure Gage
OIL 0-
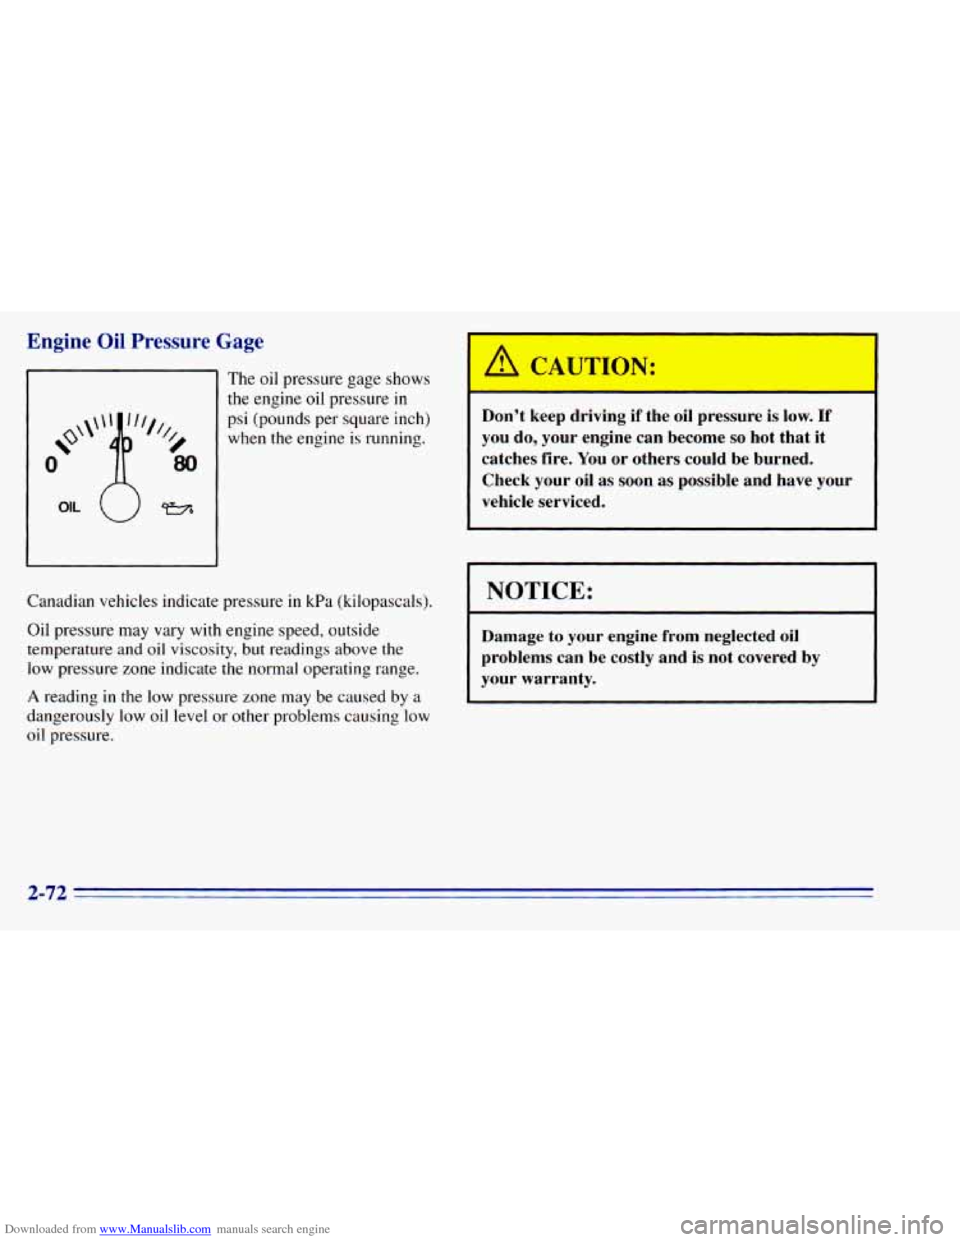
The oil pressure gage shows
the engine oil pressure in
psi (pounds per square inch)
when the engine
is running.
Canadian vehicles indicate pressure in kPa (kilopascals).
Oil pressure may vary with engine speed, outside
temperature
and oil viscosity, but readings above the
low pressure zone indicate the normal operating range.
A reading in the low pressure zone may be caused by a
dangerously
low oil level or other problems causing low
oil pressure.
CAUTION:
Don't keep driving if the oil pressure is low. If
you do, your engine can become so hot that it
catches fire. You or others could be burned.
Check your oil as soon as possible and have your
vehicle serviced.
NOTICE:
Damage to your engine from neglected oil
problems can be costly and is not covered by
your warranty.
2-72
Page 132 of 392
Downloaded from www.Manualslib.com manuals search engine Check Gages Light
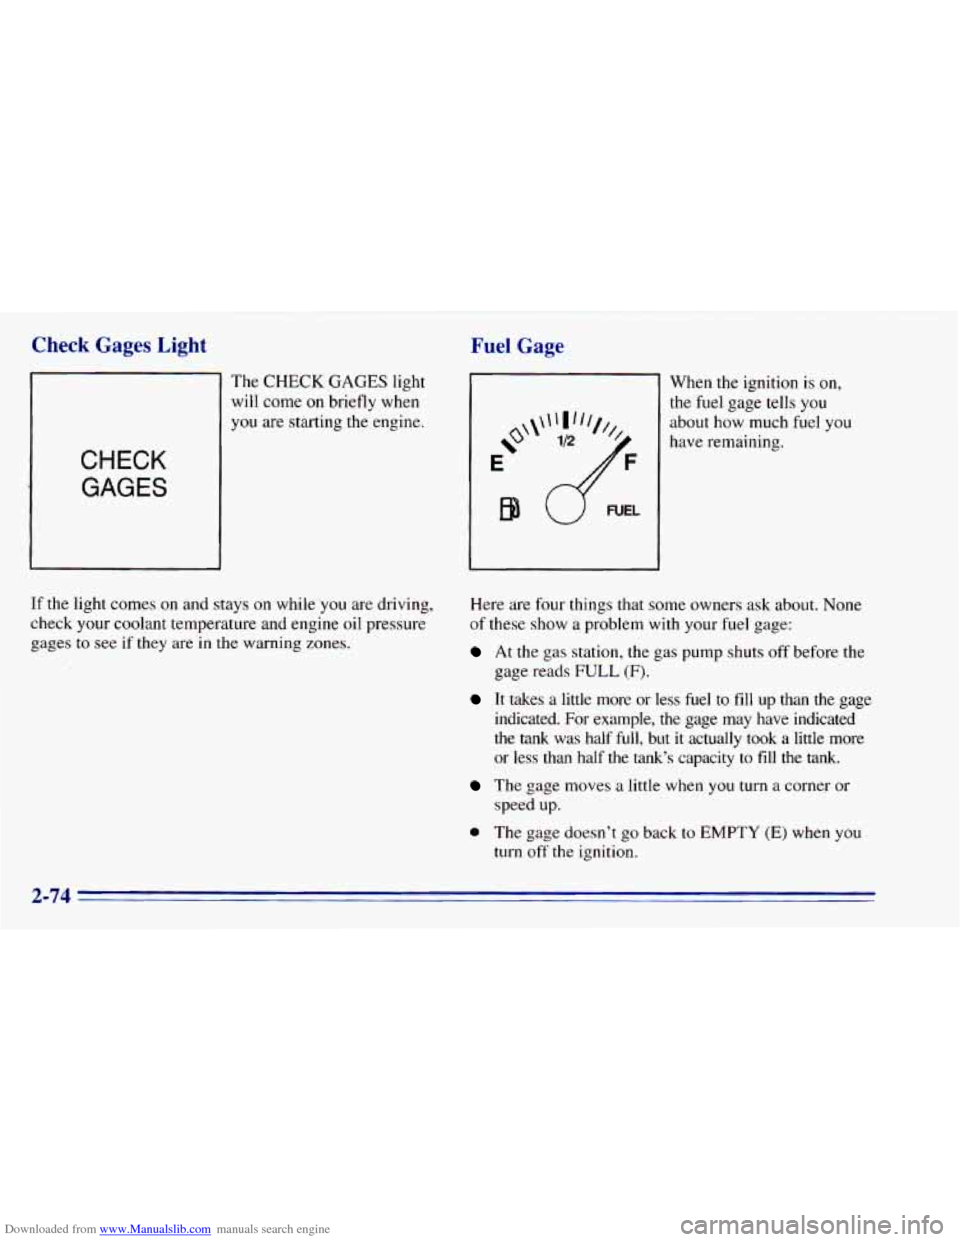
The CHECK GAGES light
will
come on briefly when
you are starting the engine.
CHECK
GAGES
If the light comes on and stays on while you are driving,
check your coolant temperature and engine oil pressure
gages to
see if they are in the warning zones.
Fuel Gage
e'
E
B9
When the ignition is on,
the fuel gage tells you
about how much fuel you
have remaining,
Here are four things that some owners ask about. None
of these show a problem with
your fuel gage:
At the gas station, the gas pump shuts off before the
gage reads
FULL (F).
It takes a little more or less fuel to fill up than the gage
indicated.
For example, the gage may have indicated
the tank was half
full, but it actually took a little more
or less than half the tank's capacity to fill the tank.
The gage moves a little when you turn a corner or
speed up.
0 The gage doesn't go back to EMPTY (E) when you
turn off the ignition,
2-74
Page 152 of 392
Downloaded from www.Manualslib.com manuals search engine Care of Your Cassette Tape Player
A tape player that is not cleaned regularly can cause
reduced sound quality, ruined cassettes or
a damaged
mechanism. Cassette tapes should be stored in their
cases away from contaminants, direct sunlight and
extreme heat. If
they aren’t, they may not operate
properly or may cause failure of the tape player.
Your tape player should be cleaned regularly after every
50 hours of use. If you notice a reduction in sound
quality, try a known good cassette
to see if the tape or
the tape player is at fault. If this other cassette has
no
improvement in sound quality, clean the tape player.
Cleaning may be done with
a scrubbing action,
non-abrasive cleaning cassette with pads which scrub
the tape head as the hubs of the cleaner cassette turn. It
is normal for the cassette
to eject while cleaning. Insert
the cassette at le.ast three times to ensure thorough
cleaning.
A scrubbing action cleaning cassette is
available through your
GM dealer.
You may also choose
a non-scrubbing action, wet-type
cleaner which uses a cassette with a fabric belt
to clean
the tape head. This type of cleaning cassette will not
eject. It may not clean as thoroughly as the scrubbing
type cleaner. Cassettes are subject
to wear and the sound quality may
degrade over time. Always make sure that the cassette
tape
is in good condition before you have your tape
player serviced.
Care of Your Compact Discs
Handle discs carefully. Store them in their original cases
or other protective cases and away from direct sunlight
and dust.
If the surface of a disc is soiled, dampen a
clean, soft cloth in a mild, neutral detergent solution and
clean it, wiping from the center
to the edge.
Be sure never to touch
the signal surface when handling
discs. Pick up discs by grasping
the outer edges or the
edge
of the hole and the outer edge.
Fixed Mast Antenna
The fixed mast antenna can withstand most car washes
without being damaged.
If the mast should ever become
slightly bent,
you can straighten it out by hand. If the
mast
is badly bent, as it might be by vandals, you should
replace
it.
Check every once in a while to be sure the mast is still
tightened to the fender.
3-18
Page 191 of 392
Downloaded from www.Manualslib.com manuals search engine Here are some things you can check before a trip:
0
a
0
0
0
0
0
Windshield Washer Fluid: Is the reservoir full?
Are all windows clean inside and outside?
Wiper Blades: Are they in good shape?
Fuel, Engine Oil, Other Fluids: Have you checked
all levels?
Lamps: Are they all working? Are the lenses clean?
Tires: They are vitally important to a safe,
trouble-free trip.
Is the tread good enough for
long-distance driving? Are the tires all inflated to the
recommended pressure?
Weather Forecasts: What’s the weather outlook
along your route? Should you delay your trip a short
time
to avoid a major storm system?
Maps: Do you have up-to-date maps?
Highway Hypnosis
Is there actually such a condition as “highway hypnosis”?
Or is
it just plain falling asleep at the wheel? Call it
highway hypnosis, lack of awareness,
or whatever.
There is something about an easy stretch
of road with the
same scenery, along with the hum of the tires on the road,
the drone
of the engine, and the rush of the wind against
the vehicle that can make
you sleepy. Don’t let it happen
to you!
If it does, your vehicle can leave the road in less
than n second, and you could crash and be injured.
What can
you do about highway hypnosis‘? First, be
aware that it can happen.
Then here are some tips:
0
0
0
Make sure your vehicle is well ventilated, with a
comfortably cool interior.
Keep your eyes moving. Scan the road ahead and
to
the sides. Check your mirrors and your instruments
frequently.
If
you get sleepy, pull off the road into a rest, service
or parking area and take a nap, get some exercise, or
both. For safety, treat drowsiness on the highway
as
an emergency.
4-37
Page 210 of 392
Downloaded from www.Manualslib.com manuals search engine Maintenance When Trailer Towing
Your vehicle will need service more often when you’re
pulling
a trailer. See the Maintenance Schedule for more
on this. Things that are especially important in trailer
operation are automatic transmission fluid (don’t
overfill), engine oil, axle lubricant, belt, cooling system
and brake adjustment. Each of these is covered
in this
manual, and the Index will help you find them quickly.
If you’re trailering, it’s a good idea to review these
sections before you start your trip.
Check periodically to see that all hitch nuts and bolts
are tight.
Trailer Wiring Harness
The light duty trailer wiring is a six-wire harness
assembly. The heavy duty trailer wiring is an eight-wire
harness assembly. The harnesses are stored under
the
vehicle, along the passenger-side frame crossmember on
two-door vehicles or on the driver’s side corner frame
crossmember
on four-door vehicles. The heavy duty
trailer wiring has a 30-amp feed wire with an inline fuse
located by the junction block. See “Fuses and Circuit
Breakers” in
the Index. Both harnesses have no
connector and should be wired
by a qualified electrical technician. The technician can
use the following color code chart when connecting the
wiring harness
to your trailer.
0
0
0
0
0
0
0
0
DARK BLUE: Use for electric trailer brakes or
auxiliary wiring.
RED: Use for battery charging; it connects to the
starter solenoid (eight-wire harness
only).
LIGHT GREEN: Back-up lamps (eight-wire
harness only).
BROWN: Taillamps and parking lamps.
YELLOW Left stoplamp and turn signal.
DARK GREEN: Right stoplamp and turn signal.
WHITE (Heavy Gage): Ground wire.
WHITE (Light Gage): Auxiliary stoplamp.
Securely attach the harness
to the trailer, then tape or
strap it to your vehicle’s frame rail. Be sure you leave
it loose enough
so the wiring doesn’t bend or break,
but
not so loose that it drags on the ground. Store the
harness in its original place. Wrap the harness together
and
tie it neatly so it won’t be damaged.
4-56
Page 252 of 392
Downloaded from www.Manualslib.com manuals search engine To .provide cleaner air, all gasolines are now required to
contain additives that will help prevent deposits from
forming in your engine and fuel system, allowing your
emission control system
to function properly. Therefore,
you should not have
to add anything to the fuel. In
addition, gasolines containing oxygenates, such as ethers
and ethanol, and reformulated gasolines may be
available in your area to help clean the air. General
Motors recommends that
you use these gasolines if they
comply with
the specifications described earlier.
NOTICE:
~~~ ~
Your vehicle was not designed for fuel that
contains methanol. Don’t use it.
It can corrode
metal parts in your fuel system and also damage
plastic and rubber parts. That damage wouldn’t
be covered under your warranty.
Fuels in Foreign Countries
If you plan on driving in another country outside the
United States or Canada,
the proper fuel may be hard to
find. Never use leaded gasoline or any other fuel not
recommended
in the previous text on fuel. Costly repairs
caused by use of improper
fuel wouldn’t be covered by
your warranty.
To check on fuel availability, ask an auto club, or
contact a major
oil company that does business in the
country where
you’ll be driving.
You can also write us at the following address for
advice. Just tell us where you’re going and give your
Vehicle Identification Number
(VIN).
General Motors Overseas Distribution Corporation,
North American Export Sales (NAES)
1908 Colonel Sam Drive
Oshawa, Ontario
L 1 H 8P7
Page 255 of 392
Downloaded from www.Manualslib.com manuals search engine Checking Things Under the Hood
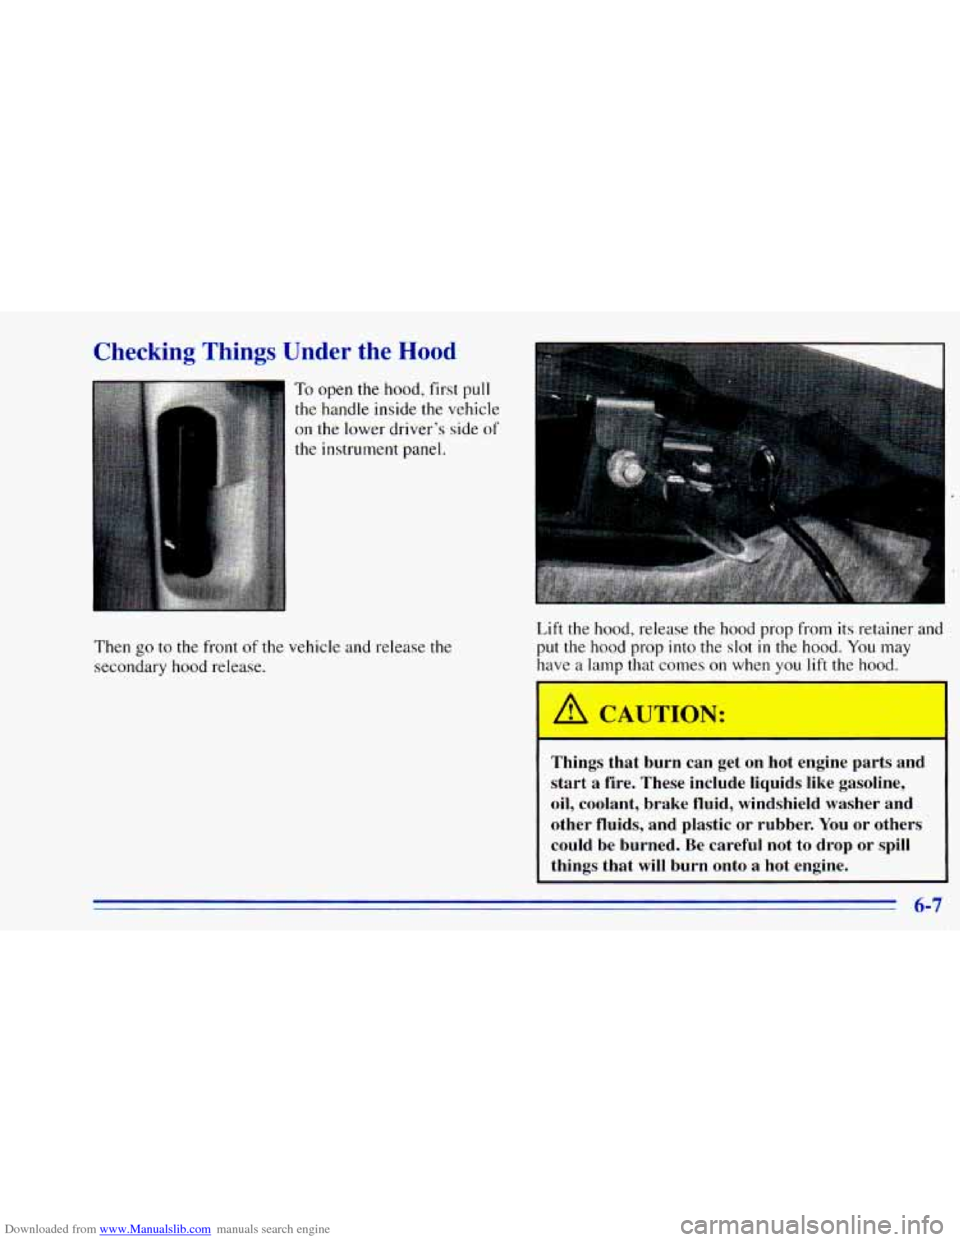
To open the hood, first pull
the handle inside the vehicle
on the lower driver's side of
the instrument panel.
Then go to the front of the vehicle and release the
secondary hood release. Lift the hood, release
the hood
prop from its retainer and
put the hood prop into the slot
in the hood. You may
have a
lnnl~ that cn'qes *n when you lift the hood.
.. .: '_* , . . .I.
Things that burn can get on hot engine parts and
start a fire. These include liquids like gasoline,
oil, coolant, brake fluid, windshield washer and
other fluids, and plastic or rubber. You
or others
could be burned. Be careful not to drop or spill
things that
will burn onto a hot engine.
6-7
Page 257 of 392
Downloaded from www.Manualslib.com manuals search engine Before closing the hood, be sure all the filler caps are on
properly. Then lift the hood
to relieve pressure on the
hood prop.
Remove the hood prop
from the slot in the hood and
return the prop to
its retainer.
Then just pull the hood down firmly
to close. It will
latch when dropped from
10 to12 inches (25 to 30 cm)
without pressing
on the hood.
Engine Oil
It’s a good idea to check your engine oil every time you
get fuel. In order to get an accurate reading, the oil must
be warm and the vehicle must be on level ground.
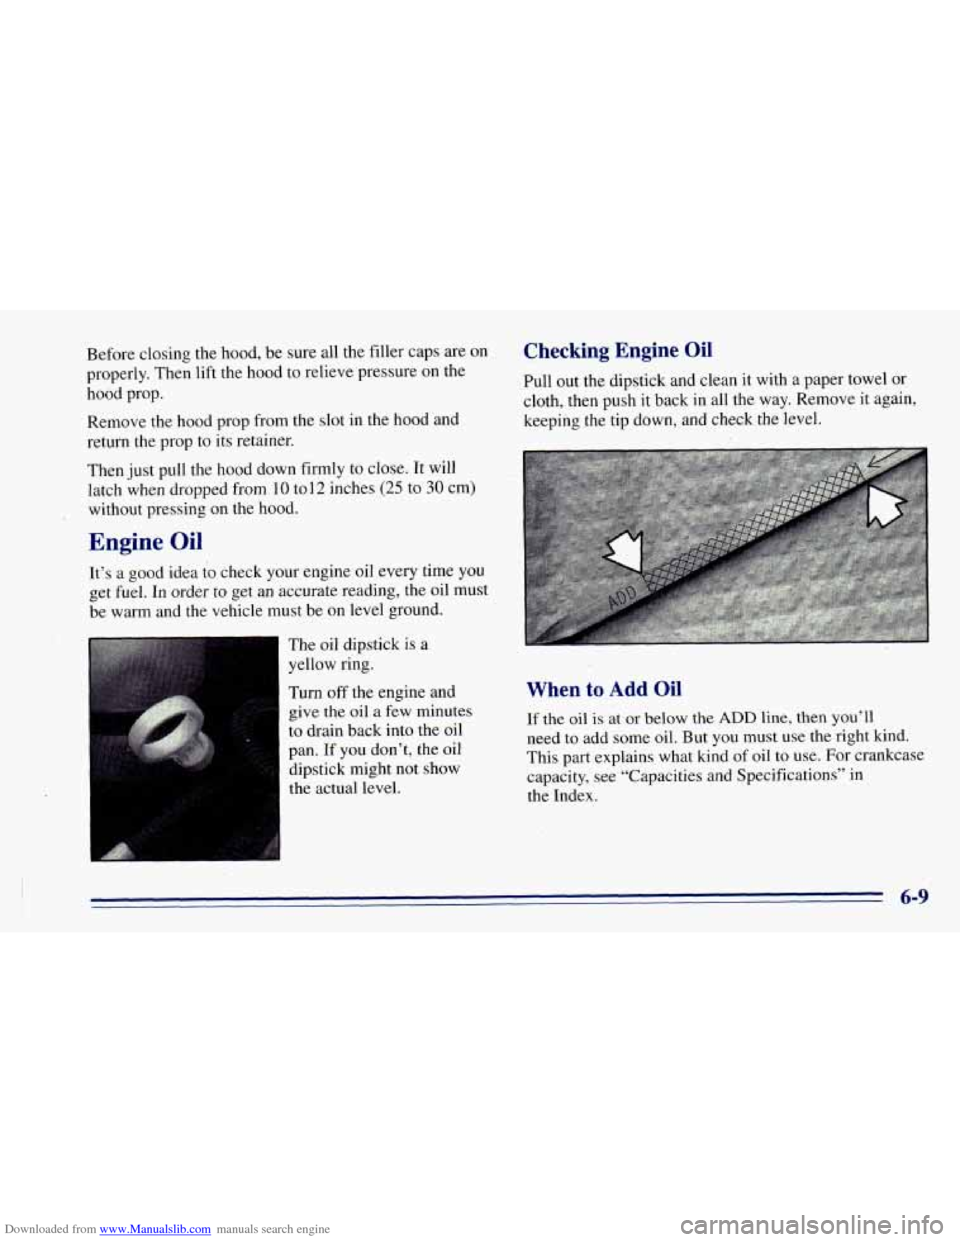
The oil dipstick is
a
yellow ring.
Turn
off the engine and
give the oil a few minutes
to drain back into the oil
pan.
If you don’t, the oil
dipstick might not show
the actual level.
Checking Engine Oil
Pull out the dipstick and clean it with a paper towel or,
cloth, then push it back in all the way. Remove it again,
keeping the tip down, and check the level.
When to Add Oil
If the oil is at or below the ADD line, then you’ll
need to add some oil. But you must use the right kind.
This part explains what kind of
oil to use. For crankcase
capacity, see “Capacities and Specifications” in
the Index.
6-9