1996 CHEVROLET BLAZER flat tire
[x] Cancel search: flat tirePage 7 of 392
Downloaded from www.Manualslib.com manuals search engine The 1996 Chevrolet Blazer Owner’s Manual
Seats and Restraint Systems ............................................................. 1-1
This section tells you how to use your seats and safety belts properly. It also explains the “SIR” system.
Features and Controls .................................................................. 2-1
This section explains how to start and operate your vehicle.
Comfort Controls and Audio Systems ..................................................... 3-1
This section tells you how to adjust the ventilation and comfo\
rt controls and how to operate your
audio system.
Here
you’ll find helpful information and tips about the road and how to drive under different conditions.
This section tells you what
to do if you have a problem while driving, such as a flat tire or overheat\
ed
engine, etc.
Here the manual tells you how to keep your vehicle running pr\
operly and looking
good,
This section tells you when to perform vehicle maintenance and what fluids and lubricants to u\
se.
This section
tells you how to contact Chevrolet for assistance and how to get se\
rvice publications.
It also gives you information on “Reporting Safety Defects” on page 8-8.
YourDrivingandtheRoad .............................................................. 4-1
ProblemsontheRoad .................................................................. 5-1
ServiceandAppearanceCare ............................................................ 6-1
Maintenanceschedule .................................................................. 7-1
Customer Assistance Information ........................................................ 8-1
Index ........................................................................\
....
Here’s an alphabetical listing of almost every subject in this manual. You can use it to quickly find
something
you want to read.
- - 9-1
i
Page 169 of 392
Downloaded from www.Manualslib.com manuals search engine Before You Go Off-Roading
There are some things to do before you go out. For
example, be sure
to have all necessary maintenance and
service work done. Check to make sure all underbody
shields (if
so equipped) are properly attached. Be sure
you read
all the information about your four-wheel-drive
vehicle
in this manual. Is there enough fuel? Is the spare
tire
fully inflated? Are the fluid levels up where they
should be? What are the local laws that apply to
off-roading where you’ll be driving? If you don’t know,
you should check with law enforcement people
in the
area. Will you be
on someone’s private land? If so, be
sure to get the necessary permission.
Loading Your Vehicle for Off-Road Driving
There are some important things to remember about
how to load your vehicle.
0 The heaviest things should be on the load floor and
forward of your rear axle. Put heavier items as far
forward as you can.
Be sure the load is secured properly, so driving on
the off-road terrain doesn’t toss things around.
A CAUTION:
0 Cargo on the load floor piled higher than
the seatbacks can be thrown forward
during a sudden stop. You or your
passengers could be injured. Keep cargo
below the top of the seatbacks.
Unsecured cargo on the load floor can
be tossed about when driving over rough
terrain. You or your passengers can
be struck by flying objects. Secure the
cargo properly,
Heavy loads on the roof raise the vehicle’s
center of gravity, making it more likely to
roll over. You can be seriously
or fatally
injured if the vehicle rolls over, Put heavy
loads inside the cargo area, not on the roof,
Keep cargo in the cargo area as far forward
and low as possible.
You’ll find other important information in
this manual.
See “Vehicle Loading,” “Luggage Carrier” and “Tires”
in the Index.
I
4-15
Page 191 of 392
Downloaded from www.Manualslib.com manuals search engine Here are some things you can check before a trip:
0
a
0
0
0
0
0
Windshield Washer Fluid: Is the reservoir full?
Are all windows clean inside and outside?
Wiper Blades: Are they in good shape?
Fuel, Engine Oil, Other Fluids: Have you checked
all levels?
Lamps: Are they all working? Are the lenses clean?
Tires: They are vitally important to a safe,
trouble-free trip.
Is the tread good enough for
long-distance driving? Are the tires all inflated to the
recommended pressure?
Weather Forecasts: What’s the weather outlook
along your route? Should you delay your trip a short
time
to avoid a major storm system?
Maps: Do you have up-to-date maps?
Highway Hypnosis
Is there actually such a condition as “highway hypnosis”?
Or is
it just plain falling asleep at the wheel? Call it
highway hypnosis, lack of awareness,
or whatever.
There is something about an easy stretch
of road with the
same scenery, along with the hum of the tires on the road,
the drone
of the engine, and the rush of the wind against
the vehicle that can make
you sleepy. Don’t let it happen
to you!
If it does, your vehicle can leave the road in less
than n second, and you could crash and be injured.
What can
you do about highway hypnosis‘? First, be
aware that it can happen.
Then here are some tips:
0
0
0
Make sure your vehicle is well ventilated, with a
comfortably cool interior.
Keep your eyes moving. Scan the road ahead and
to
the sides. Check your mirrors and your instruments
frequently.
If
you get sleepy, pull off the road into a rest, service
or parking area and take a nap, get some exercise, or
both. For safety, treat drowsiness on the highway
as
an emergency.
4-37
Page 192 of 392
Downloaded from www.Manualslib.com manuals search engine Hill and Mountain Roads If you drive regularly in steep country, or if you’re
planning
to visit there, here are some tips that can make
your trips safer and more enjoyable. (See “Off-Road
Driving”
in the Index for information about driving
off-road.)
0
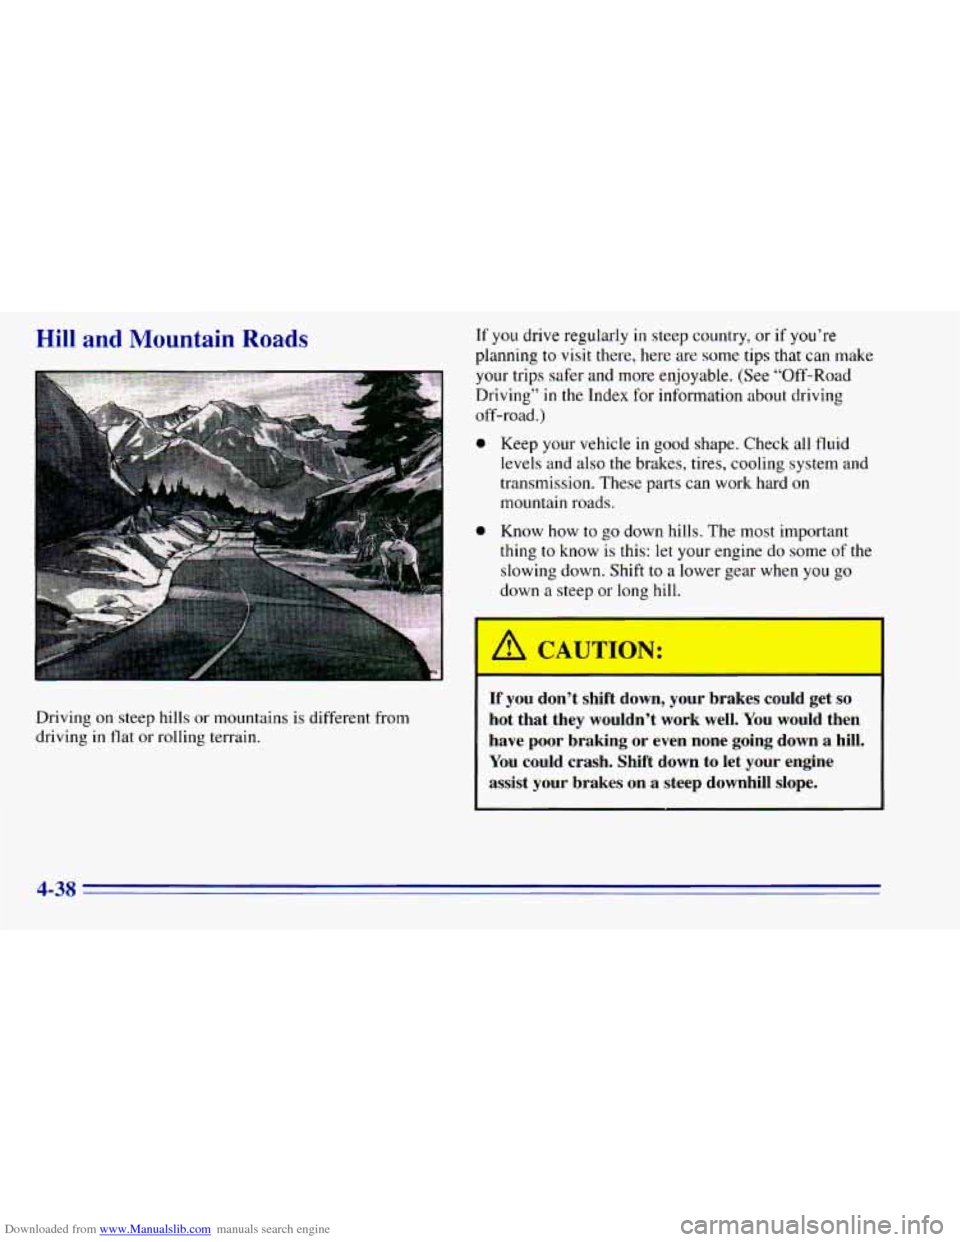
Driving on steep hills or mountains is different from
driving
in flat or rolling terrain.
0
Keep your vehicle in good shape. Check all fluid
levels and also the brakes, tires, cooling system and
transmission. These parts can work hard
on
mountain roads.
Know how to go down hills. The most important
thing
to know is this: let your engine do some of the
slowing down. Shift to a lower gear when you
go
down a steep or long hill.
If you don’t shift down, your brakes could get so
hot that they wouldn’t work well. You would then
have poor braking or even none going down a hill.
You could crash. Shift down to let your engine
assist your brakes on a steep downhill slope.
4-38
Page 198 of 392
Downloaded from www.Manualslib.com manuals search engine Loading Your Vehicle
I *
‘GVWR VR F I
PAYLOAD =-I
PSI/KPA (COL
n
SEE OWNER’S MANUAL FOR ADDITIONAL INFORMATION I U
The Certificationnire label also tells you the maximum
weights for the front and rear axles, called Gross Axle
Weight Rating (GAWR). To find out the actual loads on
your front and rear axles, you need to go to a weigh
station and weigh your vehicle. Your dealer can help
you with this. Be sure to spread out your load equally on
both sides
of the centerline.
Never exceed the GVWR for your vehicle, or the Gross
Axle Weight Rating (GAWR) for either the front or
rear axle.
If you do have a heavy load, you should spread it out.
Similar appearing vehicles may have different
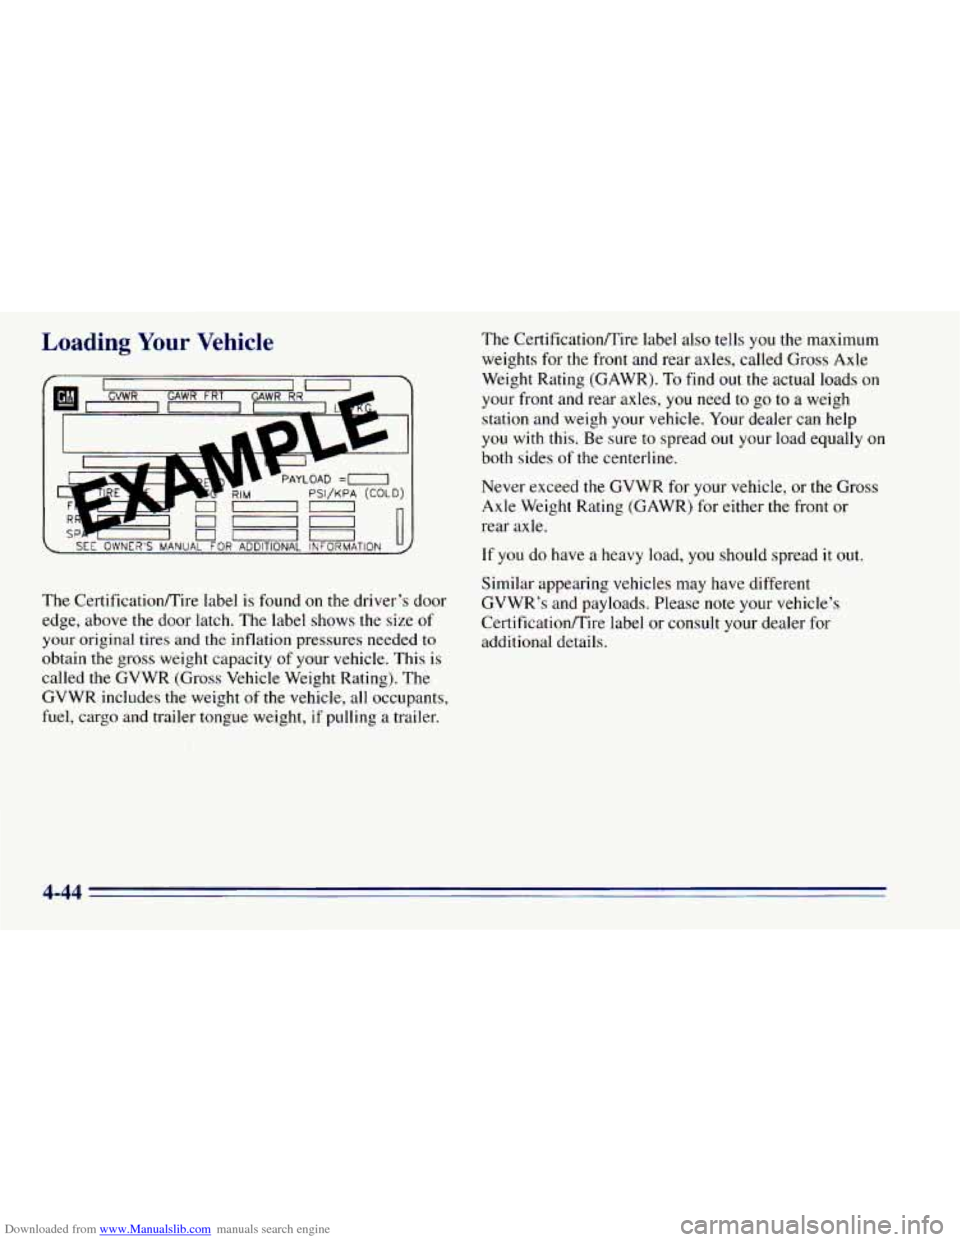
The Certificationrrire label is found on the driver’s door GVWR’s and payloads. \
Please note your vehicle’s
edge, above the door latch. The label shows the size of Certificationnire label or consult your dealer for
your
original tires and the inflation pressures needed to additional details.
obtain
the gross weight capacity of your vehicle. This is
called
the GVWR (Gross Vehicle Weight Rating). The
GVWR includes the weight of the vehicle, all occupants,
fuel, cargo and trailer tongue weight,
if pulling a trailer.
4-44
Page 204 of 392
Downloaded from www.Manualslib.com manuals search engine Total Weight on Your Vehicle’s Tires
Be sure your vehicle’s tires are inflated to the limit
for cold tires. You’ll find these numbers
on the
Certificationmire label
on the driver’s door edge,
above the door latch, or see “Tire Loading” in the
Index. Then be sure you don’t go over the GVW
limit for your vehicle, including
the weight of the
trailer tongue.
Hitches
It’s important to have the correct hitch equipment.
Crosswinds, large trucks going by and rough roads are a
few reasons why you’ll need the right hitch. Here are some rules to follow:
0 If you’ll be pulling a trailer that, when loaded, will
weigh more than
2,000 Ibs. (900 kg), be sure to use a
properly mounted, weight-distributing hitch and
sway control
of the proper size. This equipment is
very important for proper vehicle loading and good
handling when you’re driving.
Will you have to make any holes in the body of your
vehicle when
you install a trailer hitch? If you do,
then be sure to seal the holes later when you remove
the hitch. If you don’t seal them, deadly carbon
monoxide
(CO) from your exhaust can get into your
vehicle (see “Carbon Monoxide” in the Index). Dirt
and water can, too.
Safety Chains
You should always attach chains between your vehicle
and your trailer. Cross the safety chains under
the tongue
of the trailer
so that the tongue will not drop to the road
if
it becomes separated from the hitch. Instructions
about safety chains may be provided by the hitch
manufacturer or by the trailer manufacturer. Follow
the
manufacturer’s recommendation for attaching safety
chains and do
not attach them to the bumper. Always
leave
just enough slack so you can turn with your rig.
And, never allow safety chains
to drag on the ground.
4-50
Page 232 of 392
Downloaded from www.Manualslib.com manuals search engine Engine Fan Noise
This vehicle has a clutched engine cooling fan. When
the
clutch is engaged, the fan spins faster to provide
more air to cool the engine. In most every day driving
conditions, the clutch is
not engaged. This improves
fuel economy and reduces fan noise. Under heavy
vehicle loading, trailer towing and/or high outside
temperatures, the’ fan speed increases when
the clutch
engages.
So you may hear an increase in fan noise.
This is normal and should not be mistaken as
the
transmission slipping or making extra shifts. It is
merely the cooling system functioning properly. The
fan will slow down when additional cooling
is not
required and the clutch disengages.
You may also hear this fan noise when you start the
engine. It will go away as the fan clutch disengages.
If a Tire Goes Flat
It’s unusual for a tire to “blow out” while you’re driving,
especially
if you maintain your tires properly. If air goes
out of a tire, it’s much more likely
to leak out slowly.
But
if you should ever have a “blowout,” here are a few
tips about what to expect and what
to do:
If a front tire fails, the flat tire will create a drag that
pulls
the vehicle toward that side. Take your foot off the
accelerator pedal and grip
the steering wheel firmly.
Steer
to maintain lane position, and then gently brake to
a stop well out of the traffic lane.
A rear blowout, particularly on a curve, acts much like
a skid and may require the same correction you’d use in
a skid. In any rear blowout, remove your
foot from the
accelerator pedal. Get
the vehicle under control by
steering the way you want the vehicle
to go. It may be
very bumpy and noisy, but you can
still steer. Gently
brake to a stop
-- well off the road if possible.
If a tire goes flat, the next part shows how to use your
jacking equipment
to change a flat tire safely.
5-20
Page 233 of 392
Downloaded from www.Manualslib.com manuals search engine Changing a Flat Tire
If a tire goes flat, avoid further tire and wheel damage
by driving slowly to a level place. Turn on your hazard
warning flashers.
Changing
a tire can cause an injury. The vehicle
can slip
off the jack and roll over you or other
people. You and they could be badly injured.
Find
a level place to change your tire. To help
prevent the vehicle from moving:
1. Set the parking brake firmly.
2. Put an automatic transmission shift lever in
PARK (P) or shift
a manual transmission to
FIRST (1)
or REVERSE (R).
3. If you have a four-wheel-drive vehicle
with
a manual transfer case shift lever,
be sure the transfer case is in
a drive
gear
-- not in NEUTRAL (N).
CAUTION: (Continued) CAUTION: (Continued)
4. Turn off the
engine.
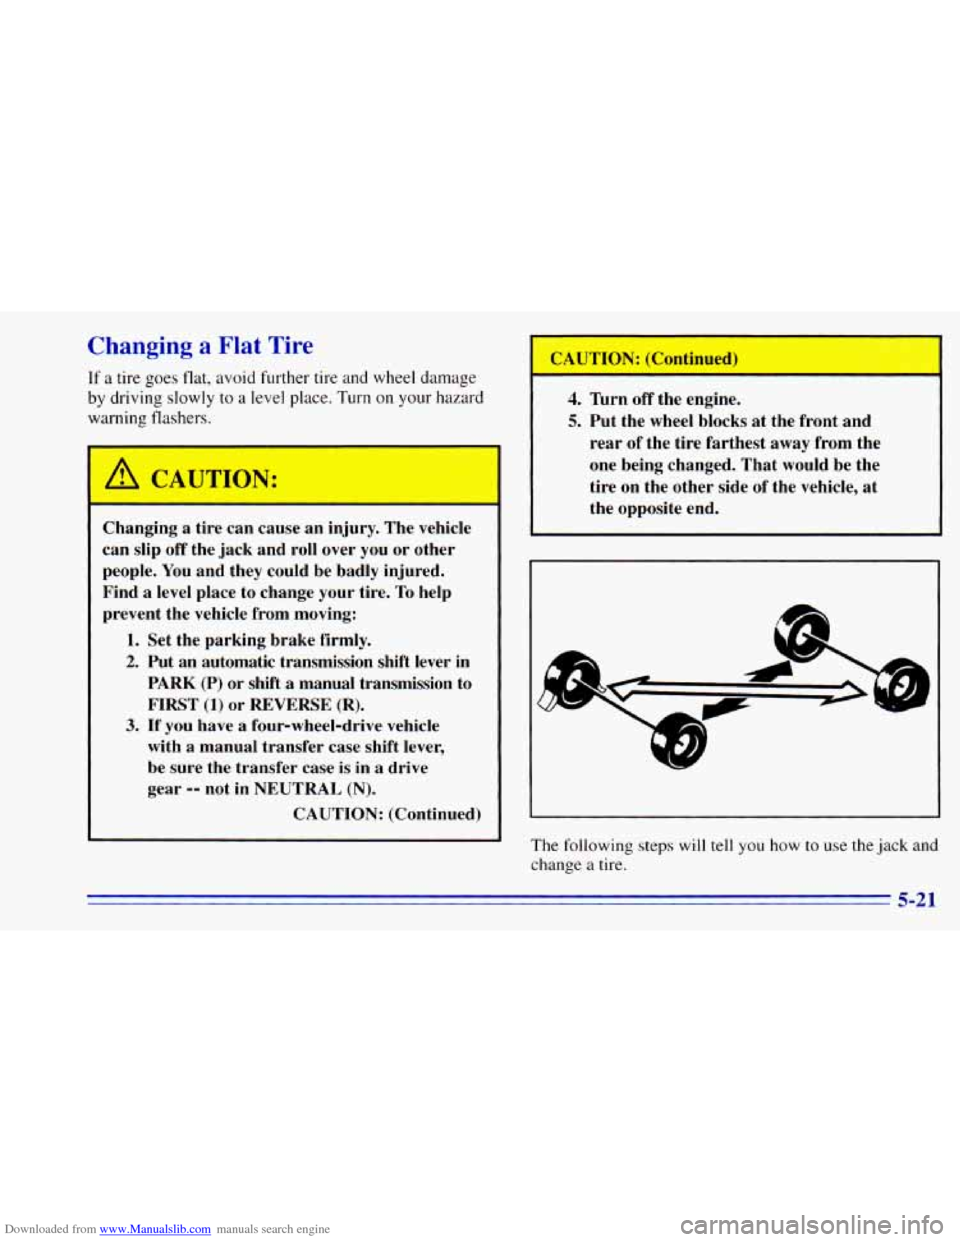
5. Put the wheel blocks at the front and
rear of the tire farthest away from the
one being changed. That would be the
tire on the other side of the vehicle,
at
the opposite end.
The following steps will tell
you how to use the jack and
change a tire.
5-21