1996 CHEVROLET BLAZER load capacity
[x] Cancel search: load capacityPage 115 of 392
Downloaded from www.Manualslib.com manuals search engine You can adjust the crossrails to handle different size
loads. Just loosen the slider knobs at each end of the
crossrail and move them where you want them. Make
sure both sides of the crossrail are even, then tighten the
slider knobs.
Be sure the cargo is properly loaded. Follow
these guidelines:
0 Carrying small, heavy loads on the roof is not
recommended.
0 Tie the load to the moveable tie down (two per each
side
of the side rails). Use the crossrails only to keep
the load from sliding.
If you need to carry long items, move the crossrails
as far apart as possible. Tie the load
to the moveable
tie downs provided in the side rails. Also tie the load
to the bumpers.
Do not tie the load so tightly that the
crossrails or side rails are damaged.
NOTICE:
Loading cargo that weighs more than 200 lbs.
(91 kg) on the luggage carrier may damage your
vehicle. When you carry large things, never let
them hang over the rear
or the sides of your
vehicle. Load your cargo
so that it rests on the
slats and does not scratch or damage the vehicle.
Put the cargo against the side rails and fasten it
, securely to the luggage carrier. Put the main
I weight as far forward as you can.
Don’t exceed the maximum vehicle capacity when loading your vehicle. For more information on vehicle capacity
and loading, see “Loading Your Vehicle’’ in the Index.
To prevent damage or loss of cargo as you’re driving,
check now and then to make sure the luggage carrier and
cargo are still securely fastened.
2-57
Page 132 of 392
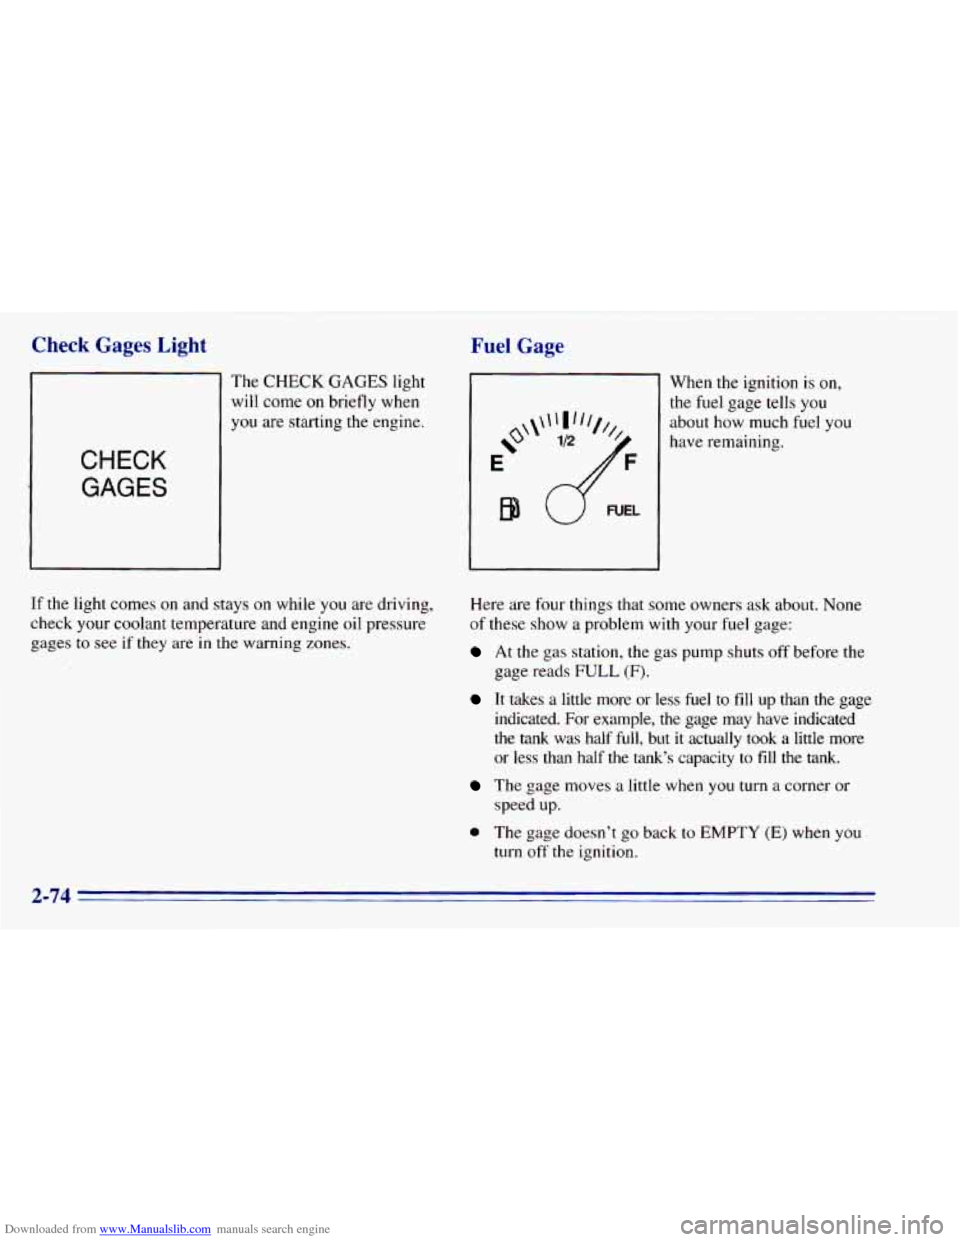
Downloaded from www.Manualslib.com manuals search engine Check Gages Light
The CHECK GAGES light
will
come on briefly when
you are starting the engine.
CHECK
GAGES
If the light comes on and stays on while you are driving,
check your coolant temperature and engine oil pressure
gages to
see if they are in the warning zones.
Fuel Gage
e'
E
B9
When the ignition is on,
the fuel gage tells you
about how much fuel you
have remaining,
Here are four things that some owners ask about. None
of these show a problem with
your fuel gage:
At the gas station, the gas pump shuts off before the
gage reads
FULL (F).
It takes a little more or less fuel to fill up than the gage
indicated.
For example, the gage may have indicated
the tank was half
full, but it actually took a little more
or less than half the tank's capacity to fill the tank.
The gage moves a little when you turn a corner or
speed up.
0 The gage doesn't go back to EMPTY (E) when you
turn off the ignition,
2-74
Page 198 of 392
Downloaded from www.Manualslib.com manuals search engine Loading Your Vehicle
I *
‘GVWR VR F I
PAYLOAD =-I
PSI/KPA (COL
n
SEE OWNER’S MANUAL FOR ADDITIONAL INFORMATION I U
The Certificationnire label also tells you the maximum
weights for the front and rear axles, called Gross Axle
Weight Rating (GAWR). To find out the actual loads on
your front and rear axles, you need to go to a weigh
station and weigh your vehicle. Your dealer can help
you with this. Be sure to spread out your load equally on
both sides
of the centerline.
Never exceed the GVWR for your vehicle, or the Gross
Axle Weight Rating (GAWR) for either the front or
rear axle.
If you do have a heavy load, you should spread it out.
Similar appearing vehicles may have different
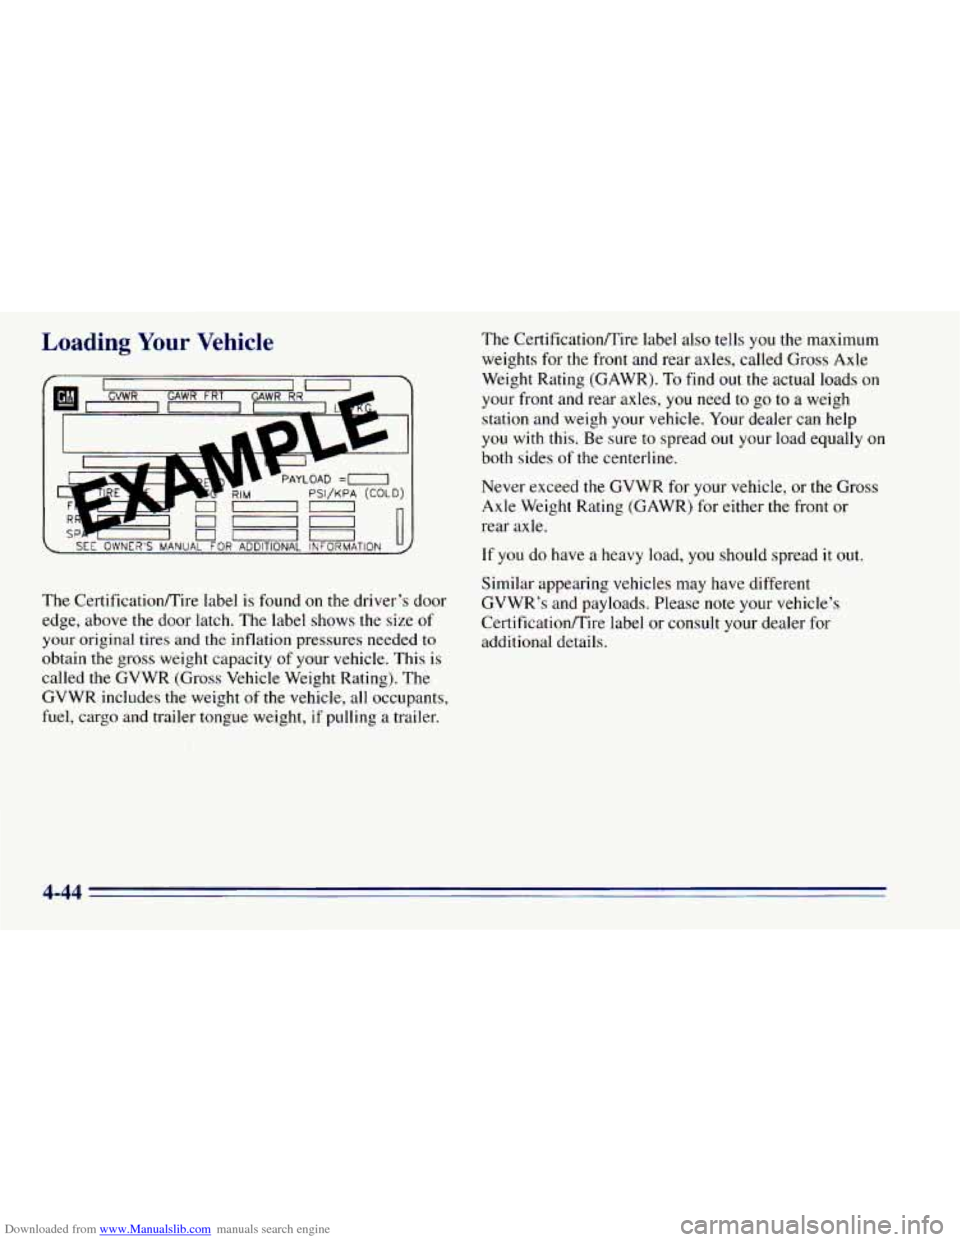
The Certificationrrire label is found on the driver’s door GVWR’s and payloads. \
Please note your vehicle’s
edge, above the door latch. The label shows the size of Certificationnire label or consult your dealer for
your
original tires and the inflation pressures needed to additional details.
obtain
the gross weight capacity of your vehicle. This is
called
the GVWR (Gross Vehicle Weight Rating). The
GVWR includes the weight of the vehicle, all occupants,
fuel, cargo and trailer tongue weight,
if pulling a trailer.
4-44
Page 200 of 392
Downloaded from www.Manualslib.com manuals search engine Payload
The payload capacity is shown on the Certificationmire
label. This is the maximum load capacity that your
vehicle can carry. Be sure to include the weight of the
occupants as part
of your load. If you added any
accessories or equipment after your vehicle left the
factory, remember
to subtract the weight of these things
from the payload. Your dealer can help
you with this.
Towiy a Trailer
Add-on Equipment
When you carry removable items, you may need to put a
limit on how many people you carry inside your vehicle.
Be sure
to weigh your vehicle before you buy and install
the new equipment.
NOTICE:
Your warranty doesn’t cover parts or
components that fail because of overloading.
A CAUTION:
If you don’t use the correct equipment and drive
properly, you can lose control when you pull
a
trailer. For example, if the trailer is too heavy, the
brakes may not work well
-- or even at all. You
and your passengers could be seriously injured.
Pull
a trailer only if you have followed all the
steps in this section.
Ask your GM dealer for
advice and information about towing
a trailer
with your vehicle.
4-46
Page 203 of 392
Downloaded from www.Manualslib.com manuals search engine You can ask your dealer for our trailering information or
advice, or
you can write us at the address listed in your
Warranty and Owner Assistance Information Booklet.
In Canada, write to:
General Motors of Canada Limited
Customer Assistance Center
1908 Colonel Sam Drive
Oshawa, Ontario
L 1 H 8P7
Weight of the Trailer Tongue
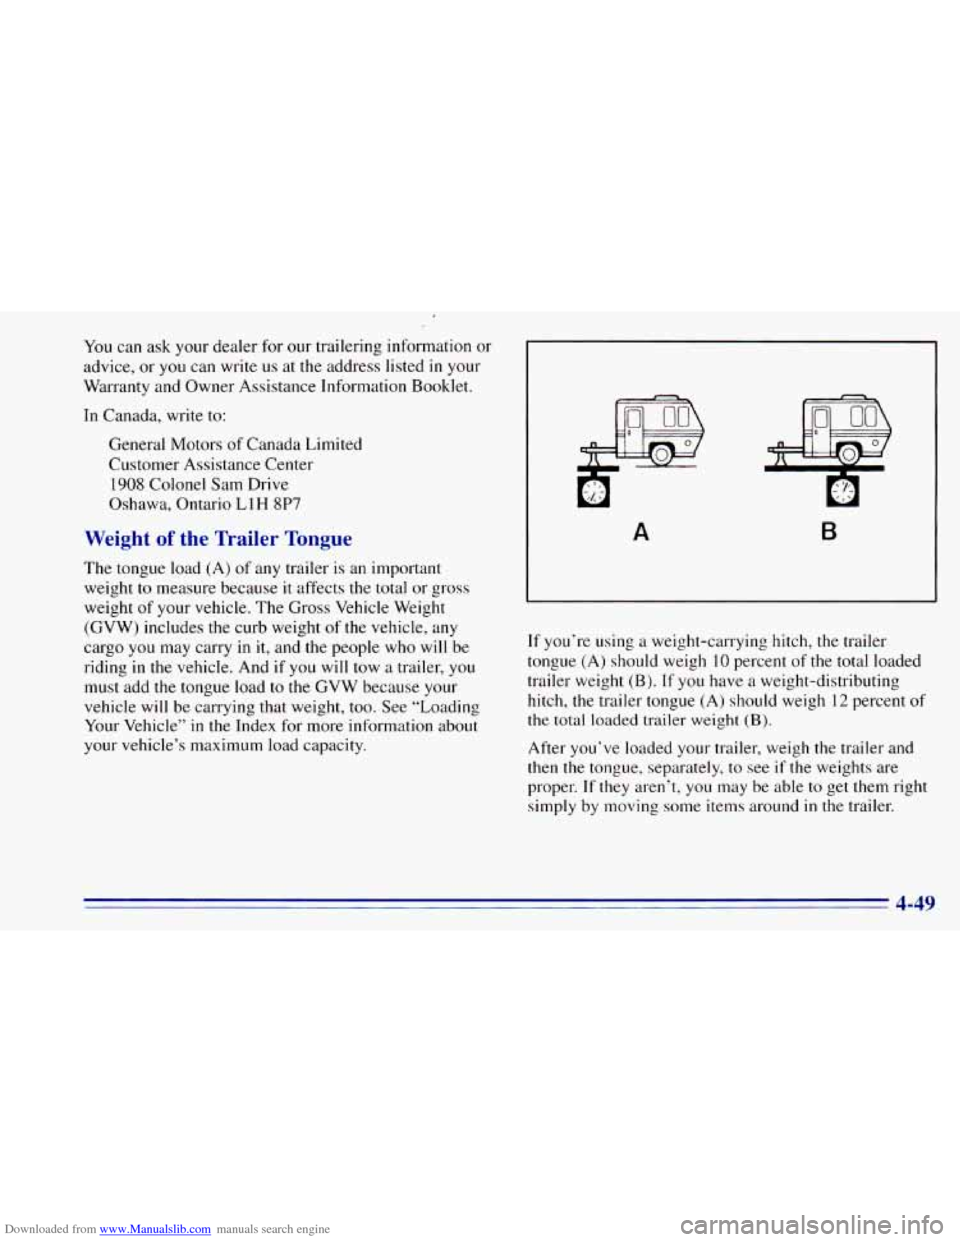
The tongue load (A) of any trailer is an important
weight
to measure because it affects the total or gross
weight of your vehicle. The Gross Vehicle Weight
(GVW) includes the curb weight of the vehicle, any
cargo you may carry in
it, and the people who will be
riding
in the vehicle, And if you will tow a trailer, you
must add the tongue load
to the GVW because your
vehicle will be carrying that weight, too. See “Loading
Your Vehicle”
in the Index for more information about
your vehicle’s maximum load capacity.
A B
If you’re using a weight-carrying hitch, the trailer
tongue (A) should weigh 10 percent
of the total loaded
trailer weight
(B). If you have a weight-distributing
hitch, the trailer tongue (A) should weigh 12 percent of
the total loaded trailer weight
(B).
After you’ve loaded your trailer, weigh the trailer and
then the tongue, separately, to see
if the weights are
proper.
If they aren’t, you may be able to get them right
simply by moving some items around
in the trailer.
4-49
Page 257 of 392
Downloaded from www.Manualslib.com manuals search engine Before closing the hood, be sure all the filler caps are on
properly. Then lift the hood
to relieve pressure on the
hood prop.
Remove the hood prop
from the slot in the hood and
return the prop to
its retainer.
Then just pull the hood down firmly
to close. It will
latch when dropped from
10 to12 inches (25 to 30 cm)
without pressing
on the hood.
Engine Oil
It’s a good idea to check your engine oil every time you
get fuel. In order to get an accurate reading, the oil must
be warm and the vehicle must be on level ground.
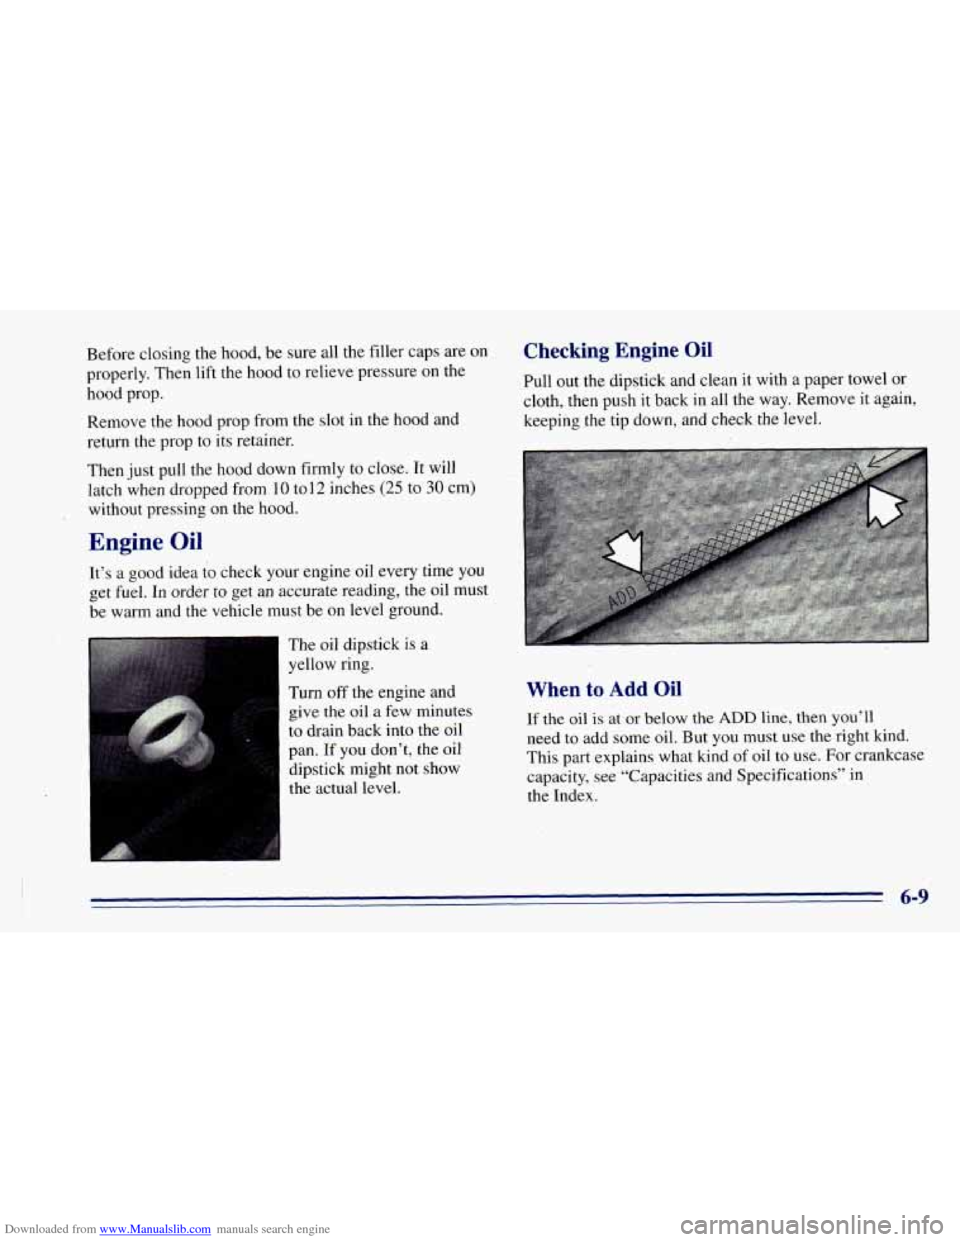
The oil dipstick is
a
yellow ring.
Turn
off the engine and
give the oil a few minutes
to drain back into the oil
pan.
If you don’t, the oil
dipstick might not show
the actual level.
Checking Engine Oil
Pull out the dipstick and clean it with a paper towel or,
cloth, then push it back in all the way. Remove it again,
keeping the tip down, and check the level.
When to Add Oil
If the oil is at or below the ADD line, then you’ll
need to add some oil. But you must use the right kind.
This part explains what kind of
oil to use. For crankcase
capacity, see “Capacities and Specifications” in
the Index.
6-9
Page 295 of 392
Downloaded from www.Manualslib.com manuals search engine Each new wheel should have the same load carrying
capacity, diameter, width, offset and be mounted the
same way as the one
it replaces.
If you need to replace any of your wheels, wheel bolts
or wheel nuts, replace them only
with new GM original
equipment parts. This way, you
will be sure to have the
right wheel, wheel bolts and wheel nuts for your model.
Using the wrong replacement wheels, wheel bolts
or wheel nuts on your vehicle can be dangerous.
It could affect the braking and handling of your
vehicle, make your tires lose air and make you
lose control. You could have
a collision in which
you or others could be injured. Always use the
correct wheel, wheel bolts and wheel nuts
for replacement.
NOTICE:
The wrong wheel can also cause problems with
bearing life, brake cooling, speedometer/odometer
calibration, headlamp aim, bumper height, vehicle
ground clearance and tire or tire chain clearance
to the body and chassis.
See “Changing a Flat Tire”
in the Index for
more information.
Used Replacement Wheels
Putting
a used wheel on wr vehicle is
dangerous. You can’t know how it’s been used
or
how many miles it’s been driven. It could fail
suddenly and cause an accident.
If you have to
replace a wheel, use a new
GM original
equipment wheel.
6-47