1996 CHEVROLET BLAZER cooling
[x] Cancel search: coolingPage 65 of 392
Downloaded from www.Manualslib.com manuals search engine Endgate
A CAUTION:
It can be dangerous to drive with the rear
window or endgate open because carbon
monoxide (CO) gas can come into your vehicle.
You can’t see or smell CO. It can cause
unconsciousness and even death.
If you must drive with the rear window or
endgate open or if electrical wiring or other cable
connections must pass through the seal between
the body and the rear window or endgate:
0 Make sure all windows are shut.
’hrn the fan on your heating or cooling
system to its highest speed with the setting on
VENT. That will force outside air into your
vehicle.
See “Comfort Controls” in the Index.
instrument panel, open them all the way.
If you have air outlets on or under the
See “Engine Exhaust” in the Index.
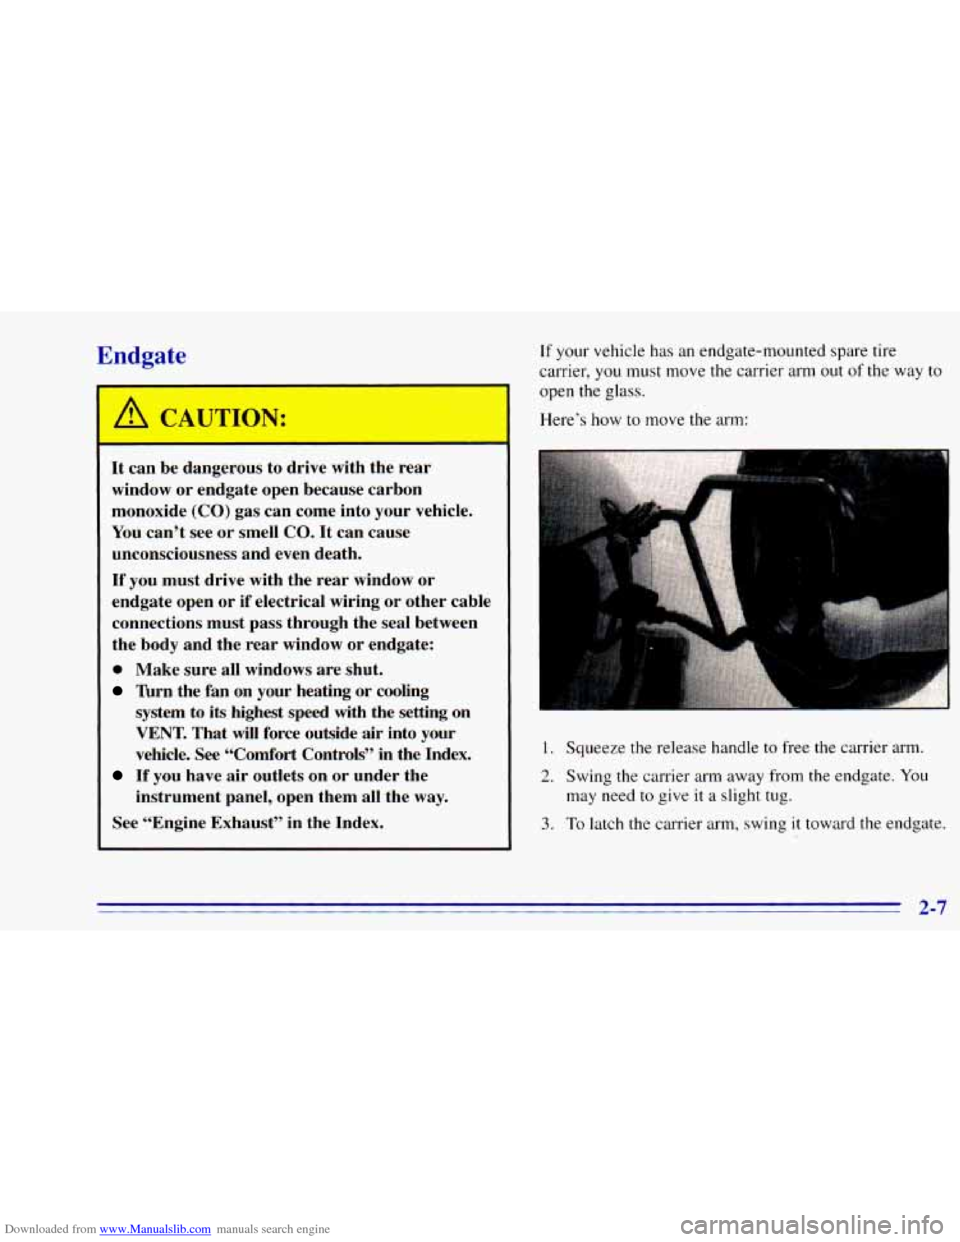
If your vehicle has an endgate-mounted spare tire
carrier,
you must move the carrier arm out of the way to
open the glass.
Here’s how to move the arm:
1. Squeeze the release handle to free the carrier arm.
2. Swing the carrier arm away from the endgate. You
3. To latch the carrier arm, swing it toward the endgate.
may need
to give it a slight
tug.
Page 135 of 392
Downloaded from www.Manualslib.com manuals search engine Section 3 Comfort Controls and Audio Systems
In this section you'll find out how to operate the comfort
control and audio systems offered with your vehicle. Be
sure to read about the particular systems supplied with
your vehicle.
Comfort Controls
With this system you can control the heating, cooling
and ventilation
in your vehicle.
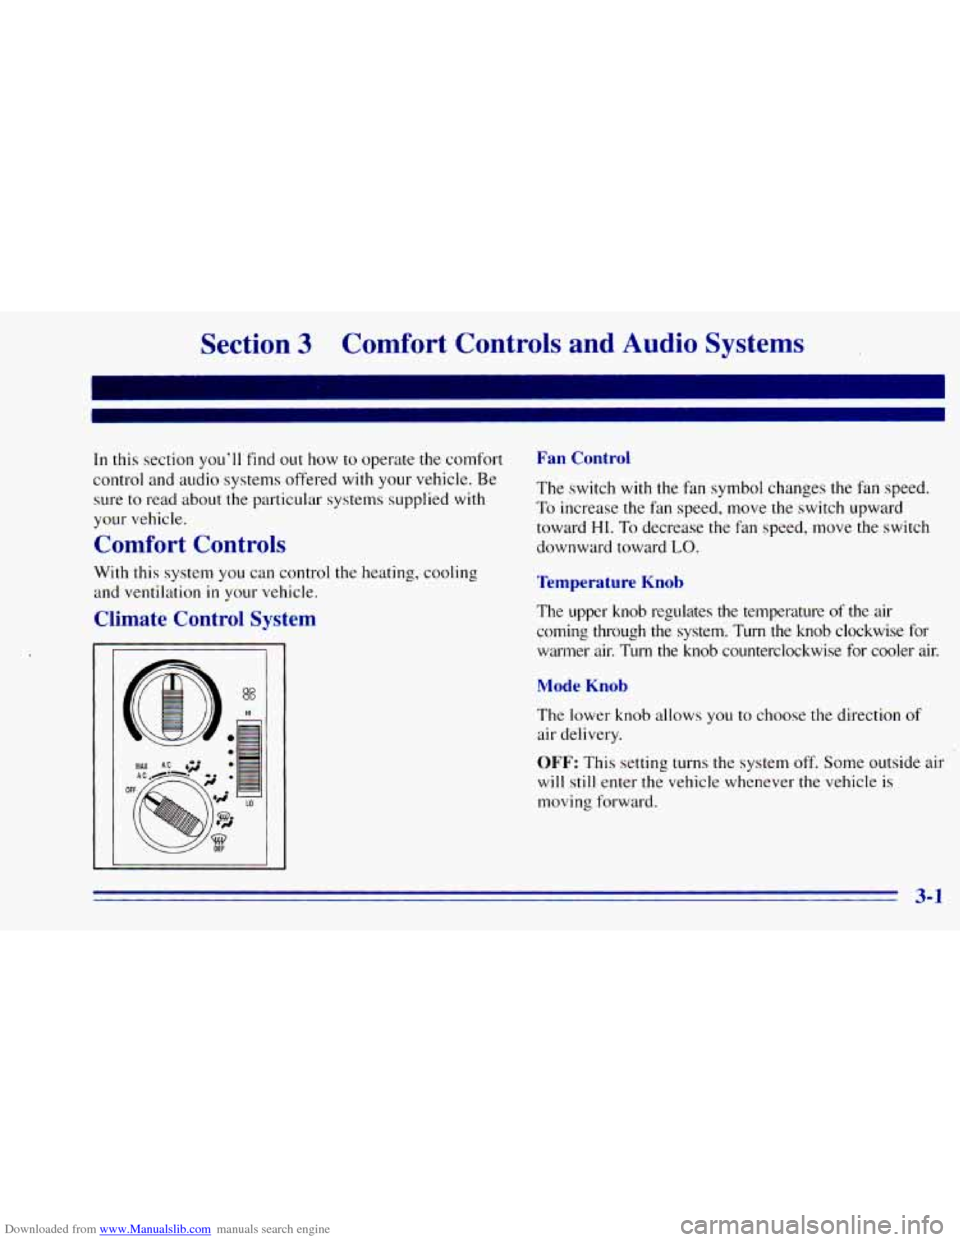
Climate Control System
L
a
83
HI
I
to
Fan Control
The switch with the fan symbol changes the fan speed.
To increase the fan speed, move the switch upward
toward
HI. To decrease the fan speed, move the switch
downward toward
LO.
Temperature Knob
The upper knob regulates the temperature of the air
coming through the system. Turn the knob clockwise for warmer air. Turn the knob counterclockwise for cooler air.
Mode Knob
The lower knob allows you to choose the direction of
air delivery.
OFF: This setting turns the system off. Some outside air
will still enter the vehicle whenever the vehicle is
moving forward.
3-1
Page 136 of 392
Downloaded from www.Manualslib.com manuals search engine MAX A/C: This setting provides maximum cooling
with the
least amount of work. MAX A/C recirculates
much
of the air inside your vehicle so it cools quickly.
A/C: This setting cools the air entering your vehicle and
directs it through the instrument panel outlets.
+' BI-LEVEL A/C: Air is delivered through the
heater floor outlets as well as the instrument panel
outlets.
/J VENT: This setting directs airflow through the
instrument panel outlets. The air conditioning
compressor is
not working when VENT is selected.
+' HEATER: This setting directs warmed air through
the heater floor outlets and windshield defroster outlets.
+, BLEND: Airflow is divided equally between the
heater floor outlet and
the windshield defroster outlets.
'sw DEFROST This setting directs most air through
the windshield defroster outlets and some through the
heater outlets.
I,.
+.
0
w0
Air Conditioning
On hot days, open the windows long enough to let hot
inside air escape. This reduces the time it takes
for your
vehicle to cool down. Then keep your windows closed
for the air conditioner
to work its best.
For quick cool-down
on very hot days, use MAX A/C
with the temperature knob turned counterclockwise.
This setting should be used
to keep odors and/or dust
from entering the vehicle. For normal cooling on
hot
days, use A/C with the temperature knob turned
counterclockwise.
On cool but sunny days, use BI-LEVEL
A/C to deliver
warm air to the floor and cooler air to the instrument
panel outlets.
When the air conditioner is
on, you may sometimes notice
slight changes
in your vehicle's engine speed and power.
This is normal because the system is designed to cycle the
compressor
on and off to keep the desired temperature.
Page 137 of 392
Downloaded from www.Manualslib.com manuals search engine Heating
The heater works best if you keep your windows closed
while using it. On cold days, use
HEATER with the
temperature knob turned clockwise.
BLEND is useful in
cool weather when
you have fog or ice on the
windshield or side windows.
If
you use the optional engine coolant heater before
starting your engine, your heating system will produce
warmer air faster to heat the passenger compartment in
cold weather. See “Engine Coolant Heater” in the Index.
I
Ventilation System
For mild outside temperatures when little heating or
cooling
is needed, use VENT to direct outside air
through your vehicle. Airflow is through the instrument
panel outlets.
Your vehicle’s ventilation system supplies outside air to
the inside
of your vehicle when it is moving. When the
vehicle is not moving, you can get outside air to
flow
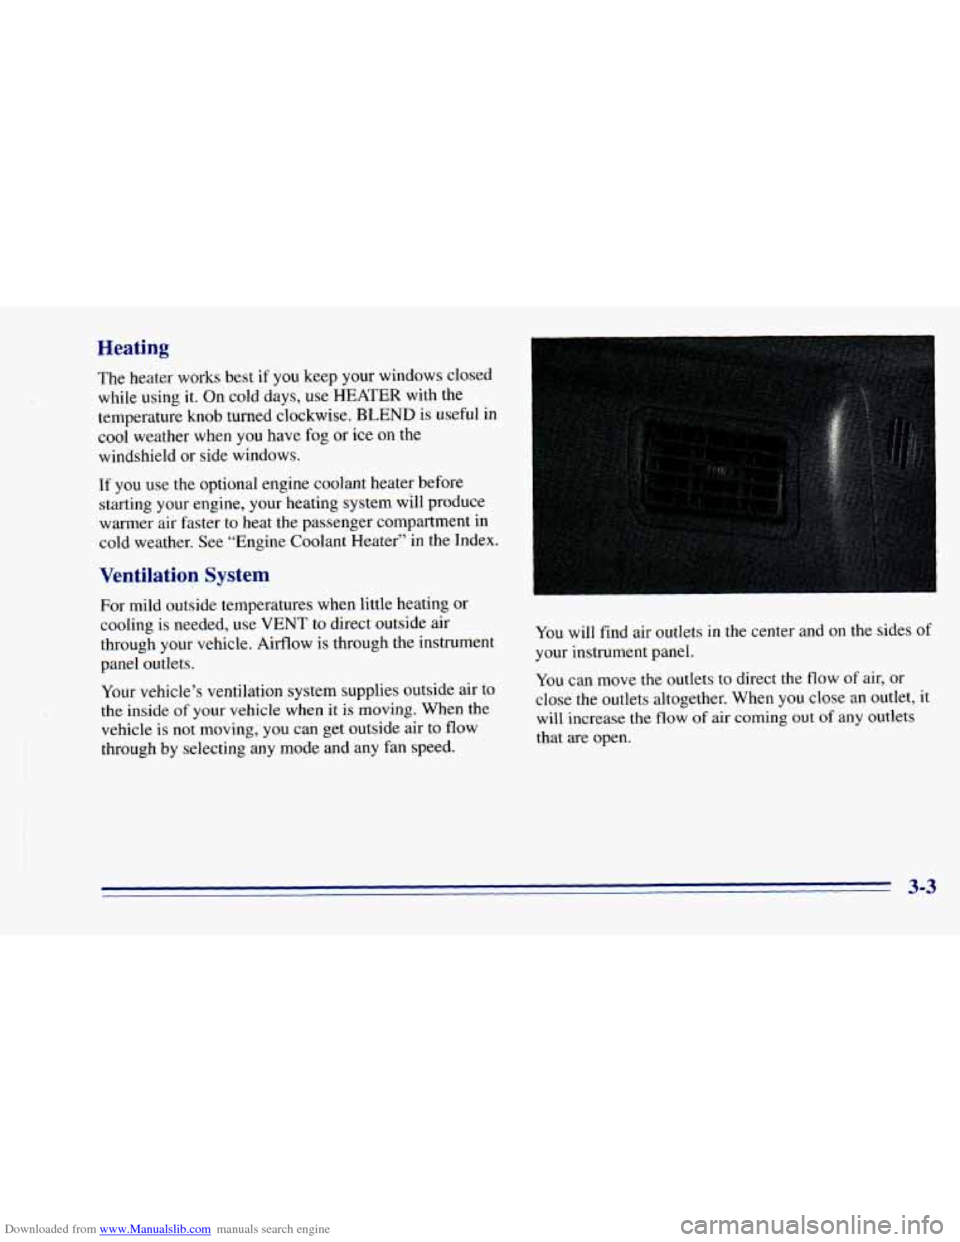
through by selecting any mode and any fan speed. You
will find air outlets in the center and on the sides
of
your instrument panel.
You can move the outlets to direct the flow of air, or
close the outlets altogether. When you close an outlet, it
will increase the flow
of air coming out of any outlets
that are open.
3-3
Page 183 of 392
Downloaded from www.Manualslib.com manuals search engine After Off-Road Driving
Remove any brush or debris that has collected on the
underbody, chassis or under the hood. These
accumulations can be a fire hazard.
After operation in mud or sand, have the brake linings
cleaned and checked. These substances can cause
glazing and uneven braking. Check the body structure,
steering, suspension, wheels, tires and exhaust system
for damage. Also, check the fuel lines and cooling
system for any leakage.
Your vehicle will require more frequent service due to
off-road use. Refer to the Maintenance Schedule for
additional information.
Driving at Night
I
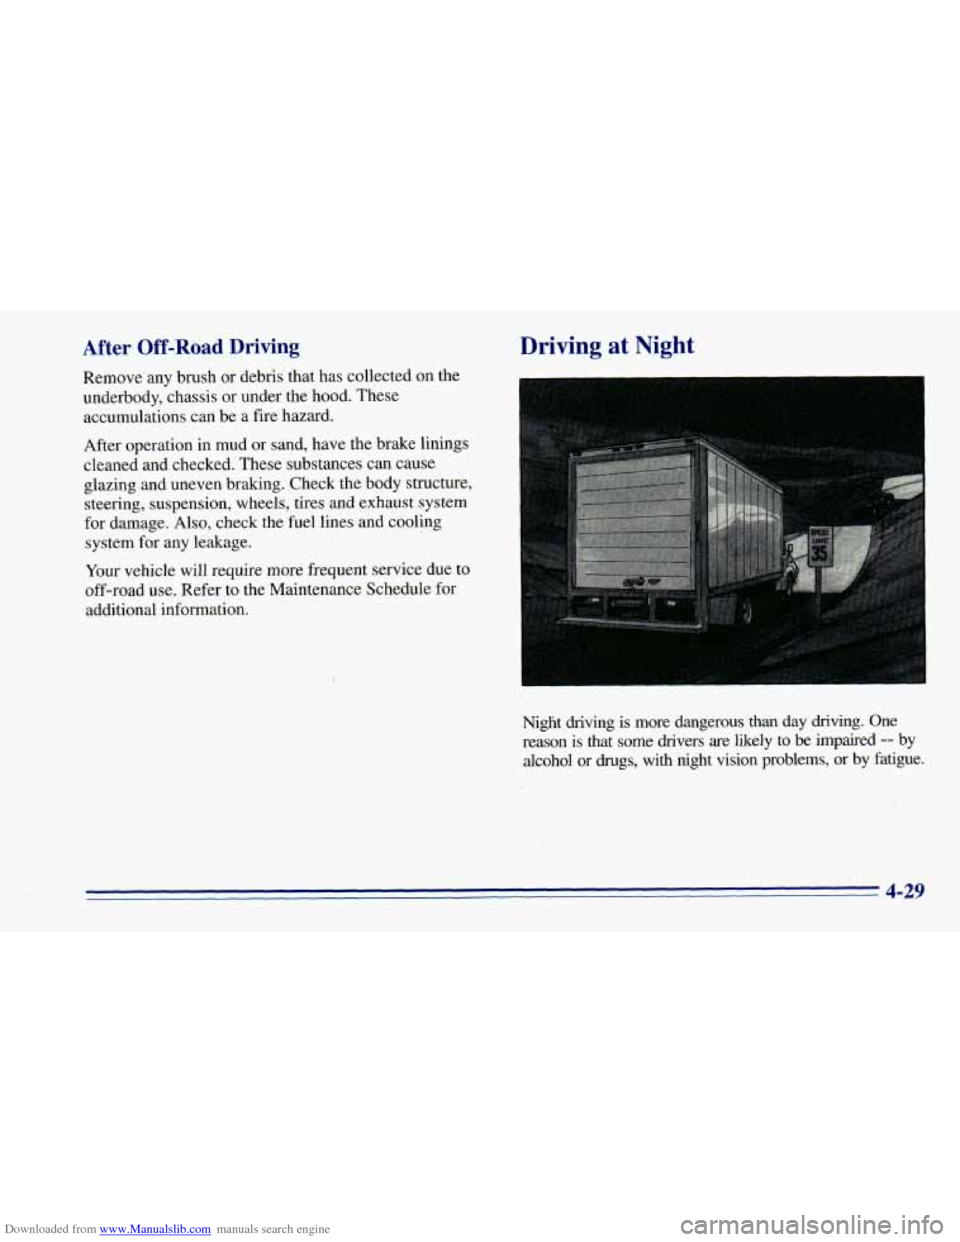
Night driving is more dangerous than day driving. One
reason is that
some drivers are likely to be impaired -- by
alcohol
or drugs, with night vision problems, or by fatigue.
4-29
Page 192 of 392
Downloaded from www.Manualslib.com manuals search engine Hill and Mountain Roads If you drive regularly in steep country, or if you’re
planning
to visit there, here are some tips that can make
your trips safer and more enjoyable. (See “Off-Road
Driving”
in the Index for information about driving
off-road.)
0
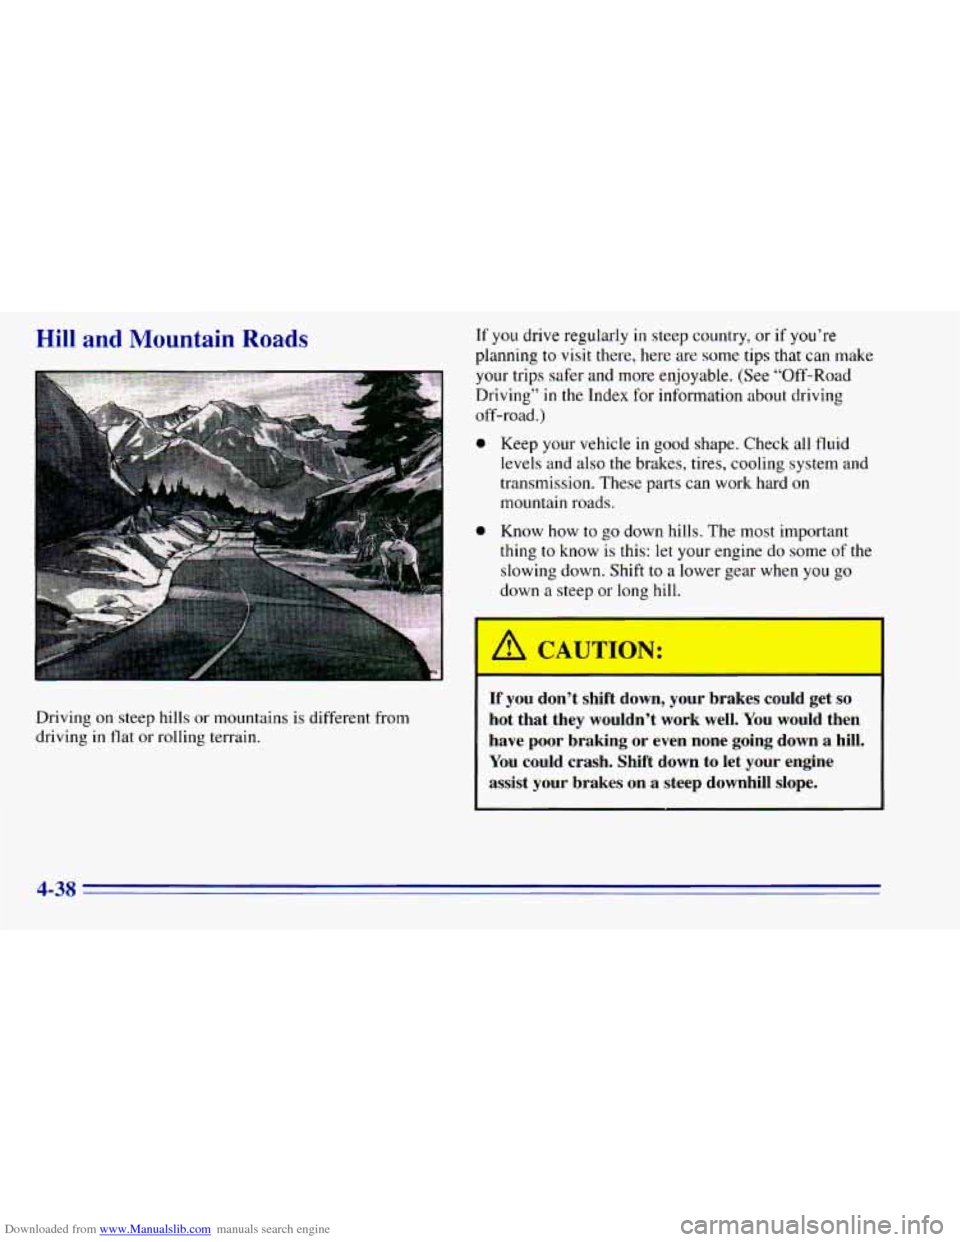
Driving on steep hills or mountains is different from
driving
in flat or rolling terrain.
0
Keep your vehicle in good shape. Check all fluid
levels and also the brakes, tires, cooling system and
transmission. These parts can work hard
on
mountain roads.
Know how to go down hills. The most important
thing
to know is this: let your engine do some of the
slowing down. Shift to a lower gear when you
go
down a steep or long hill.
If you don’t shift down, your brakes could get so
hot that they wouldn’t work well. You would then
have poor braking or even none going down a hill.
You could crash. Shift down to let your engine
assist your brakes on a steep downhill slope.
4-38
Page 205 of 392
Downloaded from www.Manualslib.com manuals search engine Trailer Brakes
If your trailer weighs more than 1,000 lbs. (450 kg)
loaded,
then it needs its own brakes -- and they must be
adequate. Be sure
to read and follow the instructions for
the trailer brakes
so you’ll be able to install, adjust and
maintain them properly.
Your trailer’s brake system can tap into the vehicle’s
hydraulic brake system only if:
0 The trailer parts can withstand 3,000 psi
(20 650 kPa) of pressure.
0.02 cubic inch (0.3 cc) of fluid from your vehicle’s
master cylinder. Otherwise, both braking systems
won’t work well. You could even lose your brakes.
0 The trailer’s brake system will use less than
If everything checks out this far, then make
the brake
fluid tap
at the port on the master cylinder that sends
fluid to the rear brakes. But don’t use copper tubing for
this. If
you do, it will bend and finally break off. Use
steel brake tubing.
Driving with a Trailer
A CAUTION:
-
If you hr ! a most wi ow 01 I and you
pull
a trailer with your vehicle, carbon monoxide
(CO) could come into your vehicle. You can’t see
or smell
CO. It can cause unconsciousness or
death. (See “Engine Exhaust” in the Index.)
To
maximize your safety when towing a trailer:
0
e
0
Have your exhaust system inspected €or
leaks, and make necessary repairs before
starting on your trip. Keep the rear-most windows closed.
If exhaust does come into your vehicle
through
a window in the rear or another
opening, drive with your front, main
heating or cooling system on and with the
fan on any speed. This will bring fresh,
outside
air into your vehicle. Do not use
MAX A/C because it only recirculates the
air inside your vehicle. (See “Comfort
Controls” in the Index.)
4-5 1
Page 210 of 392
Downloaded from www.Manualslib.com manuals search engine Maintenance When Trailer Towing
Your vehicle will need service more often when you’re
pulling
a trailer. See the Maintenance Schedule for more
on this. Things that are especially important in trailer
operation are automatic transmission fluid (don’t
overfill), engine oil, axle lubricant, belt, cooling system
and brake adjustment. Each of these is covered
in this
manual, and the Index will help you find them quickly.
If you’re trailering, it’s a good idea to review these
sections before you start your trip.
Check periodically to see that all hitch nuts and bolts
are tight.
Trailer Wiring Harness
The light duty trailer wiring is a six-wire harness
assembly. The heavy duty trailer wiring is an eight-wire
harness assembly. The harnesses are stored under
the
vehicle, along the passenger-side frame crossmember on
two-door vehicles or on the driver’s side corner frame
crossmember
on four-door vehicles. The heavy duty
trailer wiring has a 30-amp feed wire with an inline fuse
located by the junction block. See “Fuses and Circuit
Breakers” in
the Index. Both harnesses have no
connector and should be wired
by a qualified electrical technician. The technician can
use the following color code chart when connecting the
wiring harness
to your trailer.
0
0
0
0
0
0
0
0
DARK BLUE: Use for electric trailer brakes or
auxiliary wiring.
RED: Use for battery charging; it connects to the
starter solenoid (eight-wire harness
only).
LIGHT GREEN: Back-up lamps (eight-wire
harness only).
BROWN: Taillamps and parking lamps.
YELLOW Left stoplamp and turn signal.
DARK GREEN: Right stoplamp and turn signal.
WHITE (Heavy Gage): Ground wire.
WHITE (Light Gage): Auxiliary stoplamp.
Securely attach the harness
to the trailer, then tape or
strap it to your vehicle’s frame rail. Be sure you leave
it loose enough
so the wiring doesn’t bend or break,
but
not so loose that it drags on the ground. Store the
harness in its original place. Wrap the harness together
and
tie it neatly so it won’t be damaged.
4-56