1996 CHEVROLET ASTRO light
[x] Cancel search: lightPage 7 of 372

Vehicle Symbols
These are some of the symbols you may find on your vehicle.
For example,
these symbols
are used on an
original battery:
POSSIBLE A
CAUTION
INJURY
PROTECT EYES BY
SHIELDING
CAUSTIC
ACID COULD BATTERY
CAUSE
BURNS
SPARK
OR ,111,
COULD FLAME
EXPLODE BATTERY
These symbols are important
for you and
your passengers
whenever your
vehicle
is
driven:
DOOR LOCK
FASTEN SEAT
BELTS
These symbols have
to do with
your lights:
SIGNALS e
TURN
WARNING
A
HAZARD
FLASHER
FOG LAMPS
$0
These symbols are on
some of
your controls:
WIPER w
WINDSHIELD
DEFROSTER
VENTILATING FAN
(
-b
-J
These symbols are used on
warning and
indicator lights:
COOLANT -
TEMP -
CHARGING I-1
BATTERY
SYSTEM
BRAKE
(0)
COOLANT a
ENGINE OIL w,
PRESSURE
ANTI-LOCK
(@)
BRAKES
Here are some
other symbols
you may see:
FUSE
I
LIGHTER n
HORN )a(
SPEAKER
b
FUEL p3
V
Page 20 of 372
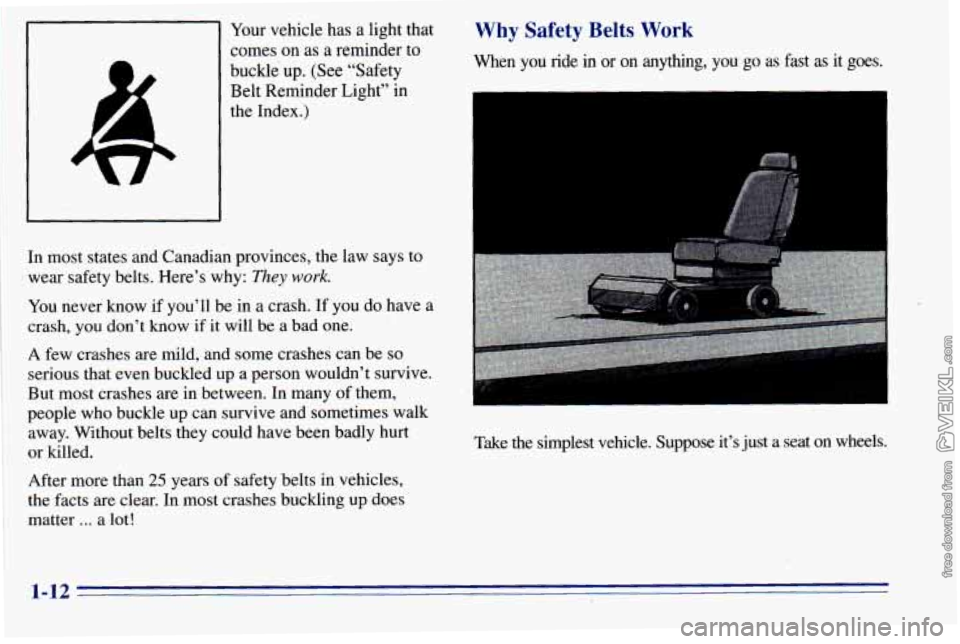
Your vehicle has a light that
comes
on as a reminder to
buckle up. (See “Safety
Belt Reminder Light” in
the Index.)
In most states and Canadian provinces, the law says to
wear safety belts. Here’s why:
They work.
You never know if you’ll be in a crash. If you do have a
crash,
you don’t know if it will be a bad one.
A few crashes are mild, and some crashes can be so
serious that even buckled up a person wouldn’t survive.
But most crashes are in between. In many
of them,
people who buckle up can survive and sometimes walk
away. Without belts they could have
been badly hurt
or killed.
After more than
25 years of safety belts in vehicles,
the facts are clear. In most crashes buckling up does
matter
... a lot!
Why Safety Belts Work
When you ride in or on anything, you go as fast as it goes.
Take the simplest vehicle. Suppose it’s just a seat on whee\
ls.
1-12 -5
Page 33 of 372
I A CAUTION:
Air bags inflate with great force, faster than the
blink of an eye.
If you’re too close to an inflating
air bag, it could seriously injure you. Safety belts
help keep you in position
for an air bag inflation
in a crash. Always wear your safety belt, even
with an air bag. The driver should sit as far back
as possible while still maintaining control of
~ the vehicle.
I A CAUTION: ..
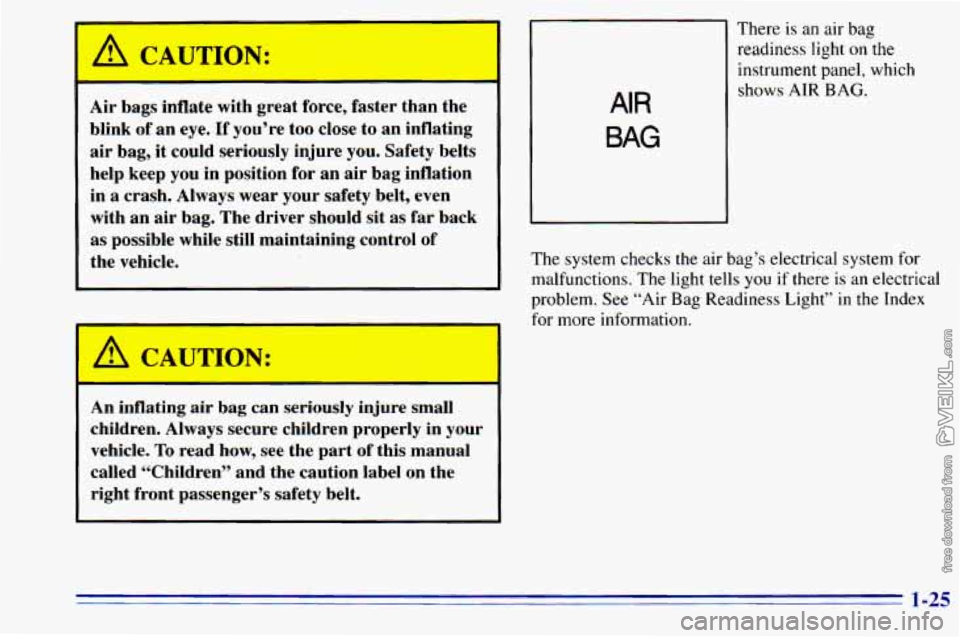
AIR
BAG
There is an air bag
readiness light on the
instrument panel, which
shows
AIR BAG.
The system checks
the air bag’s electrical system for
malfunctions. The light tells you if there is an electrical
problem, See “Air Bag Readiness Light” in the Index
for more information.
An inflating air bag can seriously injure small
children. Always secure children properly in your
vehicle. To read how, see the part of this manual
called “Children” and the caution label on the
right front passenger’s safety belt.
1-25
Page 60 of 372
Checking Your Restraint Systems
Now and then, make sure the safety belt reminder light
and
all your belts, buckles, latch plates, retractors and
anchorages are working properly. Look for any other
loose or damaged safety belt system parts. If
you see
anything that might keep a safety belt system from
doing its job, have it repaired.
Torn or frayed safety belts may not protect you
in a
crash.
They can rip apart under impact forces. If a belt is
torn or frayed, get a new one right away.
Also look for any opened or broken air bag covers, and
have them repaired or replaced. (The air bag system
does not need regular maintenance.)
Replacing Restraint System Parts
After a Crash
If you’ve had a crash, do you need new belts?
After a very minor collision, nothing may be necessary.
But if the belts were stretched, as they would be
if worn
during a more severe crash, then you need new belts.
r
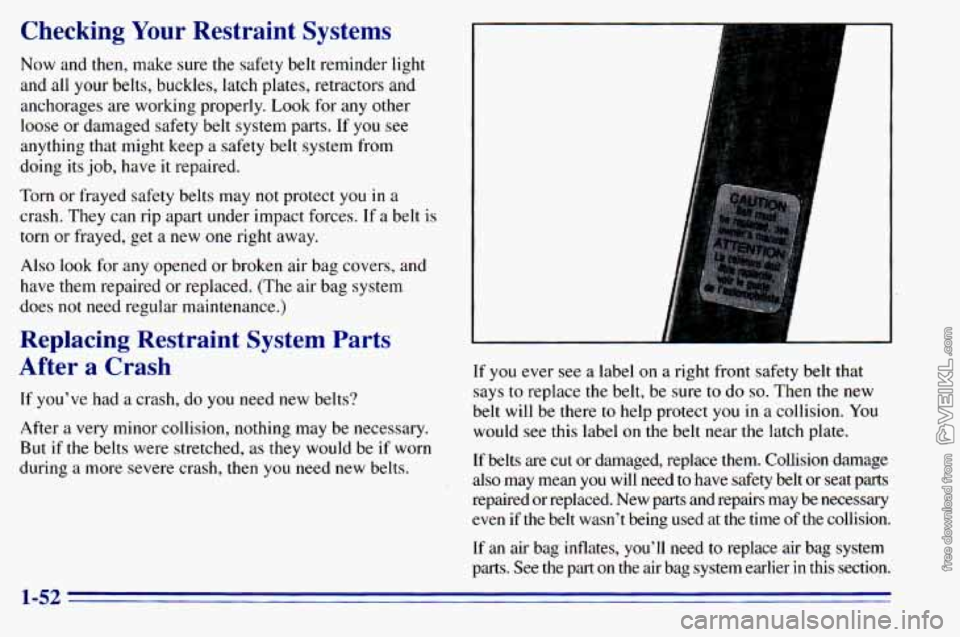
If you ever see a label on a right front safety belt that
says to replace the belt, be sure
to do so. Then the new
belt will be there
to help protect you in a collision. You
would see this label on the belt near the latch plate.
If belts are cut or damaged, replace them. Collision damage
also may mean you will need to have safety belt or seat parts
repaired or replaced. New parts and repairs may be necessary
even
if the belt wasn’t being used at the time of the collision.
If an air bag inflates, you’ll need
to replace air bag system
parts. See the part on the air bag system earlier in this se\
ction.
1-52
Page 73 of 372
Parking at Night
Park in a lighted spot, close all windows and lock your
vehicle. Remember to keep your valuables
out of sight.
Put them
in a storage area, or take them with you.
Parking Lots
If you park in a lot where someone will be watching
your vehicle,
it’s best to lock it up and take your keys.
But what if you have to leave your ignition key? What if
you have to leave something valuable in your vehicle?
0 Put your valuables in a storage area, like your
glove box.
0 Remember to lock the storage compartment/glove
0 Lock all the doors except the driver’s.
box and take that key
with you.
New Vehicle “Break-In”
NOTICE:
Your
modern vehicle doesn’t need an elaborate
“break-in.” But it will perform better in the long
run if you follow these guidelines:
0
0
0
0
Keep your speed at 55 mph (88 kmk) or
less for the first
500 miles (804 km).
Don’t drive at
any one speed -- fast or
slow
-- for the first 500 miles (804 km).
Don’t make full-throttle starts.
Avoid making hard stops for the first
200 miles (322 km) or so. During this time
your new brake linings aren’t yet broken
in. Hard stops with new linings can mean
premature wear and earlier replacement.
Follow this breaking-in guideline every
time you get new brake linings.
Don’t tow
a trailer during break-in. See
“Towing
a Trailer’’ in the Index for
more information.
2-13
Page 81 of 372
Locking Rear Axle
If you have this feature, your rear axle can give you
additional traction on snow, mud, ice, sand or gravel.
It
works like a standard axle most of the time, but when
one
of the rear wheels has no traction and the other does,
the locking feature will allow
the wheel with traction to
move the vehicle.
All-Wheel Drive (Option)
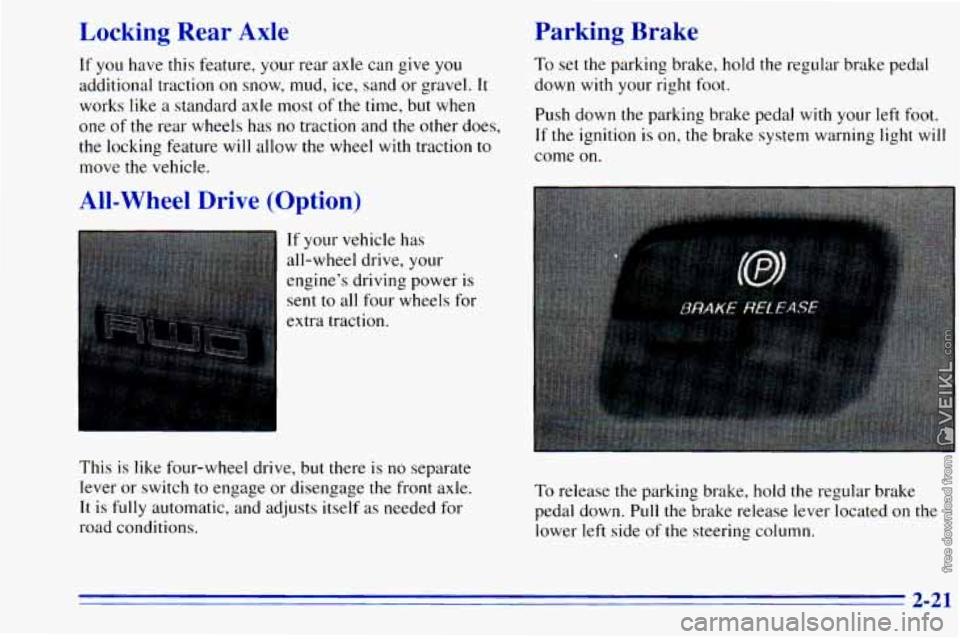
If your vehicle has
all-wheel drive, your
engine’s driving power
is
sent to all four wheels for
extra traction.
Parking Brake
To set the parking brake, hold the regular brake pedal
down with your right foot.
Push down the parking brake pedal with
your left foot.
If the ignition is on, the brake system warning light will
come on.
This is like four-wheel drive, but there is
no separate
lever or switch
to engage or disengage the front axle.
It
is fully automatic, and adjusts itself as needed for
road conditions.
To release the parking brake, hold the regular brake
pedal down. Pull the brake release lever located
on the
lower left side of the steering column.
2-21
Page 88 of 372
Exprer- ’ wn Window
The driver
s window switch also has an “express”
feature that allows
it to lower without holding the
window switch. Hold the driver’s window switch down
for more than 112 second to activate the express-down
feature. Lightly tap the switch to open the window
slightly. The express-down feature can be interrupted
at any time by pressing the up arrow end of the switch.
Swing-Out Windows
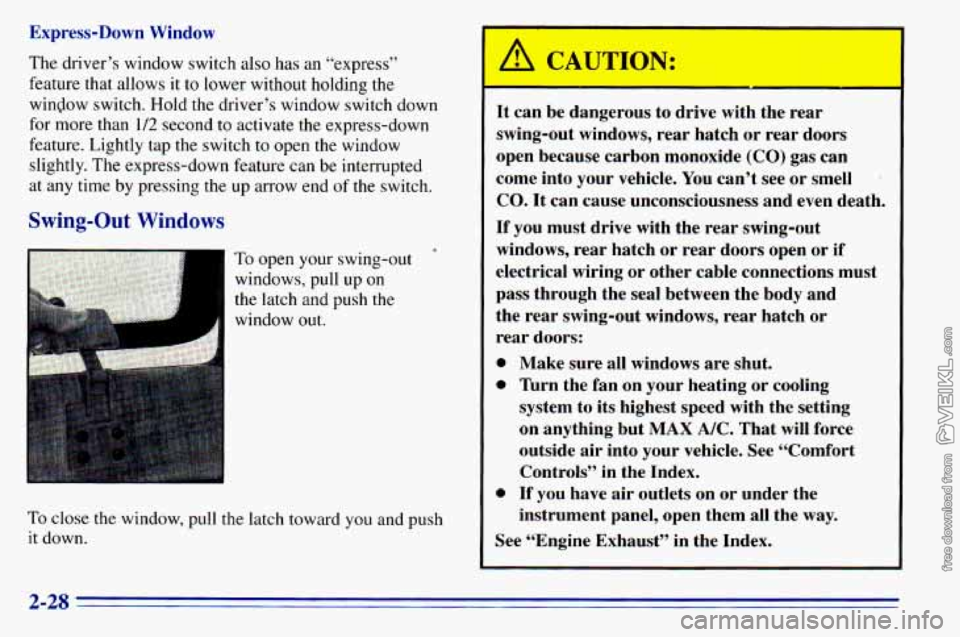
‘D‘. : .,,: TO open your swing-out +
windows, pull up on
the latch and push the
window out.
e
It can be dangerous to drive with the rear
swing-out windows, rear hatch or rear doors
open because carbon monoxide
(CO) gas can
come into your vehicle. You can’t see or smell
*
CO. It can cause unconsciousness and even death.
If you must drive with the rear swing-out
windows, rear hatch or rear doors open or if
electrical wiring or other cable connections must
pass through the seal between the body and
the rear swing-out windows, rear hatch
or
rear doors:
TO close the window, pull the latch toward you and push
it down.
e
e Make sure all windows are shut.
”urn the fan on your heating or cooling
system to its highest speed with the setting
on anything but MAX
A/C. That will force
outside air into your vehicle. See “Comfort
Controls” in the Index.
If you have air outlets on or under the
instrument panel, open them all the way.
See “Engine Exhaust’’ in the Index.
2-28
Page 90 of 372

Turn and Lane Change Signals
The turn signal has two upward (for right) and two
downward (for left) positions. These positions allow you
to signal a turn or a lane change.
To signal
a turn, move the lever all the way up or down.
When the
turn is finished, the lever will return automatically.
A
An arrow on the instrument
panel will flash in
the
direction of the turn or
lane change.
To signal a lane change, just raise or lower the lever
until the arrow starts to flash. Hold it there until
you
complete your lane change. The lever will return by
itself when you release
it.
As you signal a turn or a lane change, if the arrows don’t
flash
but just stay on, a signal bulb may be burned out
and other drivers won’t see your turn signal.
If a bulb is burned out, replace it to help avoid an
accident. If the arrows don’t go on at all when you
signal a turn, check the fuse (see “Fuses and Circuit
Breakers” in the Index) and for burned-out bulbs.
If you have a trailer towing option with added wiring for
the trailer lamps,
a different turn signal flasher is used.
With this flasher installed, the signal indicator will flash
even if a turn signal bulb is burned out. Check the front
and rear turn signal lamps regularly to make sure they
are working.
Headlamp High/Low Beam Changer
To change the headlamps from low beam to high or high
to low, pull the multifunction lever all the way toward
you. Then release it.
When the high beams are
on, this indicator light on
the instrument panel also
will be on.
2-30