Page 91 of 372

Windshield Winers
You control the windshield
wipers by turning the band
with the wiper symbol
on it.
For a single wiping cycle,
turn the band to MIST. Hold
it there until the wipers
start, then let go. The wipers
will stop after one wipe.
If -5
Windshield Washer
you want more wipes,-hold
the band on MIST longer.
You can set the wiper speed for a long or short delay
between wipes. This can be very useful in light rain or
snow. Turn the band to choose the delay time. The
closer to
LOW, the shorter the delay.
For steady wiping at low speed, turn the band away
from you
to the LOW position. For high-speed wiping,
turn the band further, to HIGH. To stop the wipers,
move the band to the OFF position.
Be sure to clear ice and snow from the wiper blades
before using them.
If they're frozen to the windshield,
carefully loosen or thaw them.
If your blades do become
worn
or damaged, get new blades or blade inserts. At
the top of the multifunction lever, there's a paaale
marked with the windshield washer symbol and
PUSH. To
spray washer fluid on the windshield, press the paddle.
The wipers will clear the window and then either stop
or
return to your preset speed.
A CAUTION:
In freezing weather, don't use your washer until
the windshield is warmed. Otherwise the washer
fluid can form ice on the windshield, blocking
your vision.
2-31
Page 94 of 372

Increasing Speed While Using Cruise Control
There are two ways to go to a higher speed:
Use the accelerator pedal to get to the higher speed.
Press the button at the end of the lever, then release
the button and the accelerator pedal. You’ll now
cruise at the higher speed.
Move the cruise switch from ON to R/A. Hold it
there until you get up to the speed you want, and
then release the switch.
(To increase your speed in
very small amounts, move the switch to
WA for less
than
3/4 of a second. Each time you do this, your
vehicle will go about
1 mph (1.6 kdh) faster.)
Reducing Speed While Using Cruise Contrel
There are two ways to reduce your speed while using
cruise control:
0 Press the button at the end of the lever until you
reach the lower speed you want, then release it.
0 To slow down in very small amounts, press the
button for less than
1/2 second. Each time you do
this, you’ll go 1 mph (1.6 km/h) slower.
Passing Another Vehicle While Using Cruise Control
Use the accelerator pedal to increase .your speed. When
you take your foot off the pedal, your vehicle will slow
down to the cruise control speed you set earlier.
Using Cruise Control on Hills
How well your cruise control will work on hills depends
upon your speed, load
and the steepness of the hills.
When going up steep
hills, you may want to step on the
accelerator pedal
to maintain your speed. When going
downhill, you may have to brake or shift to a lower gear
to keep your speed down. Of course, applying the brake
takes you out of cruise control. Many drivers find this to
be too much trouble and don’t use cruise control on
steep hills.
Ending Cruise Control
There are two ways to turn off the cruise control:
Step lightly on the brake pedal.
Move the cruise switch to 0,FE
Erasing Speed Memory
When you turn off the cruise control or the ignition.
your cruise control set speed memory
is erased.
2-34
Page 95 of 372
1-
,
Lamps
I
I i
i
I
Turn the knob to the master lamp symbol to turn on all
the lamps listed as well as the headlamps.
Turn the
knob to OFF to turn off your lamps.
Rotate the dial next to the lamp switch down to dim
your instrument panel lights.
Rotate the dial up to brighten you instrument panel
lights. If you rotate the dial all the way until it clicks,
your interior lamps will come on.
Headlamps
You can switch your headlamps from high to low beam
by pulling the multifunction lever toward you.
A circuit breaker protects your headlamps. If you have
an electrical overload, your headlamps will flicker on
and off. Have your headlamp wiring checked right away
I Your lamp switch is on the driver's side of the if this happens.
instrument panel.
Turn the
knob to the first position to turn on:
I 0 'parking Lamps ! 0 Taillamps
I * * License Plate Lamps
0 Instrument Panel Lights
* 2-35
Page 96 of 372

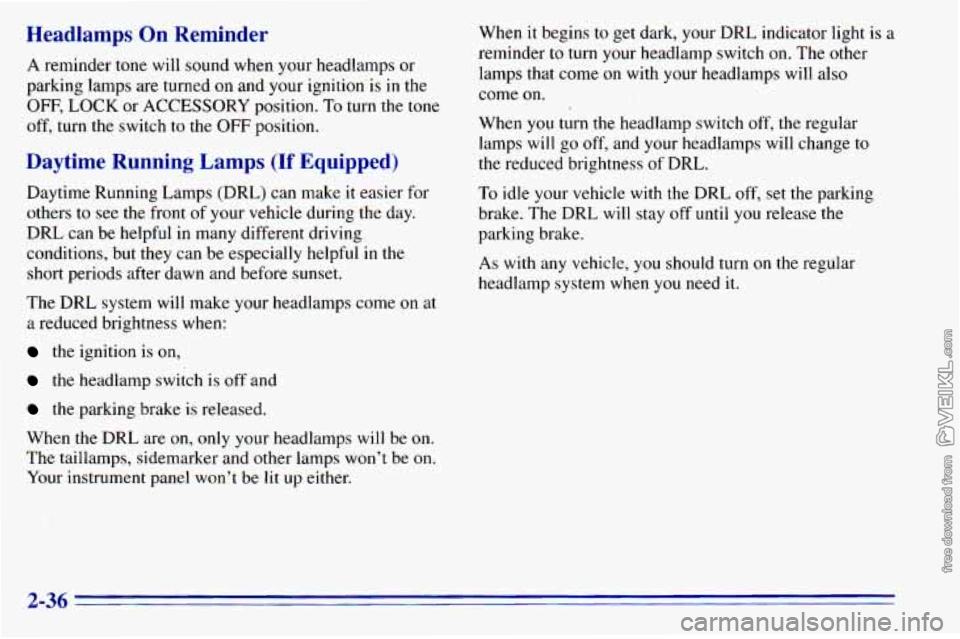
Headlamps On Reminder
A reminder tone will sound when your headlamps or
parking lamps
are turned on and your ignition is in the
OFF, LOCK or ACCESSORY position. To turn the tone
off, turn the switch
to the OFF position.
Daytime Running Lamps (If Equipped)
Daytime Running Lamps (DRL) can make it easier for
others
to see the front of your vehicle during the day.
DRL can be helpful in many different driving
conditions, but they can be especially helpful in the
short periods after dawn and before sunset.
The DRL system will make your headlamps come
on at
a reduced brightness when:
the ignition is on,
the headlamp switch is off and
the parking brake is released.
When the DRL are on,
only your headlamps will be on.
The taillamps, sidemarker and other lamps won’t be on.
Your instrument panel won’t be
lit up either. When
it begins
to get dark, your DRL indicator light is a
reminder
to turn your headlamp switch on. The other
lamps that come on with your headlamps will also
come
on.
When you turn the headlamp switch off, the regular
lamps will go off, and your headlamps will change to
the reduced brightness of DRL.
To idle your vehicle with the DRL off, set the parking
brake. The DRL will stay off until you release the
parking brake.
As with any vehicle, you should turn
on the regular
headlamp system when you need it.
2-36
Page 104 of 372
Now, with the compartment
door closed, press the
button again
to make sure
the garage
door opener
operates properly.
With the garage door opener positioned properly and the
right number
of pegs in place, you should only have to
press the button slightly to operate the opener. Adjust the
position of the garage door opener and add or remove
pegs, as needed, until the opener operates properly.
Temperature and Compass Display
The outside air temperature and the compass are
displayed at the front
of the overhead console. The
control switches are located
to the left of the display.
2-44
Page 108 of 372

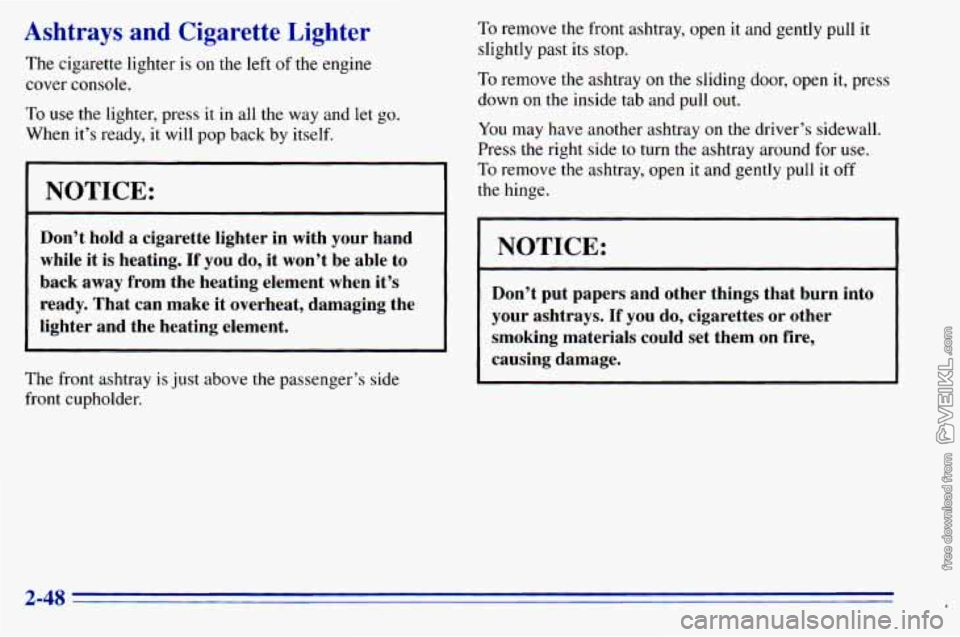
Ashtl- - ys and Cigarette Lighter
The cigarette lighter is on the left of the engine
cover console.
To use the lighter, press it in all the way and let go.
When it’s ready, it will pop back by itself.
NOTICE:
I
Don’t hold a cigarette lighter in with your hand
while it is heating,
If you do, it won’t be able to
back away from the heating element when it’s
ready. That can make it overheat, damaging the
lighter and the heating element.
The front ashtray is just above the passenger’s side
front cupholder.
To remove the front ashtray, open it and gently pull it
slightly past its stop.
To remove the ashtray on the sliding door, open it, press
down
on the inside tab and pull out.
You may have another ashtray
on the driver’s sidewall.
Press the right side to turn the ashtray around for use.
To remove the ashtray, open it and gently pull it off
the hinge.
I NOTICE:
Don’t put papers and other things that burn into
your ashtrays.
If you do, cigarettes or other
smoking materials could set them on fire,
causing damage.
2-48
Page 109 of 372

Sun Visors
To block out glare, you can swing down the visors. You can
also swing them from side
to side. Your visors may have
an extension that can be pulled
out for additional glare
protection and
a strap for holding small items, such as maps.
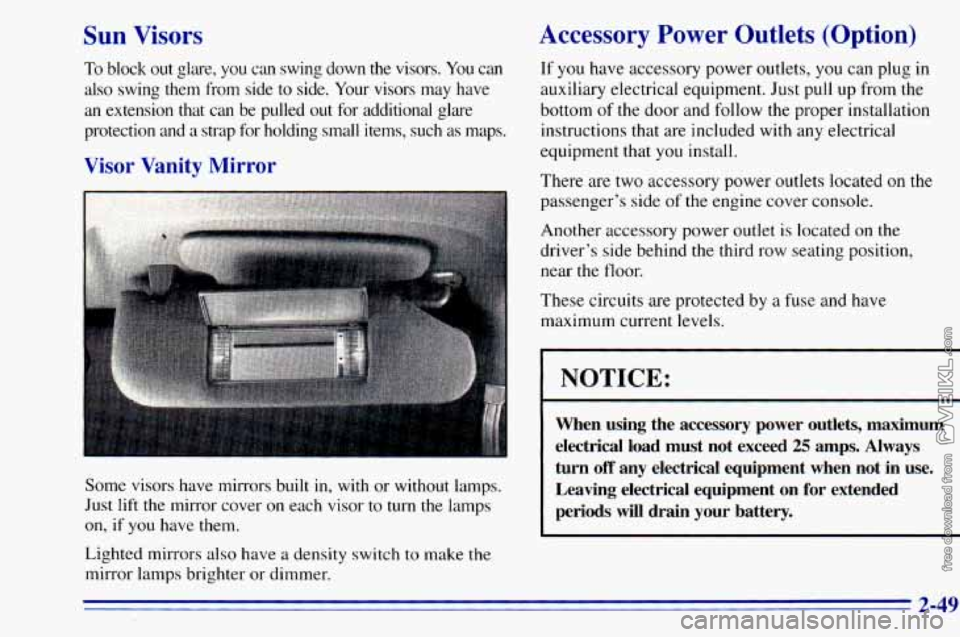
Visor Vanity Mirror
I-
Some visors have mirrors built in, with or without lamps.
Just
lift the mirror cover on each visor to turn the lamps
on, if you have them.
Lighted mirrors also have a density switch to make
the
mirror lamps brighter or dimmer.
Accessory Power Outlets (Option)
If you have accessory power outlets, you can plug in
auxiliary electrical equipment. Just pull up from the
bottom
of the door and follow the proper installation
instructions that are included with any electrical
equipment that
you install.
There are two accessory power outlets located on the
passenger’s side
of the engine cover console.
Another accessory power outlet is located on the
driver’s side behind
the third row seating position,
near the floor.
These circuits are protected by
a fuse and have
maximum current levels.
I NOTICE:
~~
When using the accessory power outlets, maximum
electrical load must not exceed
25 amps. Always
turn
off any electrical equipment when not in use.
Leaving electrical equipment
on for extended
periods will drain your battery.
2-49
Page 111 of 372
A.
B.
C.
D.
E.
E
G.
H.
I.
Lamp Switches
Instrument Panel Dimmer
Multifunction Lever
Hazard Lamp Switch
Transmission Shift Lever
Ignition Switch
Rear Hatch Release
Rear Defogger
Comfort Controls
J. Rear A/C Control
K. Rear Heater Control
L. Rear WasherNiper
M. Front Ashtray
N. Accessory Power Outlets
0. Cupholders/Storage Tray
P. Front Storage Compartment
Q. Audio System
R. Cigarette Lighter
S. Hood Release
T. Dome Lamps OFF Button
2-51