Page 233 of 372

Fuel
Use regular unleaded ‘gasoline rated at 87 octane or
higher. At a minimum, it should meet specifications
\.
ASTM D4814 in the United States and CGSB 3.5-M93
in Canada. Improved gasoline specifications have been
developed by the American Automobile Manufacturers
Association (AAMA) for better vehicle performance
and engine protection. Gasolines meeting the AAMA
specification could provide improved driveability and
emission control system protection compared-to
other gasolines.
Be sure the posted octane is at least
87. If the octane is
less than
87, you may get a heavy knocking noise when
you drive. If it’s bad enough, it can damage your engine.
If you’re using fuel rated at 87 octane or hgher and you
still hear heavy knocking, your engine needs service. But
don’t worry
if you hear a little pinging noise when you’re
accelerating or driving
up a hill. That’s nomal, and you don’t
have to buy a higher octane fuel to get rid of pinging. It’s the
heavy, constant knock that means you have a problem. If
your vehicle is certified’ to meet California Emission
Standards (indicated on the underhood tune-up label),
it is designed to operate on fuels that meet California
I
specifications. If such fuels are not available in states
adopting California emissions standards, your vehicle
will operate satisfactorily on fuels meeting federal
specifications, but emission control system performance
may be affected. The malfunction indicator lamp on
your instrument panel may turn on and/or your vehicle
may fail a smog-check test. If this occurs, return to your
authorized GM dealer for diagnosis to determine the
cause of failure. In the event it is determined that the
cause of the condition is the type of fuels used, repairs
may not be covered by your warranty.
.In Canada, some gasolines contain an octane-enhancing
additive called MMT. If you use such fuels, your
emission control system performance may deteriorate
and the malfunction indicator lamp on your instrument
panel may turn on.
If this happens, return to your
authorized GM dealer for service.
6-3
Page 241 of 372
Engine Oil
CHECK
OIL
If the CHECK OIL light on
the instrument panel comes
on, it means you need to
check your engine oil level
right away. For more information, see “Check Oil
Light” in the Index.
You should check your engine oil level regularly; this is
an added reminder.
It’s a good idea to check your engine oil every time
you
get fuel. In order to get an accurate reading, the oil must
be warm and the vehicle must be
on level ground. The
engine oil dipstick
is a yellow ring.
Turn
off the engine and give the oil a few minutes to
drain back into the oil pan. If you don’t, the oil dipstick
might not show the actual
level.
6-11
Page 245 of 372

What to Do with Used Oil
Did you know that used engine oil contains certain
elements that may be unhealthy for your skin and could
even cause cancer? Don’t let used
oil stay on your skin
for very long. Clean your skin and nails with soap and
water, or a good hand cleaner. Wash or properly throw
away clothing or rags containing used engine oil. (See
the manufacturer’s warnings about
the use and disposal
of
oil products.)
Engine Cover
Removing the Engine Cover
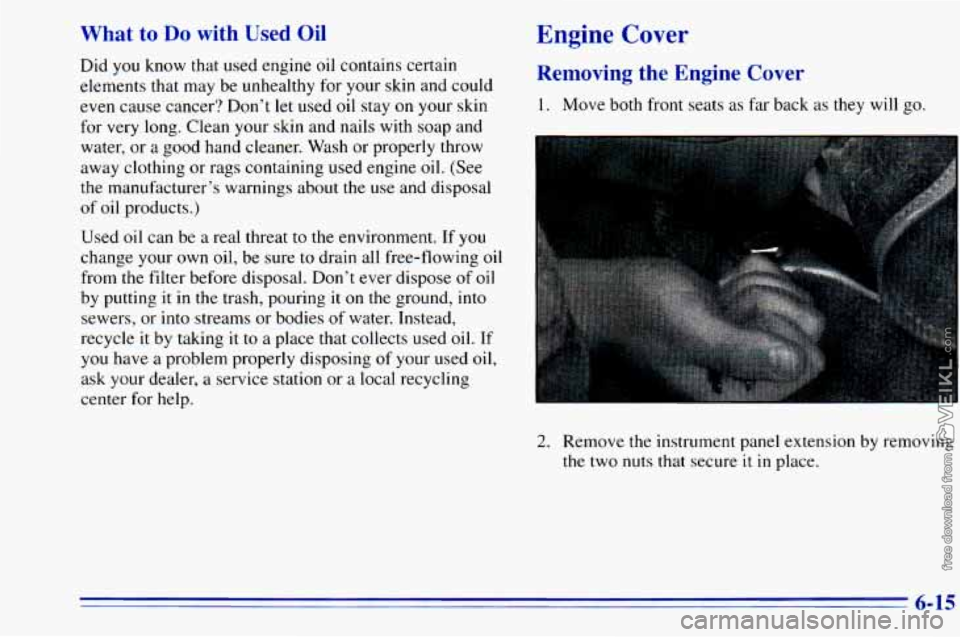
1. Move both front seats as far back as they will go.
Used oil can be a real threat to the environment.
If you
change your own oil, be sure to drain all free-flowing
oil
from the filter before disposal. Don’t ever dispose of oil
by putting
it in the trash, pouring it on the ground, into
sewers, or into streams or bodies of water. Instead,
recycle
it by taking it to a place that collects used oil. If
you have a problem properly disposing of your used oil,
ask your dealer, a service station or a local recycling
center
for help.
2. Remove the instrument panel extension
by removing
the two nuts that secure it in place.
6-15
Page 248 of 372
7. Remove the two bolts at the engine cover. The bolts
are not supposed to come
out of the cover, only from
the front
of the dash.
When removing the cover, be careful
not to damage
the instrument panel or the trim.
8. Grasp the bottom of the cover and slide it rearward.
Then,
lift it up and out of the vehicle.
I
I
6-18
Page 283 of 372

Cleaning the Top of the Instrument Panel
Use only mild soap and water to clean the top surfaces
of the instrument panel.. Sprays containing silicones or
waxes may cause annoying reflections
in the windshield
and
even make it difficult to see through the windshield
under certain conditions.
Care of Safety Belts
Keep belts clean and dry.
Do not bleach or dye safety belts. If you do, it
may severely weaken them. In a crash, they
might not be able to provide adequate protection.
Clean safety belts only with mild soap and
lukewarm water.
~~~ ~
Glass
Glass should be cleaned often. GM Glass Cleaner (GM
Part
No. 1050427) or a liquid household glass cleaner
will remove normal tobacco smoke and dust films. Don’t
use abrasive cleaners
on glass, because they may
cause scratches. Avoid placing decals on the inside rear
window, since they may have to be scraped off later.
If
abrasive cleaners are used on the inside of the rear
window, an electric defogger element may be damaged.
Any temporary license should not be attached across the
defogger grid.
Cleaning the Outside of the
Windshield, Backglass and
Wiper Blades
If the windshield is not clear after using the windshield
washer, or
if the wiper blade chatters when running, wax
or other material may be on the blade or windshield.
Clean the outside of the windshield
with GM
Windshield Cleaner, Bon-Ami Powder@ (GM Part
No. 105001 1). The windshield is clean if beads do not
form when
you rinse it with water.
Clean the blade by wiping vigorously with a cloth soaked
in full-strength windshield washer solvent. Then rinse the
blade with water..
Wiper blades should be checked on a regular basis and
replaced when worn.
6-53
Page 288 of 372

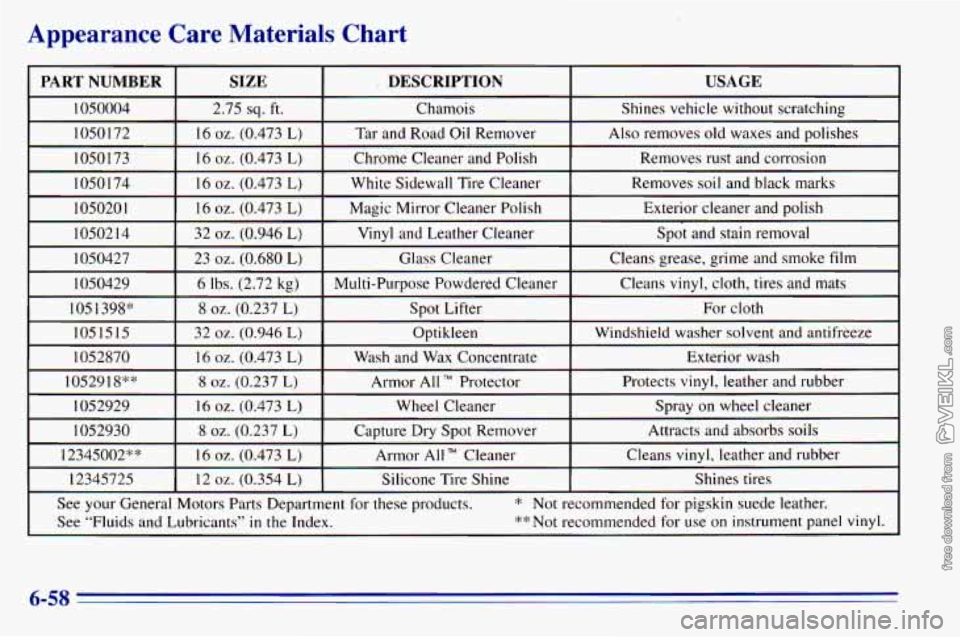
Appearance Care Materials Chart
PART NUMBER USAGE DESCRIPTION
SIZE
1050004
Exterior cleaner and polish
Magic Mirror Cleaner Polish
16
oz. (0.473 L) I05020 1
Removes soil and black marks White Sidewall Tire Cleaner 16 oz. (0.473 L) 10501 74 Removes rust and corrosion
Chrome Cleaner and Polish 16
oz. (0.473 L)
1050173 Also removes old waxes and polishes
Tar and Road Oil Remover 16
oz. (0.473 L)
1050172 Shines vehicle without scratching
Chamois
2.75
sq. ft.
~ ~~
1050214
1050427 Spot and stain removal Vinyl and Leather Cleaner
32 oz. (0.946 L)
Exterior wash
Wash and
Wax Concentrate
16 oz. (0.473 L) 1052870 Windshield washer solvent and
antifreeze
Optikleen
32
oz. (0.946 L) 1051515 For cloth
Spot Lifter
8 oz. (0.237 L) 105 1398” Cleans
vinyl, cloth, tires and mats
Multi-Purpose Powdered Cleaner 6 lbs. (2.72 kg) 1050429 Cleans
grease, grime and smoke
film Glass Cleaner 23
oz. (0.680 L)
I I I
I 1052918** I 8 oz. (0.237 L) I Armor All TM Protector I Protects vinyl, leather and rubber 1
1052929
Cleans
vinyl, leather and rubber
Armor All Cleaner
16 oz. (0.473 L) 12345002** Attracts and absorbs
soils
Capture Dry Spot Remover
8 oz. (0.237 L) 1052930 Spray on wheel cleaner Wheel Cleaner 16
oz. (0.473 L)
12345725 Shines tires
Silicone Tire Shine
12 oz. (0.354 L)
See
your General Motors Parts Department for these products. * Not recommended for pigskin suede leather.
See “Fluids and Lubricants’’
in the Index. **Not
recommended for use on instrument panel vinyl.
6-58
Page 289 of 372
Vehicle Identification Number (VIN)
ENGINE/l996 t‘
CODE MODEL YEAR
ASSEMBLY
PLANT
This is the legal identifier for your vehicle. It appears on
a plate
in the front corner of the instrument panel, on the
driver’s side. You can see
it if yo11 look through the
windshield from outside your vehicle. The
VIN also
appears on the Vehicle Certification and Service Parts
labels and
the certificates of title and registration.
Engine Identification
The eighth character in your VIN is the engine code.
This code will help you identify your engine,
specifications and replacement parts.
Service Parts Identification Label
You’ll find this label on the inside of the front storage
compartment door. It’s very helpful if you ever need to
order parts. On this label
is:
your VIN,
the model designation,
paint information, and
0 a list of all production options and special equipment.
Be sure that this
label is not rqmoved from the vehicle.
6-59
Page 291 of 372

Fuses and Circuit Breakers
The wiring circuits in your vehicle are protected from
short circuits by a combination
of fuses, circuit breakers
and fusible thermal links. This greatly reduces the
chance of fires caused by electrical problems.
Look at the silver-colored band inside the fuse. If the
band is broken or melted, replace the fuse. Be sure you
replace a bad fuse with a new one
of the identical size
and rating.
If you ever have a problem
on the road and don’t have a
spare fuse,
you can borrow one that has the same
amperage. Just pick some feature of your vehicle that
you can get along without -- like the radio or cigarette
lighter
-- and use its fuse, if it is the correct amperage.
Replace it
as soon as you can.
There are two fuse blocks in your vehicle: one
is inside
the vehicle and one
is in the engine compartment.
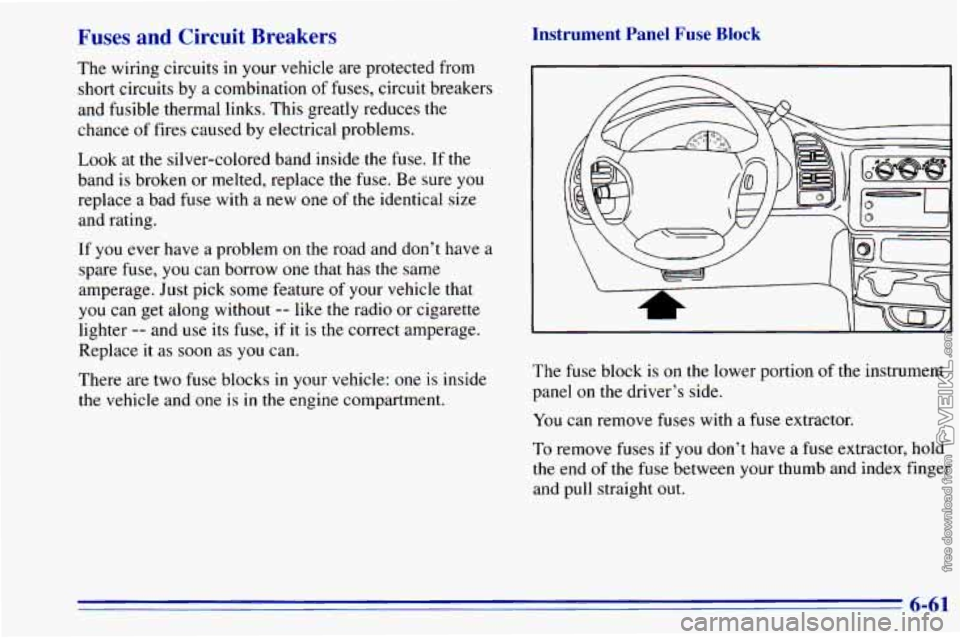
Instrument Panel Fuse Block
The fuse block is on the lower portion of the instrument
panel on the driver’s side.
You can remove fuses with a fuse extractor.
To remove fuses if you don’t have a fuse extractor, hold
the end of the fuse between your thumb and index finger
and pull straight out.
6-61