1996 CHEVROLET ASTRO instrument panel
[x] Cancel search: instrument panelPage 114 of 372

Safety Belt Reminder Light
When the key is turned to RUN or START, a tone will
come on for about eight seconds to remind people to
fasten their safety belts, unless the driver’s safety belt is
already buckled.
The safety belt light will
also come on and stay on
for about
20 seconds,
then it will flash for about
55 seconds. If the driver’s
belt is already buckled, neither the tone nor the
light will come on.
Air Bag Readiness Light
There is an air bag readiness light on the instrument
panel,
which shows AIR BAG. The system checks the
air bag’s electrical system for malfunctions. The light
tells you
if there is an electrical problem. The system
check includes the air bag sensors, the air bag modules,
the wiring and the crash sensing and diagnostic module.
For more information on the air bag system, see “Air
Bag” in the Index.
AIR
BAG
You will see this light flash
for a few seconds when you
turn your ignition to
RUN
or START. Then the light
should
go out. This means
the system is ready.
If the air bag readiness light doesn’t come on when you
start your vehicle, or stays
on, or comes on when you
are driving, your air bag system may not work properly.
Have your vehicle serviced right away.
2-54
Page 122 of 372
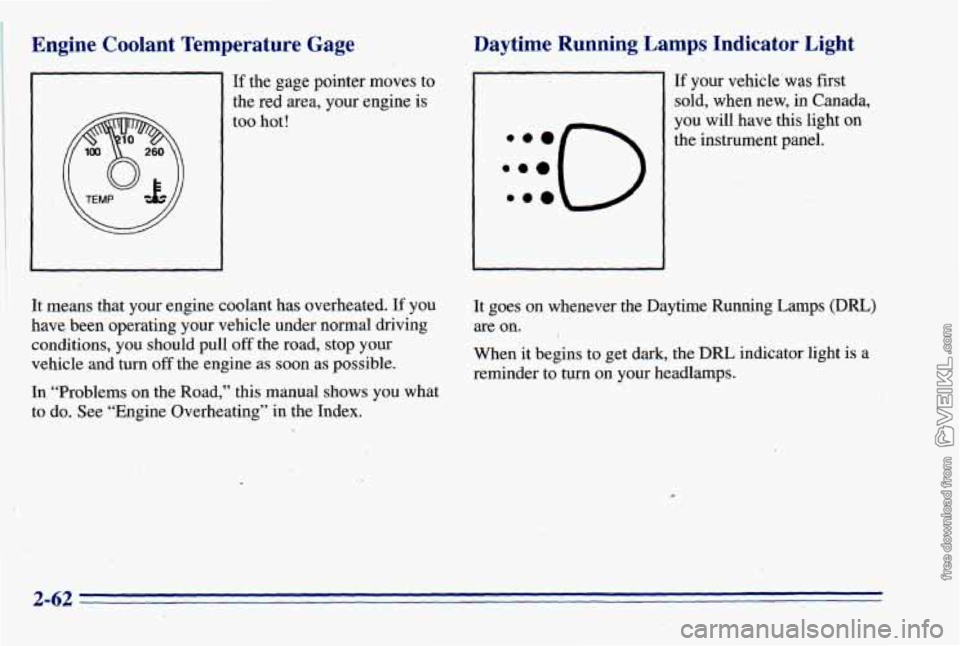
Engine Coolant Temperature Gage
If the gage pointer moves to
the red area, your engine is
too hot!
Daytime Running. Lamps, Indicator Light
:::O ..e
If your vehicle’was first
sold, when new, in Canada,
you will have this light on
the instrument panel.
It means that your engine coolant has overheated.
If you
have been operating your vehicle under normal driving
conditions, you should pull
off the road, stop your
vehicle and turn
off the engine as soon as possible. It goes
on whenever the Daytime Running Lamps (DRL)
are on. I
When it begins
to get dark, the DRL indicator light is a
reminder to
turn on your headlamps.
In “Problems on the Road,”
this manual shows you what
to do. See “Engine’Overheating” in the Index.
2-62
Page 126 of 372
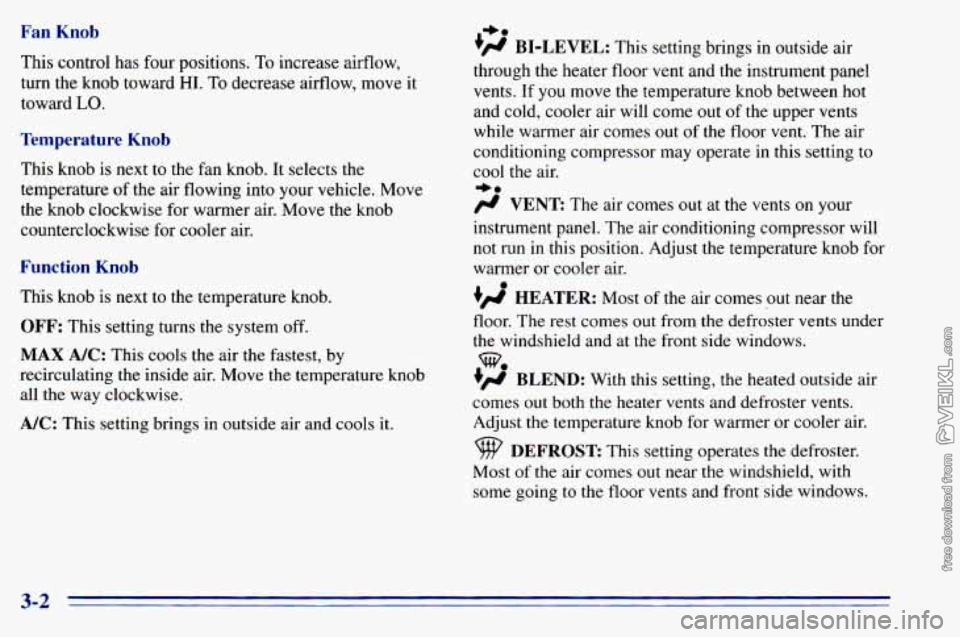
Fan Knob
This control has four positions. To increase airflow,
turn the knob toward
HI. To decrease airflow, move it
toward
LO.
Temperature Knob
This knob is next to the fan knob. It selects the
temperature
of the air flowing into your vehicle. Move
the knob clockwise for warmer air. Move the knob
counterclockwise for cooler
air.
Function Knob
This knob is next to the temperature knob.
OFF: This setting turns the system off.
MAX A/C: This cools the air the fastest, by
recirculating the inside air. Move the temperature knob
all the way clockwise.
A/C: This setting brings in outside air and cools it.
I,.
+fl BI-LEVEL: This setting brings in outside air
through the heater floor vent and the instrument panel
vents.
If you move the temperature knob between hot
and cold, cooler air will come out
of the upper vents
while warmer air comes out of the floor vent. The air
conditioning compressor may operate in this setting to
cool the air.
+.
/J VENT The ax comes out at the vents on your
instrument panel. The air conditioning compressor will
not run in this position. Adjust the temperature knob for
warmer or cooler air.
+’ HEATER: Most of the air comes out near the
floor. The rest comes out from the defroster vents under
the windshield and at the front side windows.
+’ BLEND: With this setting, the heated outside air
comes
out both the heater vents and defroster vents.
Adjust the temperature knob for warmer or cooler air.
Most
of the air comes out near the windshield, with
some going
to the floor vents and front side windows.
we
DEFROST This setting operates the defroster.
3-2
Page 127 of 372
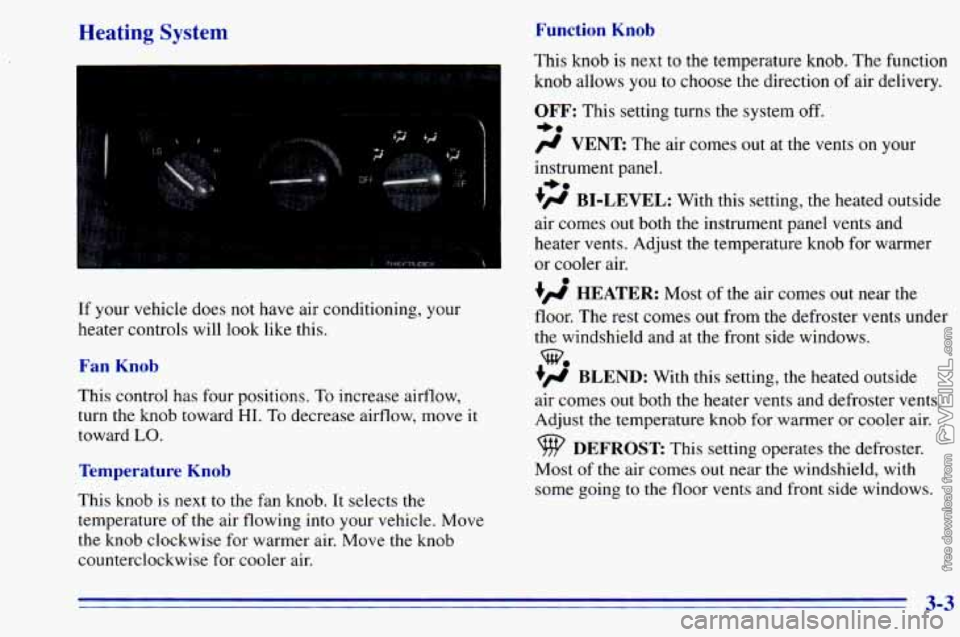
Heating System Function Knob
If your vehicle does not have air conditioning, your
heater controls will look like this.
Fan Knob
This control has four positions, To increase airflow,
turn the knob toward
HI. To decrease airflow, move it
toward
LO.
Temperature Knob
This knob is next to the fan knob. It selects the
temperature
of the air flowing into your vehicle. Move
the knob clockwise for warmer air. Move
the knob
counterclockwise for cooler air. This
knob is next to the temperature knob. The function
knob allows
you to choose the direction of air delivery.
OFF: This setting turns the system off.
-a
# VENT The air comes out at the vents on y r
instrument panel.
+# BI-LEVEL: With this setting, the heated outside
air comes out both the instrument panel vents and
heater vents. Adjust the temperature knob for warmer
or cooler air.
+’, HEATER: Most of the air comes out near the
floor. The rest comes out from the defroster vents under
the windshield and at the front side windows.
+’, BLEND: With this setting, the heated outside
air comes
out both the heater vents and defroster vents.
Adjust
the temperature knob for warmer or cooler air.
+.
%
DEFROST This setting operates the defroster.
Most
of the air comes out near the windshield, with
some going to the floor vents and front side windows.
3-3
Page 130 of 372
Defrosting
Use DEFROST to remove fog or ice from the
windshield quickly in extremely cold conditions. The
temperature knob should be in the red area and the fan
control toward high. The air conditioning compressor
may operate in this setting to dehumidify the air.
The
BLEND setting is useful for cold weather with a
large number of passengers or very humid conditions to
help keep the windshield clear.
Ventilation System
For mild outside temperatures when little heating or
cooling is needed,
use VENT to direct outside air
through your vehicle. Air will flow through the
instrument panel
vents.
Your vehicle’s flow-through ventilation system supplies
outside air
to the inside of your vehicle when it is
moving. With the side windows closed, air will flow into
the front air inlet grilles at the base
of the windshield,
through the vehicle and out the rear air exhaust valves.
Outside air will also enter the vehicle when the heater or
the air conditioning fan is running. Your
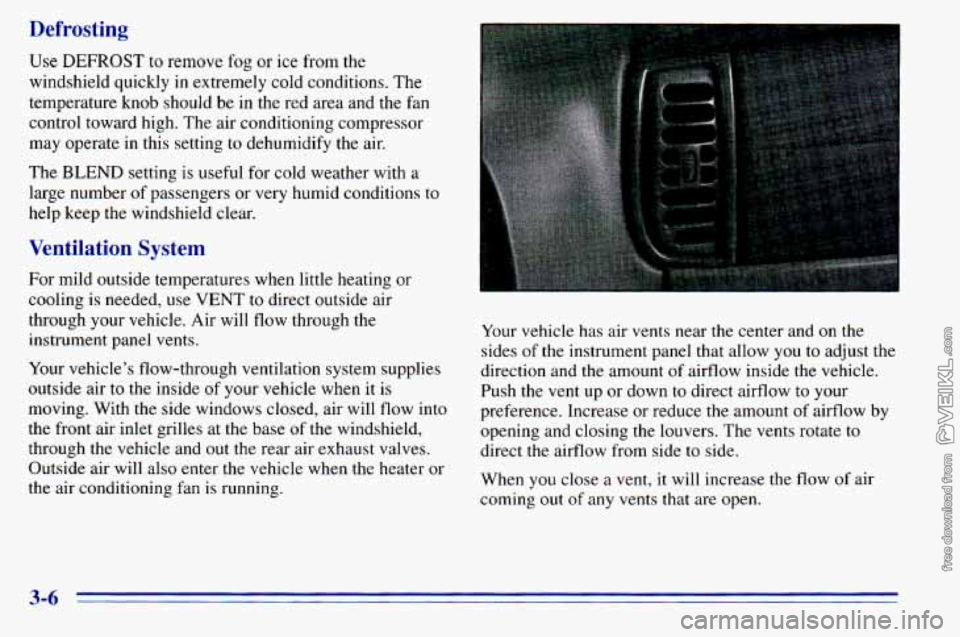
vehicle has air vents near the center and
on the
sides of the instrument panel that allow
you to adjust the
direction and the amount
of airflow inside the vehicle.
Push the vent up or down
to direct airflow to your
preference. Increase or reduce
the amount of airflow by
opening and closing the louvers. The vents rotate to
direct the airflow from side to side.
When
you close a vent, it will increase the flow of air
coming out
of any vents that are open.
3-6
Page 144 of 372

FWD (6): Press and hold this button to advance rapidly
within a track. You will hear the disc selection play at
high speed while you press the FWD button. This allows Playing a Cassette in the Remote Cassette
Tape Player (Option)
you to listen and find out when the disc is at the desired
selection. Release FWD to resume playing.
AM-FM: While in the CD mode, press this button to
stop playing the CD and play the radio. The CD symbol
will still display but the word CD will be replaced with
either AM, FMl or
FM2. (If the radio is turned off,
the disc stays in the player and will resume playing at
the point where it stopped.)
CD AUX: To switch between the player and the radio
when a disc is playing, press the AM-FM button.
To
return to the player, press CD AUX. When a disc is
playing,
the letters CD and the CD symbol will appear
on the display. (If the radio is turned off, the disc stays
in the player and will resume playing at the point where
it stopped.)
EJECT: Press this button to eject the disc from the
player and play the radio. When the same or a new disc
is inserted, the disc will start playing
on track one. If a
compact disc is
left sitting in the opening for more than
a few seconds, the player will pull
the CD back in. The
radio will continue playing. When the
ignition is off,
press this button to load a CD.
If you have an AM-FM Stereo Audio Compact Disc
Automatic Tone Control System that includes a remote
cassette player, the cassette player is located in the
center
of the instrument panel.
Your tape player is built
to work best with tapes that are
30 to 45 minutes long on each side. Tapes longer than
that are
so thin they may not work well in this player.
To load a cassette tape with
the ignition off, first press
EJECT on the remote player. Then, insert the cassette
tape. The tape will play
if the ignition is on but the radio
is off.
3-20
Page 189 of 372
Making Turns
NOTICE:
Making very sharp turns while trailering could
cause the trailer to come in contact with the
vehicle. Your vehicle could
be damaged. Avoid
making very sharp turns while trailering.
When you’re turning with a trailer, make wider turns than
normal.
Do this so your trailer won’t strike soft shoulders,
curbs, road signs, trees or other objects. Avoid jerky or
sudden maneuvers. Signal well in advance.
Tbrn Signals When Towing a Trailer
When you tow a trailer, your vehicle has to have extra
wiring and a heavy-duty turn signal flasher (included
in
the optional trailering package).
The green arrows on your instrument panel will flash
whenever you signal a turn or lane change. Properly
hooked up, the trailer lamps will also flash, telling other
drivers you’re about to turn, change lanes or stop. When
towing
a trailer, the green arrows on your
instrument panel will flash for turns even if the bulbs
on
the trailer are burned out. Thus, you may think drivers
behind you are seeing your signal when they are not. It’s
important
to check occasionally to be sure the trailer
bulbs are still working.
Driving On Grades
Reduce speed and shift to a lower gear before you start
down a long or steep downgrade. If
you don’t shift
down, you might have to use your brakes
so much that
they would get hot and
no longer work well.
On a long uphill grade, shift down and reduce your
speed to around
45 mph (70 km/h) to reduce the
possibility
of engine and transmission overheating.
When towing at high altitude on steep uphill grades,
consider the following: Engine coolant will boil at a
lower temperature than at normal altitudes. If you turn
your engine off immediately after towing at high altitude
on steep uphill grades, your vehicle may show signs
similar to engine overheating.
To avoid this, let the
engine run while parked (preferably on level ground)
with the automatic transmission in
PARK (P) for a few
minutes before turning
the engine off. If you do get the
overheat warning, see “Engine Overheating” in
the Index.
4-35
Page 205 of 372
Engine Overheating
You will find a temperature gage on your vehicle’s
instrument panel.
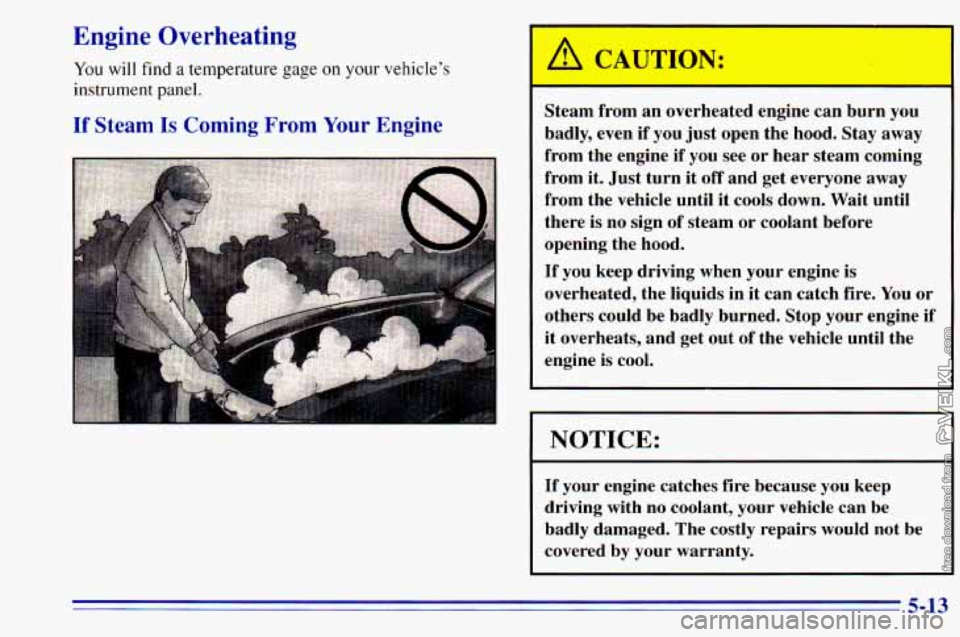
If Steam Is Coming From Your Engine
Steam from an overheated engine can burn you
badly, even if you just open the hood.
Stay away
from the engine if you see or hear steam coming
from it. Just turn it off and get everyone away
from the vehicle until it cools down. Wait until
there is no sign of steam or coolant before
opening the hood.
If you keep driving when your engine is
overheated, the liquids in it can catch fire. You or
others could be badly burned. Stop your engine if
it overheats, and get out of the vehicle until the
engine is cool.
I NOTICE:
If your engine catches fire because you keep
driving with no coolant, your vehicle can be
badly damaged. The costly repairs would not be
covered by your warranty.
5-13