1996 CHEVROLET ASTRO trailer
[x] Cancel search: trailerPage 190 of 372

Parking on Hills
Youereally should not park your vehicle, with a trailer
attached,
on a hill. If something goes wrong, your rig
could start to move. People can be injured, and both
your vehicle and the trailer can be damaged.
But
if you ever have to park your rig on a hill, here’s
how to do it:
1. Apply your regular brakes, but don’t shift into
PARK
(P) yet. Turn your wheels into the curb
when facing downhill and away from the curb when
facing uphill.
2. Have someone place chocks under the trailer wheels.
3, When the wheel chocks are in place, release the
regular brakes until the chocks absorb the load.
4. Reapply the regular brakes. Then apply your parking
brake, and shift to PARK
(P).
5. Release the regular brakes.
When You Are Ready to Leave After
Parking on a
Hill
1. Apply your regular brakes and hold the pedal down
while you:
Start your engine;
Shift into a gear; and
0 Release the parking brake.
2. Let up on the brake pedal.
3. Drive slowly until the trailer is clear of the chocks.
4. Stop and have someone pick up and store the chocks.
Maintenance When Trailer Towing
Your vehicle will need service more often when you’re
pulling a trailer. See the Maintenance Schedule for more
on this. Things that are especially important in trailer
operation are automatic transmission fluid (don’t
overfill), engine
oil, axle lubricant, belt, cooling system
and brake adjustment. Each
of these is covered in this
manual, and
the Index will help you find them quickly.
If you’re trailering, it’s a good idea
to review these
sections before you start your trip.
Check periodically
to see that all hitch nuts and bolts
are tight.
4-36
Page 191 of 372
Trailer Wiring Harness
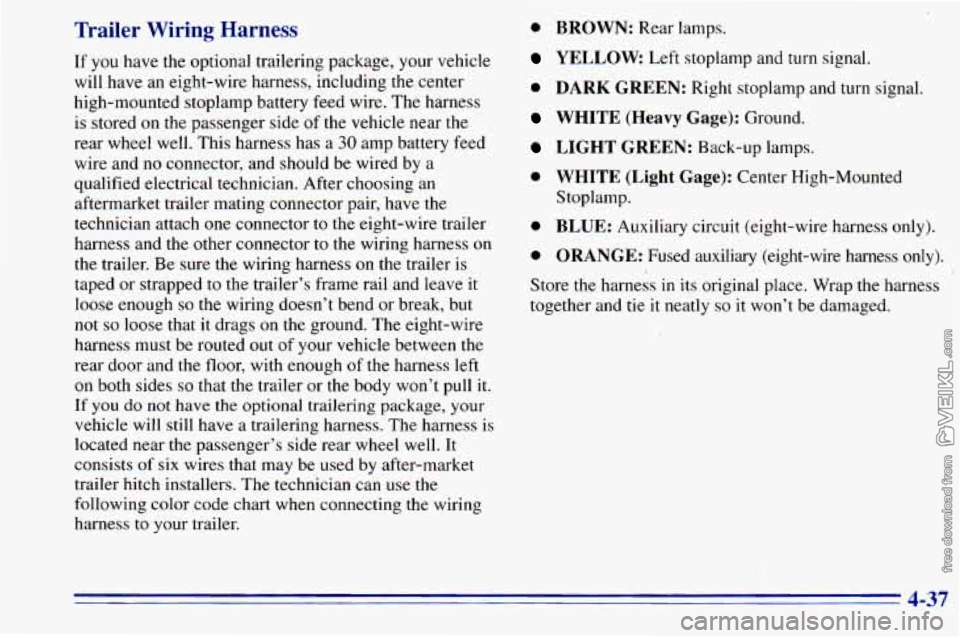
If you have the optional trailering package, your vehicle
will have an eight-wire harness, including the center
high-mounted stoplamp battery feed wire. The harness
is stored on the passenger side
of the vehicle near the
rear wheel well. This harness
has a 30 amp battery feed
wire and no connector, and should be wired by a
qualified electrical technician. After choosing an
aftermarket trailer mating connector pair, have the
technician attach one connector to the eight-wire trailer
harness and the other connector to the wiring harness on
the trailer, Be sure the wiring harness on the trailer is
taped or strapped
to the trailer’s frame rail and leave it
loose enough
so the wiring doesn’t bend or break, but
not
so loose that it drags on the ground. The eight-wire
harness must be routed out
of your vehicle between the
rear door and the floor, with enough of the harness left
on both sides
so that the trailer or the body won’t pull it.
If you do not have the optional trailering package, your
vehicle will still have a trailering harness.
The harness is
located near the passenger’s side rear wheel well. It
consists of six wires that may be used
by after-market
trailer hitch installers. The technician can use the
following color code chart when connecting the wiring
harness to your trailer.
0 BROWN: Rear lamps.
YELLOW Left stoplamp and turn signal.
0 DARK GREEN: Right stoplamp and turn signal.
WHITE (Heavy Gage): Ground.
LIGHT GREEN: Back-up lamps.
0 WHITE (Light Gage): Center High-Mounted
0 BLUE: Auxiliary circuit (eight-wire harness only).
0 ORANGE: Fused auxiliary (eight-wire harness only).
xore the harness in its original place. Wrap the harness
together and
tie it neatly so it won’t be damaged.
Stoplamp.
4-37
Page 206 of 372
If No Steam Is Coming From Your Engine
If you get the overheat warning but see or hear no
steam, the problem may not be too serious. Sometimes
the engine can get
a little too hot when you:
0 Climb a long hill on a hot day.
Stop after high-speed driving.
Idle for long periods in traffic.
Tow a trailer. See “Driving on Grades” in
If you get the overheat warning with no sign of steam,
try this for a minute or
so:
1. If you have an air conditioner, turn it off.
the Index.
2. Turn on your heater to full hot at the highest fan
speed and open
the window as necessary.
3. If you’re in a traffic jam, shift to NEUTRAL (N);
otherwise, shift to the highest gear while
driving
-- DRIVE (D).
If you no longer have the overheat warning, you
can drive. Just
to be safe, drive slower for about
10 minutes. If the warning doesn’t come back on,
you
can drive normally.
If the warning continues, pull over, stop, and park your
vehicle right away.
If there’s still no sign of steam, push the accelerator until
the engine speed is about twice as fast as normal idle
speed. Bring the engine speed back
to normal idle speed
after two or three minutes. Now see if the warning stops.
But then,
if you still have the warning, turn ofthe
engine
and get everyone out of the vehicle until it
cools down.
You may decide not to lift the hood but to get service
help right away.
5-14
Page 214 of 372
Engine Fan Noise
This vehicle has a clutched engine cooling fan. When
the clutch is engaged, the fan spins faster to provide
more air
to cool the engine. In most every day driving
conditions, the clutch is not fully engaged. This
improves fuel economy and reduces fan noise. Under
heavy vehicle loading, trailer towing and/or high outside
temperatures,
the fan speed increases when the clutch
engages.
So you may hear an increase in fan noise. This
is normal and should not be mistaken as the
transmission slipping or making extra shifts. It is merely
the cooling system functioning properly. The fan will
slow down when additional cooling is
not required and
the clutch disengages.
You may also hear this fan noise when
you start the
engine. It will go away as the fan clutch disengages.
If a Tire Goes Flat
It’s unusual for a tire to “blow out” while you’re driving,
especially if
you maintain your tires properly. If air goes
out of a tire, it’s much more likely to leak out slowly.
But if you should ever have a 4‘blowout,” here are a few
tips about what
to expect and what to do:
If a front tire fails, the flat tire will create a drag that
pulls the vehicle toward that side. Take your foot off the
accelerator pedal and grip the steering wheel firmly.
Steer to maintain lane position, and then gently brake to
a stop well
out of the traffic lane.
A rear blowout, particularly on a curve, acts much like a
skid and may require the same correction you’d use in a
skid.
In any rear blowout, remove your foot from the
accelerator pedal. Get the vehicle under control by steering the way
you want the vehicle to go. It may be
very bumpy and noisy, but
you can still steer. Gently
brake
to a stop -- well off the road if possible.
If a tire goes flat, the next part shows how to
use your
jacking equipment to change a flat tire safely.
5-22
Page 244 of 372
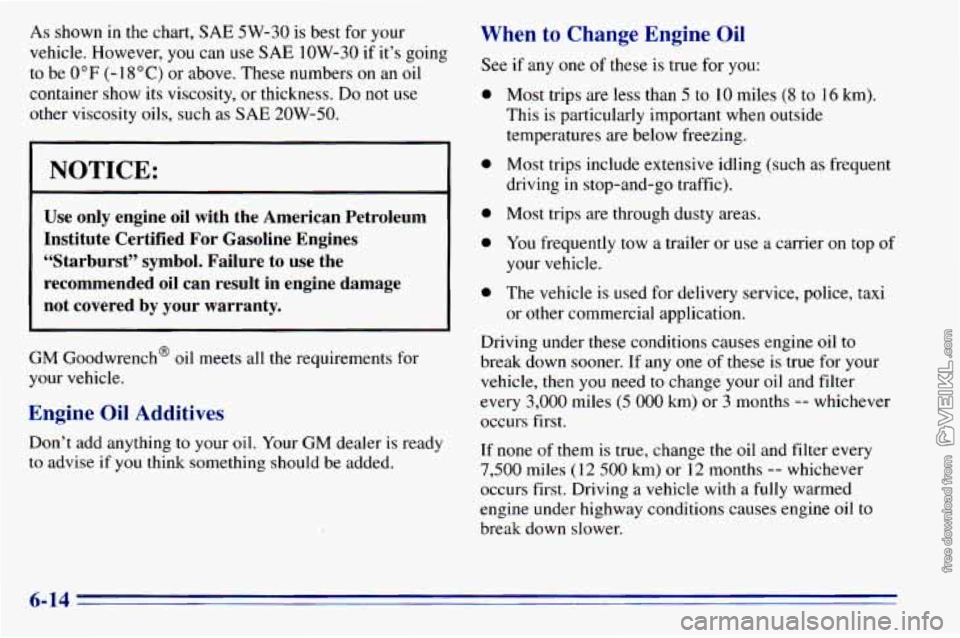
As shown in the chart, SAE 5W-30 is best for your
vehicle. However,
you can use SAE 1OW-30 if it’s going
to be
0°F (- 18 “C) or above. These numbers on an oil
container show its viscosity,
or thickness. Do not use
other viscosity oils, such as
SAE 20W-50.
NOTICE:
Use only engine oil with the American Petroleum
Institute Certified For Gasoline Engines
“Starburst” symbol. Failure to use the
recommended oil can result in engine damage
not covered
by your warranty.
GM Goodwrench@ oil meets all the requirements for
your vehicle.
Engine Oil Additives
Don’t add anything to your oil. Your GM dealer is ready
to advise if
you think something should be added.
When to Change Engine Oil
See if any one of these is true for you:
0
0
e
e
e
Most trips are less than 5 to 10 miles (8 to 16 km).
This is particularly important when outside
temperatures are below freezing.
Most trips include extensive idling (such
as frequent
driving in stop-and-go traffic).
Most trips are through dusty areas.
You frequently tow a trailer or use a carrier on top
of
your vehicle.
The vehicle is used for delivery service, police, taxi
or other commercial application.
Driving under these conditions causes engine oil to
break down sooner. If any
one of these is true for your
vehicle, then
you need to change your oil and filter
every 3,000 miles
(5 000 km) or 3 months -- whichever
occurs first.
If
none of them is true, change the oil and filter every
7,500 miles (12 500 km) or 12 months -- whichever
occurs first. Driving a vehicle with
a fully warmed
engine under highway conditions causes engine oil to
break down slower.
6-14
Page 250 of 372

Refer to the Maintenance Schedule to determine when to
replace the air filter and the crankcase ventilation filter.
See “Scheduled
N ntenance Services” in the Index.
Operating th, mgine with the air cleaner off
can cause
you or others to be burned. The air
cleaner not only cleans the air, it stops flame if
the engine backfires. If it isn’t there, and the
engine backfires, you could be burned. Don’t
drive with it
off, and be careful working on the
engine with the
air cleaner off.
NOTICE:
If the air cleaner is off, a backfire can cause a
damaging engine fire. And, dirt can easily get
into your engine, which will damage it. Always
have the air cleaner in place when you’re driving.
Automatic Transmission Fluid
When to Check and Change
A good time to check your automatic transmission fluid
level is when the engine oil is changed,
Change both the fluid and filter every
15,000 miles
(25 000 km) if the vehicle is mainly driven under one
or more of these conditions:
In heavy city traffic where the outside temperature
In hilly or mountainous terrain.
When doing frequent trailer towing.
Uses such as found in taxi, police or delivery service.
If
you do not use your vehicle under any of these
conditions, change
the fluid and filter every
30,000 miles (50 000 km).
See “Scheduled Maintenance Services” in
the Index.
regularly reaches
90°F (32°C) or
higher.
6-20
Page 251 of 372

How to Check
Because this operation can be a little difficult, you
may choose to have this done at your GM dealer
Service Department.
If you do it yourself,
be sure to follow all the instructions
here, or
you could get a false reading on the dipstick.
NOTICE:
Too much or too little fluid can damage your
transmission.
Too much can mean that some of
the fluid could come out and fall on hot engine
parts or exhaust system parts, starting a fire. Be
sure to get an accurate reading if you check your
transmission fluid.
Wait at least 30 minutes before checking the
transmission fluid level if you have been driving:
0 When outside temperatures are above 90°F (32°C).
At high speed for quite a while.
0 In heavy traffic -- especially in hot weather.
0 While pulling a trailer.
To get the right reading, the fluid should be at normal
operating temperature, which is 180°F
to ,200"F
(82°C
to 93°C).
Checking Transmission Fluid Hot
Get the vehicle warmed up by driving about 15 miles
(24 km) when outside temperatures are above 50°F
(10°C). If it's colder than 50°F (lO"C), drive the
vehicle in DRIVE
(D) until the engine temperature gage
moves and then remains steady for
10 minutes. Then
follow the hot check procedures.
6-21
Page 292 of 372
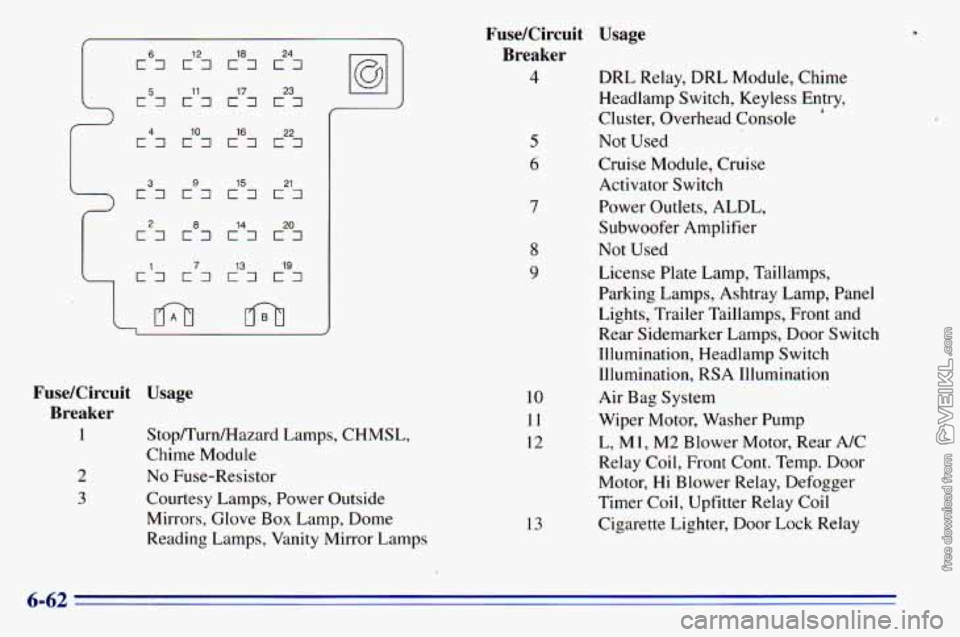
12 18 24
c57 c7 E7 c7 11 17 23
4
c7 c7 E7 E7 10 16 22
3 9 15 21 C7 E7 E7 C7
2
c7 c87 c7 c3 14 20
i
c7 1 7 13 19 c7 c7 c7
FuseKircuit Usage
Breaker
1
2
3
Stop/Turn/Hazard Lamps, CHMSL,
Chime Module
No Fuse-Resistor
Courtesy Lamps, Power Outside Mirrors, Glove Box Lamp, Dome
Reading Lamps, Vanity Mirror Lamps
10
11
12
13
FuseKircuit Usage
Breaker
4 DRL Relay, DRL Module, Chime
Headlamp Switch, Keyless Entry,
Cluster, Overhead Console
Not Used
Cruise Module, Cruise
Activator Switch
Power Outlets, ALDL,
Subwoofer Amplifier
Not Used
License Plate Lamp, Taillamps,
Parking Lamps, Ashtray Lamp, Panel
Lights, Trailer Taillamps, Front and Rear Sidemarker Lamps, Door Switch
Illumination, Headlamp Switch
Illumination, RSA Illumination
Air Bag System
Wiper Motor, Washer Pump
L, M 1, M2 Blower Motor, Rear A/C
Relay Coil, Front Cont, Temp. Door
Motor, Hi Blower Relay, Defogger
Timer Coil, Upfitter Relay Coil
Cigarette Lighter, Door Lock Relay
i
5
6
7
8
9
6-62