Page 119 of 372
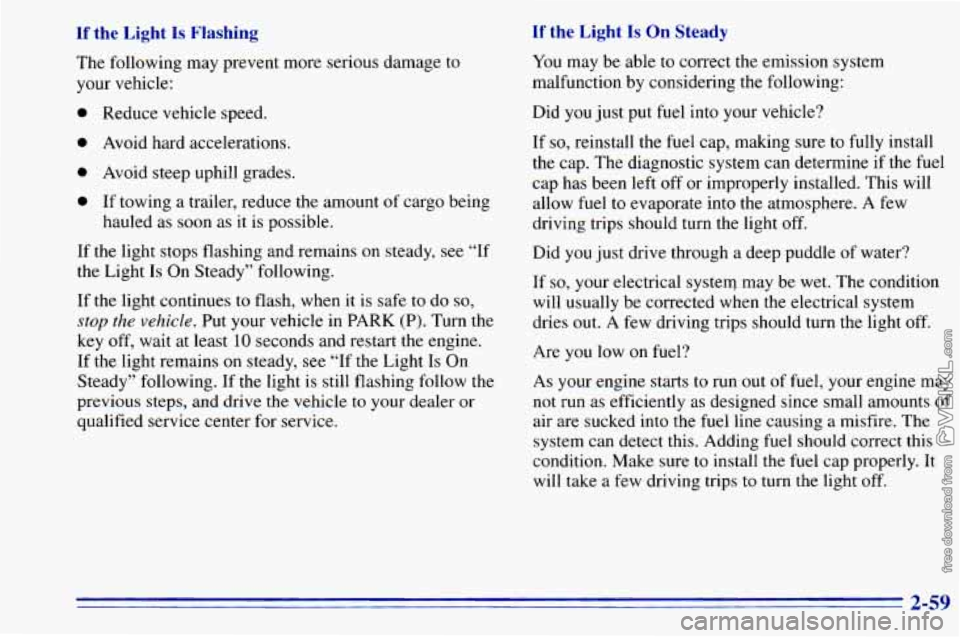
If the Light Is Flashing
The following may prevent more serious damage to
your vehicle:
If the Light Is On Steady
You may be able to correct the emission system
malfunction by considering the following:
Did
you just put fuel into your vehicle?
If
so, reinstall the fuel cap, making sure to fully install
the cap. The diagnostic system can determine if the fuel
cap has been left off or improperly installed. This will
allow fuel
to evaporate into the atmosphere. A few
driving trips should turn the light off.
0 Reduce vehicle speed.
0 Avoid h - -- -1 accelerations.
0 Avoid steep uphill grades.
0 If towing a trailer, reduce the amount of cargo being
hauled as soon as it is possible.
If the light stops flashing and remains on steady, see “If
the Light Is On Steady” following.
If the light continues
to flash, when it is safe to do so,
stop the vehicle. Put your vehicle in PARK (P). Turn the
key off, wait at least
10 seconds and restart the engine.
If the light remains
on steady, see “If the Light Is On
Steady” following. If the light is still flashing follow the
previous steps, and drive
the vehicle to your dealer or
qualified service center for service. Did you
just drive through a deep puddle of water?
If
so, your electrical system may be wet. The condition
will usually be corrected when the electrical system
dries out. A few driving trips should turn the light off.
Are
you low on fuel?
As your engine starts to run
out of fuel, your engine may
not run as efficiently as designed since small amounts
of
air are sucked into the fuel line causing a misfire. The
system can detect this. Adding fuel should correct this
condition. Make sure to install the
fuel cap properly. It
will take a few driving trips to turn the light off.
2-59
Page 180 of 372
Loading Your Vehicle
7
_I r7 , 1 u-- SEE OWNER'S MANUAL FOR ADDITIONAL INFORMATION 1 U
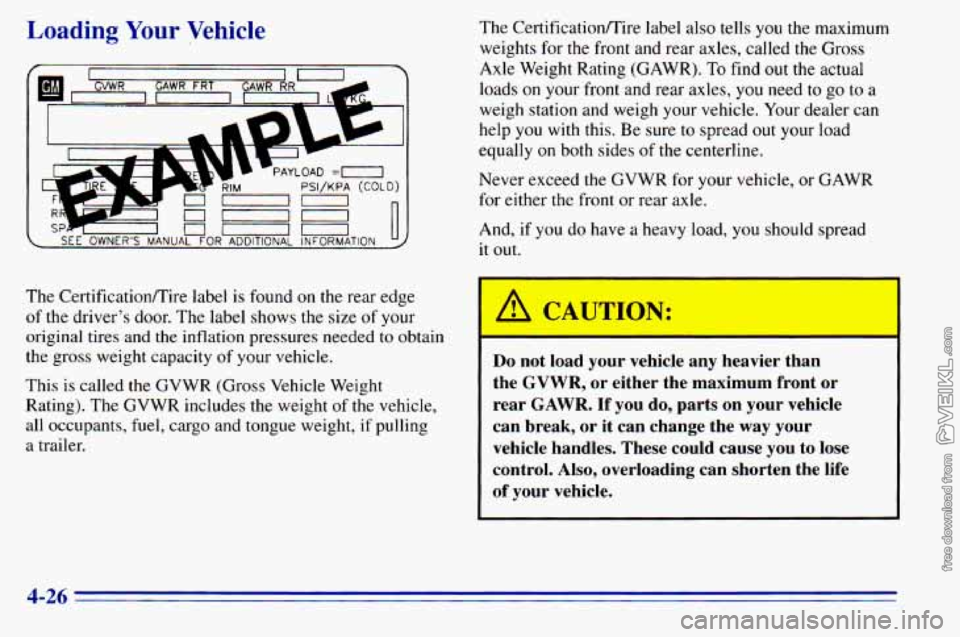
The CertificatiodTire label is found on the rear edge
of the driver's door. The label shows the size of your
original tires and
the inflation pressures needed to obtain
the gross weight capacity
of your vehicle.
This
is called the GVWR (Gross Vehicle Weight
Rating). The GVWR includes
the weight of the vehicle,
all occupants,
fuel, cargo and tongue weight, if pulling
a trailer. The Certificationmire
label also tells you the maximum
weights for the front and rear axles, called the Gross
Axle Weight Rating (GAWR). To find out the actual
loads
on your front and rear axles, you need to go to a
weigh station and weigh your vehicle. Your dealer can
help
you with this. Be sure to spread out your load
equally
on both sides of the centerline.
Never exceed
the GVWR for your vehicle, or GAWR
for either
the front or rear axle.
And, if you do have a heavy load,
you should spread
it out.
I
A CAUTION: I
I---
Do not load your vehicle any Ldvier than
the
GVWR, or either the maximum front or
rear
GAWR. If you do, parts on your vehicle
can break, or it can change the way your
vehicle handles. These could cause you to lose
control.
Also, overloading can shorten the life
of your vehicle.
4-26
Page 235 of 372
The cap is behind a hinged door on the driver’s side of
your vehicle.
I A CAUTION:
Gasoline vapor is highly flammable. It burns
violently, and that can cause very bad injuries.
Don’t smoke if you’re near gasoline or refueling
your vehicle. Keep sparks, flames and smoking
materials away from gasoline.
6-5
Page 236 of 372
I A CAUTION:
---
If you get gasoline on yourself and then.
something ignites
it, you could be badly burned.
Gasoline can spray ,out on you
if you open the
fuel filler cap too quickly. This spray can happen
if your tank is nearly full, and is more likely in
hot weather. Open the fuel filler cap slowly and
wait for any “hiss” noise to stop. Then unscrew
the cap all the way.
While refueling, hang the cap inside the fuel door.
To take off the cap, turn it slowly to the left
(counterclockwise). Be
careful not
to spill gasoline. Clean gasoline from
painted surfaces as soon as possible. See “Cleaning the
Outside of Your Vehicle” in the Index.
Page 237 of 372
When you put the cap back on, turn it to the right until
you hear at least three clicks. Make sure you
fully install
the cap. The diagnostic
system can determine if the fuel
cap has been
left off or improperly installed. This would
allow fuel
to evaporate into the atmosphere. See
“Malfunction Indicator Lamp” in the Index.
NOTICE:
If you need a new cap, be sure to get the right
type. Your dealer can get one for you.
If you get
the wrong type, it may not fit or have proper
venting, and your fuel tank and emissions system
might be damaged.
Checking Things Under the Hood
/1 CAUTION:
Things that burn can get on hot engine parts and
start a fire. These include liquids like gasoline,
oil, coolant, brake fluid, windshield washer and
other fluids, and plastic or rubber. You or others
could be burned. Be careful not
to drop or spill
things that will burn onto a hot engine.
6-7
Page 273 of 372
Inflation -- Tire Pressure
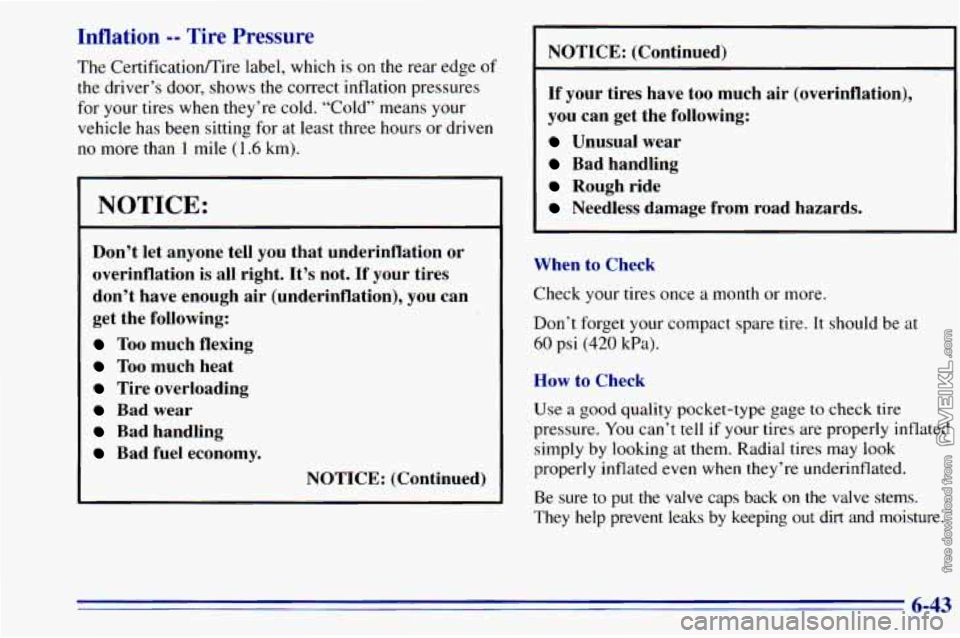
The Certificatioflire label, which is on the rear edge of
the driver’s door, shows the correct inflation pressures
for your tires when they’re cold. “Cold” means your
vehicle has been sitting for at least three hours or driven
no more than 1 mile (1.6 km).
NOTICE:
Don’t let anyone tell you that underinflation or
overinflation is all right. It’s not.
If your tires
don’t have enough air (underinflation), you can
get the following:
Too much flexing
Too much heat
Tire overloading
Bad wear
Bad handling
Bad fuel economy.
NOTICE: (Continued) NOTICE: (Continued)
If your tires have too much air (overinflation).
you can get the following:
Unusual wear
Bad handling
Rough ride
Needless damage from road hazards.
When to Check
Check your tires once a month or more.
Don’t forget your compact spare tire. It should be at
60 psi (420 kPa).
How to Check
Use
a good quality pocket-type gage to check tire
pressure.
You can’t tell if your tires are properly inflated
simply by looking at them. Radial tires may look
properly inflated even when they’re underinflated.
Be sure to put the valve caps back
on the valve stems.
They help prevent leaks by keeping
out dirt and moisture.
6-43
Page 297 of 372
Capacities and Specifications
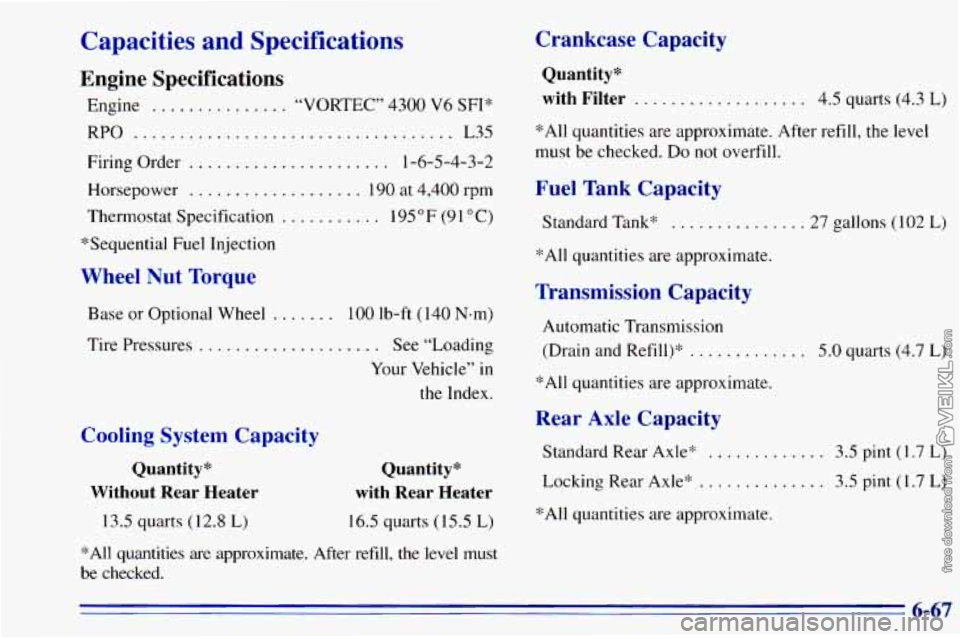
Engine Specifications
Engine ............... “VORTEC” 4300 V6 SFI‘k
RPO ................................... L35
Firing Order
...................... 1-6-5-4-3-2
Horsepower
................... 190 at 4,400 rpm
Thermostat Specification
......... 195 “F (9 1 O C)
“Sequential Fuel Injection
Wheel Nut Torque
Base or Optional Wheel ....... 100 lb-ft (140 Nem)
Tire Pressures ......... .... See “Loading
Your Vehicle” in
the Index.
Cooling System Capacity
Quantity*
Without Rear Heater
13.5 quarts (12.8 L)
Quantity*
with Rear Heater
16.5 quarts (15.5 L)
*All quantities are approximate. After refill, the level must
be checked.
Crankcase Capacity
Quantity*
with Filter
................... 4.5 quarts (4.3 L)
*All quantities are approximate. After refill, the level
must be checked. Do not overfill.
Fuel Tank Capacity
Standard Tank* ...........
*All quantities are approximate,
Transmission Capacity
Automatic Transmission
(Drain and Refill)“
.........
*All quantities are approximate.
Rear Axle Capacity
Standard Rear Axle* . .
Locking Rear Axle” ..........
*All quantities are approximate.
. . 27 gallons (102 L)
. . 5.0 quarts (4.7 L)
. . 3.5 pint (1.7 L)
3.5 pint (1.7 L)
6-67
Page 299 of 372
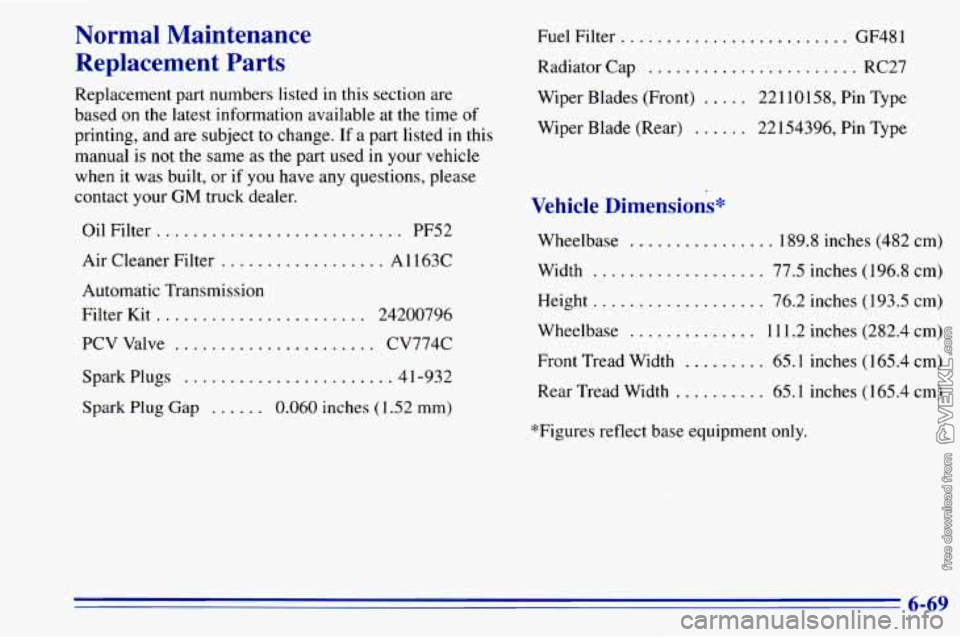
Normal Maintenance Replacement
Parts
Replacement part numbers listed in this section are
based on the latest information available at the time of
printing, and are subject to change.
If a part listed in this
manual is
not the same as the part used in your vehicle
when it was built, or
if you have any questions, please
contact your
GM truck dealer.
Oil Filter..
......................... PF52
Air Cleaner Filter
.................. A 1 163C
Automatic Transmission
Filter Kit
............ ... 24200796
PCV Valve
...................... CV774C
Spark Plugs
....................... 41-932
Spark
Plug Gap ...... 0.060 inches (1.52 mm) Fuel
Filter
...
Radiator Cap .......
Wiper Blades (Front) .
Wiper Blade (Rear) . .
. . GF481
............ RC27
. . 22110158, Pin Type
. . 22154396, Pin Type
Vehicle Dimensions*
Wheelbase .............. 189.8 inches (482 cm)
Width
................... 77.5 inches (1 96.8 cm)
Height.
.................. 76.2 inches (193.5 cm)
Wheelbase
.............. 11 1.2 inches (282.4 cm)
Front Tread Width
......... 65.1 inches (165.4 cm)
Rear Tread Width
........ 65.1 inches (1 65.4 cm)
*Figures reflect base equipment only.
6-69