Page 255 of 372

What to Use Rear Axle
When to Check and Change Lubricant
Refer to the Maintenance Schedule to determine how
often to check the lubricant and when
to change it. See
“Scheduled Maintenance Services” in the Index.
How to Check Lubricant
If the level is below the bottom of the filler plug hole,
you’ll need to add some lubricant. Add enough lubricant
to raise the level to the bottom of the filler plug hole. Refer
to the Maintenance Schedule to determine what
kind of lubricant
to use. See “Recommended Fluids and
Lubricants” in the Index.
Engine Coolant
The cooling system in your vehicle is filled with new
DEX-COOL (orange-colored, silicate-free) engine
coolant. This coolant is designed to remain in your
vehicle for
5 years or 100,000 miles (166 000 km),
whichever occurs first.
The following explains your cooling system and how to
add coolant when it is low. If
you have a problem with
engine overheating, see “Engine Overheating’’ in
the Index.
A 50/50 mixture of water and the proper coolant for
your vehicle will:
0 Give freezing protection down to -34°F (-37°C).
Give boiling protection up to 265 “F (1 29°C).
0 Protect against rust and corrosion.
Help keep the proper engine temperature.
0 Let the warning lights and gages work as
they should.
6-25
Page 259 of 372
Radiator Pressure Cap
NOTICE:
Your radiator cap is a 15 psi (105 kPa)
pressure-type cap and must be tightly installed to
prevent coolant loss and possible engine damage
from overheating. Be sure the arrows on the cap
line
up with the overflow tube on the radiator
filler neck.
When you replace your radiator pressure cap, a GM cap
is recommended. See “Normal Maintenance
Replacement Parts” in the Index.
6-29
Page 260 of 372
Thermostat When to Check Power Steering Fluid
Engine coolant temperature is controlled by a thermostat It is not necessary to reg,ularlY check Power steering
in the engine coolant system. The thermostat stops the fluid unless you suspect there is a leak in the system or
flow
of coolant through the radiator until the coolant you
hear an unusual noise. A fluid loss in this system
reaches a preset temperature. could indicate
a problem. Have the system inspected
and remired.
Power Steering Fluid
I
How To Check Power Steering Fluid
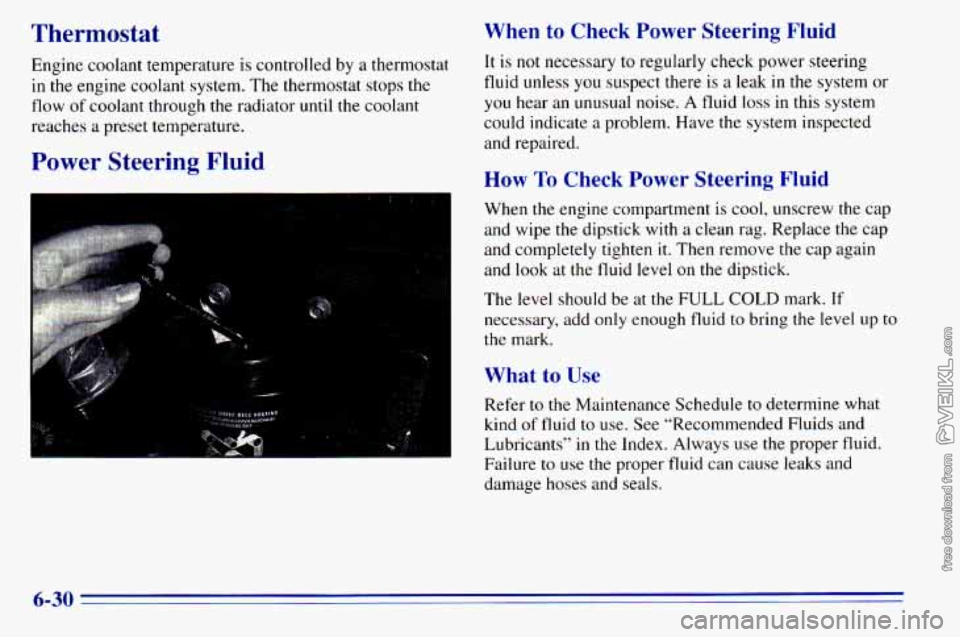
When the engine compartment is cool, unscrew the cap
and wipe
the dipstick with a clean rag. Replace the cap
and completely tighten
it. Then remove the cap again
and look at the fluid level
on the dipstick.
The level should be at the
FULL COLD mark. If
necessary, add only enough fluid to bring the level up to
the mark.
What to Use
Refer to the Maintenance Schedule to determine what
kind
of fluid to use. See “Recommended Fluids and
Lubricants’’
in the Index. Always use the proper fluid.
Failure to use the proper fluid can cause leaks and
damage hoses and seals.
6-30
Page 262 of 372
Brakes
Brake Fluid
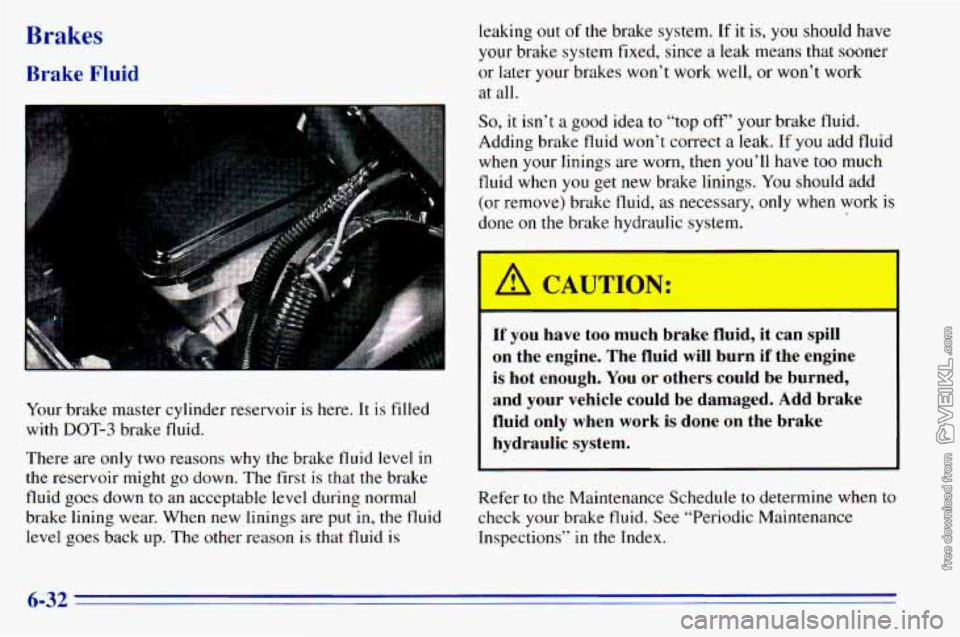
Your.brake master cylinder reservoir is here. It is filled
with
DOT-3 brake fluid.
There are only two reasons why the brake fluid level
in
the reservoir might go down. The first is that the brake
fluid goes down to an acceptable level during normal
brake lining wear. When new linings are put
in, the fluid
level goes back up. The other reason
is that fluid is leaking
out of the brake system. If it is, you should have
your brake system fixed, since a leak means
that sooner
or later your brakes won’t work well, or won’t work
at all.
So, it isn’t a good idea to “top off’ your brake fluid.
Adding brake fluid won’t correct a leak. If
you add fluid
when your linings are worn, then
you’ll have too much
fluid when you get new brake linings. You should add
(or remove) brake fluid, as necessary, only when work is
done on the brake hydraulic system.
If you have too much brake fluid, it can spill
on the engine. The fluid will burn if the engine
is hot enough. You or others could be burned,
and your vehicle could be damaged. Add brake
fluid only when work
is done on the brake
hydraulic system.
Refer to the Maintenance Schedule to determine when to
check your brake fluid. See “Periodic Maintenance
Inspections”
in the Index.
6-32
Page 272 of 372
Windshield Wiper Blade Replacement
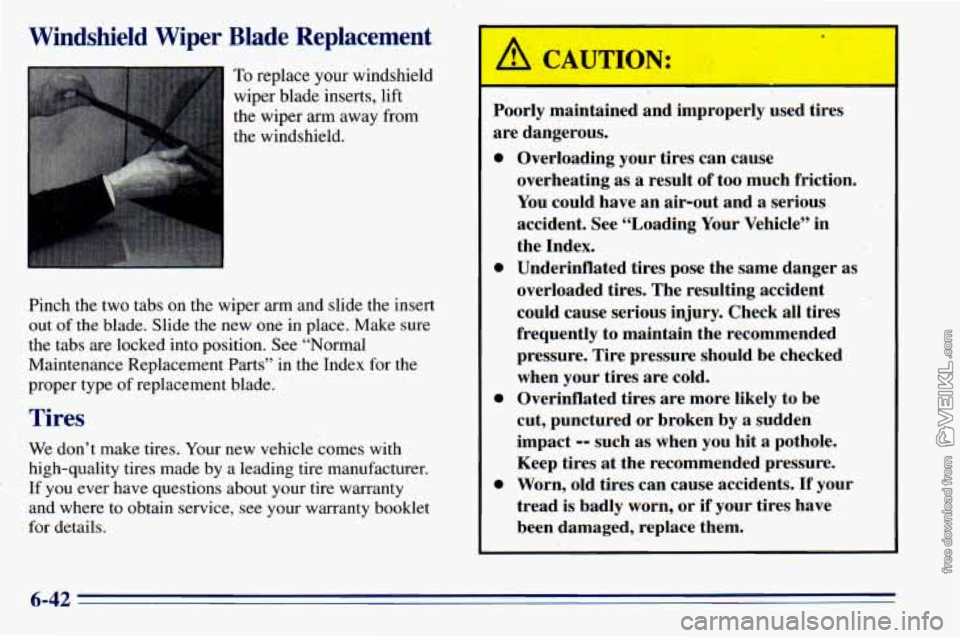
To replace your windshield
wiper blade ‘inserts, lift
the wiper arm away‘from
the windshield.
Pinch the two tabs on the wiper arm and slide
the ins1 ert
out of the blade. Slide the new one in place. Make sure
the tabs are locked into position. See “Normal
Maintenance Replacement
Parts” in the Index for the
proper type of replacement blade.
Tires
We don’t make tires. Your new vehicle comes with
high-quality tires made by a leading tire manufacturer.
‘ If you ever have questions about your tire warranty
and where to obtain service,
see your wai-ranty booklet
for details.
A CAUTION:
0
0
0
0
I
Poorly maintained and improperly used tires
are dangerous.
Overloading your tires can cause
overheating as a result of too much friction.’
You could have an air-out and a serious
accident. See “Loading Your Vehicle” in
the Index.
Underinflated tires pose the same danger as
overloaded tires. The resulting accident could cause serious injury. Check all tires
frequently to maintain the recommended
pressure. Tire pressure should be checked
when your tires are cold.
Overinflated tires are more likely to be
cut, punctured or broken by a sudden
impact
-- such as When you hit a pothole.
Keep tires
at the recommended pressure.
Worn, old tires can cause accidents.
If your
tread
is badly worn, or if your tires have
been damaged, replace them.
6-42
Page 274 of 372

Tire Inspection and Rotation
Tires should be inspected every 6,000 to 8,000 miles
(10 000 to 13 000 km) for any signs of unusual wear.
If unusual wear is present, rotate your tires as soon as
possible and check wheel alignment. Also check for
damaged tires or wheels. See “When It’s Time for New
Tires” and “Wheel Replacement” later in this section for
more information.
The purpose of regular rotation
is to achieve more
uniform wear for all tires on the vehicle. The first
rotation is the most important. See “Scheduled
Maintenance Services” in the Index for scheduled
rotation intervals. When
rotating your tires, always use the correct rotation
pattern shown here.
Don’t include the compact spare tire in your tire rotation. \
After the tires have been rotated, adjust the front and
rear inflation pressures as shown on the
CertificatiodTire label. Make certain that all wheel nuts
are properly tightened. See “Wheel
Nut Torque” in
the Index.
’ A CAUTIO1
Rust or dirt on a wheel, or on the parts to which
it
is fastened, can make wheel nuts become loose
after a time. The wheel could come
off and cause
an accident. When you change a wheel, remove
any rust or dirt from places where the wheel
attaches to the vehicle. In an emergency, you can
use a cloth or a paper towel to do this; but be
sure to use a scraper or wire brush later,
if you
need to, to get all the rust or dirt
off. (See
“Changing
a Flat Tire” in the Index.)
Page 286 of 372
Tires
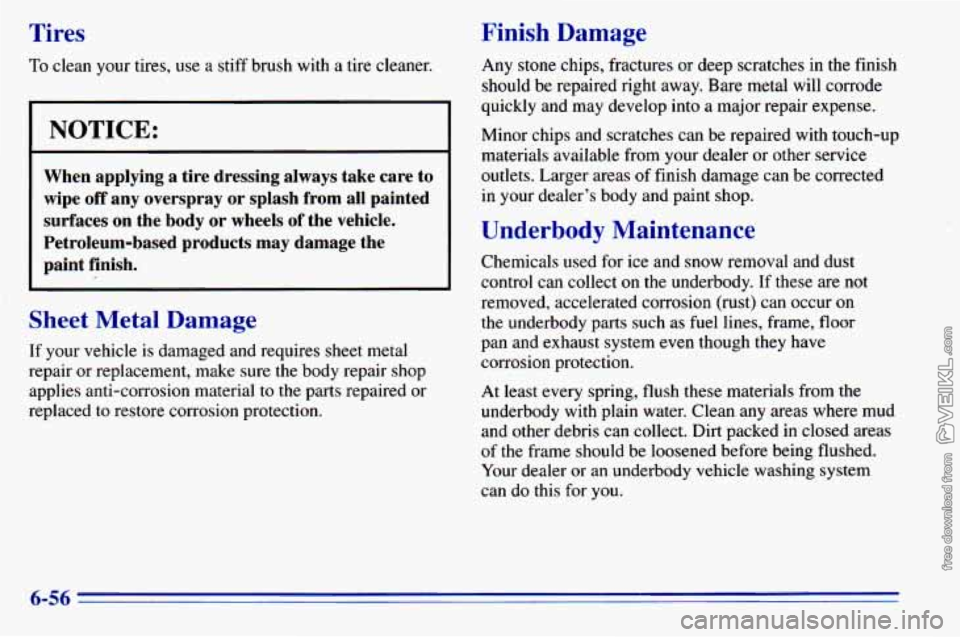
To clean your tires, use a stiff brush with a tire cleaner.
NOTICE:
When applying a tire dressing always take care to
wipe
off any overspray or splash from all painted
surfaces on the body or wheels
of the vehicle.
Petroleum-based products may damage the
paint finish.
Sheet Metal Damage
If your vehicle is damaged and requires sheet metal
repair or replacement, make sure the body repair shop
applies anti-corrosion material to the parts repaired or
replaced
to restore corrosion protection.
Finish Damage
Any stone chips, fractures or deep scratches in the finish
should be repaired right away. Bare metal will corrode
quickly and may develop into a major repair expense.
Minor chips and scratches can be repaired with touch-up
materials available from your dealer or other service
outlets. Larger areas of finish damage can be corrected
in your dealer’s body and paint shop.
Underbody Maintenance
Chemicals used for ice and snow removal and dust
control can collect on the underbody. If these are not
removed, accelerated corrosion (rust) can occur on
the underbody parts such as fuel lines, frame,
floor
pan and exhaust system even though they have
corrosion protection.
At least every spring, flush these materials from the
underbody with plain water. Clean any areas where mud
and other debris can collect. Dirt packed in closed areas
of the frame should be loosened before being flushed.
Your dealer
or an underbody vehicle washing system
can do this for you.
6-56
Page 299 of 372
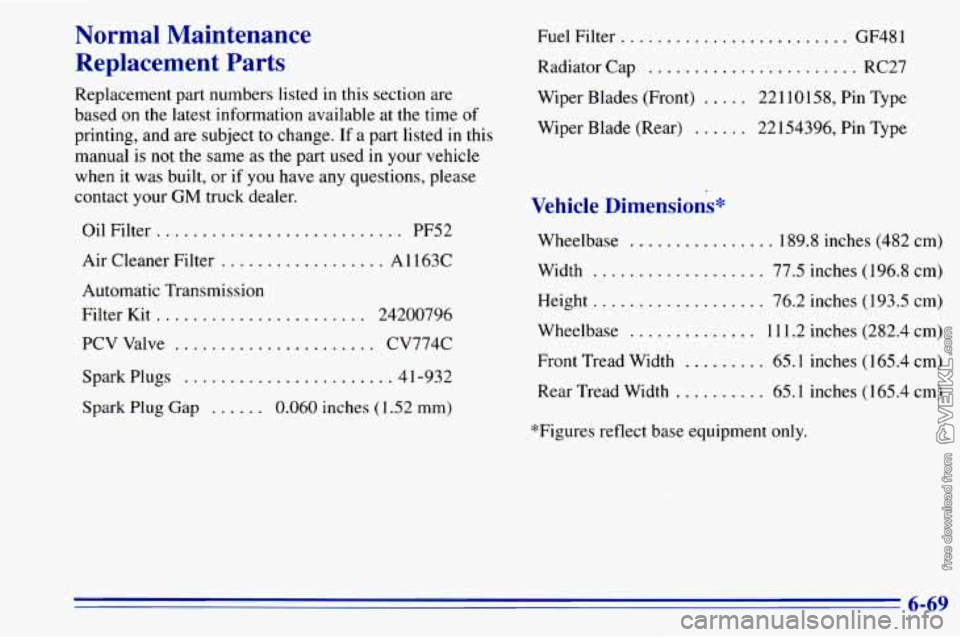
Normal Maintenance Replacement
Parts
Replacement part numbers listed in this section are
based on the latest information available at the time of
printing, and are subject to change.
If a part listed in this
manual is
not the same as the part used in your vehicle
when it was built, or
if you have any questions, please
contact your
GM truck dealer.
Oil Filter..
......................... PF52
Air Cleaner Filter
.................. A 1 163C
Automatic Transmission
Filter Kit
............ ... 24200796
PCV Valve
...................... CV774C
Spark Plugs
....................... 41-932
Spark
Plug Gap ...... 0.060 inches (1.52 mm) Fuel
Filter
...
Radiator Cap .......
Wiper Blades (Front) .
Wiper Blade (Rear) . .
. . GF481
............ RC27
. . 22110158, Pin Type
. . 22154396, Pin Type
Vehicle Dimensions*
Wheelbase .............. 189.8 inches (482 cm)
Width
................... 77.5 inches (1 96.8 cm)
Height.
.................. 76.2 inches (193.5 cm)
Wheelbase
.............. 11 1.2 inches (282.4 cm)
Front Tread Width
......... 65.1 inches (165.4 cm)
Rear Tread Width
........ 65.1 inches (1 65.4 cm)
*Figures reflect base equipment only.
6-69