1996 CADILLAC SEVILLE change time
[x] Cancel search: change timePage 3 of 354
Downloaded from www.Manualslib.com manuals search engine GM -
GENERAL MOTORS, GM and the GM Emblem,
CADILLAC, the CADILLAC Emblem and the name
SEVILLE are registered trademarks of General
Motors Corporation.
This manual includes the latest information
at the time it
was printed. We reserve the right to make changes in the
product after that time without further notice. For
vehicles first sold in Canada, substitute the name
“General Motors of Canada Limited” for Cadillac Motor
Car Division whenever it appears
in this manual.
Please keep this manual in your Cadillac,
so it will be
there if you ever need it when you’re on the road. If you
sell the vehicle, please leave this manual in it so the new
owner can use it.
Litho in
U.S.A.
Part No. 25637209 B 0 First Edition
k?J CERTIFIED
f
AamA
We support voluntary
technician certification.
WE SUPPORT VOLUNTARY TECHNICIAN
CERTIFICATION THROUGH
National Institute for
AUTOMOTIVE SERVICE EXCELLENCE
For Canadian Owners Who Prefer a
French Language Manual:
Aux proprietaires canadiens: Vous pouvez vous
procurer un exemplaire de ce guide en franCais chez
votre concessionaire
ou au:
DGN Marketing Services Ltd.
1500 Bonhill Rd.
Mississauga, Ontario L5T IC7
@Copyright General Motors Corporation 1995
All Rights Reserved
ii
Page 17 of 354
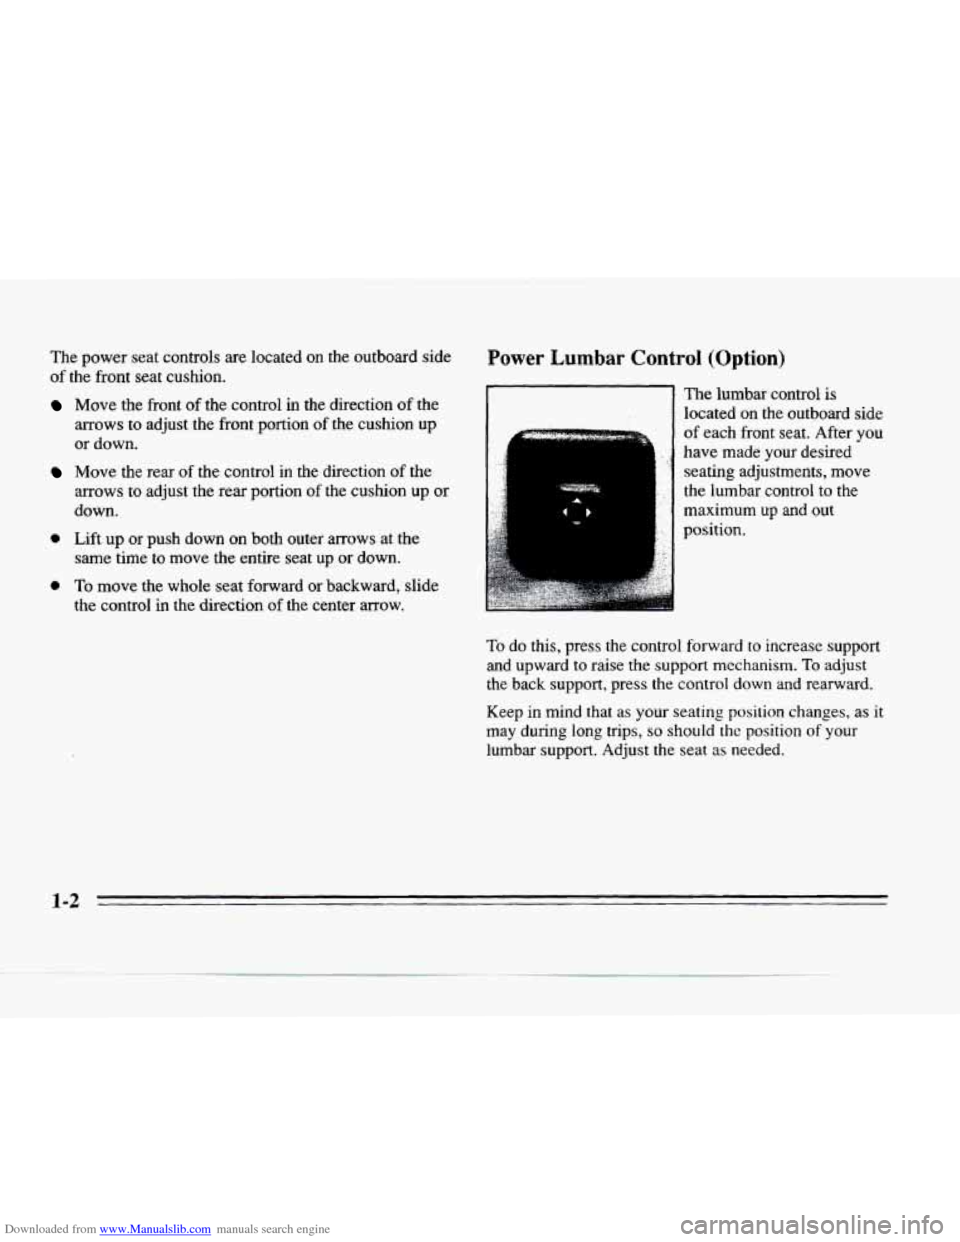
Downloaded from www.Manualslib.com manuals search engine The power seat controls are located on the outboard side
of the front seat cushion.
rower Lumbar Control (Option)
Move the front of the control in the direction of the
arrows to adjust the front portion of the cushion up
or down.
Move the rear of the control in the direction of the
arrows to adjust the rear portion of the cushion up or
down.
0 Lift up or push down on both outer arrows at the
same time to move the entire seat up or down.
0 To move the whole seat forward or backward, slide
the control in the direction
of the center arrow.
~ The lumbar control is
1 located on the outboard side
~ of each front seat. After you
have made your desired
seating adjustments, move
the lumbar control to the
maximum
up and out
position.
To do this, press the control forward to increase support
and upward to raise the support mechanism. To adjust
the back support, press the
control down and rearward.
Keep in mind
that as your seating position changes, as it
may during long trips, so should the position of your
lumbar support. Adjust the seat as needed.
1-2
L
Page 68 of 354
Downloaded from www.Manualslib.com manuals search engine Battery Replacement
Under normal use, the battery in your key chain
transmitter should last about
four years.
You can tell the battery is weak if the transmitter won’t
work
at the normal range in any location. If you have to
get
close to your vehicle before the transmitter works,
it’s probably time
to change the battery.
-
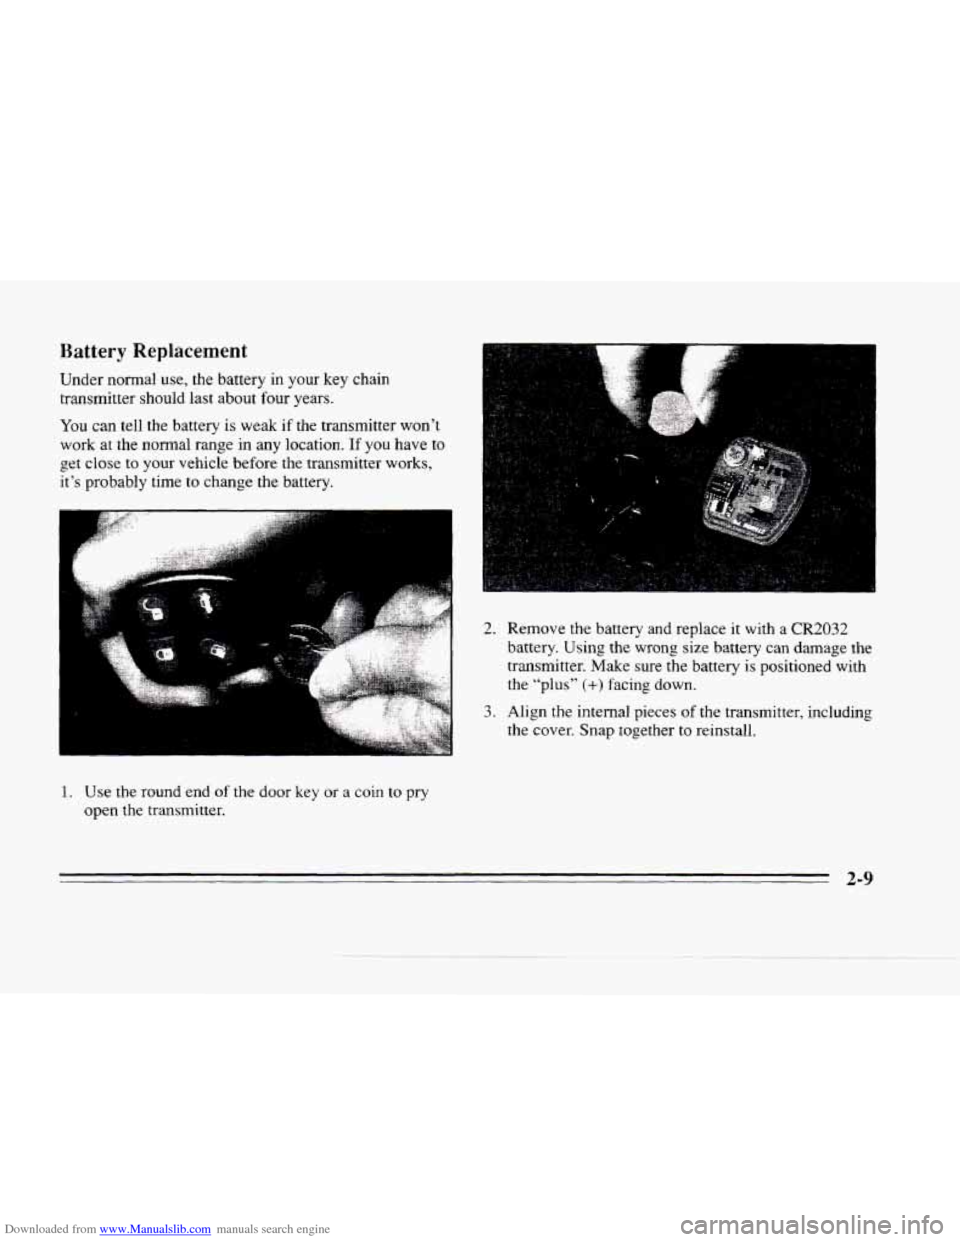
1. Use the round end of the door key or a coin to pry
open the transmitter.
2. Remove the battery and replace it with a CR2032
battery. Using the wrong size battery can damage the
transmitter. Make sure the battery is positioned with
the “plus”
(+) facing down.
3. Align the internal pieces of the transmitter, including
the cover. Snap together
to reinstall.
2-9
Page 77 of 354
Downloaded from www.Manualslib.com manuals search engine w
NOTICE:
Holding your key in START for longer than
15 seconds at a time will cause your battery to be
drained much sooner. And the excessive heat can
damage your starter motor.
2. If it doesn't start right away, hold your key in
START for about three seconds at a time until your
engine starts. Wait about
15 seconds between each
try to help avoid draining your battery.
3. If your engine still won't start (or starts but then
stops), it could be flooded with
too much gasoline.
Try pushing your accelerator pedal all the way to the
floor and holding
it there as you hold the key.in
START for about three seconds. If the vehicle starts
briefly but then stops again, do the same thing.
NOTICE:
Your engine is designed to work with the
electronics in your vehicle. If you add electrical
parts or accessories, you could change the way
the engine operates. Before adding electrical
equipment, check with
your dealer. If you don't,
your engine might not perform properly.
If you ever have to have your vehicle towed, see
the part
of this manual that tells how to do it
without damaging your vehicle. See "Towing
Your Vehicle'' in the Index.
2-18
Page 105 of 354
Downloaded from www.Manualslib.com manuals search engine The first -prompt to appear relates to the automatic door
locks. This feature can be bypassed by pressing the
INFO button. The STORAGE MODE? prompt appears
next. To select, press the RESET button. ENABLE
STORAGE MODE? will then appear. A yes or no
response must be given.
If the INFO (no) button is
pressed,
the DISABLE STORAGE MODE? prompt will
appear. Once again,
a yes or no response is required.
Once the battery guard has been programmed, your
vehicle will enter the storage mode approximately
20 minutes after the ignition key has been turned off.
The RKE will also be disabled at this point. The RKE
will reactivate when a door or the trunk is opened,
however, if your vehicle is left inactive for another
20 minutes the RKE will re-enter the storage mode.
Your vehicle will stay in the storage mode until the
ignition key is turned out of
LOCK. The system will
“wake-up” when the door key is inserted into the door
however, your vehicle will remain
in the storage mode.
The ignition must be out of
LOCK before the battery
guard is disabled.
Mirrors
Electrochromic DaylNight Rearview Mirror
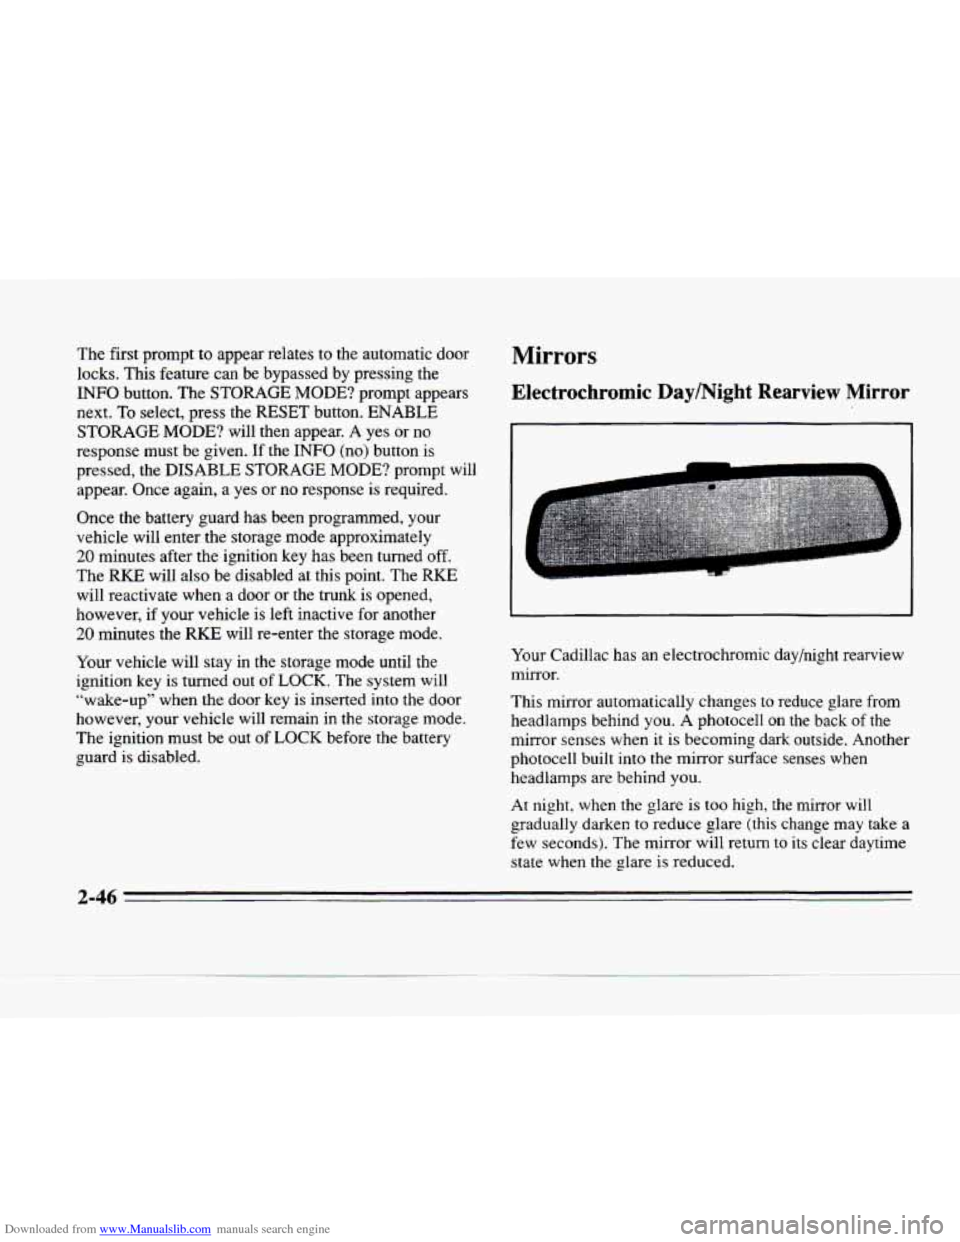
Your Cadillac has an electrochromic day/night rearview
mirror.
This mirror automatically changes to reduce glare from
headlamps behind you. A photocell
on the back of the
mirror senses when it
is becoming dark outside. Another
photocell built into the mirror surface senses when
headlamps are behind you.
At night, when the glare is too high,
the mirror will
gradually darken to reduce glare (this change may take
a
few seconds). The mirror will return to its clear daytime
state when the glare is reduced.
2-46
Page 106 of 354
Downloaded from www.Manualslib.com manuals search engine c
On/Off Switch
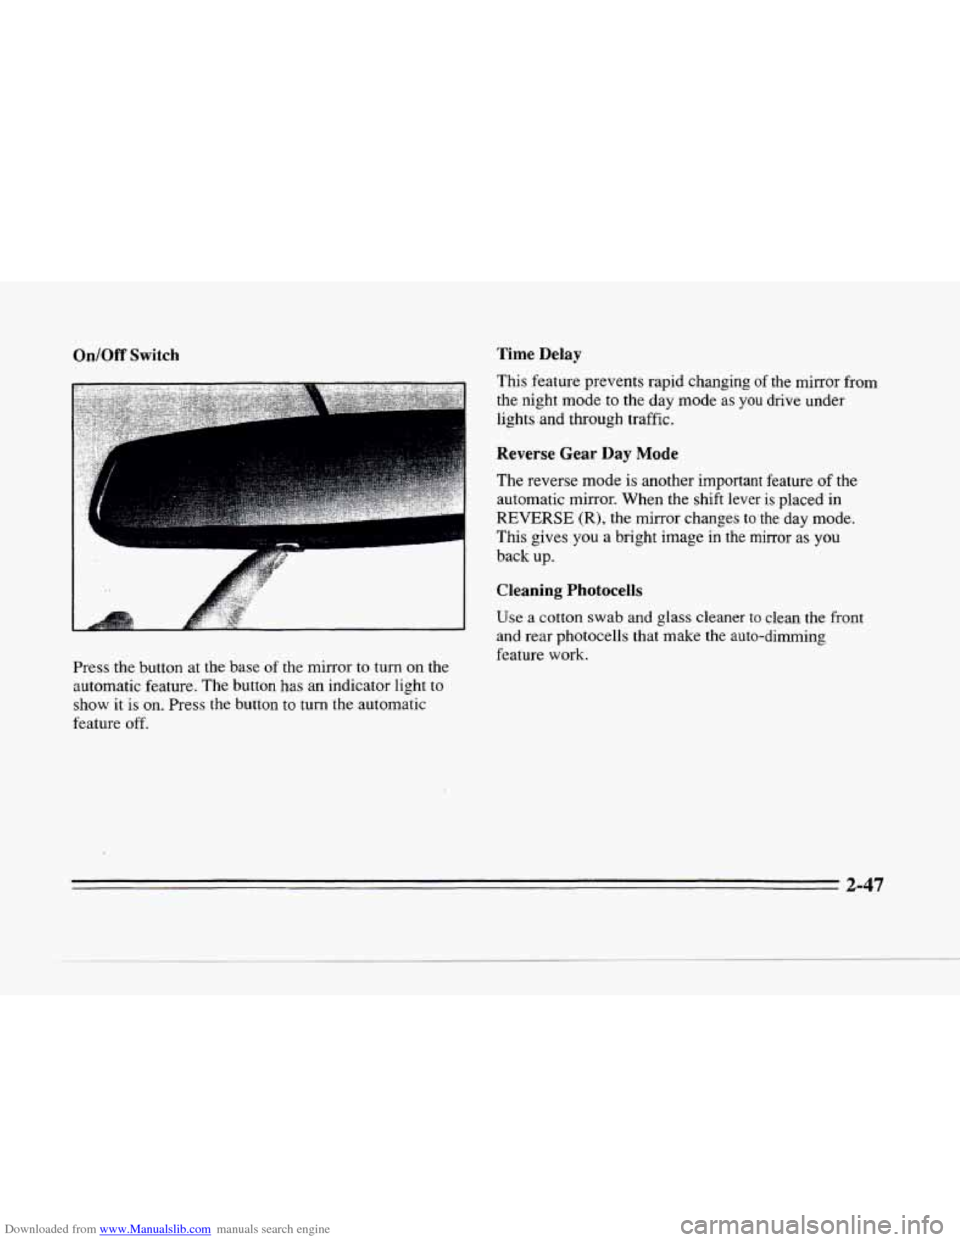
Press the button at the base of the mirror to turn on the
automatic feature. The button has an indicator light
to
show it is on. Press the button to turn the automatic
feature
off.
Time Delay
This feature prevents rapid changing of the mirror from
the night mode to the day mode
as you drive under
lights and through traffic.
Reverse Gear Day Mode
The reverse mode is another important feature of the
automatic mirror. When the shift lever is placed in
REVERSE (R), the mirror changes to the day mode.
This gives
you a bright image in the mirror as you
back up.
Cleaning Photocells
Use a cotton swab and glass cleaner to clean the front
and rear photocells
that make the auto-dimming
feature work.
2-47
Page 108 of 354
Downloaded from www.Manualslib.com manuals search engine c
Time Delay Compass Calibration
c
L
c
c
This feature prevents rapid changing of the mirror from
the night mode to the day mode as you drive under
lights and through traffic.
Reverse Gear Day Mode
The reverse mode is another important feature of the
automatic mirror. When the shift lever is placed in
REVERSE (R), the mirror changes to the day mode.
This gives you a bright image in the mirror as you
back up.
Cleaning Photocells
Use a cotton swab and glass cleaner to clean the front
and rear photocells that make the auto-dimming
feature work. Once
the compass is
calibrated, it does not need to be
recalibrated.
To calibrate the compass:
1.
2.
3.
Set the switch on the mirror control to C/M.
Turn the vehicle ignition switch on. The letter C
should be displayed in the mirror compass window.
If not, hold the CAL switch (on the bottom of the
mirror)
for more than 10 seconds, and the letter C
will appear. To hold in the CAL switch, insert a
paper clip into the small hole
on the bottom of the
mirror housing. The display
will show a number
first, but keep holding until the letter
C appears.
For quick calibration, drive the vehicle in
a
360-degree circle at less than 5 mph (8 km/h) until
the display reads
a compass direction. For normal
calibration, drive
the vehicle on your everyday
routine, and the compass wilI eventually calibrate.
2-49
Page 139 of 354
Downloaded from www.Manualslib.com manuals search engine Oil Life Left Reset: Press the INFO button to display
the
OIL LIFE LEFT, then press and hold the INFO
RESET button until
100% OIL LIFE LEFT is displayed.
English/Metric Reset: Press the INFO button to display
ENGLISHMETRIC
RESET, then press the INFO
RESET button to select. The display will change from
English (miles) to metric (kilometers).
TRIP RESET By using this button you can tell how far
you've gone since you last set the TRIP RESET back to
zero. To reset,' press and hold the button until zeros
appear.
If your vehicle is domestic, the trip odometer
will return to zero after 999.9 miles
(1 609 km). If your
vehicle is Canadian, the trip odometer will return to zero
after
1 999.9 km (1,242 L miles).
INFO: Pressing this button repeatedly will display the
RANGE, MPG AVG, MPG INST, FUEL USED, AVG
MPH, TIMER, OIL LIFE LEFT, BATTERY VOLTS
and ENGLISHMETRIC RESET.
FUEL DOOR: Press this button to open the fuel door.
TRUNK: Press this button to open the trunk.
Driver Information Center Messages
These messages will appear if there is a problem sensed
in one
of your vehicle's systems. Vehicles that are first
sold in Canada will have a number after each message.
This number helps to identify the message which is only
displayed in English.
message displays when the engine coolant becomes hotter
than the normal operating temperature.
To avoid added
strain on a hot engine, the air conditioning compressor is
automatically turned off so that air conditioned air is not
delivered.
If the coolant temperature rems to normal, you
must select
AC to return to a normal A/C compressor
operation.
If this message continues to appear, have the
system repaired as soon as possible to avoid compressor
damage.
A/C OFF FOR ENGINE PROTECTION - 16: "his
APPLY BRAKE TO SHIFT - 46: This message will
appear if your vehicle is in PARK (P) for about 15 seconds
and
the brake is not pressed in. Remove the message by
holding the
OFF and the blue (cooler) button on the
Electronic Climate Control panel for about five seconds.
Hold the same two buttons again to redisplay
the message.
2-80