1996 CADILLAC FLEETWOOD fuse
[x] Cancel search: fusePage 14 of 306
Downloaded from www.Manualslib.com manuals search engine Vehicle Symbols
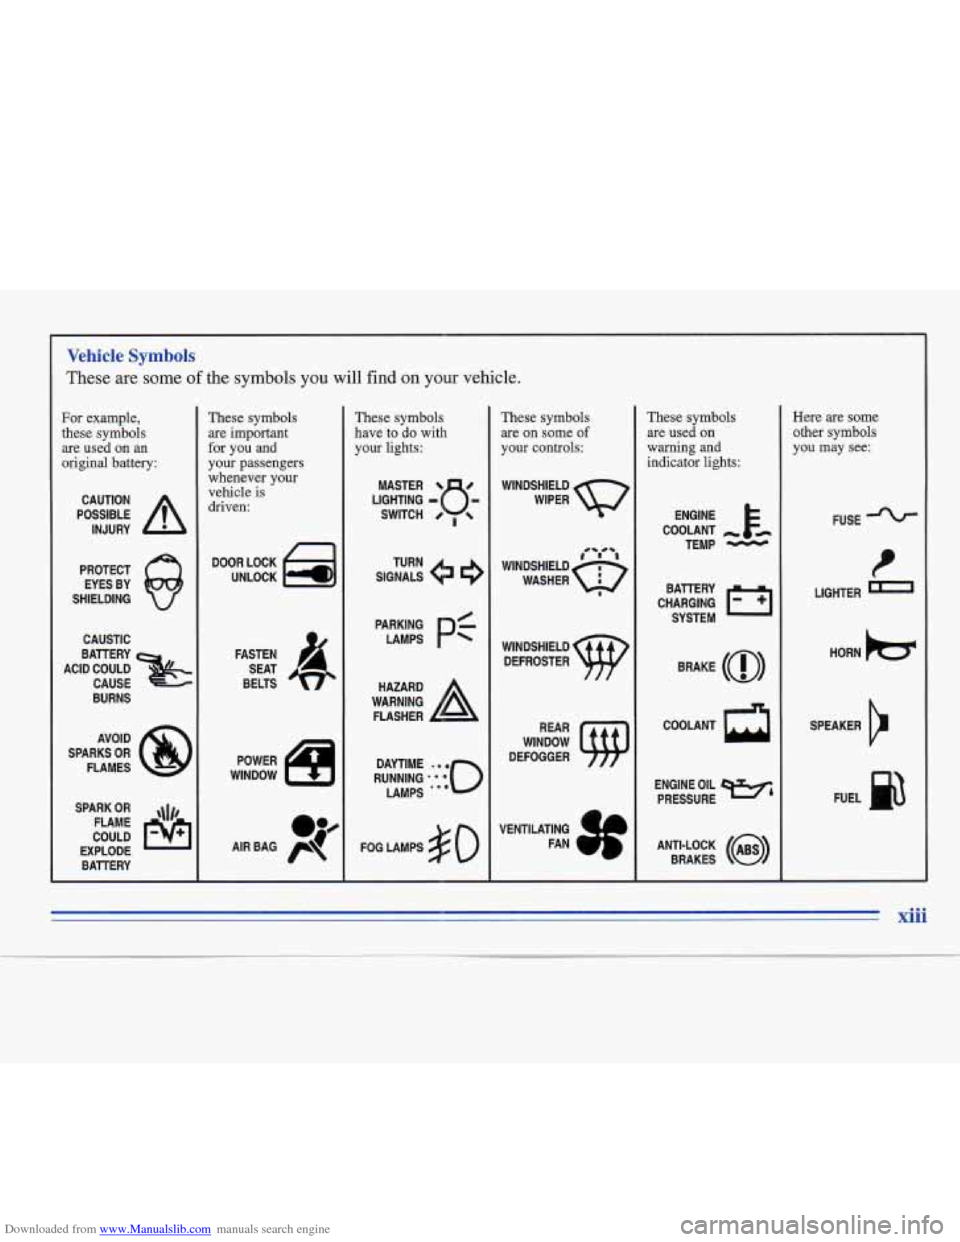
These are some of the symbols you will find on your vehicle.
For example,
these symbols
are used on an
original battery:
POSSIBLE A
CAUTION
INJURY
PROTECT EYES BY
SHIELDING
CAUSTIC
ACID COULD
&
BAllERY
CAUSE
BURNS
AVOID
SPARKS
OR
FLAMES
SPARK
OR ,\I/,
COULD FLAME
EXPLODE BATTERY
These symbols are important
for you and
your passengers
whenever your
vehicle
is
driven:
DOOR LOCK
UNLOCK
FASTEN SEAT
BELTS
POWER
WINDOW
These symbols
have to do with
your lights:
SIGNALS e
TURN
PAERK pf
FOG LAMPS $0
These symbols
are on some
of
your controls:
WIPER w
WINDSHIELD
DEFROSTER
WINDOW
DEFOGGER
VENTILATING FAN
These symbols are used
on
warning and
indicator lights:
COOLANT
TEMP
-
CHARGING Tql
BAllERY
SYSTEM
BRAKE
(0)
COOLANT a
ENGINE OIL e,
PRESSURE
ANTI-LOCK
(a)
BRAKES
Here are some
other symbols
you may see:
FUSE -%-
t
LIGHTER m
HORN )cr
SPEAKER
b
FUEL e3
xiii
Page 71 of 306
Downloaded from www.Manualslib.com manuals search engine Testing the Alarm
1.
2.
3.
From inside the vehicle, roll down your window,
then get out of your vehicle, keeping the door open.
From outside the vehicle with the door open, lock
the vehicle using the power door lock or the Keyless
Entry System and close the door.
Once the interior lamps are
off, reach in and unlock
the door using the manual lock. Open the door and
the horn will sound and your headlamps will flash.
If the alarm does not sound when it should, check to see if
the horn works. The
horn fuse may be blown. To replace
the fuse, see “Fuses and Circuit Breakers” in the Index. \
To reduce the possibility of theft, always arm the
Theft-Deterrent System when leaving your vehicle.
PASS-K~J~ 11
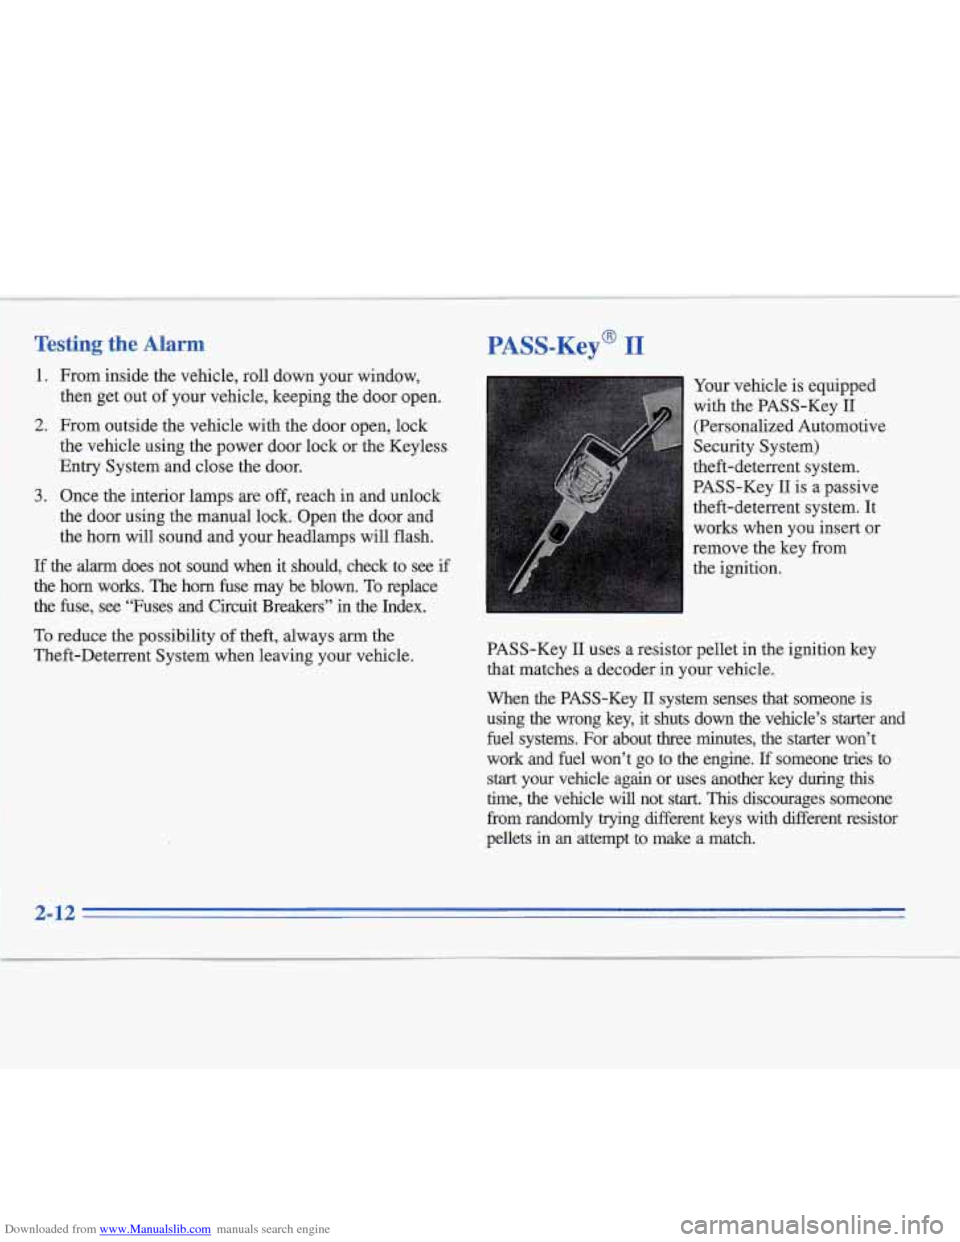
Your vehicle is equipped
with the PASS-Key
I1
(Personalized Automotive
Security System)
theft-deterrent system.
PASS-Key
I1 is a passive
theft-deterrent system. It
works when you insert or
remove the key from
the ignition.
PASS-Key
II uses a resistor pellet in the ignition key
that matches a decoder in your vehicle.
When the PASS-Key
11 system senses that someone is
using the wrong key, it shuts down
the vehicle’s starter and
fuel systems. For about three minutes, the starter won’t
work and fuel won’t go to the engine.
If someone tries to
start your vehicle again or uses another key during this
time, the vehicle will not start. This discourages someone
from randomly trying different keys
with different resistor
pellets
in an attempt to make a match.
2-12
I
Page 72 of 306
Downloaded from www.Manualslib.com manuals search engine The ignition key must be clean and dry before it’s inserted
in the ignition or the engine may not start. If the engine
does not
start and the PASS KEY FAULT light comes on,
the key may be
drty or wet. Turn the ignition off.
Clean and dry the key. Wait about three minutes and try
again. The PASS KEY FAULT light may remain on
during this time. If the starter still won’t work, and the
key appears to be clean and dry, wait about three
minutes and try another ignition key. At this time, you
may also want to check the fuse (see “Fuses and Circuit
Breakers” in the Index).
If the starter won’t work with
the other key, your vehicle needs service.
If your vehicle
does start, the first ignition key may be faulty. See your
Cadillac dealer or a locksmith who can service the
PASS-Key
II.
If you accidentally use a key that has a damaged or
missing resistor pellet, the starter won’t work and the
PASS
KEY FAULT light will flash. But you don’t have
to wait three minutes before trying another ignition key.
See your Cadillac dealer or a locksmith who can service
the PASS-Key
11 to have a new key made.
If you’re ever driving and the PASS KEY FAULT light
comes on and stays on, you will be able to restart your
engine if you turn
it off. Your PASS-Key I1 system,
however, is not working properly and must be serviced
by your Cadillac dealer. Your vehicle
is not protected by
the PASS-Key
11 system.
If
you lose or damage a PASS-Key 11 ignition key, see
your Cadillac dealer or a locksmith who can service
PASS-Key
11 to have a new key made.
2-13
Page 90 of 306
Downloaded from www.Manualslib.com manuals search engine lhrr Signal and Lane Change Indicator
To signal a turn, move the lever all the way up or down.
When the turn is finished, the lever will return
automatically.
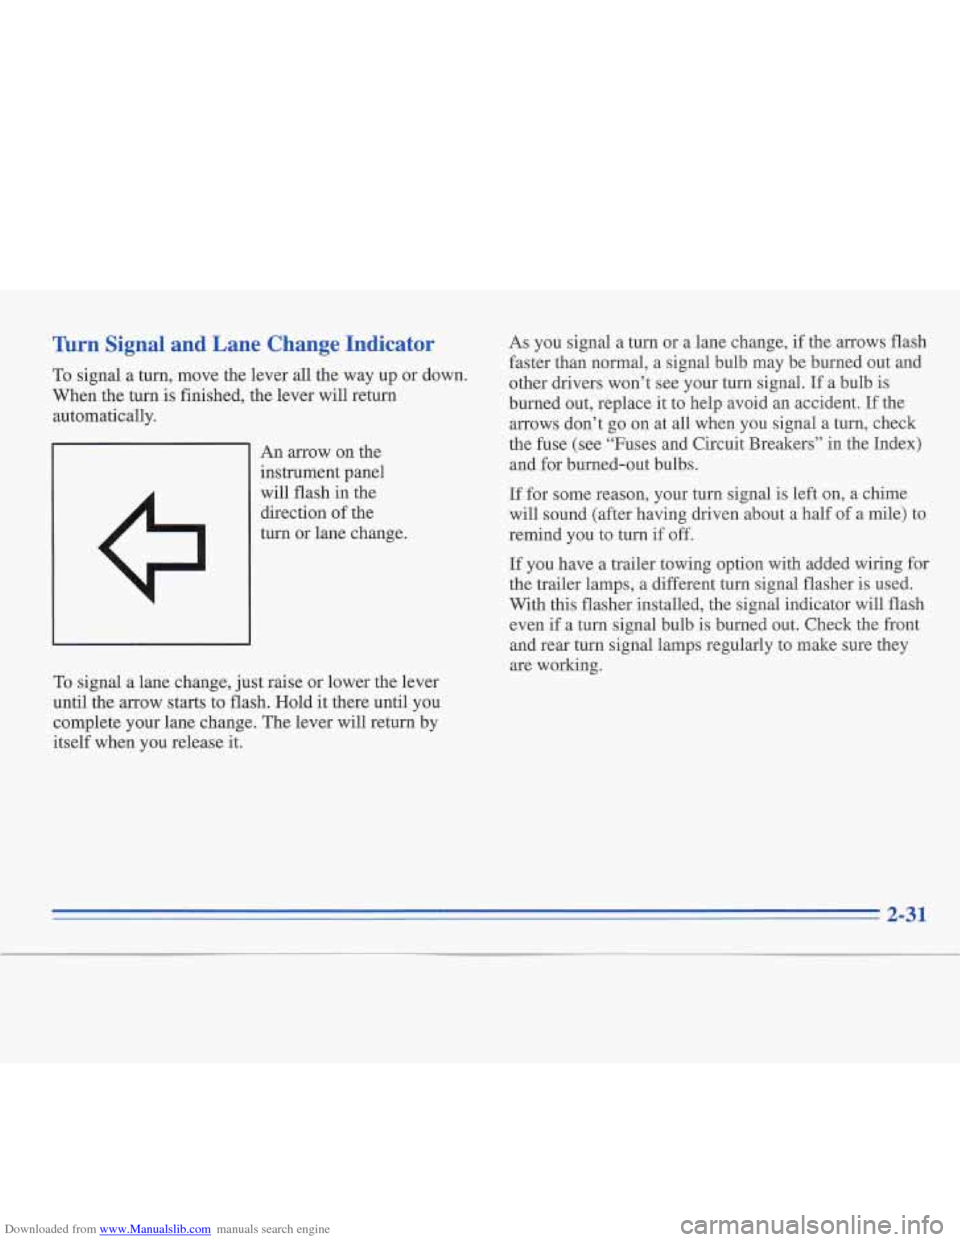
An arrow on the
instrument panel
will flash in the
direction of the
turn or lane change.
To signal a lane change, just raise or lower the lever
until the arrow starts to flash. Hold it there until you
complete your lane change. The lever will return by
itself when you release it. As you
signal a turn or a lane change, if the arrows flash
faster than normal, a signal bulb may be burned out and
other drivers won’t see your turn signal.
If a bulb is
burned out, replace it to help avoid an accident. If the
arrows don’t go on at all when you signal a turn, check
the fuse (see “Fuses and Circuit Breakers”
in the Index)
and for burned-out bulbs.
If for some reason, your turn signal
is left on, a chime
will sound (after having driven about
a half of a mile) to
remind you to turn if off.
If you have a trailer towing option with added wiring for
the trailer lamps, a different turn signal flasher
is used.
With this flasher installed, the signal indicator will flash
even if a turn signal bulb is burned out. Check the front
and rear turn signal lamps regularly to make sure they
are working.
2-31
Page 181 of 306
Downloaded from www.Manualslib.com manuals search engine Your vehicle is equipped with an Electronic Level
Control (ELC) feature. When hooking up a trailer
using a weight distributing hitch, always use the
following procedure:
a
a
a
a
0
Place the vehicle on a level surface without the
trailer hitched. With the ignition off, and all doors
closed, allow the vehicle to level automatically.
Disable the Electronic Level Control (ELC) by
pulling the LEVEL CTRL fuse from the underhood
electrical center located on the passenger-side wheel
housing in the engine compartment. Remove the
cover to gain access.
Attach the trailer to the vehicle. The trailer tongue
should weigh
12 percent of the total loaded
trailer weight.
Level the vehicle with the load-leveling spring
bars (equalizers).
Leave the fuse out while towing your trailer.
Once you have completed towing your trailer, be sure
to
reinstall the Electronic Level Control (ELC) fuse.
In Addlon
a
a
a
0
0
Use two friction sway controls if your trailer is over
5,000 lbs. (2 270 kg) loaded weight, and/or is over
24 feet (7.3 m) long.
Use at least one friction sway control if your
trailer is over
2,000 lbs. (900 kg) loaded weight,
and consider using one for trailers under
2,000 lbs.
(900 kg).
Trailers that weigh more than
1,000 lbs. (454 kg)
should be equipped with trailer brakes.
Surge brakes work with most weight-distributing
hitches as long as all the equipment is properly
installed. Check with the hitch manufacturer for
advice and installation instructions.
If a trailer is over 5,000 lbs. (2 270 kg), adjust
the vehicle's rear tire pressures to
35 psi (240 Pa)
(cold tire pressure).
4-36
Page 219 of 306
Downloaded from www.Manualslib.com manuals search engine Your vehicle has an air bag system. Before attempting to
do your own service work, see “Servicing Your Air
Bag-Equipped Cadillac” in the Index.
You should keep a record with all parts receipts and list
the mileage and the date of any service work you
perform. See “Maintenance Record” in the Index.
You can be injured and your vehicle could be
damaged
if you try to do service work on a
vehicle without knowing enough about it.
0 Be sure you have sufficient knowledge,
experience, and the proper replacement
parts and tools before you attempt any
vehicle maintenance task.
0 Be sure to use the proper nuts, bolts and
other fasteners. “English” and “metric”
fasteners can be easily confused.
If you use
the wrong fasteners, parts can later break
or
fall off. You could be hurt.
Fuel
Use regular unleaded gasoline rated at 87 octane or
higher. At
a minimum, it should meet specifications
ASTM D4814
in the United States and CGSB 3.5-M93
in Canada. Improved gasoline specifications have been
developed by the American Automobile Manufacturers
Association (AAMA) €or better vehicle performance
and engine protection. Gasolines meeting the AAMA
specification could provide improved driveability and
emission control system protection compared to
other gasolines.
Be sure the posted octane is at least 87.
If the octane is
less than 87, you may get a heavy knocking noise when
you drive. If it’s bad enough, it can damage your engine.
If you’re using fuel rated at 87 octane or higher and you
still hear heavy knocking, your engine needs service.
But don’t
worry if you hear a little pinging noise when
you’re accelerating or driving up a hill. That’s normal,
and you don’t have to buy a higher octane fuel to get rid
of pinging. It’s the heavy, constant knock that means
you have a problem.
6-2
Page 274 of 306
Downloaded from www.Manualslib.com manuals search engine Electrical System
Add-on Electrical Equipment
1 NOTICE:
Don’t add anything electrical to your Cadillac
unless you check with your dealer first. Some
electrical equipment can damage your vehicle
and the damage wouldn’t be covered by your
warranty. Some add-on electrical equipment
can keep other components from working as they should.
I I
Your vehicle has an air bag system. Before attempting to
add anything electrical to your Cadillac, see “Servicing
Your Air Bag-Equipped Cadillac”
in the Index.
Headlamps
The headlamp wiring is protected by an internal circuit
breaker.
An electrical overload will cause the lamps to go
on and
off, or in some cases to remain off. If this happens,
have your headlamp wiring checked right away.
Windshield Wipers
The windshield wiper motor is protected by an internal
circuit breaker and a
fuse. If the motor overheats due to
heavy snow, etc., the wipers will stop until the motor
cools. If the overload is caused by some electrical
problem, be sure to get it fixed.
Power Windows and Other Power Options
Circuit breakers protect the power windows and other
power accessories. When the current load is
too heavy,
the circuit breaker opens and closes, protecting the
circuit until the problem is fixed or goes away.
6-57
Page 275 of 306
Downloaded from www.Manualslib.com manuals search engine Fuses and Circuit Breakers
The wiring circuits in your vehicle are protected from
short circuits by a combination of fuses, circuit breakers
and fusible thermal
links. This greatly reduces the
chance of fires caused by electrical problems.
Look at the silver-colored band inside the fuse. If the
band is broken or melted, replace the fuse. Be sure you
replace a bad fuse with a new one of the identical size
and rating.
li you ever have a problem on the road and don’t have a
spare fuse, you can borrow one that has the same
amperage. Just pick some feature
of your vehicle that
you can get along without
-- like the radio or cigarette
lighter
-- and use its fuse, if it is the correct amperage.
Replace it as soon as you can.
There are two fuse blocks in your vehicle: the
instrument panel fuse block and the engine compartment fuse block.
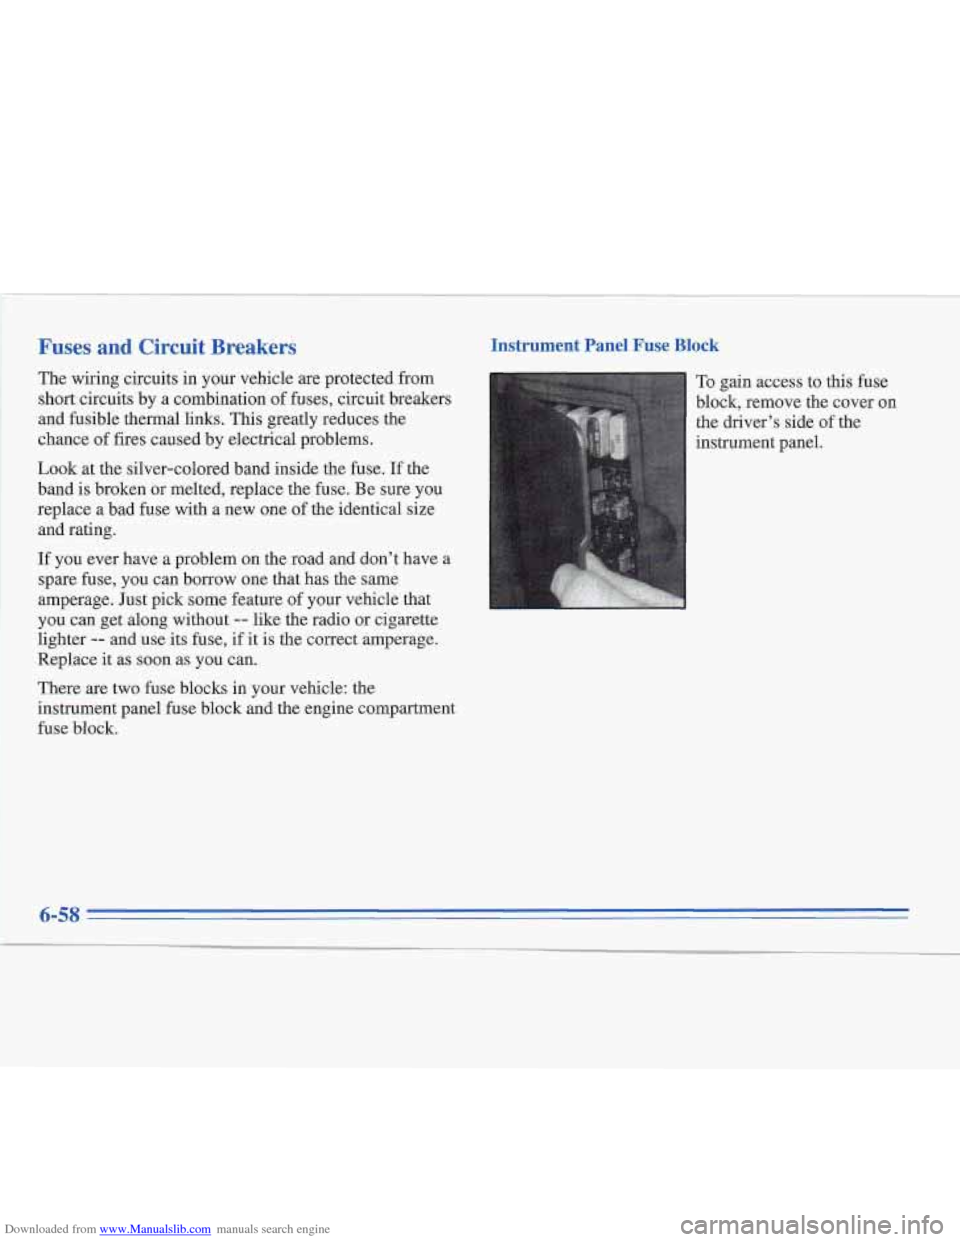
Instrument Panel Fuse Bloc
To gain access to this fuse
block, remove the cover on the driver’s side of the
instrument panel.