1996 CADILLAC FLEETWOOD air condition
[x] Cancel search: air conditionPage 120 of 306
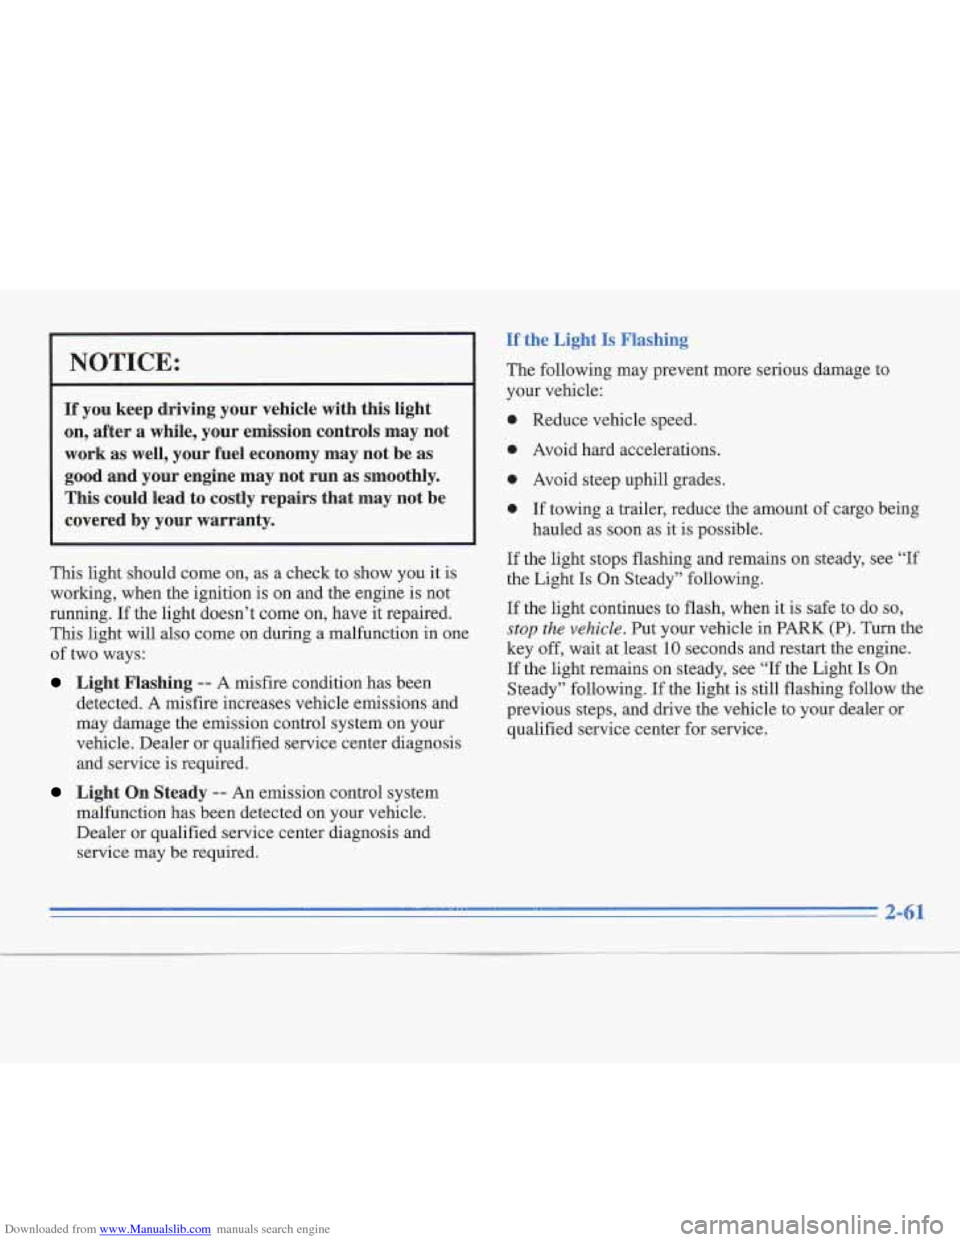
Downloaded from www.Manualslib.com manuals search engine NOTICE:
If you keep driving your vehicre with this light
on, after a while, your emission controls may not
work as well, your fuel economy may not be as
good and your engine may not run as smoothly.
This could lead to costly repairs that may not be
covered by your warranty.
This light should come on, as a check to show you it is
working, when the ignition is on and the engine is not
running.
If the light doesn’t come on, have it repaired.
This light will also come on during a malfunction in one
of two ways:
Light Flashing -- A misfire condition has been
detected. A misfire increases vehicle emissions and
may damage the emission control system on your
vehicle. Dealer or qualified service center diagnosis and service is required.
Light On Steady -- An emission control system
malfunction has been detected on your vehicle.
Dealer or qualified service center diagnosis and
service may
be required. The following
may prevent more serious damage to
your vehicle:
0 Reduce vehicle speed.
0 Avoid hard accelerations.
0 Avoid steep uphill grades.
0 If towing a trailer, reduce the amount of cargo being
hauled as soon as it is possible.
If the light stops flashing and remains on steady, see “If
the Light Is On Steady” following.
If the light continues to flash, when it is safe to do so,
stop the vehicle. Put your vehicle in PARK (P). Turn the
key
off, wait at least 10 seconds and restart the engine.
If the light remains on steady, see
“If the Light Is On
Steady” following.
If the light is still flashing follow the
previous steps, and drive the vehicle to your dealer or
qualified service center for service.
Page 121 of 306
Downloaded from www.Manualslib.com manuals search engine If the Light Is On Steady
You may be able to correct the emission system
malfunction by considering the following:
Did you just put fuel into your vehicle?
If
so, reinstall the fuel cap, making sure to fully install
the cap. The diagnostic system can determine if the fuel
cap has been left off or improperly installed. This will
allow fuel to evaporate into the atmosphere.
A few
driving trips should turn the light
off.
Did you just drive through a deep puddle of water?
If
so, your electrical system may be wet. The condition
will usually be corrected when the electrical system
dries out. A few driving trips should turn the light
off.
Are you low on fuel?
As your engine starts to run out of fuel, your engine may
not run as efficiently as designed since small amounts of
air are sucked into the fuel line causing
a misfire. The
system can detect this. Adding fuel should correct this
condition. Make sure to install the fuel cap properly.
It
will take a few driving trips to turn the light off. Have
you recently changed brands of fuel?
If
so, be sure to fuel your vehicle with quality fuel (see
“Fuel”
in the Index). Poor fuel quality will cause your
engine not to run as efficiently as designed. You may
notice this as stalling after start-up, stalling when you
put
the vehicle into gear, misfiring, hesitation on
acceleration or stumbling on acceleration. (These
conditions may go away once the engine is warmed up.)
This will be detected by the system and cause the light
to turn on.
If you experience this condition, change the fuel brand
you use. It will require at least one full tank of the
proper fuel to turn the light
off.
If none of the above steps have made the light turn off,
have your dealer or qualified service center check the
vehicle. Your dealer has the proper test equipment
and
diagnostic tools to fix any mechanical or electrical
problems that may have developed.
2-62
I t
Page 123 of 306
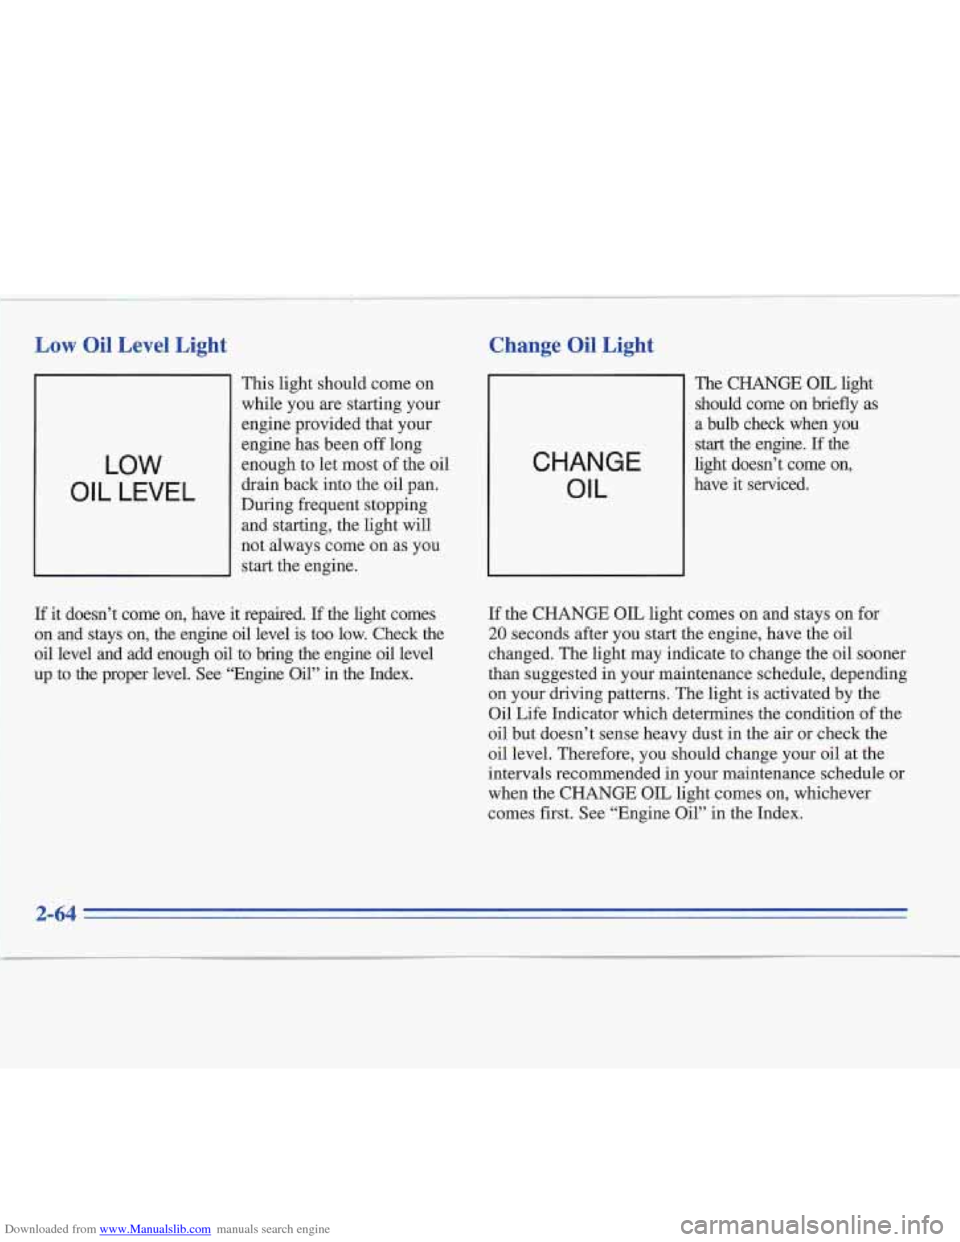
Downloaded from www.Manualslib.com manuals search engine Low Oil Level Light
11 This light should come on
while you are starting your
engine provided that your
LOW
OIL LEVEL
engine has been off long
enough to let most
of the oil
drain back into the oil pan.
During frequent stopping and starting, the light will
not always come on as you
start the engine.
If it doesn’t come on, have it repaired. If the light comes
on and stays on, the engine oil level is too low. Check the
oil level and add enough oil to bring the engine oil level
up to the proper level.
See “Engine Oil” in the Index.
Change Oil Light t
CHANGE OIL
The CHANGE OIL light
should come on briefly as
a bulb check when you
start the engine. If the
light doesn’t come on,
have it serviced.
If the CHANGE OIL light comes on and stays on for
20 seconds after you start the engine, have the oil
changed. The light may indicate to change the oil sooner
than suggested in your maintenance schedule, depending
on your driving patterns. The light is activated by the
Oil Life Inlcator which determines the condition of the
oil but doesn’t sense heavy dust in the air or check the
oil level. Therefore, you should change your oil at the
intervals recommended in your maintenance schedule or
when the CHANGE OIL light comes on, whichever
comes first. See “Engine Oil” in the Index.
Page 128 of 306
Downloaded from www.Manualslib.com manuals search engine ,+- -%
Section 3 Comfort Controls and Audio Systems
In this section you’ll find out how to operate the comfort
control and audio systems offered with your Cadillac.
Be sure to read about the particular systems supplied
with your vehicle.
Comfort Controls
This section tells you how to make your air system work
for
you. Your comfort control system uses ozone
friendly
R- 134a refrigerant.
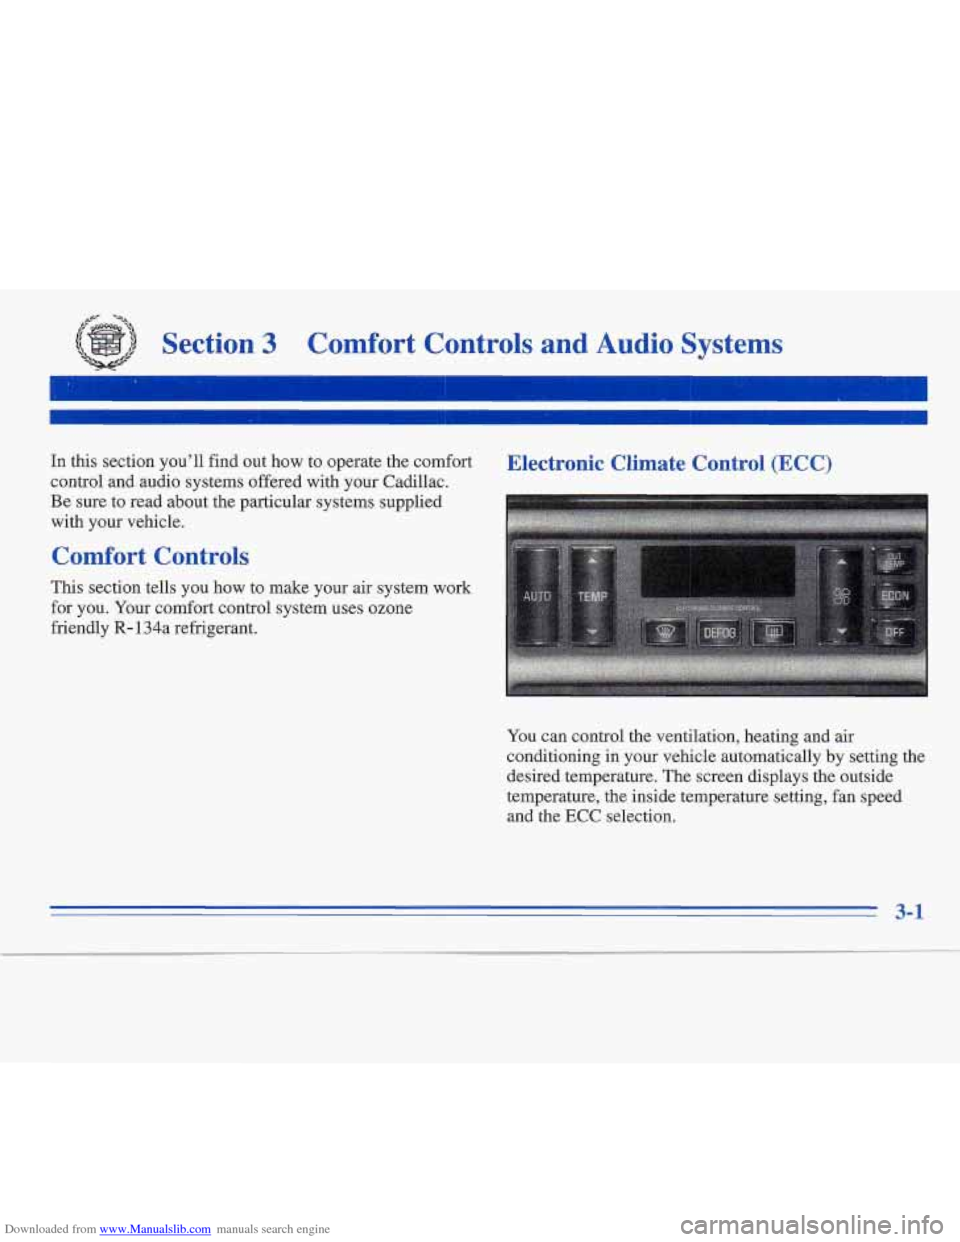
Electronic Climate Control (ECC)
I
You can control the ventilation, heating and air
conditioning
in your vehicle automatically by setting the
desired temperature. The screen displays the outside
temperature, the inside temperature setting,
fan speed
and the
ECC selection.
3-1
Page 129 of 306
Downloaded from www.Manualslib.com manuals search engine 1
OUT TEMP: Press this to display the outside
temperature. Press it again to return to the regular
system display.
TEMP: This sets the interior temperature you want.
Press the lower portion to lower the inside temperature
setting. Press the upper portion to raise the temperature
setting. Once you set the temperature, the system will
automatically maintain the set temperature.
You can change the temperature from
65 OF (1 8 O C) to
85 OF (29"C), one degree at a time. You may also choose
60 OF ( 16 O C) for maximum cooling or 90 OF (33 O C) for
maximum heating. The fan will stay on high speed
unless you select a different speed. In maximum heating,
most of the air will flow out the heater outlets. In
maximum cooling, the system will recirculate the air
inside your vehicle instead of pulling air from outside.
OFF: This turns off anything set in the ECC, but air will
flow through your Cadillac.
ECON: Use this in cold or cool weather to save fuel. It
won't cool or remove humidity from the air. However,
the system will try to keep the air at the chosen
temperature. If it's
so warm outside that you need to
cool the air, use AUTO.
AUTO: With this setting, the system automatically
controls the temperature, air distribution and fan
speeds. In cold conditions, the fan will not come on
until the system senses that the engine has started to warrn up. This prevents cold air from blowing on you
and your passengers.
FAN: The fan speed is controlled automatically if
you have the ECC set
on AUTO. However, if you want
the fan to run at a lower speed, press the lower portion
of the fan switch.
If you want the blower to run at a fixed higher speed,
press the upper portion
of the fan switch until you see
HI on the display.
If you want the fan to run at a fixed low speed, press the
switch until
LO is shown on the display.
If you want the fan speed to be automatic but you like
the fan to be higher or lower than the AUTO settings,
just press the switch until either HI AUTO or AUTO
LO
is displayed.
If the Fahrenheit
(F") or Celsius (C")
flash, or flashes when you turn
on the symbol begins to
ignition, it
indicates an electrical problem with your air
conditioning system. The flashing will continue for
about two minutes. It means you should have your
system serviced.
Page 131 of 306
Downloaded from www.Manualslib.com manuals search engine Defogging and Defrosting
DEFROST: To get fog or ice off the windshield,
press this button. The fan comes on at a set speed or you
can choose another fan speed. It will work better if you
first clear any
ice and snow from the hood and the air
inlet between the hood and the windshield.
DEFOG: Press this button to divide the air between the
windshield and the heater outlets. This is useful when
fog appears
on the windshield or side glass due to a
sudden rain or snowy conditions.
Rear Window Defogger
DEFOG: To get fog or ice off the rear window,
press this button.
It warms your rear window and both
outside rearview mirrors.
To turn it off, press the button again.
If you still need to use it, press the button again. After
10 minutes, it will go off by itself,
I NOTICE:
Don’t use a razor blade or something else sharp
on the inside
of the rear window. If you do, you
could cut or damage the warming grid, and the
repairs wouldn’t be covered by your warranty.
Audio Systems
Your Delco@ audio system has been designed to operate
easily and give years of listening pleasure. You will get
the most enjoyment out
of it if you acquaint yourself
with it first. Find out what your Delco system can
do
and how to operate all its controls, to be sure you’re
getting the most out of the advanced engineering that
went into it.
Setting the Clock
You can set the clock with the ignition on or off. Press
and hold
HR until the correct hour appears. The letter A
or P may appear on the display for AM or PM. Then,
press and hold MN until the correct minute appears.
3-4
Page 198 of 306
Downloaded from www.Manualslib.com manuals search engine If No Steam Is Coming From Your Engine
If you get the overheat warning but see or hear no
steam, the problem may not be too serious. Sometimes
the engine can get a
little too hot when you:
Climb a long hill on a hot day.
Stop after high-speed driving.
Idle for long periods in traffic.
Tow a trailer.
If you get the overheat warning with
no sign of steam,
try this for a minute or so:
1. Turn off your air conditioner.
2. Turn on your heater to full hot at the highest fan
speed and open the window as necessary.
If you no longer have the overheat warning, you can
drive. Just to be safe, drive slower for about
10 minutes.
If the warning doesn’t come back on, you can
drive normally.
If the warning continues, pull over, stop, and park your
vehicle right away.
If there’s still
no sign of steam, you can idle the engine
for two or three minutes while you’re parked, to
see if
the warning stops. But then, if you still have the
warning,
turn ofthe engine and get everyone out of the
vehicle
until it cools down.
You may decide not to lift the hood but to get service
help right away.
3. If you’re in a traffic jam, shift to NEUTRAL (N);
otherwise, shift to the highest gear while
driving
-- AUTOMATIC OVERDRIVE (a) or
DRIVE (D or 3).
I
5-13
Page 246 of 306
Downloaded from www.Manualslib.com manuals search engine Brake Wear
Your Cadillac has fiont disc brakes and rear drum brakes.
Disc brake pads have built-in wear indicators that make a
high-pitched warning sound when
the brake pads are worn
and new pads
are needed. The sound may come and go or
be heard
all the time your vehicle is moving (except when
you are pushing on the brake pedal firrnly).
I A CAUTION:
The brake wear warning sound means that
sooner or later your brakes won’t work well.
That could lead to an accident. When you hear
the brake wear warning sound, have your
vehicle serviced.
I NOTICE:
Continuing to drive with worn-out brake pads
could result in costly brake repair.
Some driving conditions or climates may cause a brake
squeal when the brakes
are first applied or lightly
applied. This does not mean something is wrong with
your brakes.
Free movement of brake calipers and properly torqued
wheel nuts are necessary to help prevent brake
pulsation. When tires are rotated, inspect brake calipers
for movement, brake pads for wear, and evenly torque
wheel nuts
in the proper sequence to GM specifications.
Your rear drum brakes don’t have wear indicators, but if
you ever hear a rear brake rubbing noise, have the rear
brake linings inspected. Also, the rear brake drums
should be removed and inspected each time the tires
are removed for rotation or changing. When you have
the front brakes replaced, have the rear brakes
inspected, too.
Brake linings should always be replaced as complete
axle sets.
6-29
~~