1996 CADILLAC FLEETWOOD change time
[x] Cancel search: change timePage 136 of 306
Downloaded from www.Manualslib.com manuals search engine RCL: Press this button briefly to recall the station being
played or
the clock display. To change what is normally
shown on
the display (station or time), press the button
until you see the &splay you want. Then, hold the button
until the display flashes.
If you press the button when the
ignition is
off, the clock will show for a few seconds.
AM-FM: Press this button to get AM, FMl or FM2.
The display shows your selection. You may also press
AM-FM to switch between the radio and tape when a
tape is in the player.
TUNE: Press this knob lightly so it extends. Turn it to
choose radio stations. Push the knob back in when
you're not using it.
SEEK: Press the up or down arrow to go to the
next higher or lower station. The sound will be muted
while seeking.
PUSHBUTTONS: The five numbered pushbuttons let
you return to your favorite stations. You can set up to
15 stations (five AM, five FM1 and five
FM2).
1. Press AM-FM to select the band.
2. Find the station you want by using TUNE or SEEK.
3. Press TONE to select the setting you prefer.
4. Press and hold one of the five numbered buttons.
5. The sound will mute. When it returns, release
the button. Whenever you press that numbered
button, the station you set will return and the
TONE you selected will be automatically selected
for that button.
TONE: This feature allows you to choose preset treble
and bass equalization settings designed for jazz, vocal,
pop, rock and classical stations. JAZZ will appear on the
display when you first press TONE. Each time you press
it, another setting will appear on the display. Press
it
again after classic appears, and MANUAL will appear.
Tone control will return to the TREB and BASS knobs.
Also, if you use the TREB and BASS knobs, control
will return to them and MANUAL will appear.
SCAN: Press and release this button to listen to stations
for a few seconds. The radio will go to a station, stop for
a few seconds, then go on to the next station. Press
SCAN again to stop scanning. The sound will be muted
while scanning, and SCAN will appear on the display.
If
you press SCAN for more than two seconds, the radio
will change to PSCAN mode. PSCAN will appear on
the display.
PSCAN: Press SCAN for more than two seconds for
PSCAN to appear
on the display. The radio will go to the
first preset station, stop for a few seconds, then go to the
next preset station. Press SCAN again to stop scanning.
3-9
Page 139 of 306
Downloaded from www.Manualslib.com manuals search engine Playing a Compact Disc
The integral CD player can play 8 cm “single”
mini-discs. Full-size compact discs and mini-discs are
loaded in
the same manner.
Insert a disc partway into the slot, label side up. The
player will pull it in.
If the ignition is on, but the radio is
off, the disc will begin playing. If you want to insert a
disc when the ignition
is off, first press EJECT.
If
ERR or E and a number appear on the display, the
disc won’t play because of an error.
E20: Focus Error
0 E21: Tracking Error
E22: Motor Error
0 E23: Communication Error
If ERR appears on the display and the disc comes back
out, it could be that:
You are driving on a very rough road. (The disc
should play when the road gets smoother.)
The disc is upside down.
It is dirty, scratched or wet.
It is very humid. (If so, wait about an hour and
try again.)
SEEK: Press the down arrow to go to the start of the
current track if more than eight seconds have played.
Press the up arrow to go to the next track. If you hold
the button or press it more than once, the player will
continue moving back or forward through the disc.
SCAN: Press this button to listen to each track for a few
seconds. The player will go to the next track, stop for a
few seconds, then go to the next track. Sound will be
muted during scanning and SCAN will appear on the
display. Press SCAN again to stop scanning.
REV (1): Press and hold this button to return to a
passage quickly.
You will hear sound at a reduced
volume. The display will show elapsed time.
FWD (2): Press and hold this button to advance to a
passage quickly.
You will hear sound at a reduced
volume. The display will show elapsed time.
RDM (5): Press this button to hear the tracks in a
random order. It will change discs and tracks in a
random, rather than sequential order. Press
RDM again
to turn
off random play.
AM-FM: Press this button to play the radio when a disc
is playing. The disc will stop but remain
in the player.
3-12
Page 140 of 306
Downloaded from www.Manualslib.com manuals search engine TAPE-CD: Press this button to change to the tape or
disc function when the radio is on.
If both a tape and a
disc are installed, the system will first go to tape play; a
box will appear around TP on the display. If TAPE-CD
is pressed again, the system will go to disc play; a box
will appear around CD on the display.
RCL: Press this button to see which track is playing.
Press it again within five seconds to see how long it has
been playing (elapsed time). To change what is normally
shown on the display (track or elapsed time), press the
button until you see the display you want. Then, hold
the button until the display flashes.
TONE: You can select a TONE setting while playing
a compact disc and it will be used whenever you play
a disc.
EJECT Press this button to remove the disc or tape.
The item (TPKD) with a box around it on the display
will eject and the radio will play.
Theft-Deterrent Feature
THEFTLOCK” is designed to discourage theft of your
radio. It works by using a secret code to disable all radio
functions whenever battery power
is removed. The
THEFTLOCK feature for the radio may be used
or
ignored. If ignored, the system plays normally and the
radio is not protected by the feature. If THEFTLOCK is
activated, your radio will not operate if stolen.
When THEFTLOCK is activated, the radio will display LOC to indicate a locked condition anytime battery
power is removed. If your battery loses power for any
reason, you must unlock the radio with the secret code
before it will operate.
Activating the Theft-Deterrent Feature
The instructions which follow explain how to enter your
secret code to activate the THEFTLOCK system. It
is
recommended that you read through all nine steps
before starting the procedure.
NOTE: If you allow more than
15 seconds to elapse
between any steps, the radio automatically reverts to
time and you must start the procedure over at Step
4.
1. Write down any three or four-digit number from
000 to 1999 and keep it in a safe place separate from
the vehicle.
2. Turn the ignition to the ACCESSORY or RUN
position.
3. Turn the radio off.
3-13
Page 153 of 306
Downloaded from www.Manualslib.com manuals search engine Remember: Anti-lock doesn’t change the time you need
to get your foot up to the brake pedal or always decrease
stopping distance. If you get too close to the vehicle
in
front of you, you won’t have time to apply your brakes
if that vehicle suddenly slows or stops. Always leave
enough room up ahead to stop, even though you have
anti-lock brakes.
Using Anti-Lock
Don’t pump the brakes. Just hold the brake pedal down and let anti-lock work for you. You may hear the
anti-lock pump or motor operate, and feel the brake
pedal pulsate, but this is normal.
Traction Control System
Your vehicle has a traction control system that limits
wheel spin. This is especially useful in slippery road
conditions. The system operates only if it senses that the
rear wheels
are spinning or beginning to lose traction.
When this happens, the system works the rear brakes
and reduces engine power (by closing the throttle and
managing engine spark)
to limit wheel spin.
1
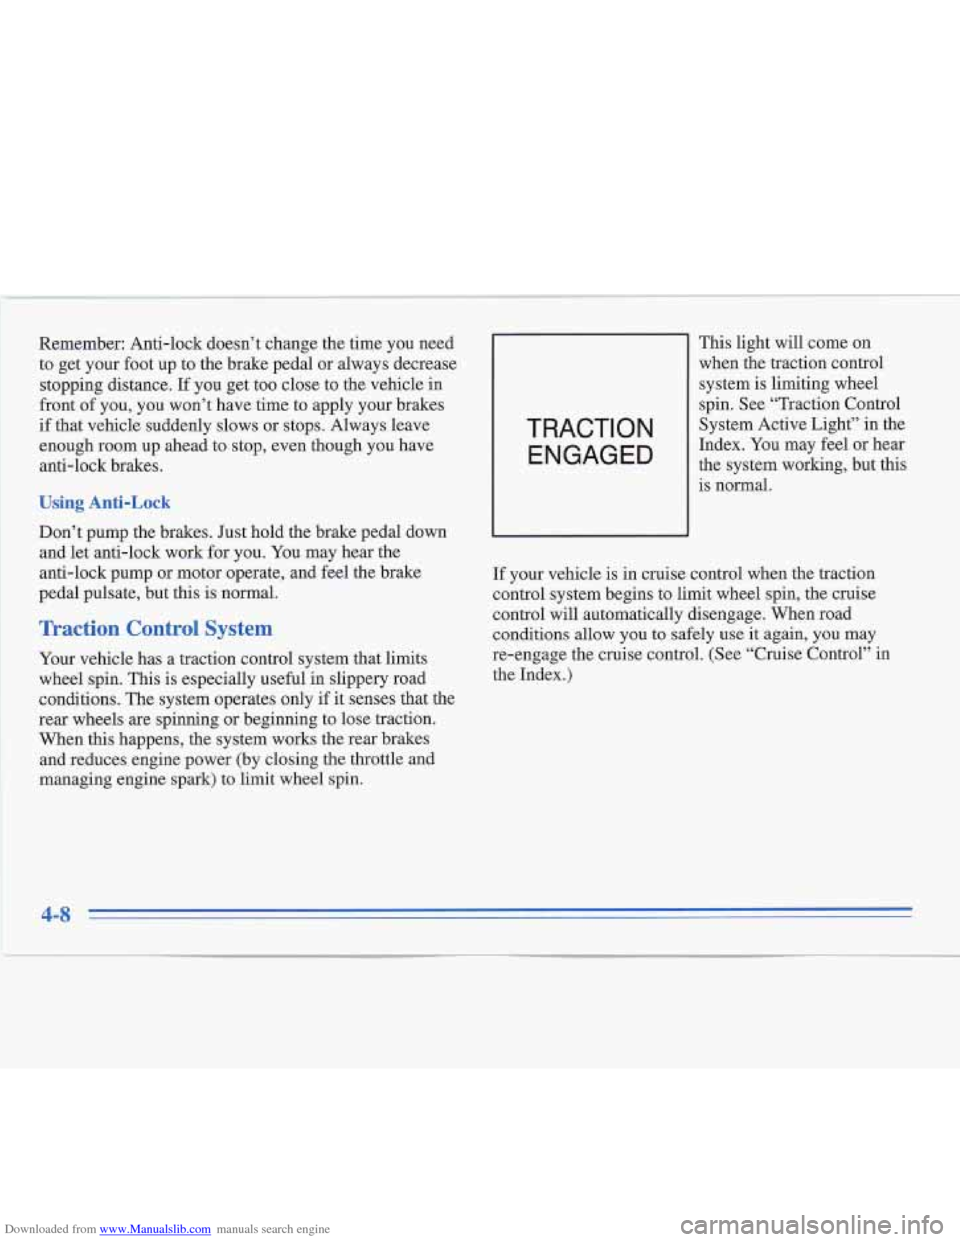
This light will come on
when the traction control
TRACTION
ENGAGED
system is limiting wheel
spin. See “Traction Control
System Active Light” in the
Index. You may feel or hear
the system working, but this
is normal.
If your vehicle is in cruise control when the traction
control system begins to limit wheel spin, the cruise
control will automatically disengage. When road
conditions allow you to safely
use it again, you may
re-engage the cruise control. (See “Cruise Control” in
,,,*
the l[nrSa.x.)
4-8
Page 155 of 306
Downloaded from www.Manualslib.com manuals search engine Braking in Emergencies
Use your anti-lock braking system when you need to.
With anti-lock, you can steer and brake at the same
time.
In many emergencies, steering can help you more
than even the very best braking.
Steering
Power Steering
If you lose power steering assist because the engine
stops
or the system is not functioning, you can steer but
it will take much more effort.
Steering Tips
Driving on Curves
It’s important to take curves at a reasonable speed.
A lot of the “driver lost control” accidents~mentioned on
the news happen on curves. Here’s why:
Experienced driver or beginner, each of us is subject to
the same laws
of physics when driving on curves. The
traction of the tires against the road surface makes it
possible for the vehicle
to change its path when you turn
the front wheels.
If there’s no traction, inertia will keep
the vehicle going in the same direction.
If you’ve ever
tried to steer a vehicle on wet
ice, you’ll understand this.
4-10
Page 158 of 306
Downloaded from www.Manualslib.com manuals search engine Do not get too close to the vehicle you want to pass
while you’re awaiting an opportunity. For one thing,
following too closely reduces your area of vision,
especially if you’re following a larger vehicle.
Also, you won’t have adequate space if the vehicle
ahead suddenly slows or stops. Keep back a
reasonable distance.
When it looks like a chance to pass is coming up,
start to accelerate but stay in the right lane and don’t
get too close. Time your move
so you will be
increasing speed as the time comes to move into the
other lane.
If the way is clear to pass, you will have a
“running start” that more than makes up for the
distance you would lose by dropping back. And if
something happens to cause you to cancel your pass,
you need only slow down and drop back again and
wait for another opportunity.
If other cars are lined up to pass a slow vehicle, wait
your turn. But take care that someone isn’t trying to
pass you as you pull out to pass the slow vehicle.
Remember to glance over your shoulder and check
the blind spot.
Check your mirrors, glance over your shoulder, and
start your left lane change signal before moving out
of the right lane to pass. When you are far enough
ahead of the passed vehicle to see its front in your inside
mirror, activate your right lane change signal
and move back into the right lane. (Remember that
your right outside mirror
is convex. The vehicle you
just passed may seem to be farther away from you
than it really is.)
Try not to pass more than one vehicle at a time
on two-lane roads. Reconsider before passing the
next vehicle.
Don’t overtake a slowly moving vehicle too rapidly.
Even though the brake lamps are not flashing, it may
be slowing down or starting to turn.
0 If you’re being passed, make it easy for the
following driver to get ahead of you. Perhaps you
can ease a little to the right.
Loss of Control
Let’s review what driving experts say about what
happens when the
three control systems (brakes, steering
and acceleration) don’t have enough friction where the
tires meet the road to do what the driver has asked.
In any emergency, don’t give up. Keep trying to
steer and constantly seek an escape route or area
of
less danger.
4-13
Page 177 of 306
Downloaded from www.Manualslib.com manuals search engine Your vehicle can tow a trailer if it is equipped with
proper towing equipment. To identify what the vehicle
trailering capacity is for your vehicle, you should read
the information in “Weight of the Trailer” that appears
later in this section. But trailering is different than just
driving your vehicle by itself. Trailering means changes
in handling, durability, and fuel economy. Successful,
safe trailering takes correct equipment, and it has to be
used properly.
That’s the reason for this part. In it
are many
time-tested, important trailering tips and safety rules.
Many of these are important for your safety and that of
your passengers.
So please read this section carefully
before you pull a trailer.
Your Cadillac is a passenger vehicle. Trailer towing can
change the way your vehicle performs on the road. The
loads and forces created when trailering subject the
vehicle to significant levels of stress.
Load-pulling components such as the engine, transmission, rear axle, wheel assemblies and tires are
forced to work harder against the drag
of the added
weight. The engine is required to operate at relatively
higher speeds and under greater loads, generating extra
heat. What’s more, the trailer adds considerably to wind
resistance, increasing the pulling requirements.
If You Do Decide To Pull A Trailer
If you do, here are some important points:
0
0
e
0
0
There are many different laws, including speed limit
restrictions, having to do with trailering. Make sure
your rig will be legal, not only where you live but
also where you’ll be driving.
A good source for this
information can be state
or provincial police.
You should always use a weight distributing
(equalizing) hitch if your trailer will weigh more
than 3,000 lbs. (1 362 kg). Consider using sway
control if your loaded trailer will weigh 3,000 lbs.
(1 362 kg) or more. You can ask a hitch dealer
about sway controls.
Consider using a sway control if your trailer will
weigh 2,000 lbs.
(900 kg) or less. You should always
use a sway control if your trailer will weigh more
than
2,000 lbs. (900 kg). You can ask a hitch dealer
about sway controls.
Trailers that weigh more than
1,000 lbs. (454 kg)
should be equipped with trailer brakes.
Surge brakes may be used on some trailers (e.g., boat
trailers). However, surge brakes do not work well with most sway control devices.
Do not use sway
control devices on trailers equipped with surge brakes.
4-32
Page 211 of 306
Downloaded from www.Manualslib.com manuals search engine 6. Remove any rust or dirt
from the wheel bolts,
mounting surfaces and
spare wheel.
L
Rust or dirt on the wheel, or on the parts to
which it
is fastened, can make the wheel nuts
become loose after
a time. The wheel could come
off and cause an accident. When you change a
wheel, remove any rust or dirt from the places
where the wheel attaches
to the vehicle. In an
emergency, you can use a cloth or
a paper towel
to do this; but be sure to use a scraper or wire
brush later,
if you need to, to get all the rust or
dirt off.
A CAUTION:
Never use oil or grease on studs or nuts. If you
do, the nuts might come loose. Your wheel could
fall off, causing a serious accident.
7. Replace the wheel nuts with the rounded end of the
nuts toward the wheel. Tighten each nut by hand
until the wheel is held against the hub.
5-26
1 li