1996 CADILLAC ELDORADO battery
[x] Cancel search: batteryPage 139 of 354
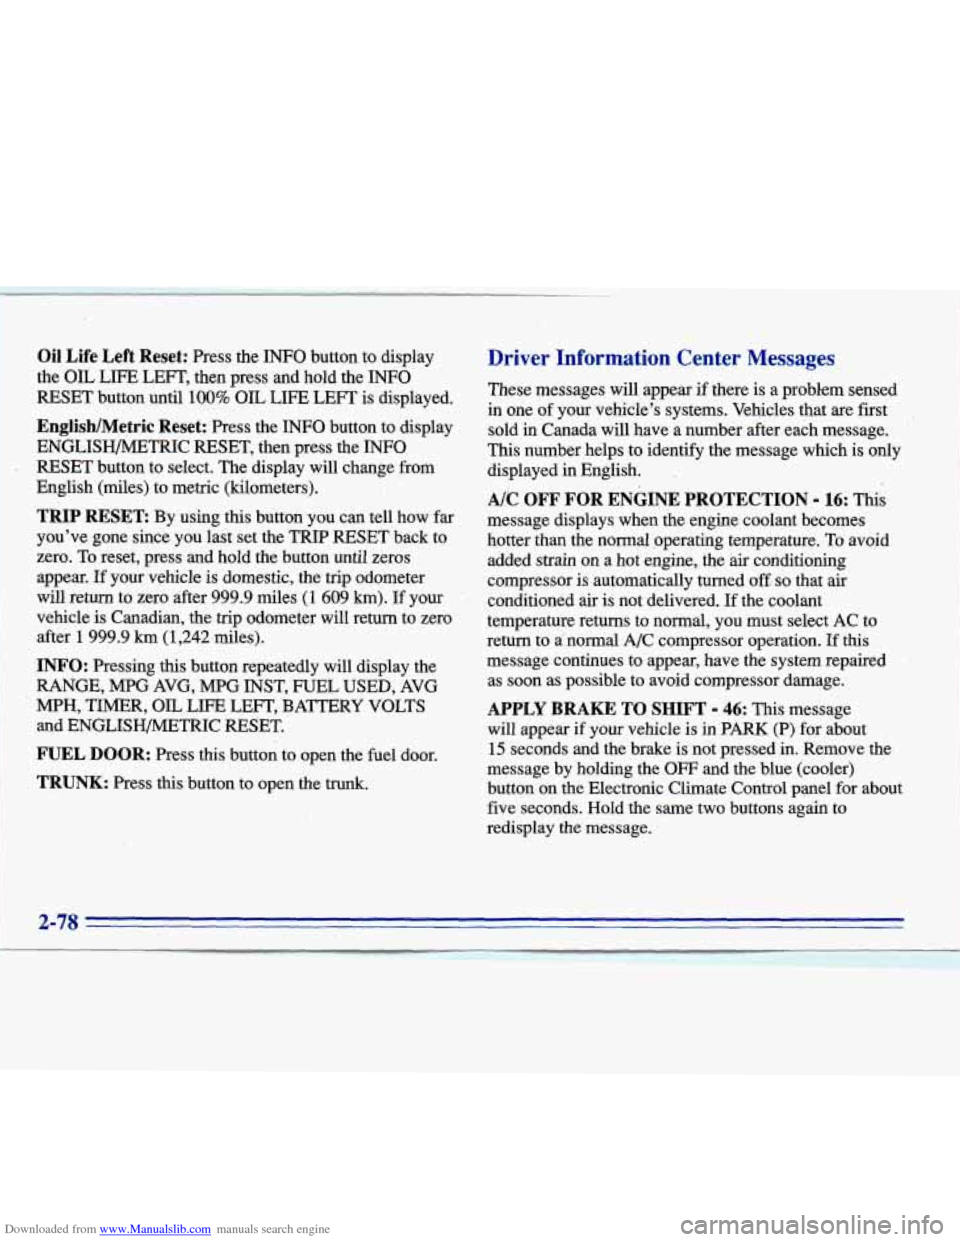
Downloaded from www.Manualslib.com manuals search engine Oil Life Left Reset: Press the INFO button to display
the
OIL LIFE LEFT, then press and hold the INFO
RESET button until 100% OIL LIFE LEFT is displayed.
English/Metric Reset: Press the INFO button to display
ENGLISH/METRIC RESET, then press the
INFO
RESET button to select. The display will change from
English (miles) to metric (kilometers).
TRIP RESET By using this button you can tell how far
you've gone since you last set the
TRIP RESET back to
zero.
To reset, press, and hold the button until zeros
appear.
If your vehicle is domestic, the trip odometer
will return
to zero after 999.9 miles (1 609 km). If your
vehicle
is Canadian, the trip odometer will return to zero
after
1 999.9 km (1,242.miles).
INFO: Pressing this button repeatedly will display the
RANGE, MPG AVG, MPG
INST, FUEL USED, AVG
and
ENGLISH/METRIC RESET.
" MPH, TIMER, OIL LIFE LEFT, BATTERY VOLTS
FUEL DOOR: Press this button to open the fuel door.
TRUNK: Press this button to open the trunk.
Driver Information Center Messages
These messages will appear if there is a problem sensed
in one of your vehicle's systems. Vehicles that are first ,,
sold in Canada will'have a number after each message.
This number helps to identify ,the message which is only
displayed in English.
.
Ak OFF FOR ENGINE PROTECTION - 16: This
message displays when the engine coolant becomes
hotter than the normal operating temperature. To avoid
added strain on a hot engine, the air conditioning
compressor is automatically turned
oft so that air
conditioned air is not delivered.
If the coolant
temperature returns to normal, you must seIect AC to
return to a' normal A/C compressor operation.
If this
message continues to appear, have the system repaired
as soon as possible to avoid compressor damage.
APPLY BRAKE TO SHIFT - 46: This message
will appear if your vehicle is
in PARK (P) for about
15 seconds and the brake is not pressed in. Remove the
message by holding the
OFF and the blue (cooler)
button on
the Electronic Climate Control panel for about
five seconds. Hold the same two buttons again to
redisplay the message.
Page 140 of 354

Downloaded from www.Manualslib.com manuals search engine BATTERY NO CHARGE - 07: This message will
appear if the battery is not being charged. Have the
electrical system checked by your Cadillac dealership at
your earliest convenience.
BATTERY VOLTS HIGH - 08: This message shows
that the electrical charging system is overcharging (more
than 16 volts). To avoid being stranded, have the
electrical system checked by your Cadillac dealership.
You can reduce the charging overload by using the
accessories. Turn on the lamps and radio, set the climate
control on AUTO and the fan speed on
HI, and turn the
rear window defogger on. You can monitor battery
voltage on the DIC by pressing the INFORMATION
button. The normal range is 11.5 to 15.5 volts when the
engine
is running.
BATTERY VOLTS LOW - 06: This message will
appear when the electrical system is charging less than
10 volts or if the battery has been drained. If this
message appears immediately after starting,
it is possible
that the generator can still recharge the battery. The
battery should recharge after driving a few miles and the
message should go out. If this message appears while
driving or after starting your vehicle and stays on, have
it checked immediately to determine
the cause of this problem.
To help the generator recharge the battery
quickly you can reduce the load on the electrical system
by turning off the accessories. You can monitor battery
voltage on the DIC by pressing the INFORMATION
button. The normal range is 11.5 to 15.5 volts.
BRAKE VACUUM PROBLEM - 108: The circuit in
the brake booster vacuum has shorted or is loose when
this message appears. Your vehicle may lose power
brakes but you will still have the use of manual brakes.
The power brakes will not be affected if the problem is
caused by a failed sensor. Have your vehicle serviced
immediately at your Cadillac dealership.
CHANGE ENGINE OIL - 82: This means that the life
of the engine oil has expired and it should be changed
within
200 miles. See “Engine Oil” and “Filter
Recommendations’’ in the Maintenance Schedule. After
an oil change, the Oil Life Indicator must be reset. See
“Oil Life Indicator” in the Index on how to reset it.
CHANGE TRANS FLUID - 47: This message will
appear when
it is time to replace the transaxle fluid
(system has determined that the transaxle fluid has
reached
0%). See the Maintenance Schedule booklet for
the proper fluid and change intervals.
2-79
1 -
Page 212 of 354
Downloaded from www.Manualslib.com manuals search engine Run your engine only as long as you must. This saves
fuel. When you run the engine, make it go a little faster
than just idle. That
is, push the accelerator slightly. This
uses less fuel for the heat that you get and it keeps the
battery charged. You will need a well-charged battery to
restart the vehicle, and possibly for signaling later on
with your headlamps. Let the heater run for awhile.
Then, shut the engine off and close the window almost
all the way to preserve the heat. Start the engine again
and repeat this only when you feel really uncomfortable
from the cold. But do it as little as possible. Preserve the
fuel as long
as you can. To help keep warm, you can get
out of the vehicle and do some fairly vigorous exercises
every half hour or
so until help comes.
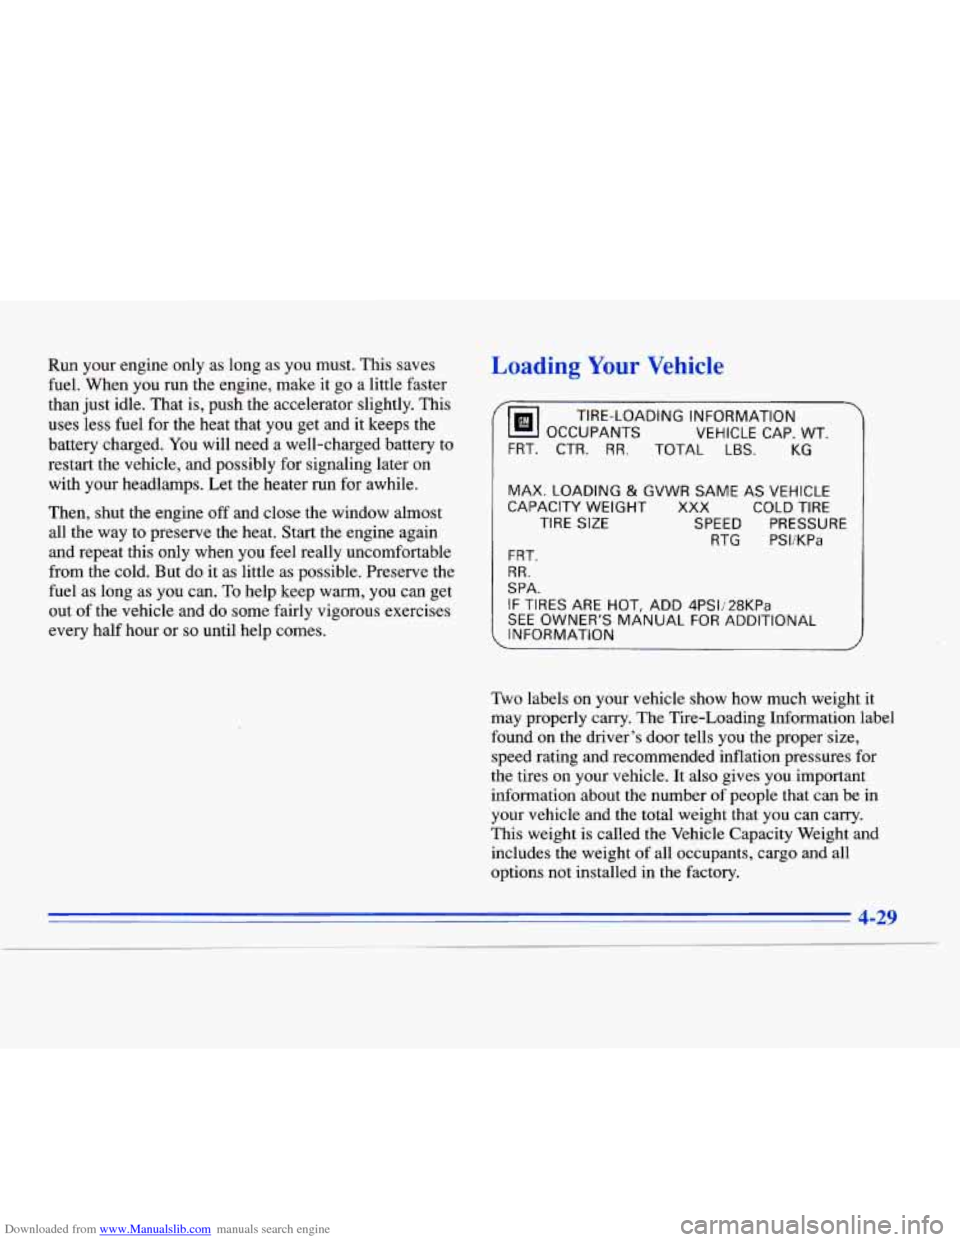
Loading Your Vehicle
‘ OCCUPANTS
VEHICLE CAP. WT.
TIRE-LOADING INFORMATION
FRT. CTR.
RR. TOTAL LBS. KG
MAX. LOADING & GVWR SAME AS VEHICLE
CAPACITY WEIGHT
XXX COLD TIRE
TIRE SIZE SPEED PRESSURE
RTG PSI/KPa
FRT.
RR.
SPA.
IF TIRES ARE HOT. ADD 4PS1/28KPa
SEE OWNER’S MANUAL FOR ADDITIONAL
INFORMATION
Two labels on your vehicle show how much weight it
may properly carry. The Tire-Loading Information label
found on the driver’s door tells you the proper size,
speed rating and recommended inflation pressures for
the tires on your vehicle. It also gives you important
information about the number of people that can be in
your vehicle and the total weight that you can carry.
This weight is called the Vehicle Capacity Weight and
includes the weight of all occupants, cargo and all
options not installed in the factory.
I
4-29
Page 224 of 354
Downloaded from www.Manualslib.com manuals search engine Other Warning Devices
If you carry reflective triangles, you can set one up at
the side
of the road about 300 feet (100 m) behind your
vehicle.
Jump Starting
If your battery has run down, you may want to use
another vehicle and some jumper cables to start your
Cadillac. Please follow the steps below to
do it safely.
I NOTICE:
Ignoring these steps could result in costly damage
to your vehicle that wouldn’t be covered by your
warranty.
Trying to start your Cadillac
by pushing or
pulling it won’t work and it could damage your
vehicle. Batteries can
hurt you. They can be dangerous
because:
They contain acid that can burn you.
They contain gas that can explode or ignite.
They contain enough electricity to burn you.
If you don’t follow these steps exactly, some or all
of these things can hurt you.
1. Check the other vehicle. It must have a 12-volt
battery with a negative ground system.
I NOTICE:
If the other system isn’t a 12-volt system with a
negative ground, both vehicles can be damaged.
5-3
Page 225 of 354

Downloaded from www.Manualslib.com manuals search engine 2.
3.
4.
Get the vehicles close enough so the jumper cables
can reach, but be sure
the vehicles aren’t touching
each other.
If they are, it could cause a ground
connection you don’t want. You wouldn’t be able to
start your Cadillac and the bad grounding could
damage the electrical systems.
Tum off the ignition on both vehicles. Unplug
unnecessary accessories plugged
into the cigarette
lighter.
Turn off all lamps that aren’t needed as well
as radios.
This will avoid sparks and help save both
batteries. In addition,
it could save your radio!
Open the hoods
and locate the batteries. Find the
positive
(+) and negative (-) terminals on each
battery. 5. Start by removing the red positive (+) terminal
cover.
I
An electric fan can start up even when the engine
is not running a.nd can injure you. Keep hands,
clothing and tools away from any underhood
electric fan.
Page 226 of 354
Downloaded from www.Manualslib.com manuals search engine 6. Check that the jumper cables don’t have loose or
missing insulation.
If they do, you could get a shock.
The vehicles could also be damaged.
Before you connect the cables, here are some things
you should know. Positive
(+) will go to positive (+)
and negative (-) will go to negative (-) or a metal
engine part. Don’t connect positive
(+) to negative (-)
or you’ll get a short that would damage the battery and
maybe other parts, too.
Using a match near a battery can cause battery
gas to explode. People have been hurt doing this,
and some have been blinded. Use
a flashlight if
you need more light.
Be sure the battery has enough water. You don’t
need to add water to the Delco Freedom@ battery
installed in every new
GM vehicle. But if a
battery has filler caps, be sure the right amount
of fluid is there. If it is low,
add water to take care
of that first.
If you don’t, explosive gas could be
present.
Battery fluid contains acid that can burn you.
Don’t get it on you. If you accidentally get it in
your eyes
or on your skin, flush the place with
water and get medical help immediately.
Fans or other moving engine parts can injure you
badly. Keep your hands away from moving parts
once the engines are running.
5-5
Page 227 of 354
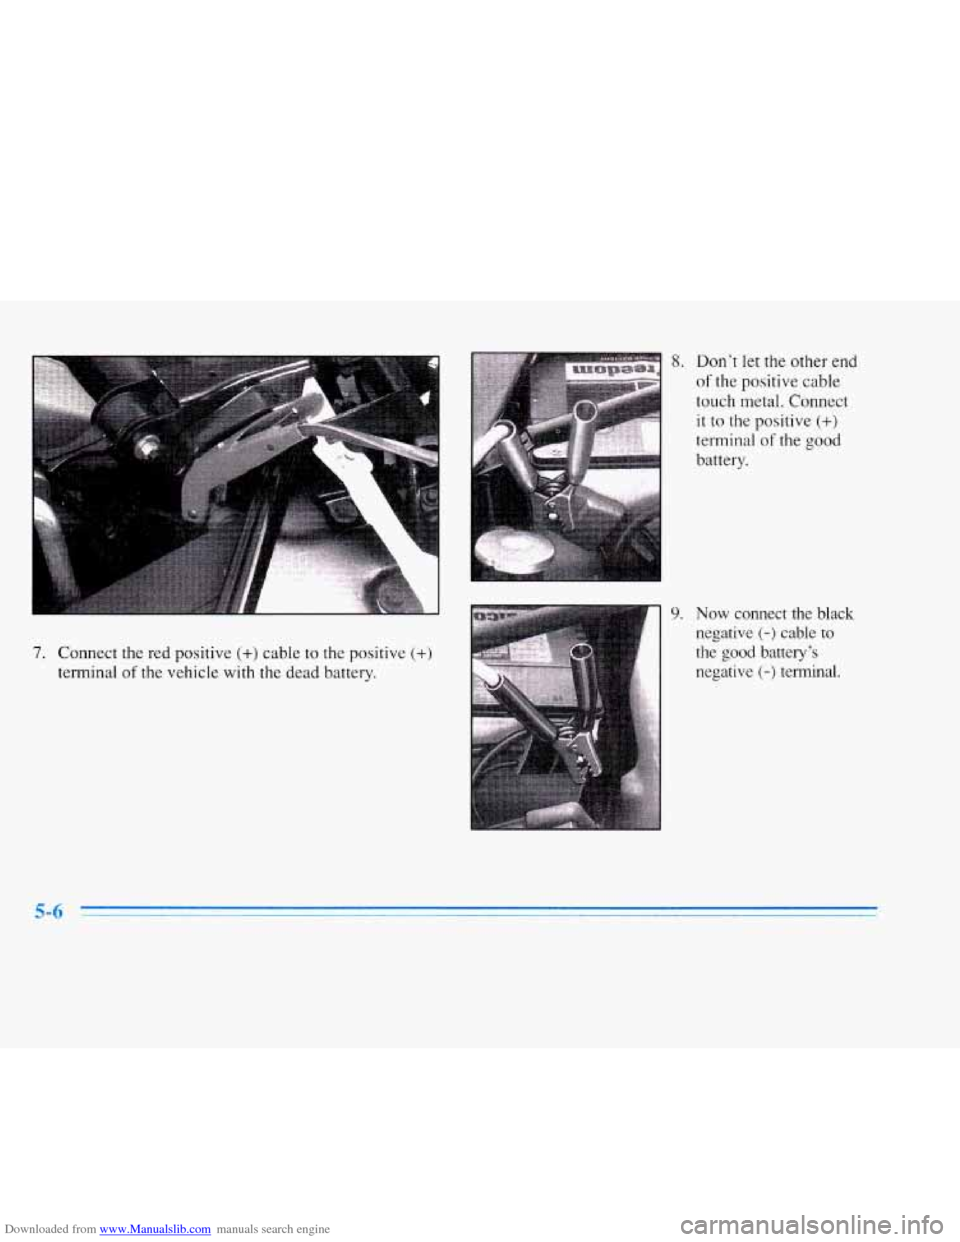
Downloaded from www.Manualslib.com manuals search engine 7. Connect the red positive (+) cable to the positive (+)
terminal of the vehicle with the dead battery.
9.
Don’t let the other end
of the positive cable
touch metal. Connect
it to the positive
(+)
terminal of the good
battery.
Now connect the black
negative
(-) cable to
the good battely’s
negative
(-) terminal.
Page 228 of 354
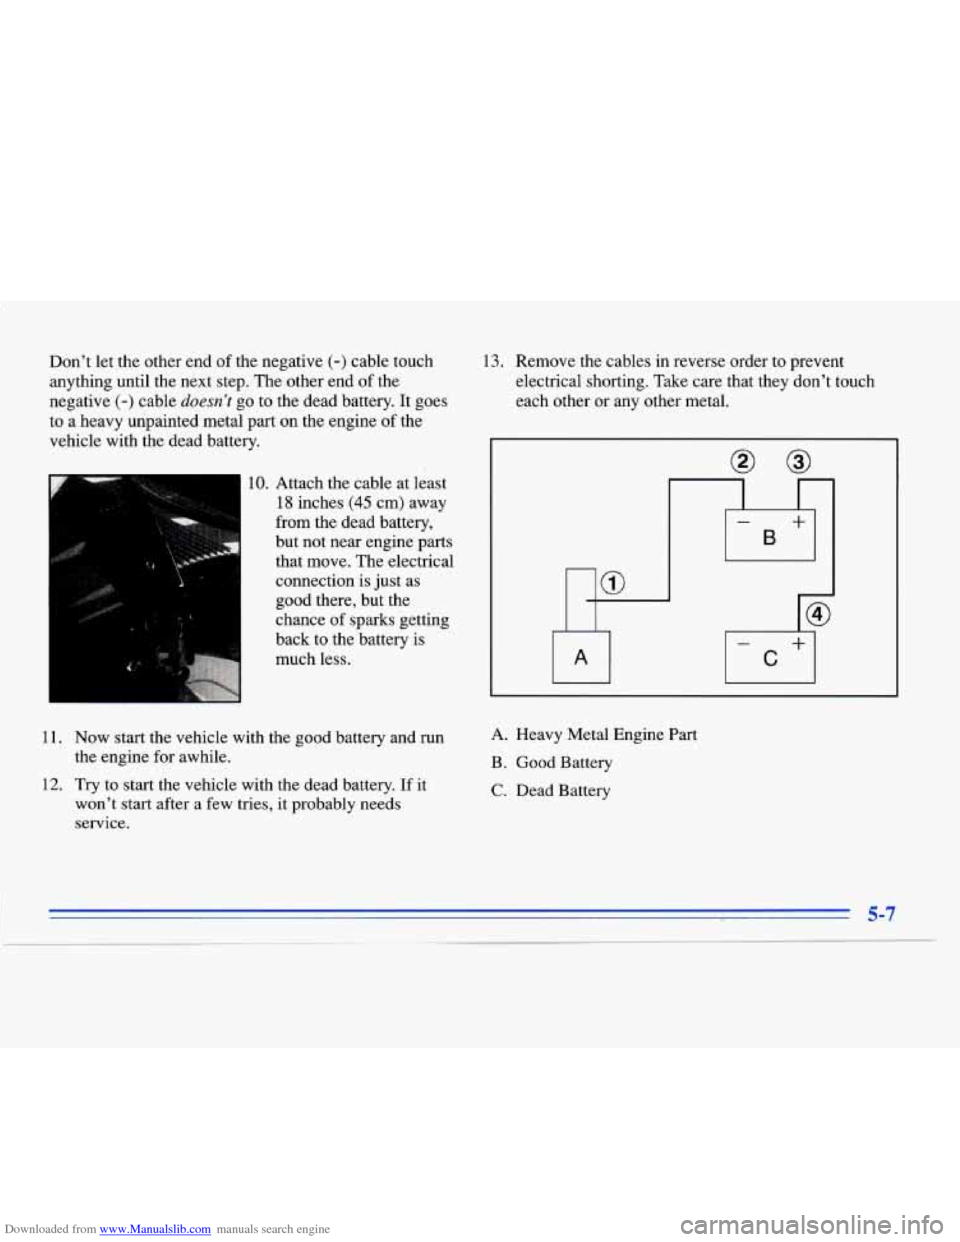
Downloaded from www.Manualslib.com manuals search engine Don’t let the other end of the negative (-) cable touch
anything until the next step. The other end of the
negative
(-) cable doesn’t go to the dead battery. It goes
to a heavy unpainted metal
part on the engine of the
vehicle with the dead battery.
10. Attach the cable at least
18 inches (45 cm) away
from the dead battery,
but not near engine parts that move. The electrical
connection is just as
good there, but the
chance of sparks getting
back to the battery
is
much less.
13. Remove the cables in reverse order to prevent
electrical shorting. Take care that they don’t touch
each other or any other metal.
I
-
B
+
@
- +
C
11. Now start the vehicle with the good battery and run
the engine for awhile.
12. Try to start the vehicle with the dead battery. If it
won’t start after a few tries, it probably needs
service.
A. Heavy Metal Engine Part
B. Good Battery
C. Dead Battery
5-7