1996 CADILLAC ELDORADO battery
[x] Cancel search: batteryPage 77 of 354

Downloaded from www.Manualslib.com manuals search engine rt: Your EI
Move your shift lever to PARK (P) or NEUTRAL (N).
Your engine won’t start in any other position -- that’s a
safety feature. To restart when you’re already moving,
use NEUTRAL
(N) only.
NOTICE:
Don’t try to shift to PARK (P) if your Cadillac is
moving. If you do, you could damage the
transaxle. Shift
to PARK (P) only when your
vehicle is stopped.
1. Without pushing the accelerator pedal, turn your
ignition key to START. When the engine starts,
kt
go of the key. The idle speed will go down as your
engine gets warm.
NOTICE:
Holding your key in START for longer than
15 seconds at a time will cause your battery to be
drained much sooner. And the excessive heat can
damage your starter motor.
2. If it doesn‘t start right away, hold your key in
START for about three seconds at a time until your
engine starts. Wait about
15 seconds between each
try to help avoid draining your battery.
3. If your engine still won’t start (or starts but then
stops),
it could be flooded with too much gasoline.
Try pushing your accelerator pedal all the way to the
floor and holding it there as
you hold the key in
START for about three seconds. If the vehicle starts
briefly but then stops again, do the same thing.
NOTICE:
Your engine is designed to work with the
electronics in your vehicle.
If you add electrical
parts or accessories,
you could change the way
the engine operates. Before adding electrical
equipment, check with your dealer.
If you don’t,
your engine might not perform properly.
If you ever have to have your vehicle towed, see
the part
of this manual that tells how to do it
without damaging your vehicle. See “Towing
Your Vehicle“ in the Index.
Page 103 of 354
Downloaded from www.Manualslib.com manuals search engine Twilight Sentinei Light Sensor
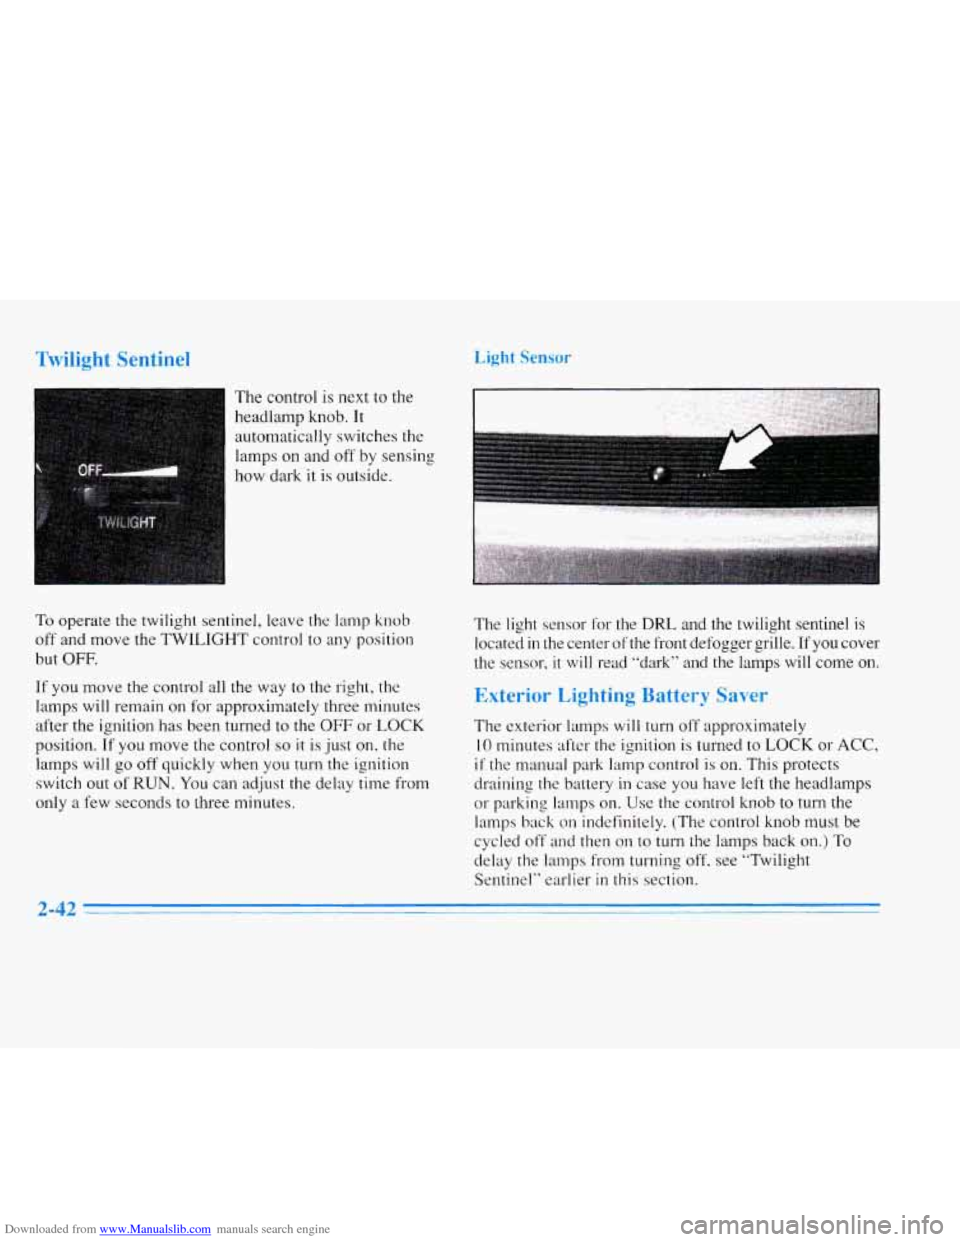
The control is next to the
headlamp knob. It
automatically switches the
lamps on and off by sensing
how dark it
is outside.
To operate the twilight sentinel, leave the lamp knob
off and move the TWILIGHT control to any position
but
OFF.
If you move the control all the way to the right, the
lamps will remain on for approximately three minutes
after the ignition has been turned to the
OFF or LOCK
position.
If you move the control so it is just on, the
lamps will go off quickly when you turn the ignition
switch out
of RUN. You can adjust the delay time from
only a few seconds to three minutes. The light sensor for the DRL and the twilight sentinel
is
located in the center
ofthe front defogger grille. If you cover
the sensor,
it will read "dark" and the lamps will come on.
Exterior Lighting Battery Saver
The exterior lamps will turn off approximately
10 minutes after the ignition is turned to LOCK or ACC,
if the manual park lamp control is on. This protects
draining the battery in case
you have left the headlamps
or parking lamps on. Use the control knob to turn the
lamps back
on indefinitely. (The control knob must be
cycled
off and then on to turn the lamps back on.) To
delay the lamps from turning off. see "Twilight
Sentinel" earlier
in this section.
2-42
Page 105 of 354
Downloaded from www.Manualslib.com manuals search engine Inadvertent Power Battery Saver
This feature is designed to protect your vehicle's battery against drainage from the interior lamps, trunk lamp,
glove
box lamp, cigarette lighters or the garage door
opener. When the ignition is turned
OFF, the power to
these features will automatically
turn off' after 10 minutes
(three minutes if a new car has 15 miles or less). Power
will be restored for an additional
10 minutes if either
door is opened, the trunk
is opened or the courtesy lamp
switch is turned
on.
Battery Guard Storage
This feature is for long term use and must be
programmed through the
DIC while the ignition is in the
RUN position. Battery guard storage protects the battery
by placing the vehicle in a storage mode so that the
radio, amplifiers, instrument cluster
and Remote Keyless
Entry
(RKE) will not drain the battery over a long
period of time.
To begin programming, press the INFO and RESET
buttons at the same time for approximately two seconds.
Press the RESET button to answer "yes" and press the
INFO button to indicate
a "no" response. The first prompt
to appear relates to the automatic
door
locks.
This feature can be bypassed by pressing the
INFO button. The STORAGE MODE? prompt appears
next.
To select, press the RESET button. ENABLE
STORAGE
MODE? will then appear. A yes or no
response must be give.n. If the
INFO (no) button is
pressed, the DISABLE STORAGE MODE? prompt will
appear. Oncc again,
a yes or no response is required.
Once the battery guard has been programmed, your
vehicle
will enter the storage mode approximately
20 minutes after the ignition key has been turned off.
The RKE will also be disabled at this point. The RKE
will reactivate when a door or the trunk is opened,
however.
if your vehicle is left inactive for another
20 minutes the RKE will re-enter the storage mode.
Your vehicle will stay in the storage mode until the
ignition
key is turned out of LOCK. The system will
"wake-up" when the door key is inserted into the door
however, your vehicle
will remain in the storage mode.
The ignition must
5 ~~~ard is disabled. be
out of LOCK before the battery
2-44
Page 114 of 354
Downloaded from www.Manualslib.com manuals search engine Note that power to the cigarette lighter will shut off
10 minutes after the ignition is turned off. This helps to
prevent battery drainage. For more information, see
“Inadvertent Battery Saver” earlier in this section.
I NOTICE:
Don’t hold a cigarette lighter in with your hand
while it is heating.
If you do, it won’t be able to
back away from the heating element when it’s
ready. That can make it overheat, damaging the
lighter and the heating element.
Sun Visors
Swing down the visor to block out glare. It can also be
detached from the center mount and moved to the side
to block glare.
The driver’s sunshade is also equipped with a storage
flap that can be used
for maps or toll tickets.
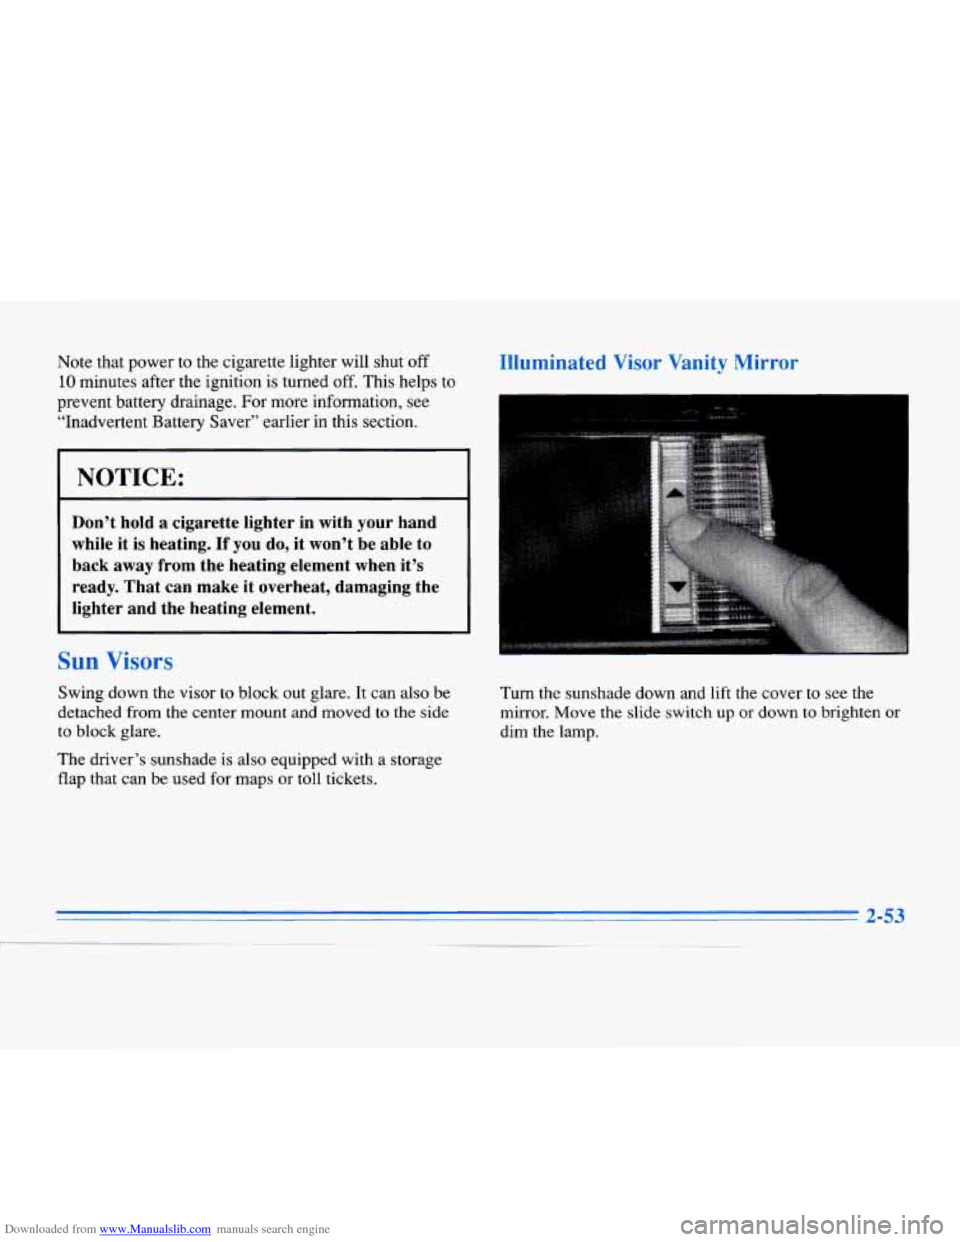
Illuminated Visor Vanity Mirror
Turn the sunshade down and lift the cover to see the
mirror. Move the slide switch up or down to brighten
or
dim the lamp.
2-53
-.
Page 117 of 354
Downloaded from www.Manualslib.com manuals search engine The transmitter will learn and transmit the frequencies
of most current transmitters and is powered by your
vehicle’s battery and charging system.
This device complies with Part
15 of the FCC Rules.
Operation is subject to the following two conditions:
(1) This device may not cause harmful interference, and
(2) This device must accept any interference received,
including interference that may cause undesired
operation.
;ramming thc n 1111
Do not use the universal transmitter with any garage
door opener that does not have the “stop and reverse”
safety feature. This includes
any garage door opener
model manufactured before April
1, 1982.
Be sure that people and objects are clear of the garage
door you are programming. Your
vehicle’s engine should be turned
off while
programming the transmitter. Follow these steps to
program up to three channels:
1. If you have not previously programmed a universal
transmitter channel, proceed to Step
2. Otherwise,
hold down the two outside buttons
on the universal
transmitter until the red light begins to flash rapidly
(approximately
20 seconds). Then release the
buttons. This procedure initializes the memory and
erases any previous settings for all three channels.
2. Hold the end of the hand-held transmitter against the
bottom surface of the universal transmitter
so that
you can still see the red light.
3. Decide which one of the three channels you want to
program. Using both hands, press the hand-held
transmitter button and the desired button on the
universal transmitter. Continue to hold both buttons
through Step
4.
4. Hold down both buttons until you see the red light
on the universal transmitter flash rapidly and then
stop. The rapid flashing, which could take up to
90 seconds, indicates that the universal transmitter
has been programmed. Release both buttons once the
light starts to flash rapidly.
Page 118 of 354
Downloaded from www.Manualslib.com manuals search engine If you have trouble programming the universal
transmitter, make sure that you have followed the
directions exactly as described and that the battery in the
hand-held transmitter is not dead. If you still cannot
program it, rotate the hand-held transmitter end over end
and try again. The universal transmitter may not work
with older garage door openers that do not meet current
Federal Consumer Safety Standards. If you cannot
program the transmitter after repeated attempts, consult
your Cadillac dealer.
Be sure to keep the original hand-held transmitter
in case
you need to erase and reprogram the universal transmitter.
Note to Canadian Owners: During programming, the
hand-held transmitter may stop transmitting after one or
two seconds. If you
are programming from one of these
transmitters, you should press and re-press the button on
the hand-held transmitter every two seconds without
ever releasing the button on
the universal transmitter.
Release both buttons when the red light on the universal
transmitter begins to flash rapidly.
Operating the Transmitter
Press and hold the appropriate button on the universal
transmitter. The red light comes on while the signal is
being transmitted.
Note that the effective transmission range of the universal
transmitter may differ from the hand-held transmitter and
from one channel to another. Also note that the universal
transmitter is disabled when the VALET button inside of
the glove box is activated. For more information, see
“Security Override” earlier in this section.
Erasing Channels
To erase all three programmed channels, hold down the
two outside buttons until the red light begins to flash.
Individual channels cannot be erased, but can be
reprogrammed using the procedure for programming the
transmitter explained earlier.
Accessories
Accessories for the universal transmitter are available
from the manufacturer of the unit.
If you would like
additional information please call
1-800-355-35 15.
Page 126 of 354
Downloaded from www.Manualslib.com manuals search engine Charging System Indicator Light
When you turn the key to
RUN, this light will come
on briefly to show that the
alternator and battery
charging systems are working.
Brake System Warning Light
If this warning light comes on, there could be a brake
problem. Have your brake system inspected right away.
BRAKE
This light should come on
briefly when you turn the
ignition key to
RUN. If
it doesn’t come on then,
have it fixed
so it will
be ready to warn you if
there’s a problem.
If this light stays on, you need service and you should
take your Cadillac to the dealer at once. To save your
battery until you get there, turn
off all accessories.
If the light comes on while you are driving, pull off the
road and stop carefully.
You may notice that the pedal is
harder
to push. Or, the pedal may go closer to the floor.
It may take longer to stop. If the light is still on, have the
vehicle towed for service. (See “Towing Your Vehicle”
in the Index.)
2-65
Page 137 of 354

Downloaded from www.Manualslib.com manuals search engine INFORMATION: Pressing this button repeatedly will
display the AVG MPG, FUEL
USED, AVG MPH, OIL
LIFE LEFT, ENGINE RPM, BATTERY VOLTS and
COOLANT TEMP.
TIMER: This feature is like a stopwatch, in that you
can clock the time it takes to get from one point to
another.
To operate, press the TIMER button until TIMER
0O:OO:OO is displayed on the DIC. Each of the fields for
the hours, minutes and seconds are two numeric digits.
Once TIMER OFF
0O:OO:OO is displayed, press the
TIMER button to start
the timing feature. Press the
TIMER button again
to stop it. If you will be starting
and stopping your Cadillac, during
a trip for instance,
the TIMER feature will automatically start timing where
it left off when you last stopped. To reset it, press and
hold the RESET button until the display reads TIMER
0O:OO:OO. Press the INFORMATION button to exit from
the TIMER function.
RESET Pressing this button will reset the MPG AVG,
FUEL USED, AVG MPH and OIL LIFE LEFT. Pressing
RESET when
a non-resettable display appears will
cause
a “recall” mode to occur. When this happens, all
DIC warning messages that have been displayed since
the ignition key was turned to RUN will redisplay.
If no
messages were displayed, a MONITORED SYSTEMS
OK message will appear.
MPG AVG (Average Fuel Economy) Reset: Press the
INFORMATION button to display the MPG AVG, then
press and hold the RESET button until
0.0 MPG AVG
is displayed.
Fuel Used Reset: Press the INFORMATION button
to display the
FUEL USED on the DIC, then press
and hold
the RESET button until FUEL USED 0.0
is displayed.
AVG MPH (Average Speed) Reset: Press the
INFORMATION button to display the AVG MPH, then
press and hold the RESET button until
0.0 AVG MPH
is displayed.
Oil Life Left Reset: Press the INFORMATION button
to display the OIL LIFE LEFT, then press and hold the
RESET button
until 100% OIL LIFE LEFT is displayed.
A n/