1996 CADILLAC ELDORADO reset
[x] Cancel search: resetPage 30 of 354

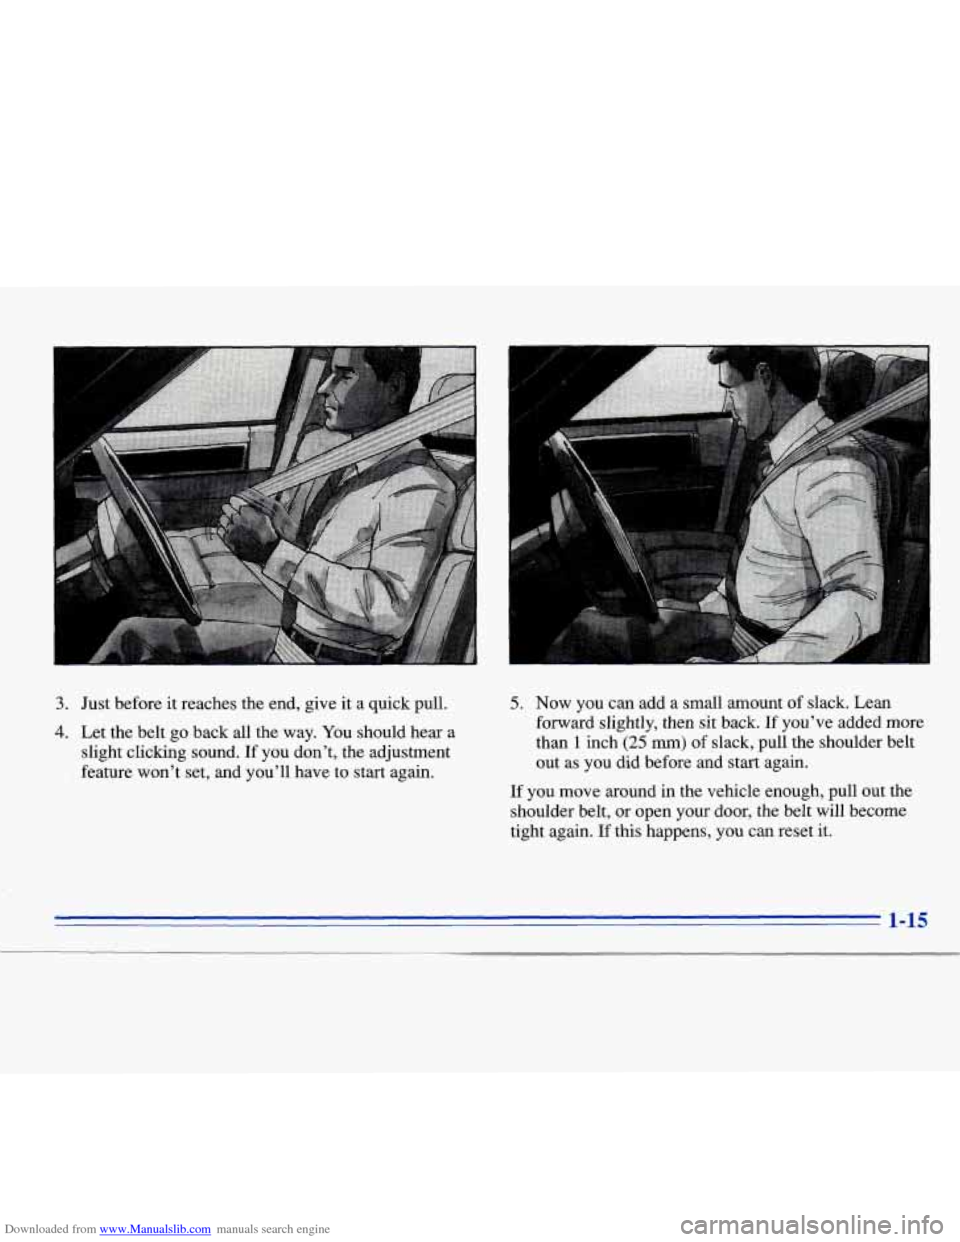
Downloaded from www.Manualslib.com manuals search engine 3. Just before it reaches the end, give it a quick pull.
4. Let the belt go back all the way. You should hear a
slight clicking sound.
If you don’t, the adjustment
feature won’t set, and you’ll have to start again.
5. Now you can add a small amount of slack. Lean
forward slightly, then sit back.
If you’ve added more
than
1 inch (25 mm) of slack, pull the shoulder belt
out as you did before and start again.
If you move around in the vehicle enough, pull out the
shoulder belt, or open your door, the belt will become
tight again. If this happens, you can reset
it.
1-15
Page 66 of 354

Downloaded from www.Manualslib.com manuals search engine Programmable Automatic Door Locks
With the ignition in the RUN position, the door locks
can be programmed through the Driver Information
Center (DIC) to allow the driver to choose various lock
settings. Press the RESET button to answer “yes” and
press the INFO button to indicate a “no” response.
To begin programming, press the INFO and RESET
buttons at the same time. The first prompt to appear is
AUTOMATIC DOOR LOCK?.
You must press the
RESET button when this prompt appears to continue
programming the doors. The next prompt to appear is
ENABLE ALL DOORS FOR LOCK AND UNLOCK?.
This selection locks all doors when shifting out of
PARK (P) and unlocks all doors when shifting back into
PARK (P). DISABLE ALL DOORS FOR LOCK AND
UNLOCK? is used when you do not want any automatic
lock functions. The ENABLE ALL LOCKS AND
DRIVER DOOR
UNLOCK? prompt locks all doors
when shifting out of PARK (P) and unlocks only the
driver’s door when shifting back into PARK (P).
ENABLE ALL DOORS FOR LOCK ONLY? selection
appears next. This prompt is used to lock all doors when
shifting out of PARK (P) and keeps the doors locked
when you shift back into PARK (P).
N yes or no response must be programmed when a
prompt is displayed. A yes response selects the prompt
and a no response displays the next prompt.
When you finish programming the door locks, the next
prompt to appear is for the vehicle storage mode. For
more information on vehicle storage, see “Battery Guard
Storage” later in this section.
Anti-Lockout Feature
Leaving your key in any ignition position with the
driver’s door open will disable the use of the power door
lock switches. The anti-lockout feature is disabled when
the ignition is on. If you close the door, you can lock it
using the Keyless Entry system. It is always
recommended that you remove your ignition key when
locking your vehicle.
Note that this feature is only available with the driver’s
door open.
Also note that the anti-lockout feature can be overridden
by holding the power door lock switch for three seconds
or longer.
Leaving Your Vehicle
If you are leaving the vehicle, open the door, set the
locks from the inside, get out and close the door.
Page 68 of 354

Downloaded from www.Manualslib.com manuals search engine Operation
& When you press this symbol to unlock the
driver’s door, the parking lamps on your vehicle will
blink twice. Pressing it again within five seconds will
unlock the other door. Pressing this button will also
disarm the optional theft-deterrent system and turn
on the interior lamps at night.
8 When you press this symbol to lock the doors, the
parking lamps will blink once. This also arms the
optional theft-deterrent system.
Press this symbol to open the trunk.
Press this button to open the
fuel door.
The Keyless Entry transmitter can also be used to recall
the memory seats for up to two drivers.
For more
information, see “Memory Seat” in the Index. Note that
pressing the transmitter buttons numerous
times (approximately
500 times) out of the vehicle’s
operating range may cause the transmitter not to work.
Replacing the battery and pressing the transmitter
buttons
10 or more times out of range will also cause
the transmitter not to work.
To reset the transmitter,
you must be within the vehicle’s operating range.
Press and hold the trunk button and within one
second press the lock button. Continue to hold both
buttons for approximately three seconds. See your
Cadillac dealer for service if your transmitter still
doesn’t work properly.
MatcYng TransmitterCs) To Your Vehicle
Each key chain transmitter is coded to prevent another
transmitter from unlocking your vehicle.
If a transmitter
is lost or stolen, a replacement can be purchased through
your dealer. Once the new transmitter is coded, the lost
transmitter will not unlock your vehicle. Each vehicle
can have only two transmitters matched to it.
Page 95 of 354

Downloaded from www.Manualslib.com manuals search engine remain in a “high park” position, even when the ignition
is turned
OFF.
The Rainsense wipers operate in a delay mode as well
as, a continuous low or high speed depending on the
amount of moisture and
the sensitivity level. The MIST
and “wash” cycles operate as normal and are not
effected by the Rainsense function.
NOTICE:
The Rainsense feature should be turned off when
going through a car wash to avoid damage.
It is important to note that the Rainsense wiping feature
(AUTO DELAY) can be overridden at any time by
manually changing the wiper control to
LO or HI speed.
Note that if
you ever need to replace the windshield,
make sure
it is Rainsensor compatible.
Windshield Washer
In freezing weather, don’t use your washer until
the windshield is warmed. Otherwise the washer
fluid can form ice
on the windshield, blocking
your vision.
Press and hold the PUSH paddle to wash the windshield
Release the paddle when you have enough fluid. The
wipers
will clear the windshield and either stop or return
to your preset speed.
LOW WASHER FLUID will be displayed on the DIC
when the washer fluid reaches a low level.
Driving without washer fluid can be dangerous.
A bad
mud splash can block your vision and you could hit
another vehicle
or go off the road. Check the washer
fluid level often.
2-34 -
Page 98 of 354

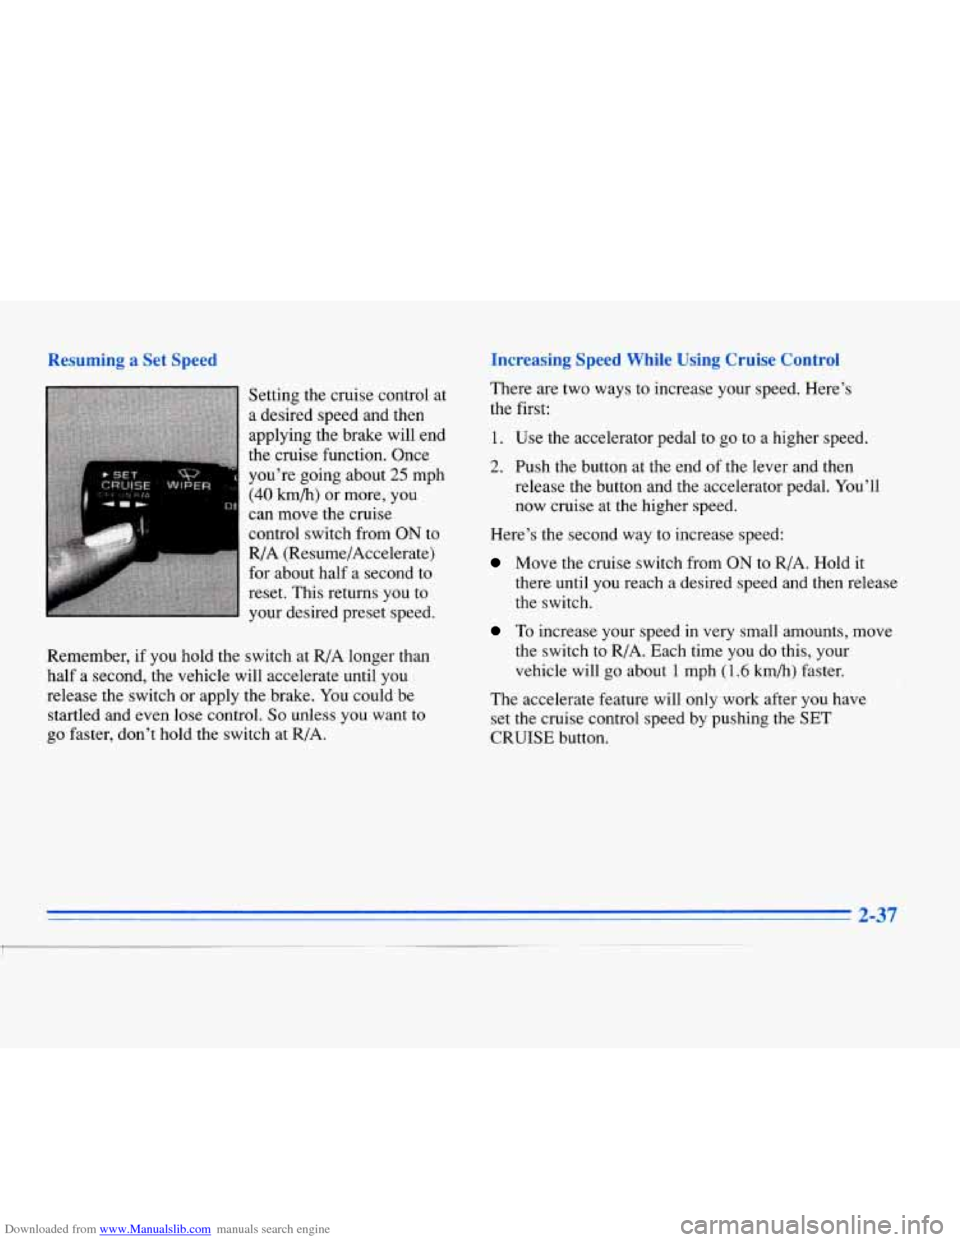
Downloaded from www.Manualslib.com manuals search engine Kernember, if you hold the Setting the
cruise control at
a desired speed and then
applying the brake will end
the cruise function. Once
you’re going about
25 mph
(40 km/h) or more, you
can move the cruise
control switch from
ON to
R/A (Resume/Accelerate)
for about half a second to
reset. This returns you to
your desired preset speed. There are two ways to increase your speed.
Here’s
the first:
1. Use the accelerator pedal to go to a higher speed.
2. Push the button at the end of the lever and then
release the button and the accelerator pedal. You’ll
now cruise at the higher speed.
Here’s the second way to increase speed:
Move the cruise switch from ON to R/A. Hold it
there until you reach a desired speed and then release
the switch.
switch at R/A longer than
half
a second, the vehicle will accelerate until you
release the switch or apply the brake.
You could be
startled and even
lose control. So unless you want to
go faster, don’t hold the switch at R/A.
To increase your speed in very small amounts, move
the switch to R/A. Each time you do this, your
vehicle will
go about 1 mph (1.6 km/h) faster.
The accelerate feature will only work after you have
set the cruise control speed by pushing the
SET
CRUISE button.
Page 105 of 354

Downloaded from www.Manualslib.com manuals search engine Inadvertent Power Battery Saver
This feature is designed to protect your vehicle's battery against drainage from the interior lamps, trunk lamp,
glove
box lamp, cigarette lighters or the garage door
opener. When the ignition is turned
OFF, the power to
these features will automatically
turn off' after 10 minutes
(three minutes if a new car has 15 miles or less). Power
will be restored for an additional
10 minutes if either
door is opened, the trunk
is opened or the courtesy lamp
switch is turned
on.
Battery Guard Storage
This feature is for long term use and must be
programmed through the
DIC while the ignition is in the
RUN position. Battery guard storage protects the battery
by placing the vehicle in a storage mode so that the
radio, amplifiers, instrument cluster
and Remote Keyless
Entry
(RKE) will not drain the battery over a long
period of time.
To begin programming, press the INFO and RESET
buttons at the same time for approximately two seconds.
Press the RESET button to answer "yes" and press the
INFO button to indicate
a "no" response. The first prompt
to appear relates to the automatic
door
locks.
This feature can be bypassed by pressing the
INFO button. The STORAGE MODE? prompt appears
next.
To select, press the RESET button. ENABLE
STORAGE
MODE? will then appear. A yes or no
response must be give.n. If the
INFO (no) button is
pressed, the DISABLE STORAGE MODE? prompt will
appear. Oncc again,
a yes or no response is required.
Once the battery guard has been programmed, your
vehicle
will enter the storage mode approximately
20 minutes after the ignition key has been turned off.
The RKE will also be disabled at this point. The RKE
will reactivate when a door or the trunk is opened,
however.
if your vehicle is left inactive for another
20 minutes the RKE will re-enter the storage mode.
Your vehicle will stay in the storage mode until the
ignition
key is turned out of LOCK. The system will
"wake-up" when the door key is inserted into the door
however, your vehicle
will remain in the storage mode.
The ignition must
5 ~~~ard is disabled. be
out of LOCK before the battery
2-44
Page 128 of 354

Downloaded from www.Manualslib.com manuals search engine Anti-Lock Brake System Warning Light
LOCK
ANT‘- (@)
ANTI -
LOCK
With the anti-lock brake system, one of these lights will
come on when you start your engine and may stay on for
several seconds. That’s normal. If
the light stays on, turn the ignition
off. Or, if the light
comes on when you’re driving, stop as soon as possible
and turn the ignition off. Then start the engine again to
reset the system.
If the light still stays on, or comes on
again while you’re driving, your Cadillac needs service.
If the regular brake system warning light isn’t on, you
still have brakes, but you don’t have anti-lock brakes.
If the regular brake system warning light is also on, you
don’t have anti-lock brakes and there’s a problem with
your regular brakes. See “Brake System Warning Light’’
earlier in this part.
The anti-lock brake system warning light should come
on briefly when
you turn the ignition key to RUN. If the
light doesn’t come on then, have it fixed
so it will be
ready to warn you if there
is a problem.
2-67
~
Page 135 of 354

Downloaded from www.Manualslib.com manuals search engine Fuel Data Panel
. ,..^ . I/ ,; .. . . , . . . .., . . . .
The fuel data panel tells you all you need to know about
the fuel economy and how far you can travel with the
fuel remaining.
Press the AVG button to display the average
mile-per-gallon (AVG MPG). You can also display
it in
metric units by pressing the ENG MET button.
When AVG MPG
is selected, the total distance is
divided by the total fuel used. When the
INST button (Instantaneous Fuel Economy) is
selected, you will see what the fuel economy
is at that
instant. The computer takes
a new reading twice every
second. It will show economy up to
70 miles-per-gallon
(or
2 L per 100 km).
To reset the average fuel economy, press the
INFORMATION button until the AVG
MPG is
displayed on the
DIC. Press and hold the RESET button
until both the fuel data center and DIC display reads 0.0.
The RANGE display shows how far the computer thinks
you can travel with the fuel that is in the tank. The
computer does not know what driving conditions will be
like for the rest
of your trip, so the range is estimated
based on
the recent fuel economy. Therefore, the range
reading may change
as your driving habits change.
Going from city to highway driving
may increase the
range reading.
If the range display shows
LO, you should stop for fuel
as soon as possible. Your computer needs enough data
for the RANGE reading to work.
2-74