1996 CADILLAC ELDORADO buttons
[x] Cancel search: buttonsPage 18 of 354

Downloaded from www.Manualslib.com manuals search engine Memory Seat (Option)
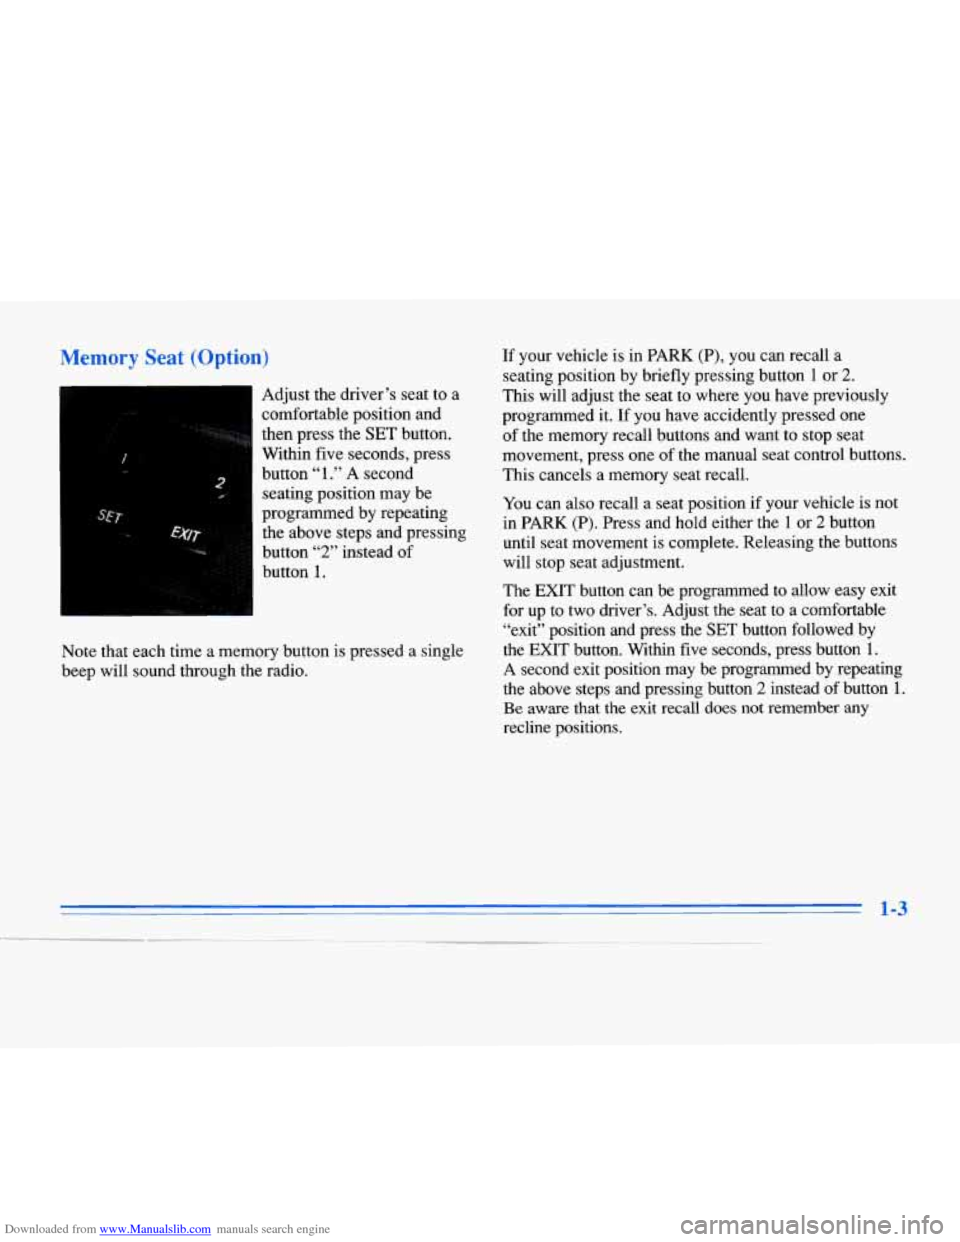
Adjust the driver’s seat to a
comfortable position and
.. I . *.,%,. . then press the SET button.
Within five seconds, press
button
“1 .” A second
seating position may be
programmed by repeating
the above steps and pressing
button 1.
, .:. ..__.>..< :,,
3 “l*M* button “2” instead of
Note that each time a memory button is pressed a single
beep will sound through the radio. If
your vehicle is in PARK (P), you can recall a
seating position by briefly pressing button
1 or 2.
This will adjust the seat to where you have previously
programmed it. If you have accidently pressed one
of the memory recall buttons and want to stop seat
movement, press one of the manual seat control buttons.
This cancels a memory seat recall.
You can also recall a seat position if your vehicle is not
in PARK (P). Press and hold either the
1 or 2 button
until seat movement is complete. Releasing the buttons will stop seat adjustment.
The EXIT button can be programmed to allow easy exit
for up to two driver’s. Adjust the seat to
a comfortable
“exit” position and press the SET button followed by
the EXIT button. Within five seconds, press button 1.
A second exit position may be programmed by repeating
the above steps and pressing button
2 instead of button 1.
Be aware that the exit recall does not remember any
recline positions.
1-3
Page 19 of 354

Downloaded from www.Manualslib.com manuals search engine While your vehicle is in PARK (P), briefly press the
EXIT button followed by either the
1 or 2 button to
recall your programmed exit position. The exit position
may also be recalled if the vehicle is not in
PARK (P) by
briefly pressing the EXIT button and then pressing and
holding either the
1 or 2 button until seat movement is
complete. Releasing the buttons will stop seat
adjustment.
Automatic seat movement will occur if the Remote
Keyless Entry (RKE) transmitter is used to enter the
vehicle. The number
on the back of the transmitter
corresponds to the
1 or 2 seat position. After the unlock
button is pressed on the
RKE transmitter and the key is
placed in the ignition and turned on, the seat will
automatically adjust to the appropriate position.
Heated Front Seat (Option)
1-4
Page 66 of 354

Downloaded from www.Manualslib.com manuals search engine Programmable Automatic Door Locks
With the ignition in the RUN position, the door locks
can be programmed through the Driver Information
Center (DIC) to allow the driver to choose various lock
settings. Press the RESET button to answer “yes” and
press the INFO button to indicate a “no” response.
To begin programming, press the INFO and RESET
buttons at the same time. The first prompt to appear is
AUTOMATIC DOOR LOCK?.
You must press the
RESET button when this prompt appears to continue
programming the doors. The next prompt to appear is
ENABLE ALL DOORS FOR LOCK AND UNLOCK?.
This selection locks all doors when shifting out of
PARK (P) and unlocks all doors when shifting back into
PARK (P). DISABLE ALL DOORS FOR LOCK AND
UNLOCK? is used when you do not want any automatic
lock functions. The ENABLE ALL LOCKS AND
DRIVER DOOR
UNLOCK? prompt locks all doors
when shifting out of PARK (P) and unlocks only the
driver’s door when shifting back into PARK (P).
ENABLE ALL DOORS FOR LOCK ONLY? selection
appears next. This prompt is used to lock all doors when
shifting out of PARK (P) and keeps the doors locked
when you shift back into PARK (P).
N yes or no response must be programmed when a
prompt is displayed. A yes response selects the prompt
and a no response displays the next prompt.
When you finish programming the door locks, the next
prompt to appear is for the vehicle storage mode. For
more information on vehicle storage, see “Battery Guard
Storage” later in this section.
Anti-Lockout Feature
Leaving your key in any ignition position with the
driver’s door open will disable the use of the power door
lock switches. The anti-lockout feature is disabled when
the ignition is on. If you close the door, you can lock it
using the Keyless Entry system. It is always
recommended that you remove your ignition key when
locking your vehicle.
Note that this feature is only available with the driver’s
door open.
Also note that the anti-lockout feature can be overridden
by holding the power door lock switch for three seconds
or longer.
Leaving Your Vehicle
If you are leaving the vehicle, open the door, set the
locks from the inside, get out and close the door.
Page 68 of 354

Downloaded from www.Manualslib.com manuals search engine Operation
& When you press this symbol to unlock the
driver’s door, the parking lamps on your vehicle will
blink twice. Pressing it again within five seconds will
unlock the other door. Pressing this button will also
disarm the optional theft-deterrent system and turn
on the interior lamps at night.
8 When you press this symbol to lock the doors, the
parking lamps will blink once. This also arms the
optional theft-deterrent system.
Press this symbol to open the trunk.
Press this button to open the
fuel door.
The Keyless Entry transmitter can also be used to recall
the memory seats for up to two drivers.
For more
information, see “Memory Seat” in the Index. Note that
pressing the transmitter buttons numerous
times (approximately
500 times) out of the vehicle’s
operating range may cause the transmitter not to work.
Replacing the battery and pressing the transmitter
buttons
10 or more times out of range will also cause
the transmitter not to work.
To reset the transmitter,
you must be within the vehicle’s operating range.
Press and hold the trunk button and within one
second press the lock button. Continue to hold both
buttons for approximately three seconds. See your
Cadillac dealer for service if your transmitter still
doesn’t work properly.
MatcYng TransmitterCs) To Your Vehicle
Each key chain transmitter is coded to prevent another
transmitter from unlocking your vehicle.
If a transmitter
is lost or stolen, a replacement can be purchased through
your dealer. Once the new transmitter is coded, the lost
transmitter will not unlock your vehicle. Each vehicle
can have only two transmitters matched to it.
Page 105 of 354

Downloaded from www.Manualslib.com manuals search engine Inadvertent Power Battery Saver
This feature is designed to protect your vehicle's battery against drainage from the interior lamps, trunk lamp,
glove
box lamp, cigarette lighters or the garage door
opener. When the ignition is turned
OFF, the power to
these features will automatically
turn off' after 10 minutes
(three minutes if a new car has 15 miles or less). Power
will be restored for an additional
10 minutes if either
door is opened, the trunk
is opened or the courtesy lamp
switch is turned
on.
Battery Guard Storage
This feature is for long term use and must be
programmed through the
DIC while the ignition is in the
RUN position. Battery guard storage protects the battery
by placing the vehicle in a storage mode so that the
radio, amplifiers, instrument cluster
and Remote Keyless
Entry
(RKE) will not drain the battery over a long
period of time.
To begin programming, press the INFO and RESET
buttons at the same time for approximately two seconds.
Press the RESET button to answer "yes" and press the
INFO button to indicate
a "no" response. The first prompt
to appear relates to the automatic
door
locks.
This feature can be bypassed by pressing the
INFO button. The STORAGE MODE? prompt appears
next.
To select, press the RESET button. ENABLE
STORAGE
MODE? will then appear. A yes or no
response must be give.n. If the
INFO (no) button is
pressed, the DISABLE STORAGE MODE? prompt will
appear. Oncc again,
a yes or no response is required.
Once the battery guard has been programmed, your
vehicle
will enter the storage mode approximately
20 minutes after the ignition key has been turned off.
The RKE will also be disabled at this point. The RKE
will reactivate when a door or the trunk is opened,
however.
if your vehicle is left inactive for another
20 minutes the RKE will re-enter the storage mode.
Your vehicle will stay in the storage mode until the
ignition
key is turned out of LOCK. The system will
"wake-up" when the door key is inserted into the door
however, your vehicle
will remain in the storage mode.
The ignition must
5 ~~~ard is disabled. be
out of LOCK before the battery
2-44
Page 117 of 354

Downloaded from www.Manualslib.com manuals search engine The transmitter will learn and transmit the frequencies
of most current transmitters and is powered by your
vehicle’s battery and charging system.
This device complies with Part
15 of the FCC Rules.
Operation is subject to the following two conditions:
(1) This device may not cause harmful interference, and
(2) This device must accept any interference received,
including interference that may cause undesired
operation.
;ramming thc n 1111
Do not use the universal transmitter with any garage
door opener that does not have the “stop and reverse”
safety feature. This includes
any garage door opener
model manufactured before April
1, 1982.
Be sure that people and objects are clear of the garage
door you are programming. Your
vehicle’s engine should be turned
off while
programming the transmitter. Follow these steps to
program up to three channels:
1. If you have not previously programmed a universal
transmitter channel, proceed to Step
2. Otherwise,
hold down the two outside buttons
on the universal
transmitter until the red light begins to flash rapidly
(approximately
20 seconds). Then release the
buttons. This procedure initializes the memory and
erases any previous settings for all three channels.
2. Hold the end of the hand-held transmitter against the
bottom surface of the universal transmitter
so that
you can still see the red light.
3. Decide which one of the three channels you want to
program. Using both hands, press the hand-held
transmitter button and the desired button on the
universal transmitter. Continue to hold both buttons
through Step
4.
4. Hold down both buttons until you see the red light
on the universal transmitter flash rapidly and then
stop. The rapid flashing, which could take up to
90 seconds, indicates that the universal transmitter
has been programmed. Release both buttons once the
light starts to flash rapidly.
Page 118 of 354

Downloaded from www.Manualslib.com manuals search engine If you have trouble programming the universal
transmitter, make sure that you have followed the
directions exactly as described and that the battery in the
hand-held transmitter is not dead. If you still cannot
program it, rotate the hand-held transmitter end over end
and try again. The universal transmitter may not work
with older garage door openers that do not meet current
Federal Consumer Safety Standards. If you cannot
program the transmitter after repeated attempts, consult
your Cadillac dealer.
Be sure to keep the original hand-held transmitter
in case
you need to erase and reprogram the universal transmitter.
Note to Canadian Owners: During programming, the
hand-held transmitter may stop transmitting after one or
two seconds. If you
are programming from one of these
transmitters, you should press and re-press the button on
the hand-held transmitter every two seconds without
ever releasing the button on
the universal transmitter.
Release both buttons when the red light on the universal
transmitter begins to flash rapidly.
Operating the Transmitter
Press and hold the appropriate button on the universal
transmitter. The red light comes on while the signal is
being transmitted.
Note that the effective transmission range of the universal
transmitter may differ from the hand-held transmitter and
from one channel to another. Also note that the universal
transmitter is disabled when the VALET button inside of
the glove box is activated. For more information, see
“Security Override” earlier in this section.
Erasing Channels
To erase all three programmed channels, hold down the
two outside buttons until the red light begins to flash.
Individual channels cannot be erased, but can be
reprogrammed using the procedure for programming the
transmitter explained earlier.
Accessories
Accessories for the universal transmitter are available
from the manufacturer of the unit.
If you would like
additional information please call
1-800-355-35 15.
Page 120 of 354

Downloaded from www.Manualslib.com manuals search engine The instrument panel is designed to let you know at a
glance how your Cadillac is running. You’ll know how
fast you’re going, how much fuel you’re using and
many of the other things you’ll need to know to drive
safely and economically. The main components of the
instrument panel are:
1. Air Outlets
2. Turn Signal/Multifunction Lever
3. Driver Information Center Control Buttons
4. Driver’s Side Air Bag
5. Cluster
6. Steering Column Shift Lever
7. Electronic Climate Controls
8. Audio System
9. Passenger’s Side Air Bag
10. Lamp Controls
11. Steering Wheel Touch Controls for Climate Control
12.
Hood Release
13. Horn
14. Steering Wheel Touch Controls for Audio System
15. Astray and Cigarette Lighter
16. Glove Box