1996 BUICK PARK AVENUE mirror
[x] Cancel search: mirrorPage 14 of 388
Rear Tilt Control (R): Raise the rear of the seat by
pressing the switch on the left. Pressing the switch on
the right lowers the rear of the seat.
Mc or: rnd Mi1 5 (( n)
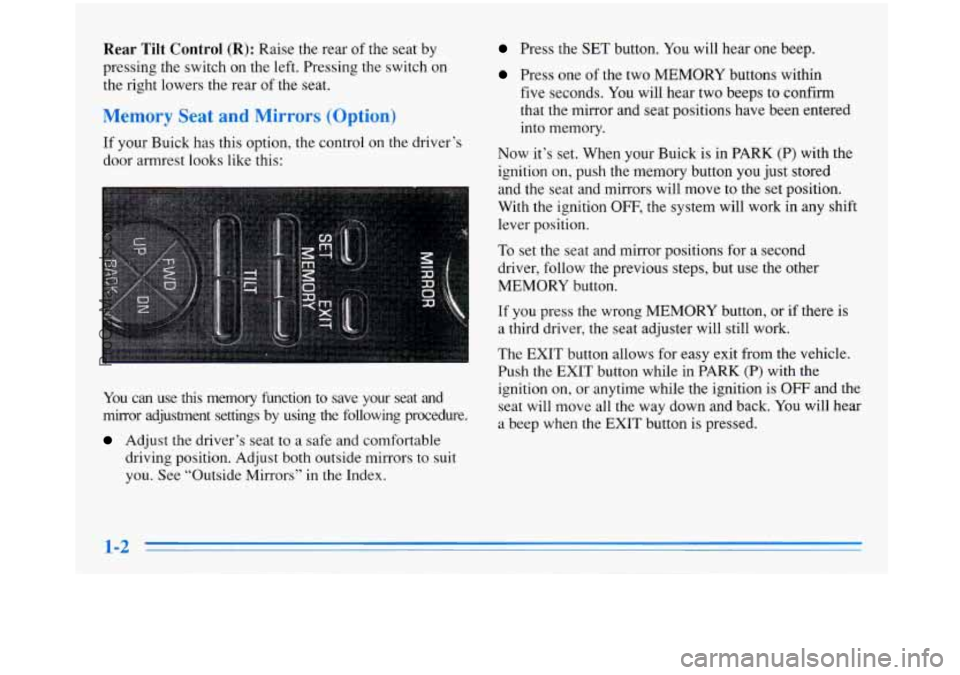
If your Buick has this option, the control on the driver’s
door armrest looks like this:
You can use this memory function to save your seat and
mirror adjustment settings by using
the following procedure.
Adjust the driver’s seat to a safe and comfortable
driving position. Adjust both outside mirrors to suit
you. See “Outside Mirrors” in the Index.
Press the SET button. You will hear one beep.
Press one of the two MEMORY buttons within
five seconds. You will hear two beeps to confirm
that the mirror and seat positions have been entered
into memory.
Now it’s set. When your Buick
is in PARK (P) with the
ignition on, push the memory button you just stored
and the seat and mirrors will move to the set position.
With the ignition
OFF, the system will work in any shift
lever position.
To set the seat and mirror positions for a second
driver, follow the previous steps, but use the other
MEMORY button.
If you press the wrong MEMORY button, or if there is
a third driver, the seat adjuster will still work.
The
EXIT button allows for easy exit from the vehicle.
Push the
EXIT button while in PARK (P) with the
ignition on, or anytime while the ignition is
OFF and the
seat will move all the way down and
back. You will hear
a beep when the EXIT button is pressed.
1-2
ProCarManuals.com
Page 15 of 388
Remote Keyless Entry Personal Choice
Feature (Option)
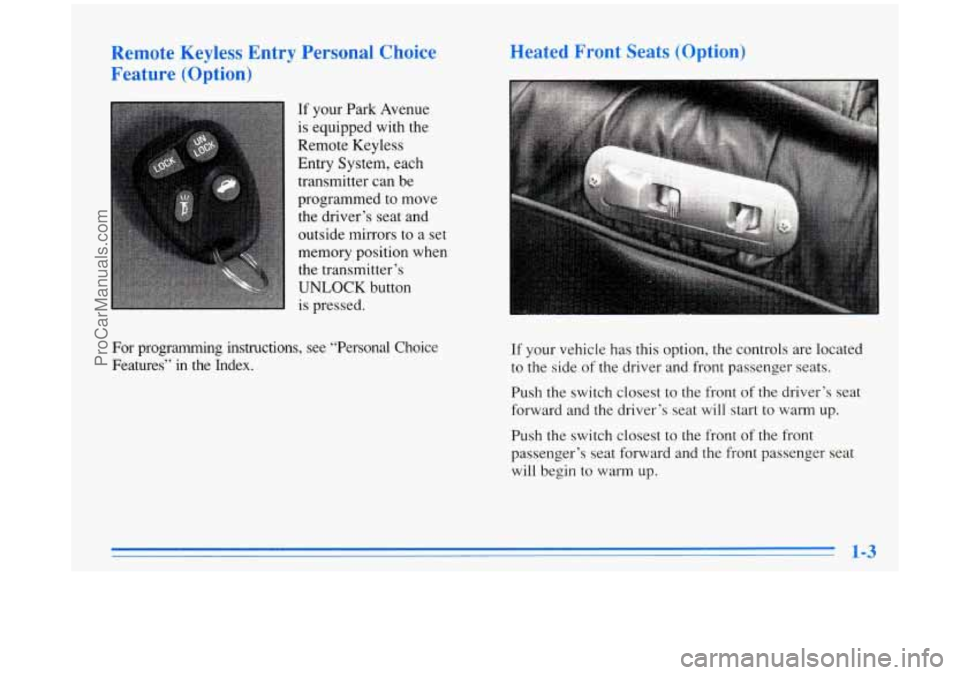
If your Park Avenue
is equipped with the
Remote Keyless
Entry System, each
transmitter can be
programmed to move the driver’s seat and
outside mirrors to a set
memory position when
the transmitter’s
UNLOCK button
is pressed.
For programming instructions, see “Personal Choice Features” in the Index.
ieated Front Seats (Option)
If your vehicle has this option, the controls are located
to
the side of the driver and front passenger seats.
Push the switch closest to the front
of the driver’s seat
forward and the driver’s seat will start to warm up.
Push the switch closest to the front
of the front
passenger’s seat forward and
the front passenger seat
will begin to warm up.
1-3
ProCarManuals.com
Page 64 of 388
Should interference to this system occur, try this:
0 Check to determine if battery replacement is necessary.
See the instructions on battery replacement.
Check the distance. You may be too far from your
vehicle. This product has a maximum range.
0 Check the location. Other vehicles or objects may be
blocking the signal.
See your Buick dealer or a qualified technician
for service.
Changes or modifications to this system by other than an
authorized service facility could void authorization to
use this equipment.
The driver’s door will unlock when
UNLOCK is
pressed.
If pressed again within five seconds, all doors
will unlock. Pressing any button will also illuminate the
interior lamps (see “Illuminated Entry” in the Index).
All doors will lock when
LOCK is pressed.
The trunk will unlock when the trunk open symbol is
pressed, but only when the ignition is in the
LOCK or
OFF position. The trunk symbol will also work when
the ignition
is on, but only while in PARK (P).
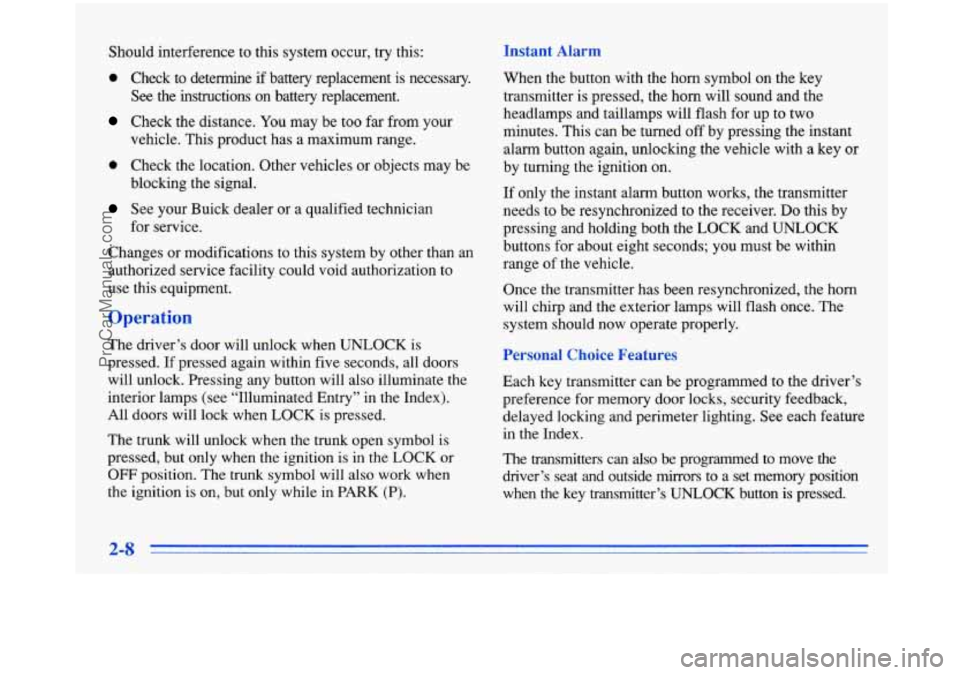
When the button with the horn symbol on the key
transmitter is pressed, the horn will sound and the
headlamps and taillamps will flash for up to two
minutes. This can be turned
off by pressing the instant
alarm button again, unlocking the vehicle with a key
or
by turning the ignition on.
If only the instant alarm button works, the transmitter
needs to be resynchronized to the receiver.
Do this by
pressing and holding both the LOCK and
UNLOCK
buttons for about eight seconds; you must be within
range of the vehicle.
Once the transmitter has been resynchronized, the horn
will chirp and the exterior lamps will flash once. The
system should now operate properly.
mal Choice Fer
Each key transmitter can be programmed to the driver’s
preference for memory door locks, security feedback,
delayed locking
and perimeter lighting. See each feature
in the Index.
The transmitters can also be programmed to move
the
driver’s seat and outside mirrors to a set memory position
when the
key transmitter’s UNLOCK button is pressed.
2-8
ProCarManuals.com
Page 65 of 388
To program the system:
1.
2.
3.
4.
Adjust the driver’s seat to a comfortable and safe
driving position. Adjust both outside mirrors to suit you.
See “Outside Mirrors” in the Index.
Press the SET button on the driver’s door armrest.
You will hear one beep.
Within five seconds, press one of the two memory
buttons on the armrest. You will hear two beeps to
confirm that the mirror and the seat positions are
entered into memory.
Press the
UNLOCK button on the appropriate
transmitter within
five seconds. You will hear
two beeps.
e second key transmitter can be programmed to
record a different seat and mirror position by following
the same steps. If
you prefer to program the exit seat position,
which
moves the seat completely down and back, follow
these steps:
1. Press the SET button on the driver’s door armrest.
You will hear one beep.
2. Press the EXIT button on the armrest. You will hear
one beep, but the seat will not move at this time.
3. Press the UNLOCK button on the appropriate
transmitter within
five seconds. You will hear
two beeps.
This personal choice feature will work only when the
vehicle is in
PARK (P). A beep will sound inside the
vehicle when the UNLOCK button on the transmitter
is
pressed to move the seat and mirrors.
To turn this feature off, press SET, then UNLOCK
within five seconds.
ProCarManuals.com
Page 106 of 388
~
~ ~~~ ~
~~ ~~ ~ Y - .* -
TrurkLamp
When
you open. the trunk to its full open position, a
' lamp will come on inside the trunk. This lamp will
automatically
turn off when the trunk is closed.
Battery Rundown' Protection
This feature shuts off the courtesy, reading, trunk, glove
box and visor vanity mirror lamps,
if any are left on for
more than
10 minutes when the ignition is off. This will
keep your battery from running down.
"
Mirrors
Inside Manual Day/Night Rearview Mirror
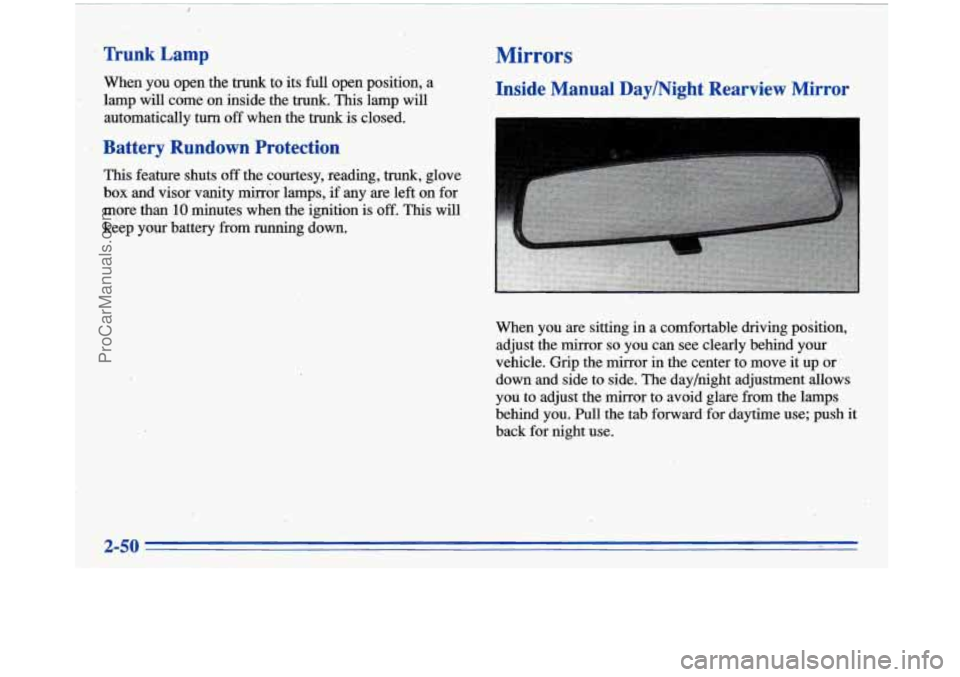
When you are sitting in a comfortable driving position,
adjust the mirror
so you can see clearly behind your
vehicle. Grip the mirror
in the center to move it up or
down and side to side. The day/night adjustment allows
you to adjust the mirror
to avoid glare from the lamps r
behind you. Pull the tab forward for daytime use; push it
back for night use.
ProCarManuals.com
Page 107 of 388
Electrochromic Day/Night Rearview Mirror (Option)
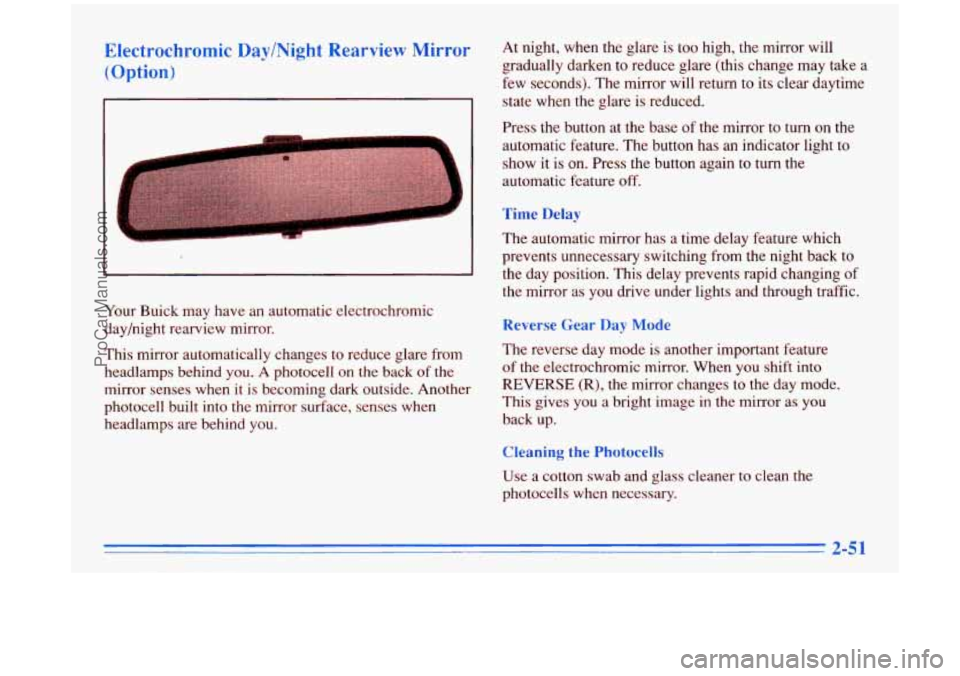
Your Buick may have an automatic electrochromic
day/night rearview mirror.
This mirror automatically changes
to reduce glare from
headlamps behind
you. A photocell on the back of the
mirror senses when it is becoming dark outside. Another
photocell built into the mirror surface, senses when
headlamps are behind you. At
night, when the glare is too high, the mirror will
gradually darken to reduce glare (this change may take a
few seconds). The mirror will return to its clear daytime
state when the glare is reduced.
Press the button at the base of
the mirror to turn on the
automatic feature. The button has an indicator light to
show it is on. Press the button again
to turn the
automatic feature
off.
Time Delay
The automatic mirror has a time delay feature which
prevents unnecessary switching from the night back to
the day position. This delay prevents rapid changing of
the mirror as you drive under lights and through traffic.
Reverse Gear Day Mode
The reverse day mode is another important feature
of the electrochromic mirror. When you shift into
REVERSE (R), the mirror changes to the day mode.
This gives you a bright image
in the mirror as you
back up.
Cleaning the Photocells
Use a cotton swab and glass cleaner to clean the
photocells when necessary.
ProCarManuals.com
Page 108 of 388
Electrochromic Day/Night Rearview Mirror with
Compass (Option)
At night, when the glare is too high, the mirror will
gradually darken to reduce glare (this change may take a
few seconds). The mirror will return to its clear daytime
state when the glare is reduced.
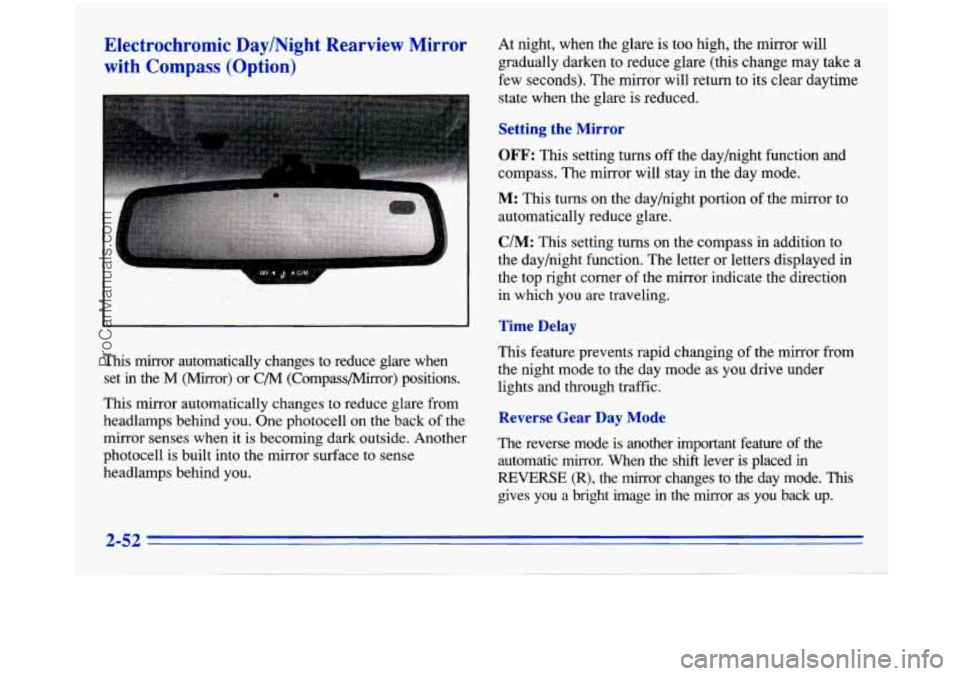
Setting the Mirror
OFF: This setting turns off the day/night function and
compass. The mirror will stay in the day mode.
M: This turns on the day/night portion of the mirror to
automatically reduce glare.
C/M: This setting turns on the compass in addition to
the day/night function. The letter or letters displayed in
the top right corner
of the mirror indicate the direction
in which you are traveling.
Time Delay
This mirror automatically changes to reduce glare when
set
in the M (Mirror) or C/M (Compass/Mirror) positions.
This mirror automatically changes to reduce glare from
headlamps behind you. One photocell on the back
of the
mirror senses when it
is becoming dark outside. Another
photocell
is built into the mirror surface to sense
headlamps behind you. This feature
prevents rapid changing
of the mirror from
the night mode to the day mode as you drive under
lights and through traffic.
Reverse Gear Day Mode
The reverse mode is another important feature of the
automatic mirror. When the shift lever is placed in
REVERSE (R), the mirror changes to the day mode. This
gives you a bright image in the mirror as you back up.
ProCarManuals.com
Page 109 of 388
use a cotton swab ana glass cleaner to clean the
photocells when necessary.
Compass Calibration
Once the compass is calibrated, it does not need to be
recalibrated as long as the mirror
is left in your vehicle
and the vehicle remains in the same geographical zone.
To calibrate the compass:
1. Set the switch on the mirror control to C/M.
2. Turn the vehicle ignition switch on. The letter C
should be displayed in the mirror compass window.
If not, hold the
CAL switch (on the bottom of the
mirror) for more than
10 seconds, and the letter C
should appear. To hold in the CAL switch, insert a
paper clip into the small hole on the bottom of the
mirror housing. The display will show
a number
first, but keep holding until the letter
C appears.
3. For quick calibration, drive the vehicle in a
360-degree circle at less than
5 mph (8 km/h) until
the display reads a compass direction.
For normal calibration, drive the vehicle on your everyday routine, and the compass will
eventually calibrate. Variance
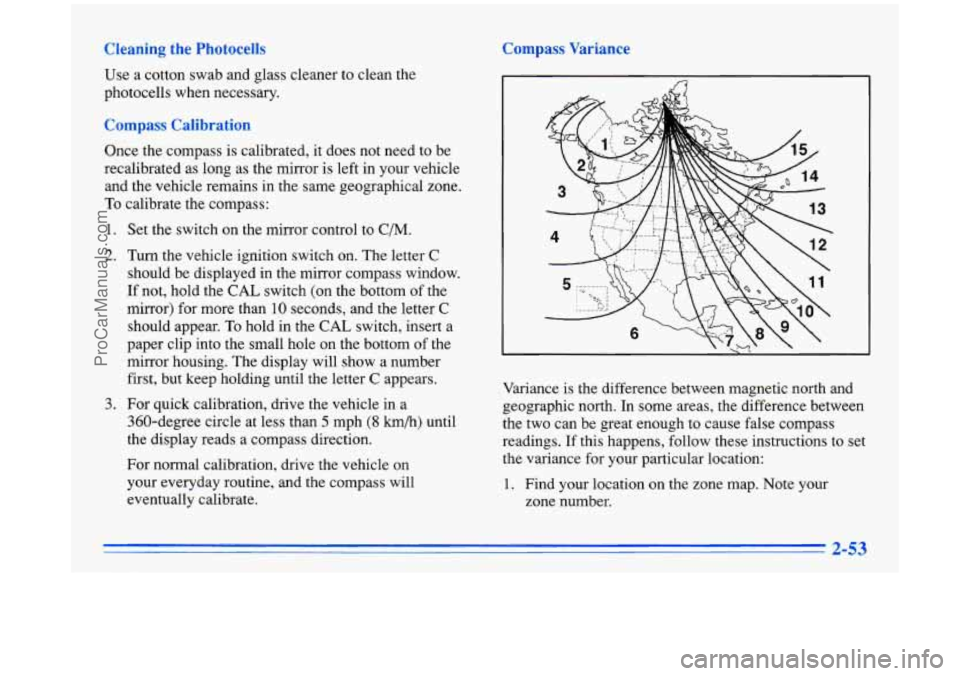
is the difference between magnetic north and
geographic north. In some areas, the difference between
the two can be great enough to cause false compass
readings. If this happens, follow these instructions
to set
the variance for your particular location:
1. Find your location on the zone map. Note your
zone number.
ProCarManuals.com