1995 PONTIAC BONNEVILLE instrument cluster
[x] Cancel search: instrument clusterPage 88 of 338
Instrument Panel Intensity Control
You can brighten or dim your instrument cluster lamps
by rotating the headlamp switch. Rotate the switch all
the way counterclockwise to turn on the interior
courtesy lamps. Rotate the switch clockwise to
turn off
the instrument cluster lamps and displays.
Twilight Sentinel (Option)
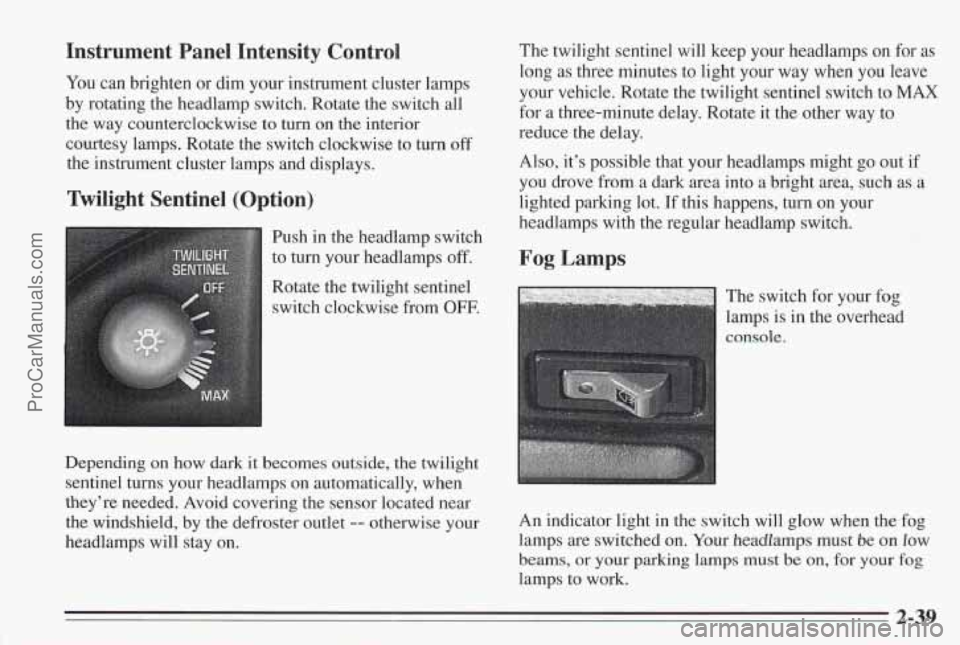
Push in the headlamp switch
to
turn your headlamps off.
Rotate the twilight sentinel
switch clockwise from
OFF.
Depending on how dark it becomes outside, the twilight
sentinel
turns your headlamps on automatically, when
they’re needed. Avoid covering the sensor located near
the windshield, by the defroster outlet
-- otherwise your
headlamps will stay on. The
twilight sentinel will keep your headlamps on
for as
long as three minutes to light your way when you leave
your vehicle. Rotate the twilight sentinel switch to
MAX
for a three-minute delay. Rotate it the other way to
reduce the delay.
Also, it’s possible that your headlamps might go out if
you drove from a dark area into a bright area, such as a
lighted parking lot.
If this happens, turn on your
headlamps with the regular headlamp switch.
Fog Lamps
The switch for your fog
lamps is in the overhead
An indicator light in the switch will glow when the fog
lamps are switched
on. Your headlamps must be on low
beams, or your parking lamps must be on, for your fog
lamps to work.
2-39
ProCarManuals.com
Page 98 of 338
The Instrument Panel -- Your
Information System
Your instrument panel is designed to let you know at a
glance how your vehicle is running. You’ll know how
fast you’re going, how much fuel you’re using, and
many other things you’ll need to drive safely and
economically.
Instrument Panel Clusters
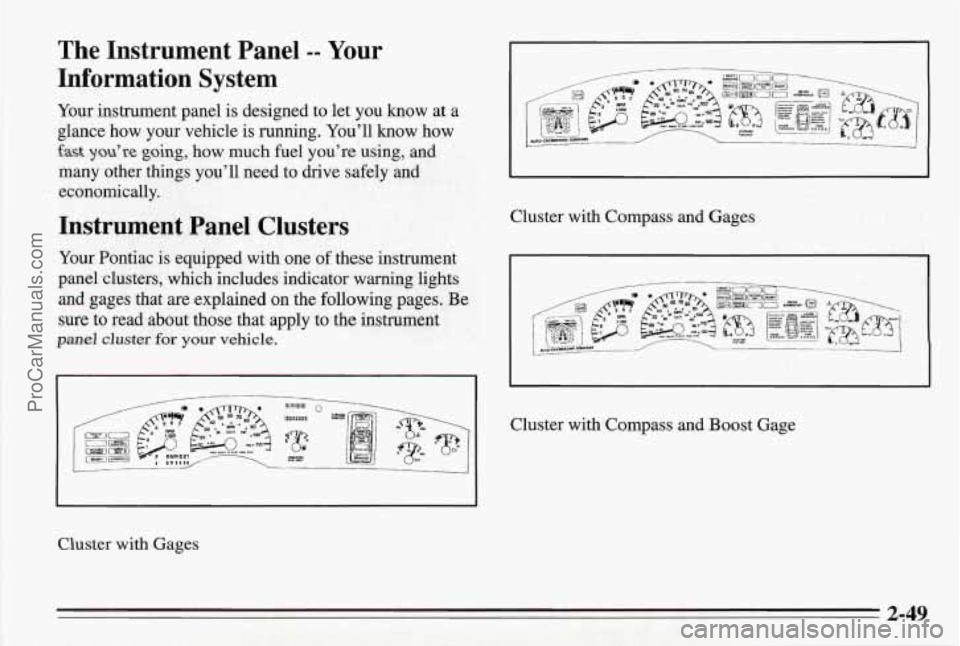
Your Pontiac is equipped with one of these instrument
panel clusters, which includes indicator warning lights
and gages that are explained on the following pages. Be
sure to read about those
that apply to the instrument
panel cluster for your vehicle.
Cluster with Gages Cluster
with Compass and Gages
I
I
Cluster with Compass and Boost Gage
2-49
ProCarManuals.com
Page 109 of 338
Check Oil Level Warning Light (Option)
1
CHECK OIL
LEVEL
1 This light indicates when
the engine oil level is
1 to
1 1/2 quarts (0.95 L to
1.4 L) low. It will go on for
one to three seconds when
the ignition is turned to the
RUN position, as a bulb
check to show
you that the
system is working.
If the light doesn’t come on, have your oil level warning
system serviced.
Even if
you have a low oil level, the light will go off for
15 to 20 seconds. Then, if the oil level is low, and it has
been at least eight minutes since your engine was last
running, the CHECK OIL LEVEL light will come on
for 20 to
40 seconds. The eight-minute delay allows the
majority of the
oil to drain back into the oil pan and
prevent
a false low condition. If the
CHECK OIL LEVEL
warning comes on, the oil
level should be checked at the oil dipstick. If the level is
low, the engine oil should be brought up
to the proper
level. See “Engine Oil” in the Index. After restoring the
proper level and
waiting for the eight-minute drainback,
the key can be turned to the
RUN position and the
CHECK OIL LEVEL warning light should only come
on
as a bulb check.
Head-Up Display (Option)
If you have the optional Head-Up Display (HUD), you
can see some of the driver information also available on
your instrument panel cluster. The information may be
displayed in English or metric units and appears as
a
reflection on the windshield. The HUD shows:
Speedometer reading
0 Turn signal indicators
e High beam indicator symbol
CHECK GAGES message (for low oil pressure, high
coolant temperature, low oil level and
low fuel)
Low fuel warning symbol.
2-60
ProCarManuals.com
Page 111 of 338
I
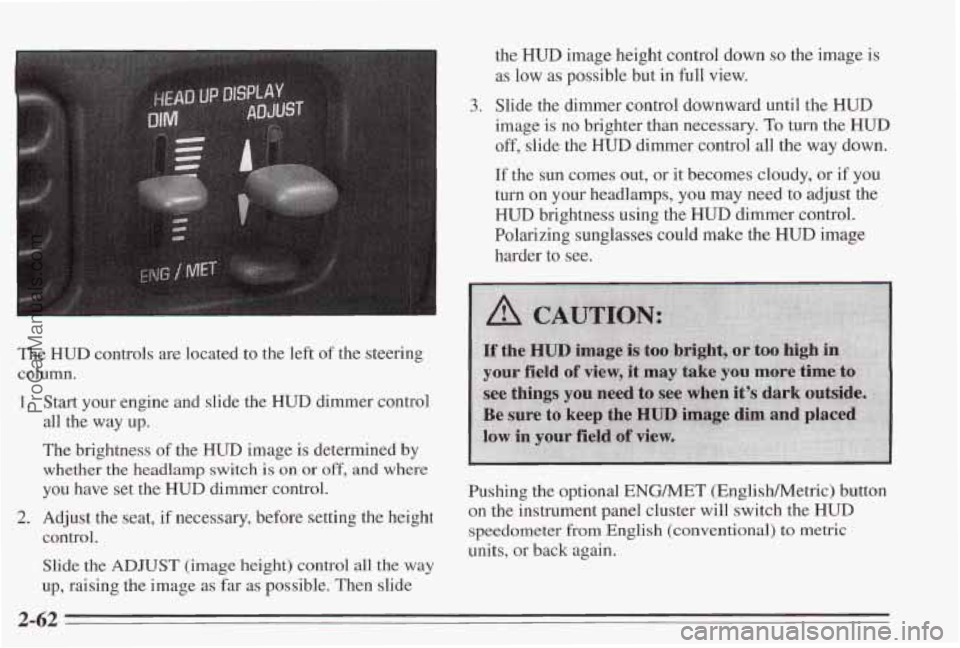
The HUD controls are located to the left of the steering
column.
1.
2.
Start your engine and slide the HUD dimmer control
all the way up.
The brightness of the
HUD image is determined by
whether the headlamp switch is on or off, and where
you have set the
HUD dimmer control.
Adjust the seat,
if necessary, before setting the height
control.
Slide the
ADJUST (image height) control all the way
up, raising the image as far as possible. Then slide the
HUD image height control down so the image is
as low as possible but in full view.
3. Slide the dimer control downward until the HUD
image is no brighter than necessary. To turn the HUD
off, slide the HUD dimmer control all the way down.
If the sun comes out, or it becomes cloudy, or
if you
turn on your headlamps, you may need to adjust the
HUD brightness using the HUD dimmer control.
Polarizing sunglasses could make the HUD image
harder to see.
Pushing the optional ENG/MET (Englishhletric) button
on the instrument panel cluster will switch the
HUD
speedometer fkom Englrsh (conventional) to metric
units, or back again.
2-62
ProCarManuals.com
Page 263 of 338
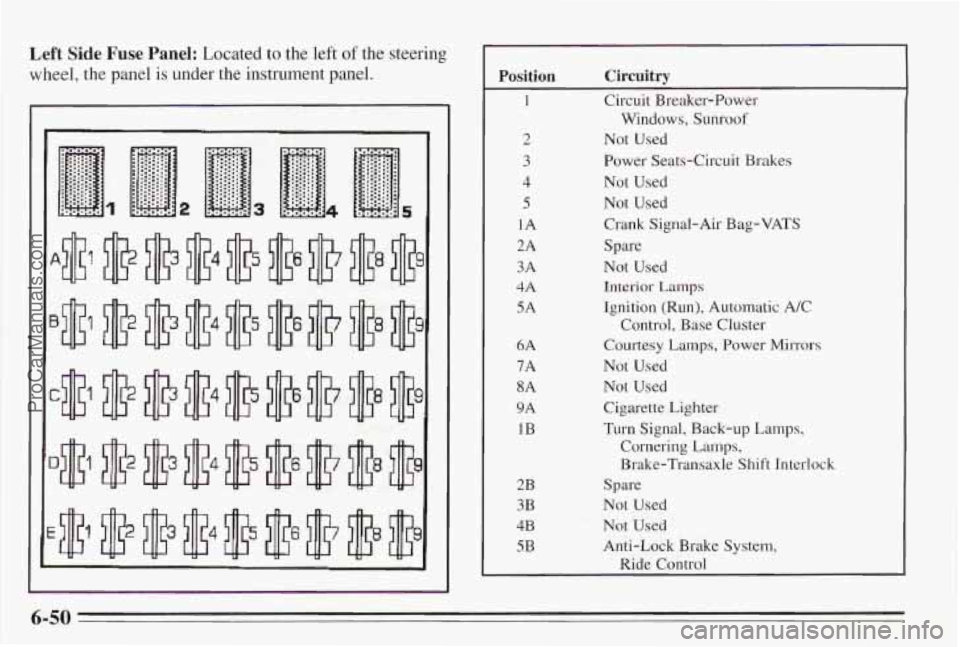
Left Side Fuse Panel: Located to the left of the steering
wheel, the panel
is under the instrument panel. Position Circuitry
1 Circuit Breaker-Power
2 Not Used
3 Power Seats-Circuit Brakes
4 Not Used
5 Not Used
1A Crank Signal-Air Bag-VATS
2A Spare
3A Not Used
4A Interior Lamps
5A Ignition (Run), Automatic A/C
6A Courtesy Lamps, Power Mirrors
7A Not Used
8A Not Used
9A Cigarette Light.er
1B Turn Signal, Back-up Lamps,
Windows, Sunroof
Control, Base Cluster
Cornering
Lamps,
Brake-Transaxle Shift Interlock
2B Spare
3B Not Used
4B Not Used
5B Anti-Lock Brake System,
Ride
Control
6-50
ProCarManuals.com
Page 330 of 338
Foreign Countries. Fuel .......... . . 6-6
French Language Manual
11
Front Towing Hookups (Except SSE) ................ 5-9
Front Towing Hookups
(SSE Only) ................. 5- 10
Fuel 3800Engine
................................. 6-3
3800 Supercharged Engine ...................... 6-4
FuelDoorLock
................................. 6-7
Fuel Door Manual Release
......................... 6-9
FuelGage
..................................... 2-65
Fuel. Filling Your Tank
........................... 6-7
Fuel. In Foreign Countries
......................... 6-6
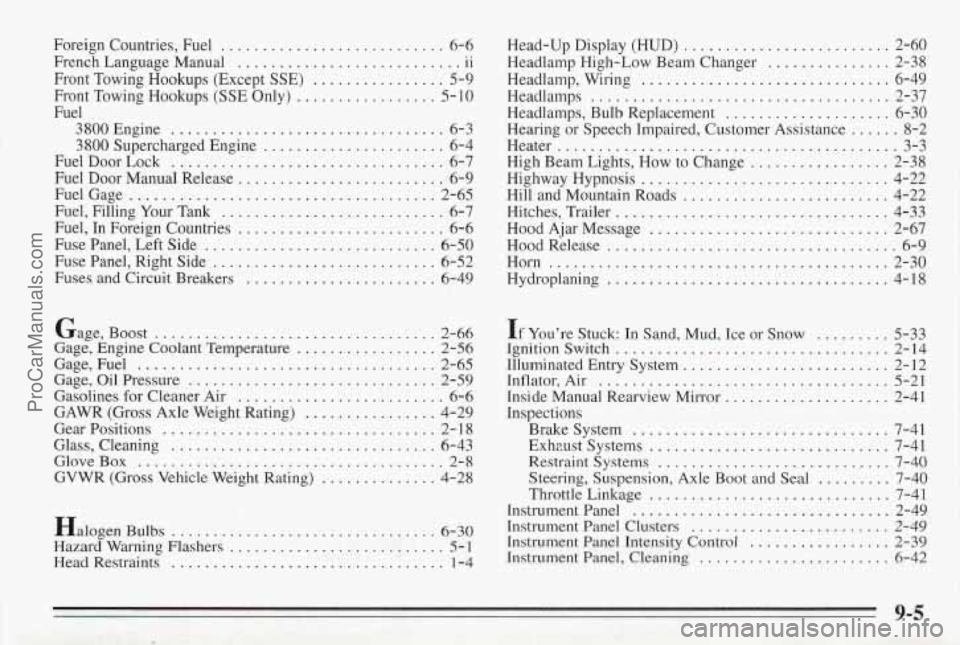
Fuse Panel. Left Side
............................ 6-50
Fuse Panel. Right Side
........................... 6-52
Fuses and Circuit Breakers
....................... 6-49
.. ...........................
Gage. Boost .................................. 2-66
Gage. Engine Coolant Temperature
................. 2-56
Gage. Fuel
.................................... 2-65
Gage. Oil Pressure
.............................. 2-59
Gasolines for Cleaner Air
......................... 6-6
GAWR (Gross Axle Weight Rating)
................ 4-29
GearPositions
................................. 2-18
Glass. Cleaning
................................ 6-43
GloveBox
..................................... 2-8
GVWR (Gross Vehicle Weight Rating)
.............. 4-28
Halogen
Bulbs ................................ 6-30
Hazard Warning Flashers .......................... 5-1
Head Restraints
................................. 1-4 Head-Up Display (HUD)
..................... 2-60
Headlamp High-Low Beam Changer
............... 2-38
Headlamp. Wiring .............................. 6-49
Headlamps
.................................... 2-37
Headlamps. Bulb Replacement
.................... 6-30
Hearing
or Speech Impaired. Customer Assistance ...... 8-2
Heater
......................................... 3-3
High Beam Lights. How to Change
................. 2-38
Highway Hypnosis .............................. 4-22
Hill and Mountain Roads
......................... 4-22
Hitches. Trailer
................................. 4-33
Hood Ajar Message
............................. 2-67
Hood Release
................................... 6-9
Horn
......................................... 2-30
Hydroplaning
.................................. 4-18
If You’re Stuck: In Sand. Mud. Ice or Snow ......... 5-33
Ignition Switch ................................. 2-14
Illuminated Entry System
......................... 2-12
Inflator. Air
................................... 5-21
Inside Manual Rearview Mirror
.................... 2-41
Inspections
Brakesystem
............................... 7-41
Exhzust Systems
............................. 7-41
Restraint Systems
............................ 7-40
Steering. Suspension. Axle Boot and Seal
......... 7-40
Throttle Linkage
............................. 7-41
Instrument Panel
............................... 2-49
Instrument Panel Clusters
........................ 2-49
Instrument Panel Intensity Control ................. 2-39
Instrument Panel. Cleaning ....................... 6-42
9-5
ProCarManuals.com