Page 110 of 338
Q
i
CHECKGAGES
HUD shows these images when they are lighted on the
instrument panel.
When you sit straight in your seat, the
HUD image will
appear slightly to the right.
When the ignition key is turned to RUN, all possible
HUD images will come on, then the Head-Up Display
will operate normally.
If you never look at your instrument panel, you may not
see something important, such as a warning light. So be
sure to scan your displays and controls and the driving
environment just
as you would in a vehicle without
HUD.
NOTICE:
Although the HUD image appears to be near the
front
of the vehicle, do not use it as a parking aid.
The
HUD was not designed for that purpose. If
you try to use it that way, such as in a parking
lot, you may misjudge distance and run into
something.
2-61
ProCarManuals.com
Page 112 of 338

Clean the inside of the windshield as needed to remove
any dirt or film that reduces the sharpness or clarity of
the
HUD image.
Spray household glass cleaner on a
soft, clean cloth.
Wipe the HUD lens gently, then dry it. Do not spray
cleaner directly on the lens, because the cleaner fluid
could leak inside the unit if you do.
If you can’t see the HUD image when the ignition
is on,
check to see if
The headlamps are on?
Anything is covering the HUD unit?
0 The HUD dimmer control is adjusted correctly?
0 The HUD image is adjusted to the proper height?
A fuse in the fuse panel may be blown. See “Fuses
If the HUD image is not clear it could be too bright,
move the
HUD dimmer control further downward. You
may need to clean the windshield and HUD lens.
Your windshield is part
of the HUD system. If you ever
have to have a new windshield, be sure to get one
designed
for HUD. If you don’t, the HUD image may
look blurred and out of focus.
and Circuit Breakers”
in the Index.
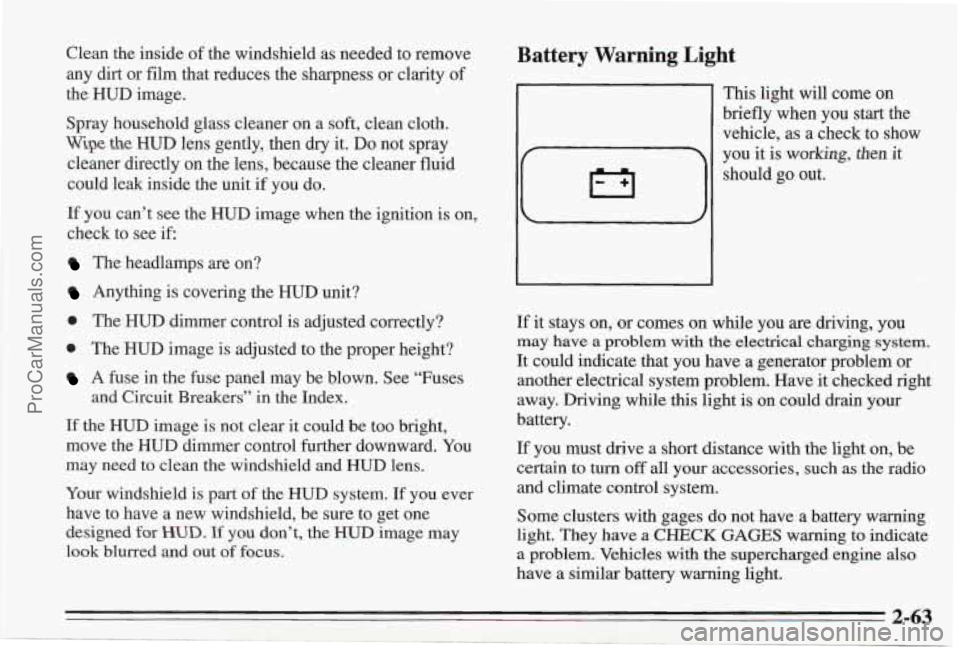
Battery Warning Light
This light will come on
briefly when you start the
vehicle, as a check to show
If it stays on, or comes on while you are dnving, you
may have a problem with the electrical charging system.
It could indicate that you have a generator problem or
another electrical system problem. Have it checked right
away. Driving while this light
is on could drain your
battery.
If you must drive a short distance with the light on, be
certain to turn
off all your accessories, such as the radio
and climate control system.
Some clusters with gages do not have a battery
warning
light. They have a CHECK GAGES warning to indicate
a problem. Vehicles with the supercharged engine also
have a similar battery warning light.
2-63
ProCarManuals.com
Page 114 of 338

Fuel Gage
Your fuel gage tells you about how much fuel you have
left, when the ignition is on. When the gage reads in the
yellow band, a warning chime will sound and the
CHECK GAGES warning light will go on, if you have
this option.
Here are five things that some owners ask about. None
of these show
a problem with your fuel gage:
0
0
0
0
0
At the service station, the gas pump shuts off before
the gage reads full.
It takes a little more or less fuel to
fill up than the
gage indicated. For example, the gage may have
indicated the tank was half full, but it actually took a
little more or less than half the tank's capacity to fill
the tank.
The gage moves a little when
you turn a corner,
speed up, or make a hard stop.
The gage doesn't go back to empty when you turn
off
the ignition.
If you have the large span (220") gage, the needle
moves more for
a given amount of fuel. This does
not indicate excessive fuel consumption, and is
normal.
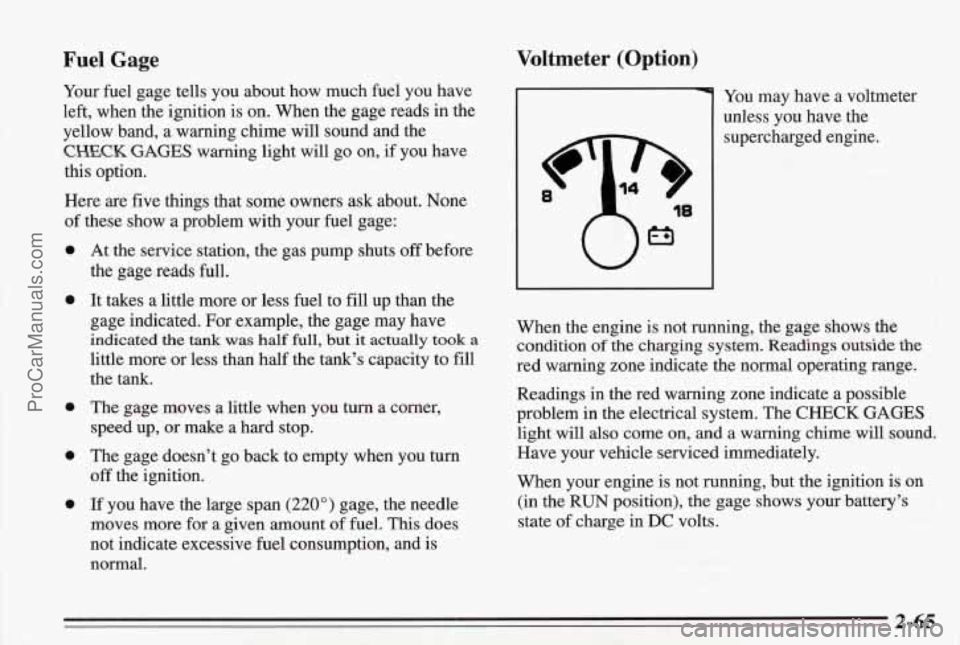
Voltmeter (Option)
You may have a voltmeter
unless you have the
supercharged engine.
When the engine is not running, the gage shows the
condition
of the charging system. Readings outside the
red warning zone indicate the normal operating range.
Readings in the red warning zone indicate a possible
problem in the electrical system. The
CHECK GAGES
light will also come on, and a warning chime will sound.
Have your vehicle serviced immediately.
When your engine is not running, but the ignition is on
(in the RUN position),
the gage shows your battery's
state of charge in
DC volts.
2-65
ProCarManuals.com
Page 115 of 338
Boost Gage (Option)
Vehicles equipped with the supercharged engine have
this boost gage that indicates vacuum during light to
moderate throttle and boost under heavier throttle. The
gage displays the air pressure level in psi going into the
engine’s combustion chamber.
The gage is automatically centered at zero psi every
time the engine is started. Actual vacuum or
boost is
displayed from this zero point. Changes in ambient
pressure, such
as driving in mountains and changing
weather, will slightly change the zero reading.
Driver Information Center
) (-) INFORMATION
DRIVER
CHECK OIL LEVEL
WASHER
FLUID
LOW COOLANT
CHECK QAQES
HOOD DOOR
TRUNK AJAR
MILES
888888
I /w
7
LAMP
MONITOR
HI EEAM HEAD
PARK LAMP
TURN SIQNAL
BACK
UP TAIL
BRAKE LAMP
If you have the Driver Information Center, it gives you
important safety and maintenance facts. When you turn
the ignition on, the entire center lights
up for a few
seconds. Then it goes to work.
2-66
ProCarManuals.com
Page 128 of 338
Audio Systems
The following pages describe the audio systems
available for your Pontiac, and how to get the best
performance from them. Please read about the system in
your vehicle.
Setting the Clock for Stereo Radio
1. With the ignition on,
press
SET. The SET
indicator will appear on
the digital display
for
five seconds.
2. While set is displayed, press and hold SEEK until
the correct minute appears
on the display.
3. While set is displayed, press and hold SEEK until
the correct hour appears.
Setting the Clock for Radios with Cassette
or CD
1. Press and hold the HR or
MIN button until the
hours or minutes begin
to change on the time
display. While the radio
is in the time set mode,
the colon in
the display
will blink.
2. Press the HR and MIN buttons until the correct time
appears.
ProCarManuals.com
Page 130 of 338
Three additional stations (2,4 and 6) may be preset on
each radio band by
pairing pushbuttons:
1. Tune in the desired station.
2. Press SET, and within five seconds press any two
side by side buttons (1 and 3,5 and 7, or 3 and 5) at
the same time.
3. The station will return when the same two buttons
are pressed together.
AMIFM Stereo Radios with Cassette
POWER: With the ignition on, push the POWER knob
to turn the radio on or off.
VQL: Turn the VOL knob right to increase volume.
Turn the VOL knob left to decrease volume.
AM/FM: Press A" to select the AM, FM1 or FM2
bands. The display will show which band you are on. If
you press this button while a tape is playing, the tape
will stop and the radio will return to
the AM or FM band
you were last on.
RECALL: When the ignition is off, press RECALL to
display the the. Each time you press RECALL with the
radio
on, it will switch the display back and forth
between radio. station and time.
3-9
ProCarManuals.com
Page 133 of 338
00 symbol are trademarks of Dolby Laboratories
Licensing Corporation.
REV: Press REV (reverse) to rapidly reverse a tape.
Press
REV again to play the tape. The radio will play
while the tape is reversing. Use
SEEK or the TUNE
knob to change the radio station during reverse.
FWD: Press FWD (forward)to rapidly advance the tape.
Press FWD again to play the tape. The radio will play
while
the tape is advancing. Use SEEK or the TUNE
knob to change the radio station during forward.
EJECT: Press EJECT to remove the cassette tape.
EJECT will operate with the ignition off.
If E and a number appears on the display at any time, an
error has occurred. See “Cassette Tape and
CD Errors”
later
in this section.
AM.(FM Stereo Radios with Compact Disc
Player
3-12
ProCarManuals.com
Page 134 of 338

The radio portion of these sound systems operates the
same
as the two previously explained.
Compact Disc Player (Option):
You may use full size or the smaller 8 cm (3.2 in.)
compact
discs.
No adaptor is required for the smaller compact discs.
With the radio on, insert a disc with the label side up.
The CD symbol will appear in the lower left corner of
the display. Wait a few seconds and the disc should
begin
to play.
If E and a number appears on the display at any time, an
error has occurred. See “Cassette Tape and CD Errors”
later in this section.
Compact Disc Player Control Features:
CDRLAY:
If you have a disc loaded and the radio is
playing, press CDPLAY
to play your disc. The disc will
begin playing from the track where
it last stopped. To
return to the radio while a disc is playing, press MM.
The disc will remain safely inside the radio for future
listening.
RECALL: Press RECALL to see which track is
playing. Press it again (within five seconds) to display
how long your selection has been playing.
PREV: While playing a compact disc, press PREV
(previous) or
SEEK to go to the beginning of the current
track
(if more than eight seconds have played). Press it
again or hold it down to go to the previous tracks. The
display will show the track number.
NEXT: While playing a compact disc, press NEXT or
SEEK to go to the next track. Press it again or hold it
down to continue advancing through the tracks.
RDM: Press the RDM (random) button to cause the CD
player to play the tracks on the disc in random order.
RDM will be displayed in the lower right corner of the
display during random operation. Press RDM again to
turn
off the random feature.
REV: Press and hold REV (reverse) to rapidly reverse
the disc. The radio display will show the time into the
track during fast reverse operation.
FWD: Press and hold FWD (forward) to rapidly
advance the disc. The radio display will show the time
into the track during fast reverse operation.
EJECT: Press EJECT to remove the disc. The radio will
play after the disc
is ejected. EJECT will operate while
the ignition is
off.
3-13
ProCarManuals.com