Page 151 of 390
HOT COOLANT CAN BURN YOU BADLY!
In “Problems on the Road,” this manual shows what to
do. See “Engine Overheating” in the Index.
Malfunction Indicator Lamp
(Service Engine Soon Light)
SERVICE
ENGINE SOON
A computer monitors
operation
of your fuel,
ignition and emission
controls systems. This light
should come on when the ignition is on but
the engine is not running, as a check to show you it is
worlung.
If it does not come on at all, have it fixed right
away.
If it stays on, or it comes on while you are
driving, the computer is indicating that you have a
problem. You should take your vehicle in for service
soon.
NOTICE:
If you keep driving your vehicle with this light
on, after a while the emission controls won’t
work as well, your fuel economy won’t be as good
and your engine may not run as smoothly. This
could lead to costly repairs not covered by your
warranty.
2-81
ProCarManuals.com
Page 154 of 390
The liftgate ajar symbol on your instrument panel will
come
on if your liftgate is not completely closed.
Power Sliding Door Warning Light
With the optional power sliding door, the sliding door
ajar symbol
on your instrument panel will come on if
your sliding door is not completely closed.
If you shift the transaxle out of PARK (P) while the
sliding door is open or in the process
of closing, and the
power sliding door enable switch is
in the ON position,
the power sliding door warning light will flash and a
buzzer will sound.
This is a warning that the sliding
door is not completely closed.
2-84
ProCarManuals.com
Page 155 of 390
If you manually slam the power sliding door shut when
the ignition is on, the power sliding door warning light
may come on and stay on.
To turn the light off, reopen
and close the
door using either power door switch, or
manually open and close the door again more slowly.
Low Fuel Warning Light
L
F
When there is between 3 gallons (1 1 liters) and 0.5 gallon
(1.8 liters) of fuel left in the tank, the warning light next to
the fuel symbol will go on.
This light will also come on when you turn on the,
ignition, but the engine is not running, to show you
it is
working. If it doesn’t come on as you start your vehicle,
have it fixed right away.
2-85
ProCarManuals.com
Page 160 of 390

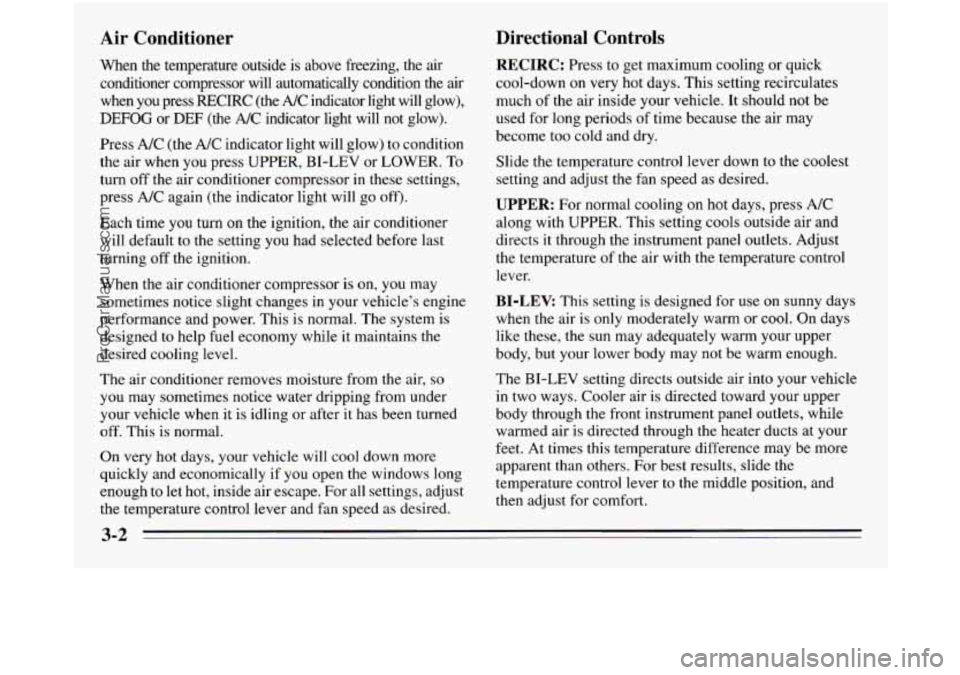
Air Conditioner
When the temperature outside is above freezing, the air
conditioner compressor will automatically condition the air when you press RECIRC (the A/C indicator light will glow),
DEFOG or DEF (the A/C indicator light will not glow).
Press A/C (the
A/C indicator light will glow) to condition
the air when you press UPPER, BI-LEV or
LOWER. To
turn off the air conditioner compressor
in these settings,
press A/C again (the indicator light will go off).
Each time
you turn on the ignition, the air conditioner
will default
to the setting you had selected before last
turning off the ignition.
When the air conditioner compressor is
on, you may
sometimes notice slight changes in your vehicle’s engine
performance and power. This
is normal. The system is
designed to help fuel economy while
it maintains the
desired cooling level.
The air conditioner removes moisture from the air,
so
you may sometimes notice water dripping from under
your vehicle when it is idling or after it has been turned
off. This is normal.
On very hot days,
your vehicle will cool down more
quickly and economically if you open the windows long
enough
to let hot, inside air escape. For all settings, adjust
the temperature control lever and fan speed as desired.
Directional Controls
RECIRC: Press to get maximum cooling or quick
cool-down
on very hot days. This setting recirculates
much of the air inside your vehicle. It should not be
used for long periods
of time because the air may
become too cold and dry.
Slide the temperature control lever down to the coolest
setting and adjust the fan speed as desired.
UPPER: For normal cooling on hot days, press A/C
along with UPPER. This setting cools outside air and
directs it through the instrument panel outlets. Adjust
the temperature of the air with the temperature control
lever.
BI-LEV: This setting is designed for use on sunny days
when the air is only moderately warm or cool. On days
like these, the sun may adequately warm your upper
body, but your lower body may
not be warm enough.
The BI-LEV setting directs outside air into your vehicle
in two ways. Cooler air is directed toward your upper
body through the front instrument panel outlets, while
warmed air is directed through the heater ducts at your
feet. At times this temperature difference may be more
apparent than others. For best results, slide the
temperature control lever to the middle position, and
then adjust for comfort.
3-2
ProCarManuals.com
Page 165 of 390

Rear Window Defogger
Press R.DEF (Rear Defog) to warm the defogger grid
on the rear window. The indicator light will glow while
the rear window defogger is operating. The rear
window defogger will turn off automatically after about
10 minutes of use. If you turn it on again, the defogger
will operate for about five minutes only.
You can also
turn the defogger off by turning off the ignition or
pressing the switch again.
Do not attach a temporary vehicle license across the
defogger grid on the rear window.
Flow-Through Ventilation System
Your vehicle’s flow-through ventilation system supplies
outside air into the vehicle when
it is moving. Outside
air will also enter the vehicle when the heater or the air
conditioning fan is running.
Ventilation Tips
0
1 NOTICE:
Don’t use a razor blade or something else sharp
on the inside
of the rear window. If you do, you
could cut or damage the warming grid, and the
repairs wouldn’t
be covered by your warranty. 0
Keep the hood and front air inlet free of ice, snow, or
any other obstruction (such as leaves). This will
allow
the heater and defroster to work much better,
reducing the chance of fogging the i.nside of your
windows.
When
you enter a vehicle in cold weather, turn the
blower fan to
HIGH for a few moments before
driving off. This helps clear the intake ducts of snow
and moisture, and reduces the chance
of fogging the
inside of your windows.
Keep the area around the base
of the center
instrument panel console and the air path under the
front seats clear of objects. This helps air to circulate
throughout your vehicle.
3-7
ProCarManuals.com
Page 167 of 390

AM%FM Stereo Radio
I
XJ f AMFM Q
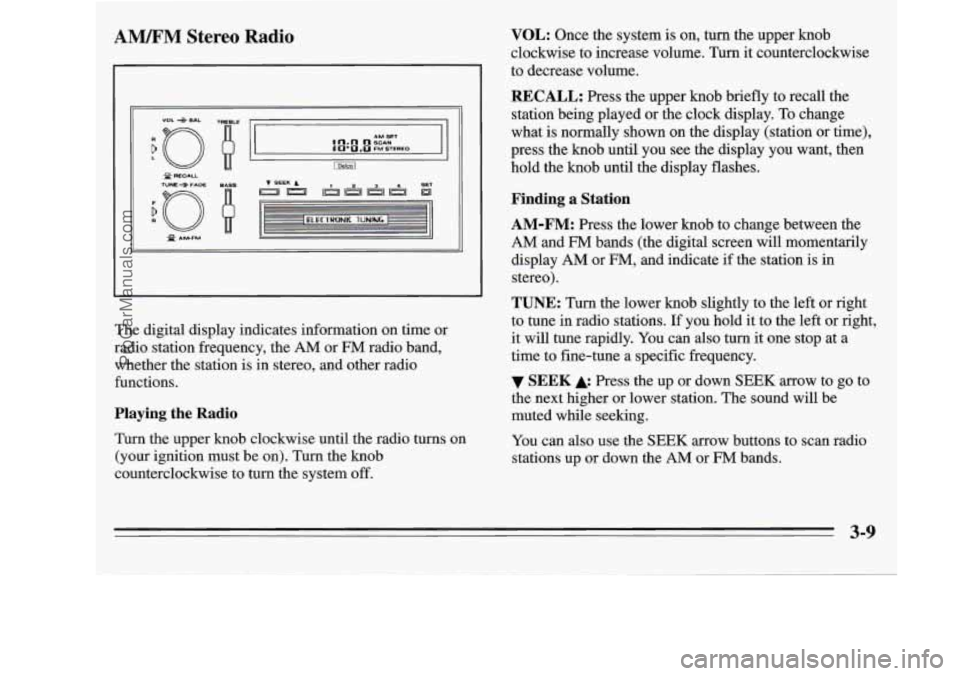
The digital display indicates information on time or
radio station frequency, the
AM or FM radio band,
whether the station is in stereo, and other radio
functions.
Playing the Radio
Turn the upper knob clockwise until the radio turns on
(your ignition must be
on). Turn the knob
counterclockwise to turn the system off.
VOL: Once the system is on, turn the upper knob
clockwise to increase volume. Turn it counterclockwise
to decrease volume.
RECALL: Press the upper knob briefly to recall the
station being played or the clock display. To change
what
is normally shown on the display (station or time),
press the knob until you see the display you want, then
hold the knob until the display flashes.
Finding a Station
AM-FM:
Press the lower knob to change between the
AM and FM bands (the digital screen will momentarily
display
AM or FM, and indicate if the station is in
stereo).
TUNE: Turn the lower knob slightly to the left or right
to tune in radio stations. If you hold it to the left or right,
it will tune rapidly. You can also turn it one stop at a
time to fine-tune a specific frequency.
the next higher or lower station. The sound will be
muted while seeking.
You can also use the
SEEK arrow buttons to scan radio
stations up or down the
AM or FM bands.
SEEK Press the up or down SEEK arrow to go to
3-9
ProCarManuals.com
Page 169 of 390

AM/FM Stereo with Cassette Player
(Option)
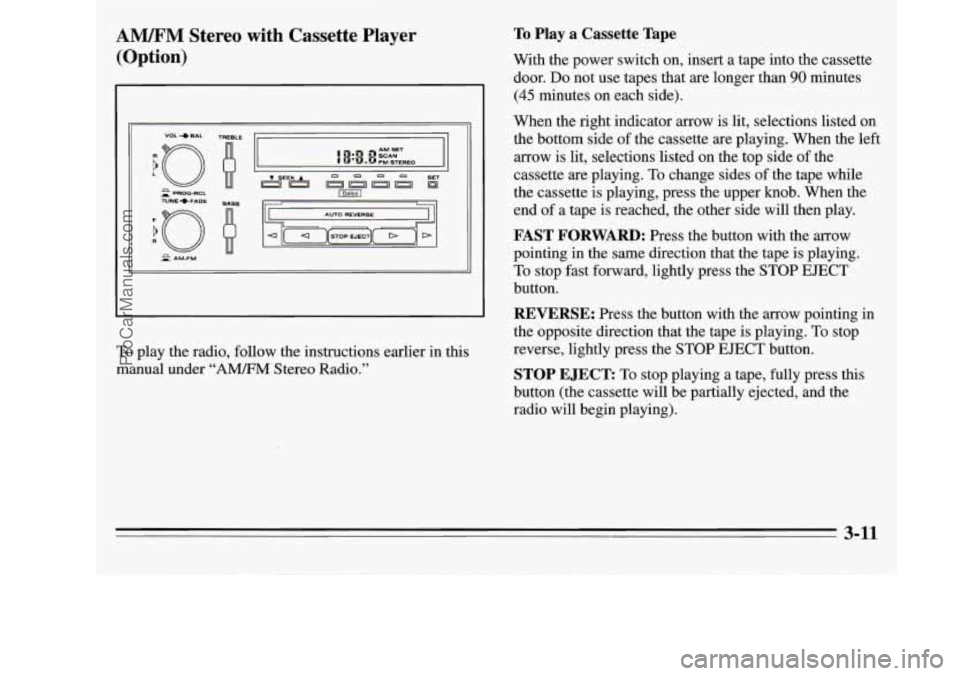
To play the radio, follow the instructions earlier in this
manual under
“A”M Stereo Radio.”
To Play a Cassette Tape
With the power switch on, insert a tape into the cassette
door.
Do not use tapes that are longer than 90 minutes
(45 minutes on each side).
When the right indicator arrow is lit, selections listed
on
the bottom side of the cassette are playing. When the left
arrow is lit, selections listed on the top side of the
cassette are playing. To change sides of the tape while
the cassette is playing, press the upper knob. When the
end of a tape is reached, the other side will then play.
FAST FORWARD: Press the button with the arrow
pointing in the same direction that the tape is playing.
To stop fast forward, lightly press the STOP EJECT
button.
REVERSE: Press the button with the arrow pointing in
the opposite direction that the tape is playing.
To stop
reverse, lightly press the STOP EJECT button.
STOP EJECT To stop playing a tape, fully press this
button (the cassette will be partially ejected, and the
radio will begin playing).
3-11
ProCarManuals.com
Page 170 of 390
![OLDSMOBILE SILHOUETTE 1995 Owners Manual AMEM Stereo with Cassette Player with
Dolby@ (Option)
9
n AM 1 u - FM TUNE
r 1
(IJ (2) [T) [TI [y) [L] [=]
PROG Cr02 REV FWD PREV NEXT
L /
Playing the Radio
Push the PWR button to turn OLDSMOBILE SILHOUETTE 1995 Owners Manual AMEM Stereo with Cassette Player with
Dolby@ (Option)
9
n AM 1 u - FM TUNE
r 1
(IJ (2) [T) [TI [y) [L] [=]
PROG Cr02 REV FWD PREV NEXT
L /
Playing the Radio
Push the PWR button to turn](/manual-img/31/58210/w960_58210-169.png)
AMEM Stereo with Cassette Player with
Dolby@ (Option)
9
n AM 1 u - FM TUNE
r 1
(IJ (2) [T) [TI [y) [L] [=]
PROG Cr02 REV FWD PREV NEXT
L /
Playing the Radio
Push the PWR button to turn the system on or off.
VOL: Turn the upper knob clockwise to increase
volume. Turn it counterclockwise to decrease volume.
MUTE: Press the upper knob to mute the radio or tape
player. Press it again to listen.
RCL: When the ignition is off, press this button to
display the clock. When the radio is on, press it to
change between the clock and radio station frequency
shown on the digital display.
Finding a Station
AM-FM:
Press the lower knob to change between the
AM and
FM bands. The band you select will appear
momentarily on the digital display.
TUNE: Turn the lower knob slightly to the left or right
to tune in radio stations. If you hold it to the left or right,
it will tune rapidly. You can also turn it one stop at a
time to fine-tune a specific frequency.
4 SEEK b: Press to seek and stop on the next station
higher or lower on the radio band.
SCAN: When you press SCAN, the radio will go to the
next station and pause there for a few seconds. SCAN
will be shown on the digital display. Press SCAN again
to stop on a station.
3-12
5
ProCarManuals.com