1995 OLDSMOBILE SILHOUETTE change time
[x] Cancel search: change timePage 174 of 390
Setting the Tone
BASS: This switch adjusts the bass level up or down.
The bottom of the digital screen will display the level
you have selected. For a normal listening level preset at
the factory, press the center of the switch.
TREB: This switch adjusts the treble level up or down.
The bottom
of the digital screen will display the level
you have selected. For a normal listening level preset at
the factory, press
the center of the switch.
Adjusting the Speakers
BAL:
This four-way control adjusts the lefthight and
fronthear speaker balance to your individual taste.
When you change either adjustment, the bottom of the
digital screen will display the point of balance you have
selected. For the normal setting preset at the factory,
press the
left and right or front and rear buttons at the
same time.
To Play a Compact Disc
Don’t use mini-discs that are called singles. They won’t
eject. Use only full-size compact discs.
1. Press POWER to turn the radio on.
2. Insert a disc part-way into the slot, with the label
side
up. The player will pull it in. In a few seconds,
the disc should play.
If the disc comes back out:
0 The disc may be upside down.
0 The disc may be dirty, scratched or wet.
There may be too much moisture in the air (wait
The player may be too hot, or the road may be too
rough for the disc to play. If the word HOT appears
on the display, the player is too hot. Press
RCL to
remove HOT from the display. As soon as things get
back to normal, the disc should play.
about one
hour and try again).
While a disc
is playing, the CD indicator is displayed on
the digital screen, as is the clock.
Many of the controls for the radio also have functions
for the compact disc player, as explained here.
3-16
ProCarManuals.com
Page 175 of 390
RCL: Press this button once to see which track is
playing. Press it again within five seconds to see how
long your selection has been playing. The track number
also will be displayed when the volume is changed or a
new track starts to play.
PREV: Press this button to play a track again. If you
hold or keep pressing the PREV button, the disc will
keep backing up to previous tracks.
NEXT Press this button when you want to hear the next
track before the track you are listening to has finished.
If
you hold or keep pressing the NEXT button, the disc
will keep advancing
to other tracks.
REV: Press and hold this button to rapidly back up to a
favorite passage. Release it to resume playing.
FF: Press and hold this button to rapidly advance the
disc. Release
it to resume playing.
COMP: Press this button to make soft and loud
passages more alike in volume. Press it again
to resume
normal play.
When Finished with the Compact Disc Player
If you press POWER or turn off the ignition, the disc
will stay
in the player and start again when you turn on
the ignition or power switch. The disc will begin playing
at the point where it had been stopped.
STEL: Press this button to stop the disc player (the
radio will then play). Press
it again to play the disc (the
player will start playing the disc where it was stopped
earlier).
EJCT Press this button to eject the disc (the radio will
then play).
CD Player Anti-Theft Feature
Delco LOC 11' is a security feature for the compact disc
player. It can be used or ignored. If ignored, the system
plays normally. If it is used, your player won't be usable
if it is ever stolen, because it will go to
LOC mode any
time battery power is removed. Until an unlock code is
entered, it will not turn
on.
The instructions that follow tell you how to enter a
secret code into the system. If your vehicle loses battery
power for any reason, you must unlock the system with
the secret code before the radio will turn on.
3-17
ProCarManuals.com
Page 190 of 390
A computer senses that wheels are slowing down. If one
of the wheels is about to stop rolling, the computer will
separately work the brakes at each front wheel and at the
rear wheels.
The anti-lock system can change
the brake pressure
faster than any driver could. The computer
is
programmed to make the most of available tire and road
conditions.
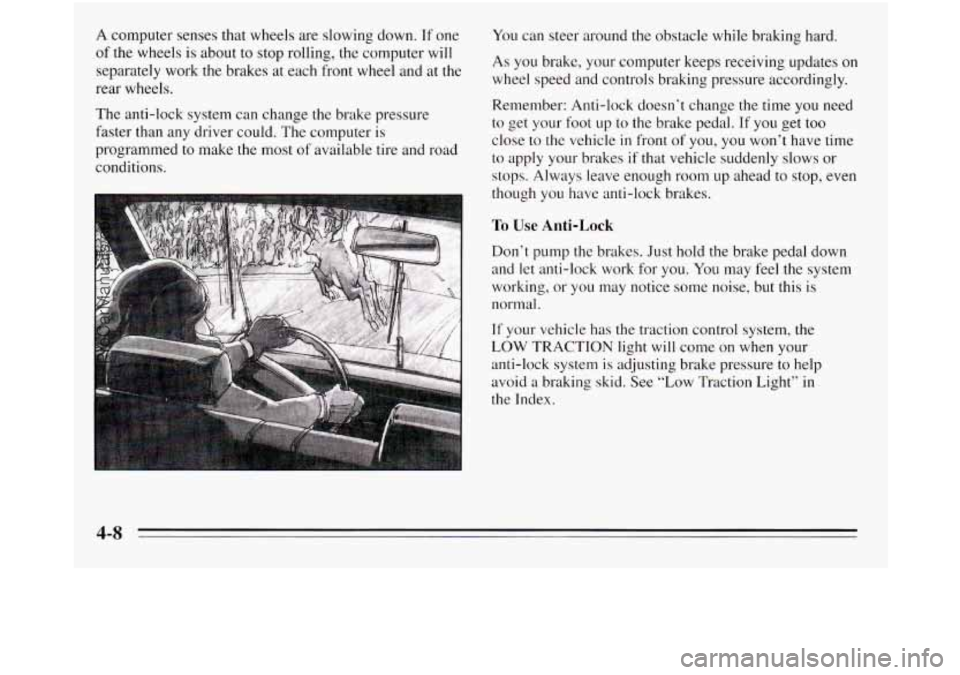
You can steer around the obstacle while braking hard.
As you brake, your computer keeps receiving updates on
wheel speed and controls braking pressure accordingly.
Remember: Anti-lock doesn’t change the time you need
to get your foot up to the brake pedal. If you get too
close
to the vehicle in front of you, you won’t have time
to apply your brakes if that vehicle suddenly slows or
stops. Always leave enough room up ahead
to stop, even
though you have anti-lock brakes.
To Use Anti-Lock
Don’t pump the brakes. Just hold the brake pedal down
and let anti-lock work for you.
You may feel the system
working, or you may notice some noise, but this
is
normal.
If your vehicle has the traction control system, the
LOW TRACTION light will come on when your
anti-lock system
is adjusting brake pressure to help
avoid a braking skid. See “Low Traction Light” in
the Index.
4-8
ProCarManuals.com
Page 196 of 390
Check your mirrors, glance over your shoulder, and
start your left lane change signal before moving out
of the right lane to pass. When you are far enough
ahead
of the passed vehicle to see its front in your
inside mirror, activate your right lane change signal
and move back into the right lane. (Remember that
your right outside mirror is convex. The vehicle you
just passed may seem to be farther away from you
than it really
is.)
Try not to pass more than one vehicle at a time on
two-lane roads. Reconsider before passing the next
vehicle.
Don’t overtake a slowly moving vehicle too rapidly.
Even though the brake lamps are not flashing, it may
be slowing down or starting to turn.
If you’re being passed, make it easy for the
following driver
to get ahead of you. Perhaps you
can ease a little to the right.
Loss of Control
Let’s review what driving experts say about what
happens when the three control systems (brakes, steering
and acceleration) don’t have enough friction where the
tires meet the road to
do what the driver has asked.
In any emergency, don’t give
up. Keep trying to steer and
constantly seek an escape route or area of less danger.
Skidding
In a skid, a driver can lose control of the vehicle. Defensive
drivers avoid most skids by taking reasonable care suited
to existing conditions, and by not “overdriving” those
conditions. But skids are always possible.
The three types of skids correspond
to your
Oldsmobile’s three control systems. In the braking skid
your wheels aren’t rolling. In the steering or cornering
skid, too much speed or steering in a curve causes tires
to slip and lose cornering force. And in the acceleration
skid too much throttle causes the driving wheels to spin.
A cornering skid is best handled by easing your foot off
the accelerator pedal. If you have the traction control
system, remember: It helps avoid only the acceleration
skid. If
you do not have traction control, or if the system
A 1A
ProCarManuals.com
Page 213 of 390
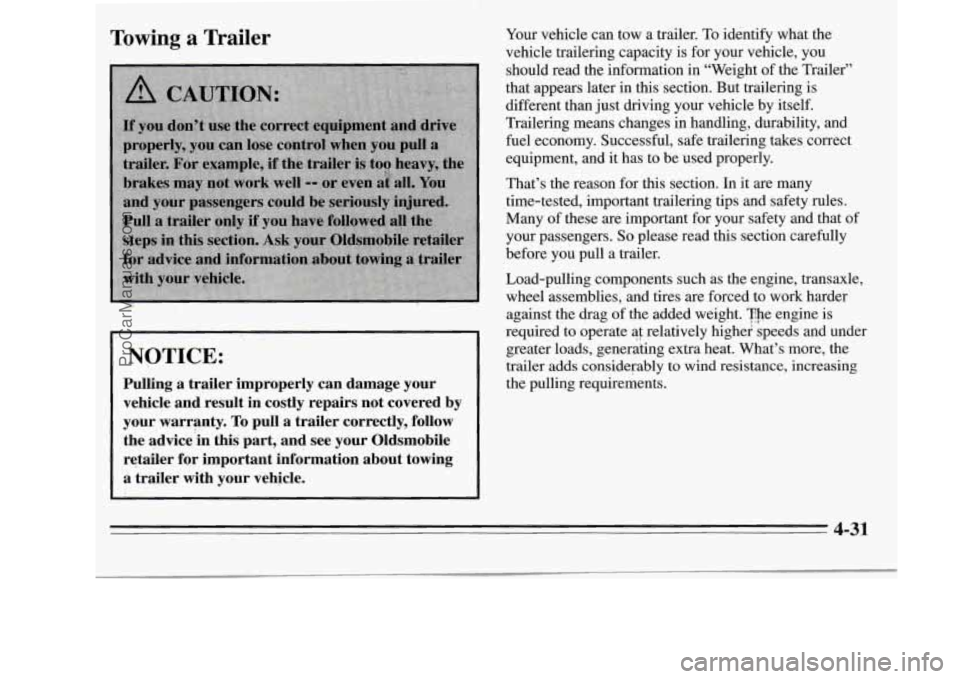
Towing a Trailer
NOTICE:
Pulling a trailer improperly can damage your vehicle and’result in costly repairs not covered by
your warranty.
To pull a trailer correctly, follow
the advice‘in this part, and see your Oldsmobile
retailer for important information about towing a trailer with your vehicle.
Your vehicle can tow a trailer. To identify what the
vehicle trailering capacity is for your vehicle, you
should read the information in “Weight of the Trailer”
that appears later in this section. But trailering is
different than just driving your vehicle by itself.
Trailering means changes in handling, durability, and
fuel economy. Successful, safe trailering takes correct
equipment, and it has to be used properly.
That’s the reason for this section. In it are many
time-tested, important trailering tips and safety rules.
Many of these are important for your safety and that of
your passengers.
So please read this section carefully
before you pull a trailer.
Load-pulling components such as the engine, transaxle,
wheel assemblies, and tires are forced to work harder
against the drag of the added weight. The engine is
required
‘to operate ai relatively highei speeds and under
greater loads, generating extra heat. What’s more, the
trailer adds considerably to wind resistance, increasing
the pulling requirements.
4-31
ProCarManuals.com
Page 279 of 390
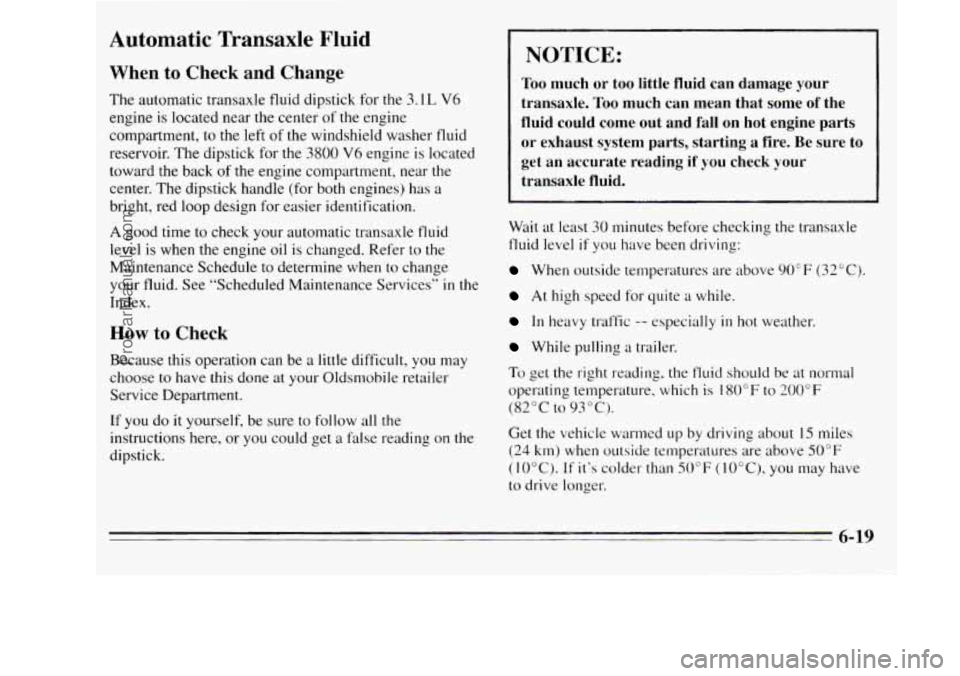
Automatic Transaxle Fluid
When to Check and Change
The automatic transaxle fluid dipstick for the 3.1 L V6
engine is located near the center of the engine
compartment, to the left
of the windshield washer fluid
reservoir. The dipstick for
the 3800 V6 engine is located
toward the back
of the engine Compartment, near the
center. The dipstick handle (for both engines) has
a
bright, red loop design for easier identification.
A good time to check your automatic transaxle fluid
level is when the engine oil is changed. Refer to the
Maintenance Schedule to determine when to change
your fluid. See “Scheduled Maintenance Services”
in the
Index.
How to Check
Because this operation can be a little difficult, you may
choose to have this done at your Oldsmobile retailer
Service Department.
If
you do it yourself, be sure to follow all the
instructions here, or
you could get a false reading on the
dipstick.
NOTICE:
Too much or too little fluid can damage your
transaxle.
Too much can mean that some of the
fluid could come out and fall on hot engine parts
or exhaust system parts, starting a fire. Be sure to
get
an accurate reading if you check your
transaxle fluid.
Wait at least 30 minutes before checking the transaxle
fluid level
if you have been driving:
When outside temperatures are above 90°F (32°C).
At high speed for quite a while.
In heavy traffic -- especially in hot weather.
While pulling a trailer.
To get the right reading, the fluid should be at normal
operating temperature, which is 180°F
to 200°F
(82°C to 93°C).
Get the vehicle warmed up by driving about 15 miles
(24 km) when outside temperatures are above 50°F
(10°C).
If it’s colder than 50°F (lO°C), you may have
to drive longer.
ProCarManuals.com
Page 290 of 390
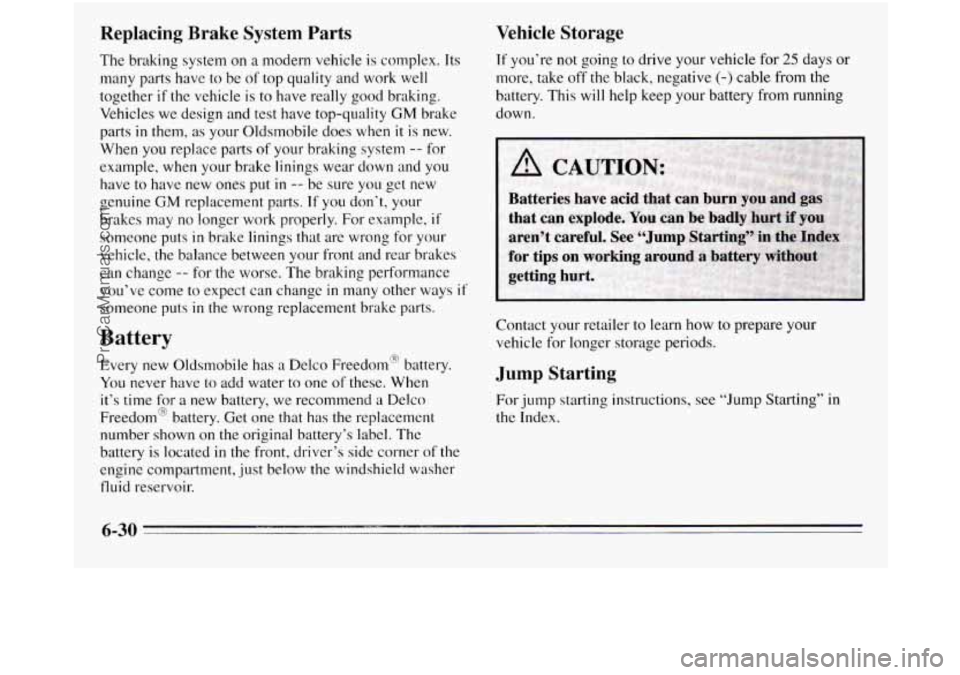
Replacing Brake System Parts
The braking system on a modern vehicle is complex. Its
many parts have to
be of top quality and work well
together
if the vehicle is to have really good braking.
Vehicles we design and test have top-quality
GM brake
parts
in them, as your Oldsmobile does when it is new.
When you replace parts of your braking system
-’- for
example, when your brake linings wear down and you
have to have new ones put
in -- be sure you get new
genuine
GM replacement parts. If you don‘t, your
brakes may no longer work properly. For example.
if
someone puts in brake linings that are wrong for your
vehicle, the balance between your front and rear brakes
can change
-- for the worse. The braking performance
you’ve
come to expect can change in many other ways if
someone puts in the wrong replacement brake parts.
Battery
Every new Oldsmobile has a Delco Freedom@ battery.
You never have to add water to one of these. When
it’s time
for a new battery, we recommend a Delco
Freedom@ battery. Get one that has
the replacement
number shown on the original battery’s label. The
battery is located in the front, driver’s side corner
of the
engine compartment, just below
the windshield washer
fluid reservoir.
Vehicle Storage
If you’re not going to drive your vehicle for 25 days or
more, take off the black, negative (-) cable from the
battery. This will help keep your battery from running
down.
Contact your retailer to learn how to prepare your
vehicle for longer storage periods.
Jump Starting
For jump starting instructions, see “Jump Starting” in
the Index.
6-30
ProCarManuals.com
Page 387 of 390
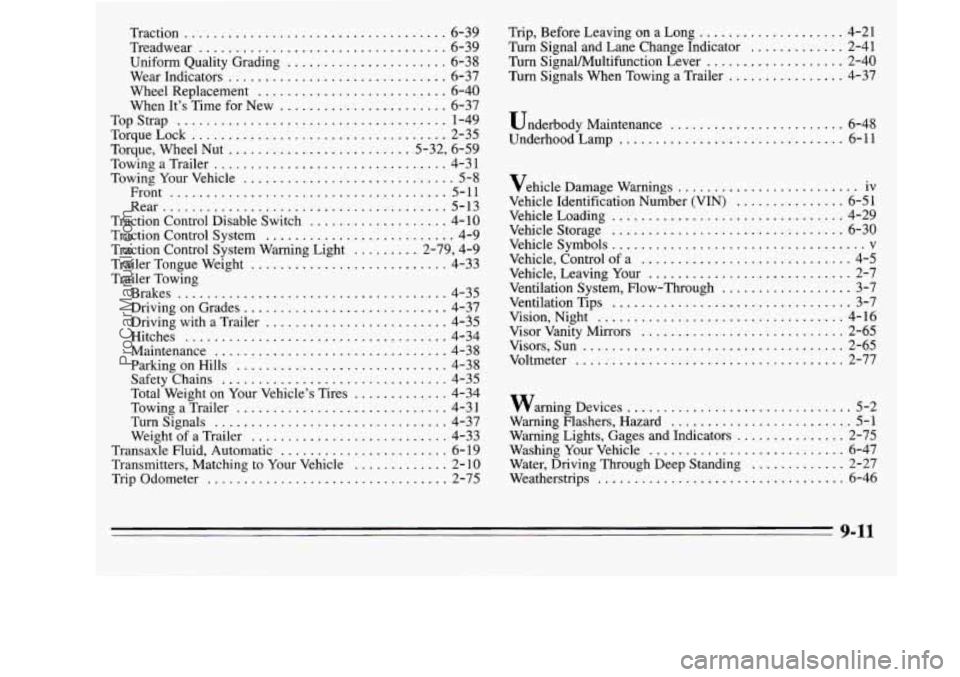
Traction .................................... 6-39
Treadwear
.................................. 6-39
Uniform Quality Grading
...................... 6-38
Wear Indicators
.............................. 6-37
Wheel Replacement
.......................... 6-40
When It’s Time for New
....................... 6-37
Top Strap
..................................... 1-49
TorqueLock
................................... 2-35
Torque. Wheel
Nut ......................... 5.32. 6.59
Towing a Trailer
................................ 4-3 1
Towing Your Vehicle ............................. 5-8
Front ...................................... 5-11
Rear
....................................... 5- 13
Traction Control Disable Switch
................... 4-10
Traction Control System
.......................... 4-9
Traction Control System Warning Light
......... 2-79, 4-9
Trailer Tongue Weight
........................... 4-33
Trailer Towing Brakes
..................................... 4-35
Driving on Grades
............................ 4-37
Driving with a Trailer
......................... 4-35
Hitches
.................................... 4-34
Maintenance
................................ 4-38
Parking on Hills
............................. 4-38
Safety Chains
............................... 4-35
Total Weight on Your Vehicle’s Tires
............. 4-34
Towing
a Trailer ............................. 4-31
Turnsignals
................................ 4-37
Transaxle Fluid, Automatic
....................... 6- 19
Transmitters, Matching to Your Vehicle
............. 2- 10
Trip Odometer
................................. 2-75
Weight
of a
Trailer ........................... 4-33 Trip. Before Leaving on a Long
.................... 4-21
Turn Signal and Lane Change Indicator
............. 2-41
Turn SignaVMultifunction Lever
................... 2-40
Turn Signals When Towing a Trailer
................ 4-37
Underbody Maintenance
........................ 6-48
Underhood Lamp
............................... 6-11
Vehicle Damage Warnings
......................... iv
Vehicle Identification Number (VIN)
............... 6-51
Vehicle Loading ................................ 4-29
Vehicle Storage
........................ : ....... 6-30
Vehicle Symbols
................................... v
Vehicle. Control of a ............................. 4-5
Vehicle. Leaving Your
............................ 2-7
Ventilation Tips
................................. 3-7
Vision. Night
.................................. 4-16
Visor Vanity Mirrors
............................ 2-65
Visors. Sun
.................................... 2-65
Voltmeter ..................................... 2-77
Ventilation System. Flow-Through
.................. 3-7
warning Devices
............................... 5-2
Warning Flashers. Hazard
......................... 5-1
Warning Lights. Gages and Indicators
............... 2-75
Washing Your Vehicle
........................... 6-47
Water. Driving Through Deep Standing
............. 2-27
Weatherstrips .................................. 6-46
9-11
ProCarManuals.com