Page 215 of 340
3 .k
..
4L LQ1 (code X) Engine
To Check Engine Oil
Pull out the dipstick and clean it with a paper towel -or
cloth, then push it back in all the way. Remove
it again,
keeping the tip down, and check the level.
When to Add Oil ,
If the oil is at or below the upper mark, then you’ll need
to add some oil. But you must use the right kind. This
part explains’ what
kind of oil to use. For crankcase
capacity, see “Capacities and Specifications” in the
’
Index.
NOTICE:
Don’t add too much oil. If your engine has so
much oil that the oil level gets above the
cross-hatched area that shows the proper
operating range, your engine could be damaged.
6-11
~
Page 220 of 340
NOTICE:
If the air cleaner is off, a backfire can cause a
damaging engine fire. And, dirt can easily ,get
into your engine, which will damage it. Always
have the air cleaner in place when you’re driving.
Automatic Transaxle Fluid
When to Check and Change
A good time to check your automatic transaxle fluid
level is when the engine oil is changed. Refer to the
Maintenance Schedule to determine when to change
your fluid. See “Scheduled Maintenance Services’’ in the
Index.
How to Check
Because this operation can be a little difficult, you may
choose to have this done at your Oldsmobile retailer
Service Department.
If yon do it yourself, be sure to follow all the
instructions here,
or you could get a false reading on the
dipstick.
Page 221 of 340

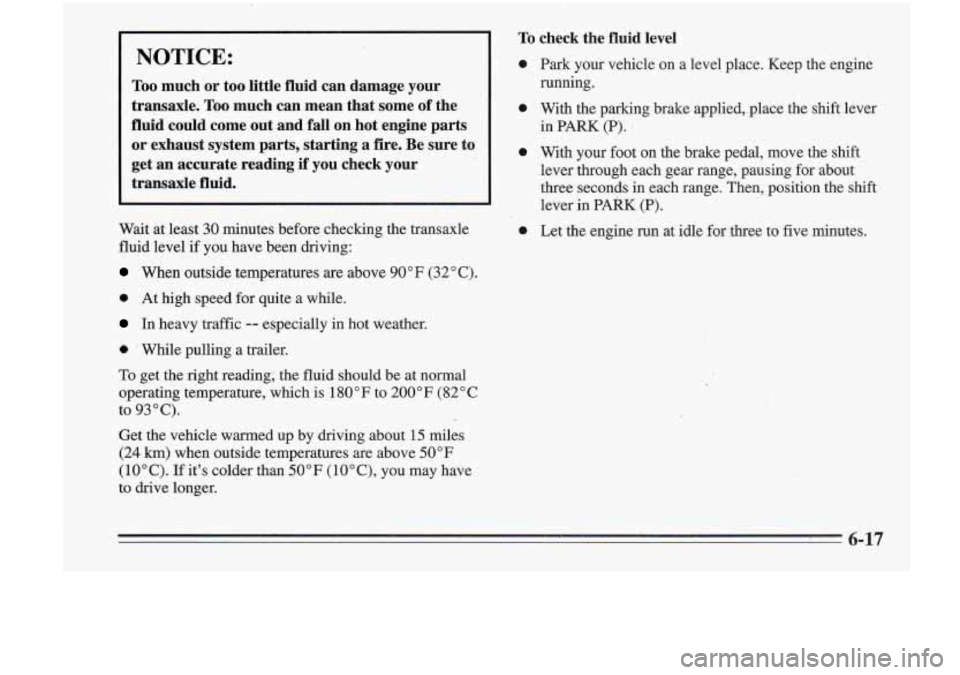
NOTICE:
Too much or too little fluid can damage your
transaxle.
Too much can mean that some of the
fluid could come
out and fall on hot engine parts
or exhaust system parts, starting a fire. Be sure to
get an accurate reading if
you check your
transaxle fluid.
Wait at least 30 minutes before, checking the transaxle
fluid level
if you have been driving:
When outside temperatures are above 90°F (32°C).
0 At high speed for quite a while.
In heavy traffic -- especially in hot weather.
a ' While pulling a trailer.
To get the right reading; the fluid should be at normal
operating temperature, which is 180°F to 200°F (82°C
to 93°C).
Get the vehicle warmed up by driving about 15 miles
(24
km) when outside temperatures are above 50°F
(10°C). If it's colder than 50°F (lO"C), you may have
to drive longer.
To check the fluid level
0
0
0
0
Park your vehicle on a level place. Keep the engine
running.
With the parking brake applied,.place the shift lever
in PARK
(P). J
With your foot on the brake pedal, move the shift
lever through each gear range, pausing for about
three seconds in each range. Then, position the shik:
lever in
PAkK (P).
Let the engine-run at idle for three to five minutes.
6-17
Page 222 of 340
3.1L L82 (Code M) Engine 3.4L LQ1 (Code X) Engine
3. Check both'sides of the dipstick, and read the lower
level. The fluid level must be:in the cross-hatched
area.
1. The transaxle fluid dipstick handle is the red loop 4. If the fluid level is in the acceptable range, push the
near the back
of the engine. Pull out the dipstick and dipstick back in all the way.
'wipe it with a clean rag or paper towel.
then pull it back out again.
2. Push
it back
in all the yay, wait three seconds and
Page 224 of 340
NOTICE:
~f you use an improper coolant mix, your engine
could overheat and be badly damaged. The repair cost wouldn’t be covered by your
warranty. Too much water in the mix can freeze
and crack the engine, radiator, heater core and
other parts.
..
To Check Coolant
When your engine is cold, the coolant level should be at
the
COLD mark or a little higher. When your engine is
warm, the level should be up to the HOT mark or a little
higher.
4-20
Page 261 of 340

I.
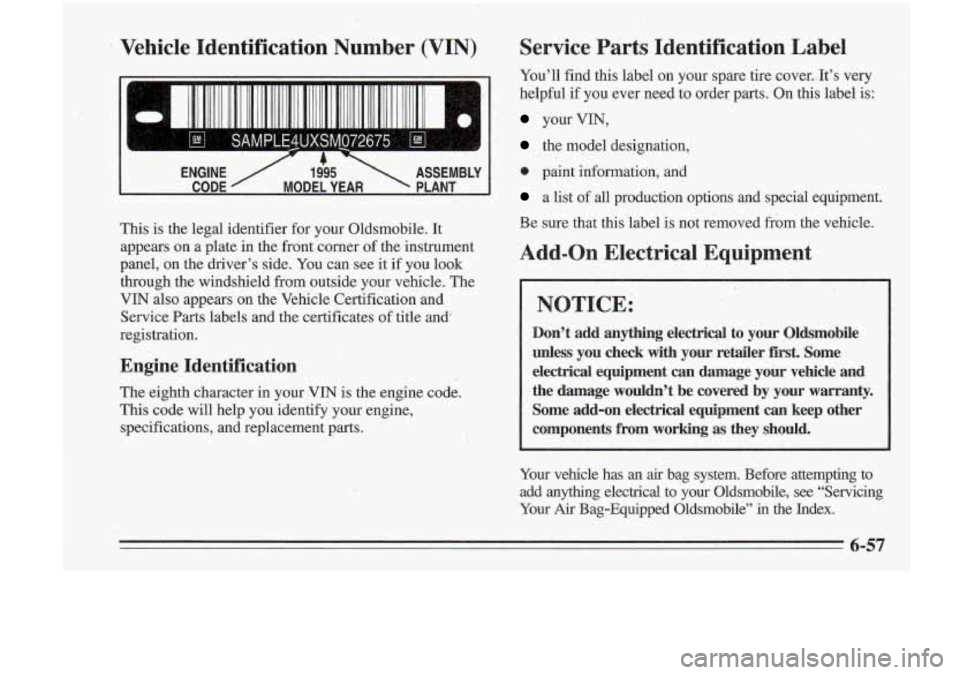
Vehicle Identification Number (VIN)
I
U I
ENGINE / 1.&5 ASSEMBLY
CODE MODEL YEAR PLANT
This is the legal identifier for your Oldsmobile. It
appears on a plate in the front corner of the instrument
panel,
on the driver’s side. You can see it if you look
through the windshield from outside your vehicle. The
VIN also appears on the’vehicle Certification and
Service
Parts labels and the certificates of title and’
registration.
Engine Identification
The eighth character in your VIN is the engine code.
This code will help you identify your engine,
specifications, and replacement parts.
Service Parts Identification Label
You’ll find this label on your spare tire cover. I It’s very
helpful if you ever need
to order parts. On this label is:
your VIN,
the model designation,
9 paint information, and
a list of all production options and special equipment.
Be sure that this label
is not removed from the vehicle.
Add-on Electrical Equipment
NOTICE:
Don’t add anything electrical to your Oldsmobile
unless you check with your, retailer
first. Some
electrical equipment can damage your vehicle and
the damage wouldn’t be covered by your warranty. Some add-on electrical eqtiipment can keep other
components from working
as they should.
Your vehicle has an air bag system. Before attempting to
add anythng electrical to your Oldsmobile, see “Servicing
Your
Air Bag-Equipped Oldsmobile” in the Index.
Page 306 of 340

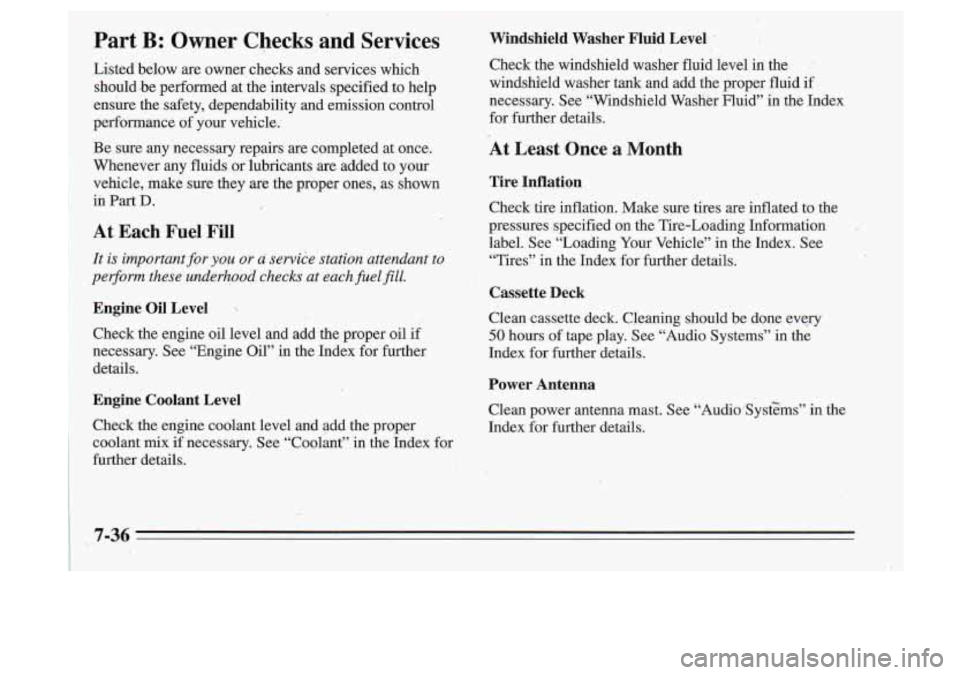
~ Part B: Owner Checks and Services Windshield Washer Fluid Level
Listed below are owner checks and services which
Check the windshield washer fluid level in the
should
be performed at the intervals specified to help windshield washer tank and add the proper fluid if
ensure the safety, dependability and emission control
necessary.
See “Windshield Washer Fluid” in the Index
performance of your vehicle. for further details.
Be sure any necessary repairs are completed at once.
Whenever any fluids or lubricants are added to your vehicle, make sure they are the proper ones, as shown
in Part
D.
’ At Each Fuel Fill
It is important for you or a service station attendant to
perform these underhood checks at each fuel
fill.
Engine Oil Level
Check the engine oil level and add the proper oil if
1 necessary. See “Engine Oil” in the Index for further
details.
Engine Coolant Level
Check the engine coolant level and add the proper coolant mix
if necessary. See “Coolant” in the Index for
further details.
At Least Once a Month
Tire Inflation
Check tire inflation. Make sure tires are inflated to the
pressures specified on the Tire-Loading Information
label.
See “Loading Your Vehicle” in the Index. See
“Tires” in the Index for further details.
Cassette Deck
Clean cassette deck. Gleaning should,be done every
50 hours of tape play. See “Audio Systems” in the
Index for further details.
Power Antenna
Clean power antenna mast. See “Audio*Syst$ms” in the
Index for further details.
Page 328 of 340

.. Park (P) Position ........ .................... 2- 15 Brakes. Trailer ................................. 4-31
Reverse(R). Position
.......................... 2-16 Braking ........................................ 4-5
Second Gear (2) Position
....................... 2-17 Braking, In Emergencies .......................... 4-8
ng
..................................... 2- 15 Break-In, New Vehicle ...... 1 ................... 2-11
c Transaxle Fluid
........................ 6- 16 BTSI (Brake Transaxle Shift Interlock),
rd Gear Position
........................... 2- 17 BTSI (Brake Transaxle Shift Interlock) .............. 2-21
Checking
................................... 6-16 Bulb Replacement ..................... ... 6-31, 6-64
Adding
.............. ! ...................... 6-
19 Maintenance ................................. 7-38
:Battery
...................................... 6-27 Canada, Vehicles First Sold In ....................... 11 ..
Charge Light ................................. 2-46 . Canadian Roadside Assistance ...................... 8-6
.Jump Starting
........... .................... 5-2 Capacities and Specifications ...................... 6-65
. Replacement, Remote Lock Control ............... 2-7 Carbon Monoxide .................... 2-22,4-25, 4-31
Saver
...................................... 2-33 Cassette Deck, Maintenance ...................... 7-36
Warnings
..................................... 5-2 Cassette Tape Player ............................ 3-11
uto Line
................................. 8-3 Cassette Tape Player Care ........................ 3-18
Center High-Mounted Stoplamp Bulb Replacement
.... 6-37
. Adjustment .................................. 6-27 Center Passenger Position ........................ 1-26
.Fluid, Adding
............................... 6-26 Certificatiomire Label .......................... 4-26
:Bleed Valves,
Coolant
........................... 5- 19 CD Player ...................................... 3-13
..:Blizzard
........................................ 4-24 Center Console .................................. 2-38
.. .Master Cylinder .............................. 6-25 Chains, Safety .................................. 4-31
Parking
............ : ....................... 2- 18 Chains, Tire ................................... 6-47
Pedal Travel
................................. 6-27 Changing a Flat Tire ............................. 5-23
System Warning Light
......................... 2-48 Checking Your Restraint Systems ........... , ....... 1-50
Trailer
..................................... 4-3 1 Checking
System Parts, Replacing
....................... 6-27 Charging System Light .......................... 2-46
Transaxle Shift Interlock
....................... 2-21 Automatic Transaxle Fluid ..................... 6-16
Transaxle Shift Interlock, Maintenance
........... 7-38 BrakeFluid ................................. 6-25
Wear
....................................... 6-26 Engine Coolant .............................. 6-20
' Brakes, Anti-Lock ............................... 4-6 Engineoil .................................. 6-11
I 9-2
I .