1995 CHEVROLET TAHOE change time
[x] Cancel search: change timePage 222 of 486
Downloaded from www.Manualslib.com manuals search engine Towing a Trailer
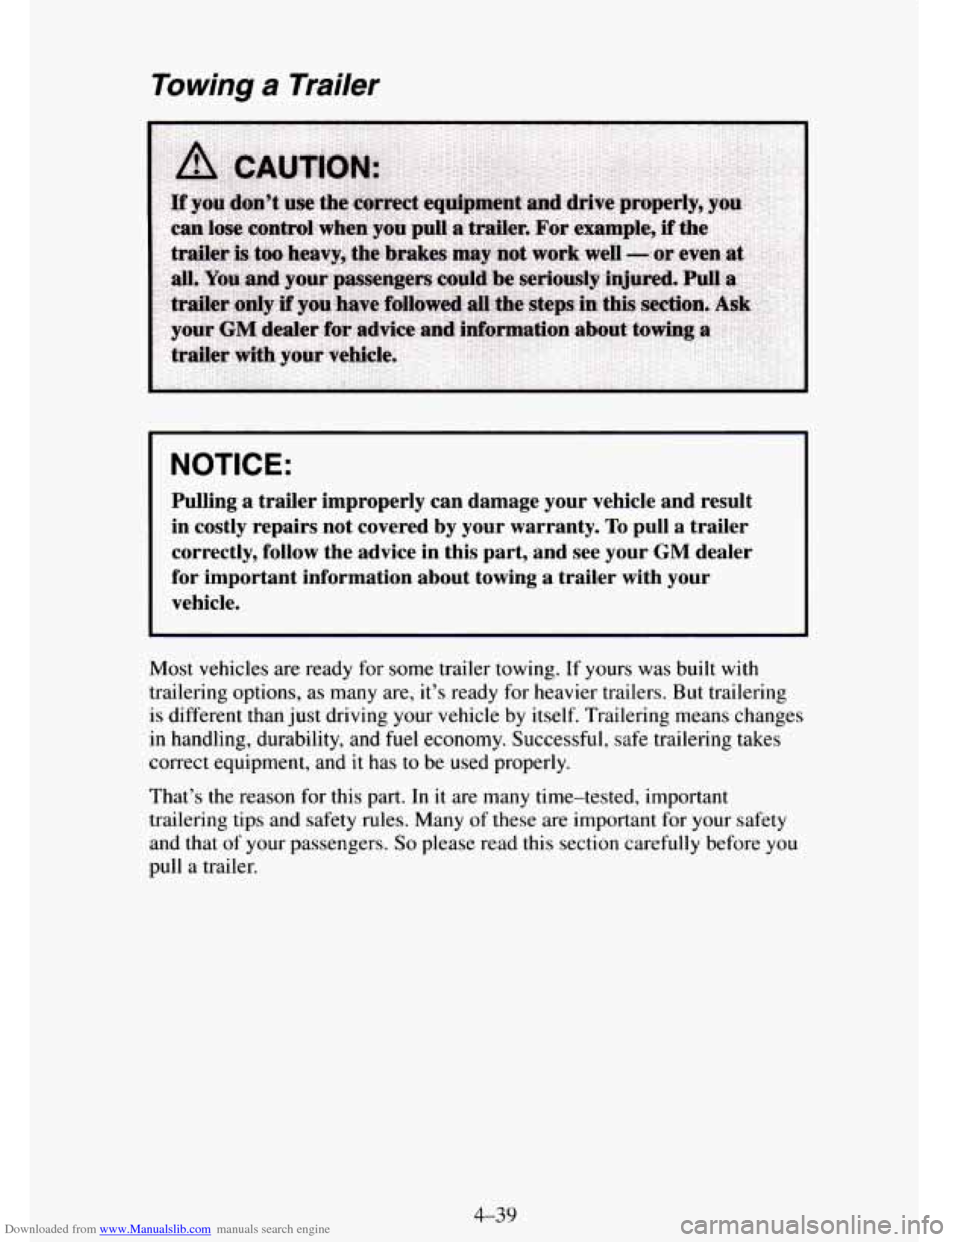
NOTICE:
Pulling a trailer improperly can damage your vehicle and result
in costly repairs not covered by your warranty.
To pull a trailer
correctly, follow the advice in this part, and see your
GM dealer
for important information about towing a trailer with your
vehicle.
Most vehicles are ready for some trailer towing. If yours was built with
trailering options, as many are, it’s ready for heavier trailers. But trailering
is different than just driving your vehicle by itself. Trailering means changes
in handling, durability, and fuel economy. Successful, safe trailering takes
correct equipment, and
it has to be used properly.
That’s the reason for this part.
In it are many time-tested, important
trailering tips and safety rules. Many of these are important for your safety
and that of your passengers.
So please read this section carefully before you
pull a trailer.
4-39
Page 286 of 486
Downloaded from www.Manualslib.com manuals search engine 3. Close the air bleed valve.
4. Turn the ignition key to START for 10 to 15 seconds at a time until
your engine starts.
Fuel Filter Replacement (Diesel Engines)
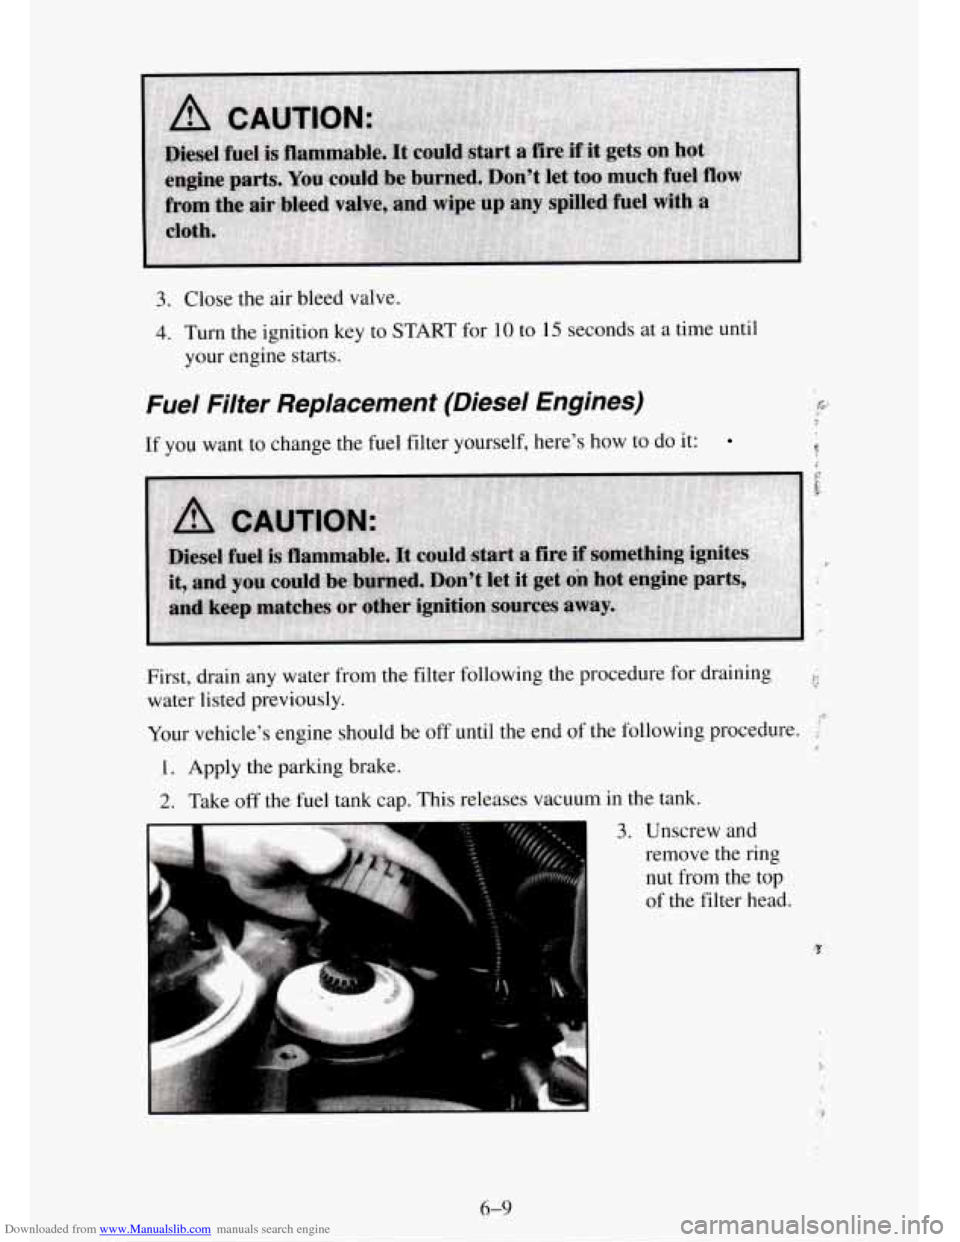
If you want to change the fuel filter yourself, here's how to do it:
First, drain any water from the filter following the procedure for draining
water listed previously.
Your vehicle's engine should be off until the end of the following procedure.
r.
1. Apply the parking brake.
2. Take off the fuel tank cap. This releases vacuum in the tank.
3. Unscrew and
remove the ring
nut from the top
of the filter head.
6-9
Page 297 of 486
Downloaded from www.Manualslib.com manuals search engine What to Do with Used Oil
Did you know that used engine oil contains certain elements that may be
unhealthy for your skin and could
even cause cancer‘? Don’t let used oil stay
on your skin for very long. Clean your skin and nails
with soap and water,
or
a good hand cleaner. Wash or properly throw away clothing or rags
containing used engine
oil. (See the manufacturer’s warnings about the use
and disposal of oil products.)
Used
oil can be a real threat to the environment. If you change your own oil,
be sure to drain all free-flowing oil from the filter before disposal. Don’t
ever dispose
of oil by putting it in the trash, pouring it on the ground, into
sewers, or into streams or bodies
of water. Instead, recycle it by taking it to
a place that collects used oil. If you have a problem properly disposing of
your used oil,
ask your dealer, a service station or a local recycling center
for help.
Engine Oil (Diesel Engines)
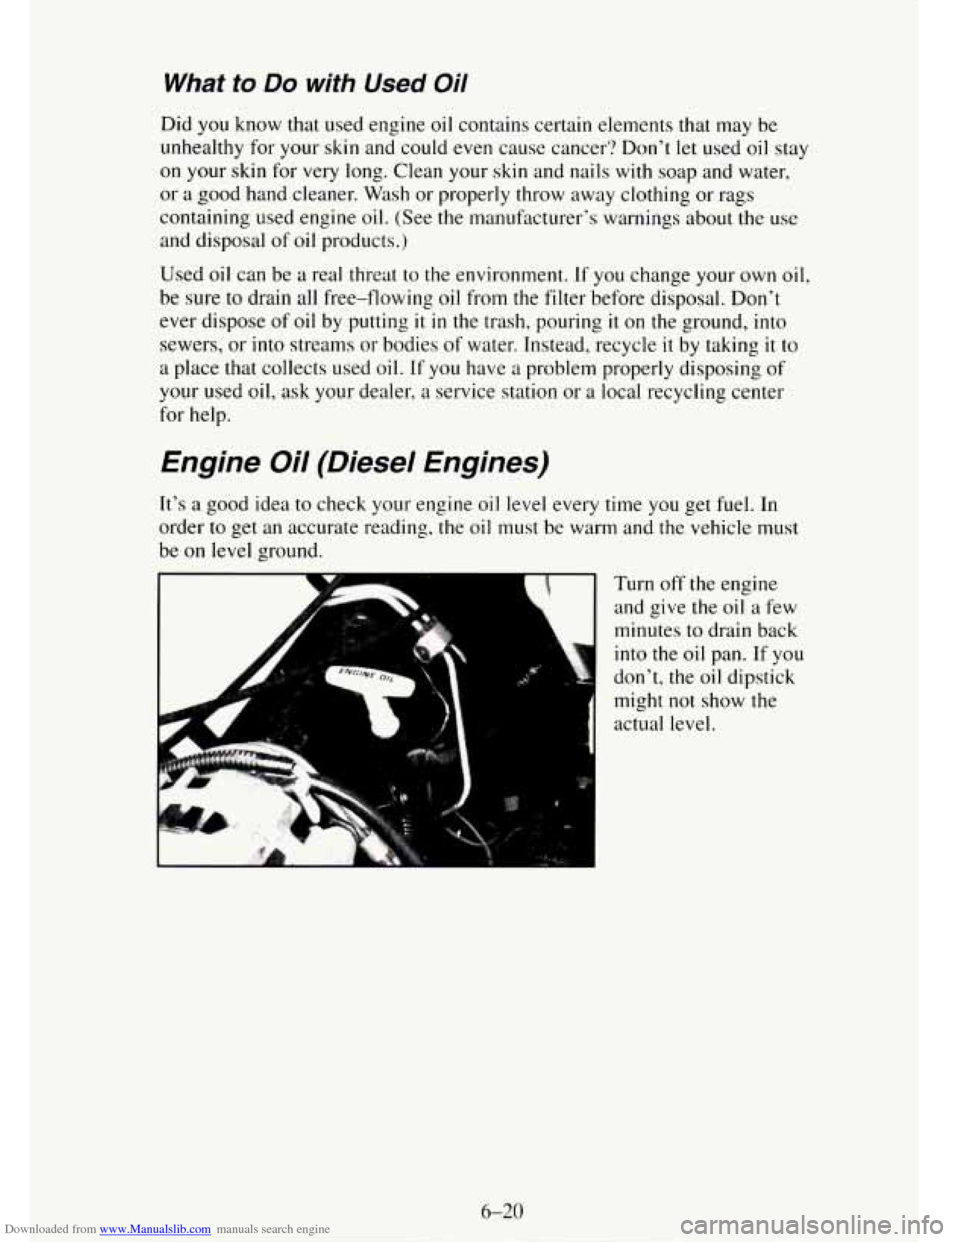
It’s a good idea to check your engine oil level every time you get fuel. In
order
to get an accurate reading, the oil must be warm and the vehicle must
be on level ground.
r Turn off the engine
and give
the oil a few
minutes to drain back
into the
oil pan. If you
don’t, the oil dipstick
might not show the
actual level.
6-20
Page 303 of 486
Downloaded from www.Manualslib.com manuals search engine To remove the air cleaner filter on a gasoline engine or a 6.5 liter naturally
aspirated diesel engine, turn the wing nuts
to the left. Remove the cover and
change
the filter.
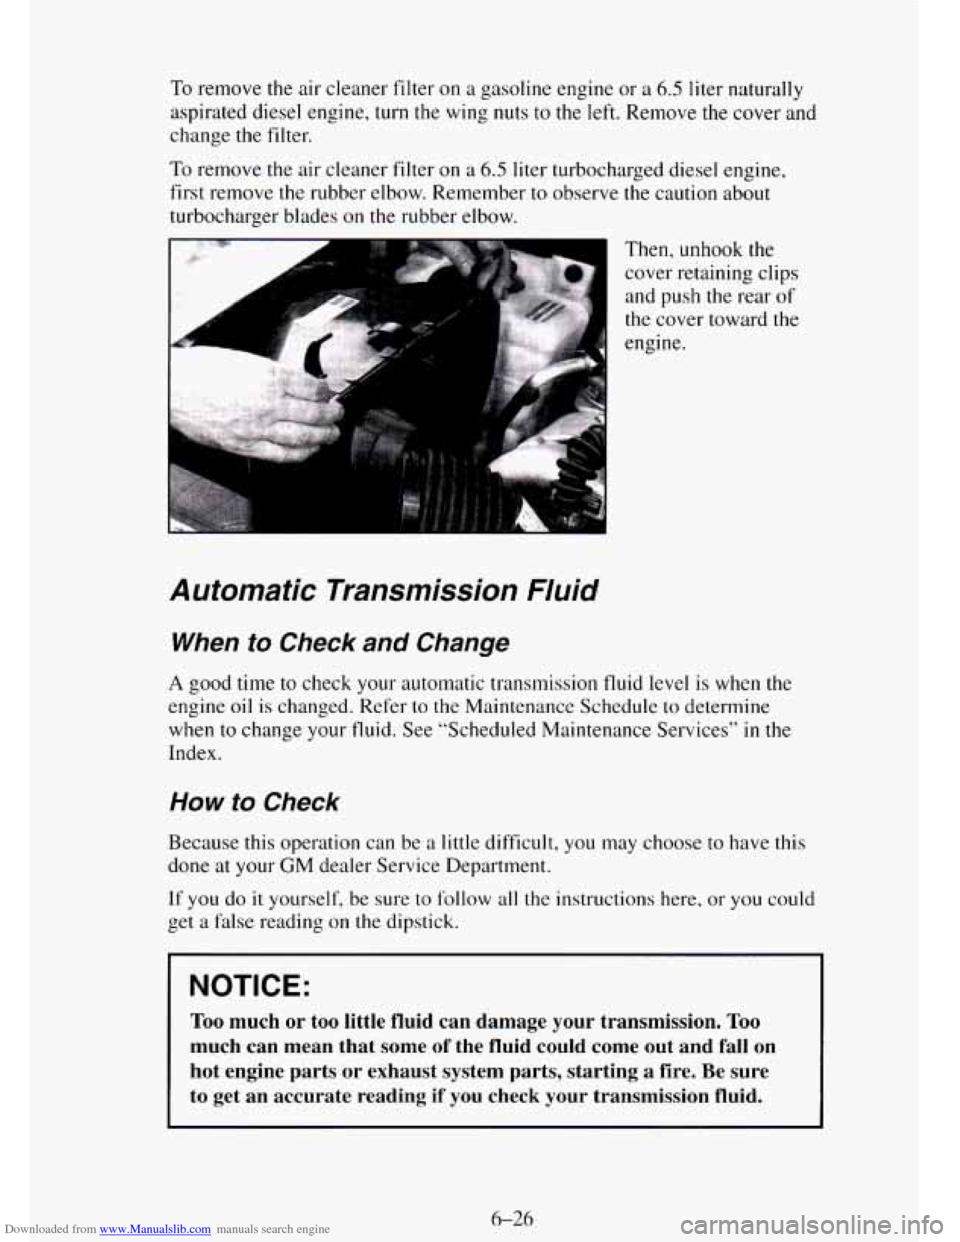
To remove the air cleaner filter on a 6.5 liter turbocharged diesel engine,
first remove the rubber elbow. Remember to observe the caution about
turbocharger blades
on the rubber elbow.
Then, unhook the cover retaining clips
and push the rear
of
the cover toward the
engine.
Automatic Transmission Nuid
When to Check and Change
A good time to check your automatic transmission fluid level is when the
engine
oil is changed. Refer to the Maintenance Schedule to determine
when to change your
fluid. See “Scheduled Maintenance Services” in the
Index.
How to Check
Because this operation can be a little difficult, you may choose to have this
done
at your GM dealer Service Department.
If you do
it yourself, be sure to follow all the instructions here, or you could
get a false reading on the dipstick.
NOTICE:
Too much or too little fluid can damage your transmission. Too
much can mean that some of the fluid could come out and fall on
hot engine parts or exhaust system parts, starting a fire. Be \
sure
to get an accurate reading
if you check your transmission fluid.
6-26
Page 306 of 486
Downloaded from www.Manualslib.com manuals search engine How to Add Fluid
Refer to the Maintenance Schedule to determine what kind of transmission
fluid to use. See “Recommended Fluids and Lubricants”
in the Index.
Add fluid only after checking the transmission fluid HOT.
(A COLD check
is used
only as a reference.) If the fluid level is low, add only enough of the
proper fluid to bring the level up to the HOT area for a
hot check. It doesn’t
take much fluid, generally less than a
int. Don 7 overfill. We recommend
you
use only fluid labeled DEXRON -111, because fluid with that label is
made especially for your automatic transmission. Damage caused by fluid
other than DEXRON@-111
is not covered by your new vehicle warranty.
8
After adding fluid, recheck the fluid level as described under “How to
Check.”
When the correct fluid level is obtained, push the dipstick back in all
the way; then flip
the handle down to lock the dipstick in place.
Manual Transmission Fluid
When to Check
A good time to have it checked is when the engine oil is changed. However,
the fluid
in your manual transmission doesn’t require changing.
How to Check
Because this operation can be a little difficult, you may choose to have this
done at your
GM dealer Service Department.
If you do it yourself, be sure to follow all the instructions here, or you could
get a false reading.
I NOTICE:
Too much or too little fluid can damage your transmission. Too
much can mean that some of the fluid could come out and fall on
hot engine parts or exhaust system parts, starting a fire.
Be sure
to get an accurate reading if you check your transmission fluid.
Check the fluid level only when your engine is off, the vehicle is parked on
a level place and the transmission is cool enough for you to rest your fingers
on the transmission case.
6-29
Page 353 of 486
Downloaded from www.Manualslib.com manuals search engine Fuse Block
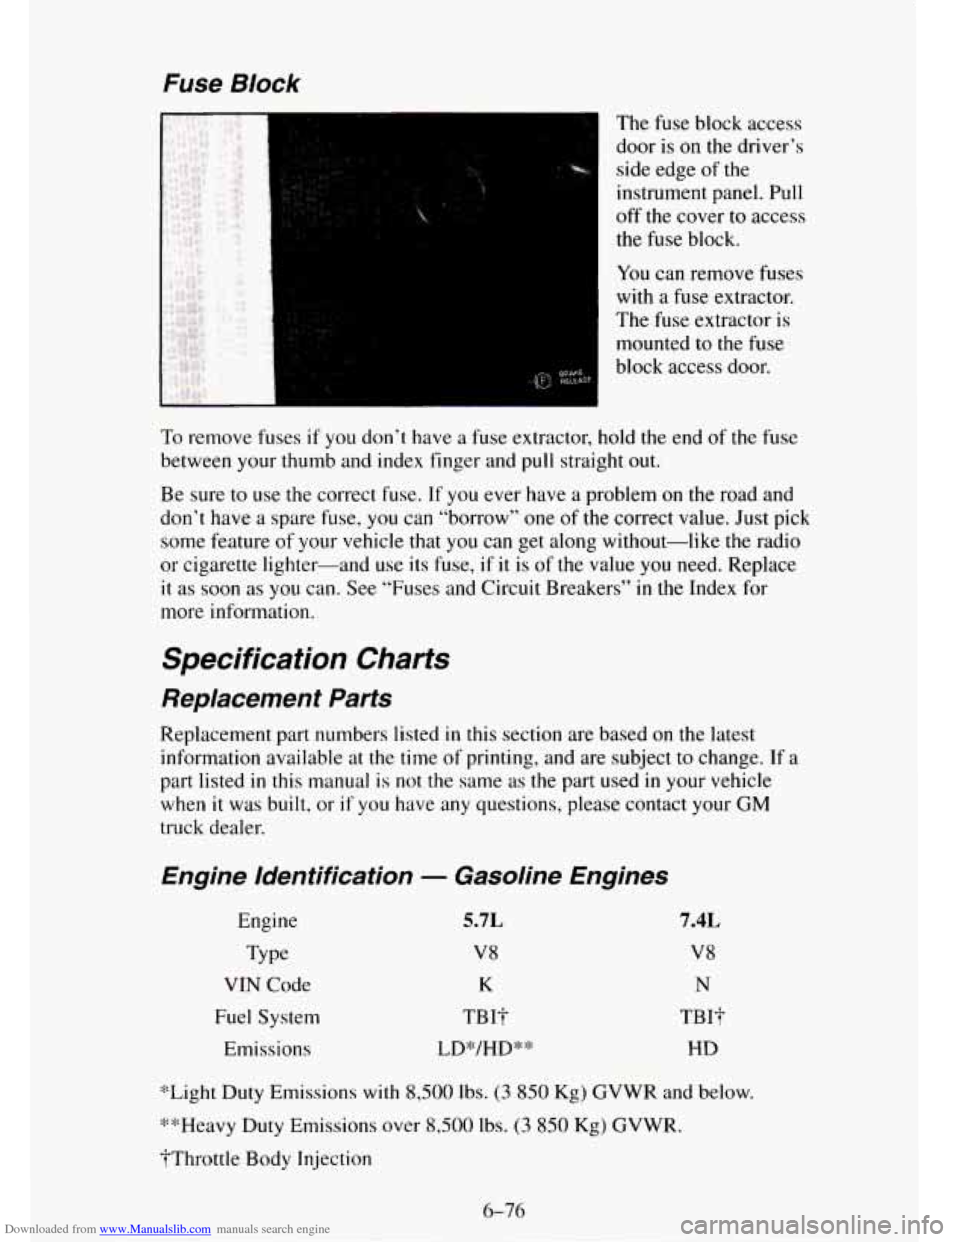
The fuse block access
door is on the driver’s
side edge
of the
instrument panel. Pull
off the cover to access
the fuse block.
You can remove fuses
with a fuse extractor.
The
fuse extractor is
mounted to the fuse
block access door.
To remove fuses if you don’t have a fuse extractor, hold the end of the fuse
between your thumb and index finger and pull straight
out.
Be sure to use the correct fuse. If you ever have a problem on the road and
don’t
have a spare fuse, you can “borrow” one of the correct value. Just pick
some feature of your vehicle that you can get along without-like the radio
or cigarette lighter-and use its fuse,
if it is of the value you need. Replace
it as soon as you can. See “Fuses and Circuit Breakers” in the Index for
more information.
Specification Charts
Replacement Parts
Replacement part numbers listed in this section are based on the latest
information available at the time of printing, and are subject to change.
If a
part listed in this manual is not the same as the part used in your vehicle
when
it was built, or if you have any questions, please contact your GM
truck dealer.
Engine Identification - Gasoline Engines
Engine
Type
VIN Code
Fuel System Emissions
7.4L
V8
N
TBI? HD
*Light Duty Emissions
with 8,500 lbs. (3 850 Kg) GVWR and below.
**Heavy Duty Emissions over
8,500 Ibs. (3 850 Kg) GVWR.
?Throttle Body Injection
6-76
Page 472 of 486
Downloaded from www.Manualslib.com manuals search engine Telephone number where you can be reached
Vehicle mileage
0 Description of the problem
For complete program details, see your Chevrolet/Geo dealer to obtain a
Roadside Assistance Center brochure.
Canadian Roadside Assistance
Vehicles purchased in Canada have an extensive Roadside Assistance
program accessible from anywhere in Canada or
the U.S.A. Please refer to
the separate brochure provided by the dealer or call 1-800-268-6800 for
emergency services.
Courtesy Transportation
ChevroletIGeo offers Courtesy Transportation for customers needing
warranty service. Courtesy Transportation will be offered in conjunction
with the coverage provided by the BUMPER TO
BUMPER New Vehicle
Limited Warranty
to retail purchasers of 1995 Chevrolet/Geo passenger car
and light duty trucks (please see your selling dealer for details).
Courtesy Transportation includes:
One way SHUTTLE RIDE for any warranty repair completed during
the same day.
Up to $30 maximum daily VEHICLE RENTAL allowance for any
overnight warranty repair up
to 5 day, OR
0 Up to $30 maximum daily CAB, BUS, or OTHER transportation
allowance in
lieu of rental for any overnight warranty repair up to
5 day, OR
0 Up to $10 daily FUEL allowance for rides provided by another person
(Le., friend, neighbor, etc.) in lieu
of rental for any overnight warranty
repair up to
5 days.
Note: All Courtesy Transportation arrangements will be administered
by your Chevrolet/Geo dealership service management. Claim
amounts should reflect
all actual costs.
The Chevrolet/Geo Courtesy Transportation Program is not part of the
BUMPER
TO BUMPER New Vehicle Limited Warranty.
Chevrolet/Geo reserves the right to make any changes or discontinue
the Courtesy Transportation Program at any time without notification.
For additional program details contact your Chevrolet/Geo dealer.
In Canada, please consult your GM dealer for information on courtesy
transportation.
8-7
Page 479 of 486

Downloaded from www.Manualslib.com manuals search engine K
Key Lock Cylinders ......................................... 645. 7.93
Keyless Entry System
............................................. 2-8
Key Release Button
.............................................. 2-12
Keys
........................................................... 2-1
L
Labels
Lamps Certificationmire
(See “Certificatioflire Label”)
Center High Mounted Stop Lamp (CHMSL)
........................ 2-82
Daytime Running Lamps
....................................... 2-49
Dome
....................................................... 2-50
Headlights (See “Headlamps”)
Lamp and Bulb Data
........................................... 6-82
Reading
..................................................... 2-50
Replacement (See “Bulb Replacement”)
UnderhoodReelLamp
......................................... 2-51
Lights
Air Bag Readiness Light
........................................ 2-70
Anti-Lock Brake System Warning Light
........................... 2-72
Brake System Warning Light
.................................... 2-71
Charging System Warning Light
.................................. 2-75
Check Gages Warning Light
..................................... 2-76
Daytime Running Lamps (DRL) Indicator Light ................ 2-49, 2-76
Headlamp High Beam Indicator Light
............................. 2-77
Headlights (See “Headlamps”)
Low Coolant Warning Light ................................ 2-74, 6-36
Safety Belt Reminder Light
..................................... 2-70
Service Throttle Soon (Light Duty Diesel Engines)
................... 2-73
ShiftLight
.............................................. 2-24, 2-77
Turn Signal and Lane Change Indicator Light
.................. 2-40, 2-78
Water
in Fuel (Diesel Engine) .................................... 2-73
Loading Your Vehicle
............................................ 4-37
Lock Cylinders (See “Key Lock Cylinders”)
Loss of Control (See “Driving-Loss of Control”)
Lubrication (See “Recommended Fluids and Lubricants”)
Luggagecarrier
................................................. 2-85
GlowPlugsLight
............................................. 2-74
Malfunction Indicator (Service Engine Soon)
.................. 2-75, 6-54
TraileringPackage
............................................ 4-39
M
Malfunction Indicator Lamp (See “Lights”)
Maintenance (See “Scheduled Maintenance Services”)
Master Cylinder (See “Brakes”)
Mirrors
ConvexOutside
............................................. 2-54
Electric Outside Rearview Mirrors
................................ 2-54
Electrochromic Inside Rearview Mirror with Compass
................ 2-52
Znside
....................................................... 2-52
6