Page 115 of 354
Downloaded from www.Manualslib.com manuals search engine The lower knob changes the heater function and determines which outlets
the air will flow through (instrument panel, defroster, heater, etc.).
OFF - This setting turns off all heating functions. Some outside air will
still come out of the heater outlet whenever the vehicle is moving forward.
VENT - Airflow is through the instrument panel vents. Set the upper knob
to the temperature desired. This setting is useful for mild outside
temperatures, when little heating or cooling is desired.
BI-LEV - Outside air comes in through the heater floor vents and the
instrument panel vents. This setting is useful
in cool weather with bright
sunlight.
HEAT
- Heated air comes out through the heater floor vents and
windshield defroster vents. This setting is useful for cold weather.
BLEND - Airflow is divided equally between the heater floor vent and the
windshield defroster vents. This setting is useful
in cool weather when you
have fog
or ice on the windshield or side windows.
DEF - This setting directs most air through the windshield defroster vents
and some through the heater vents. This setting
is useful when you have fog
or ice on the windshield.
Heater/Air Conditioning Controls
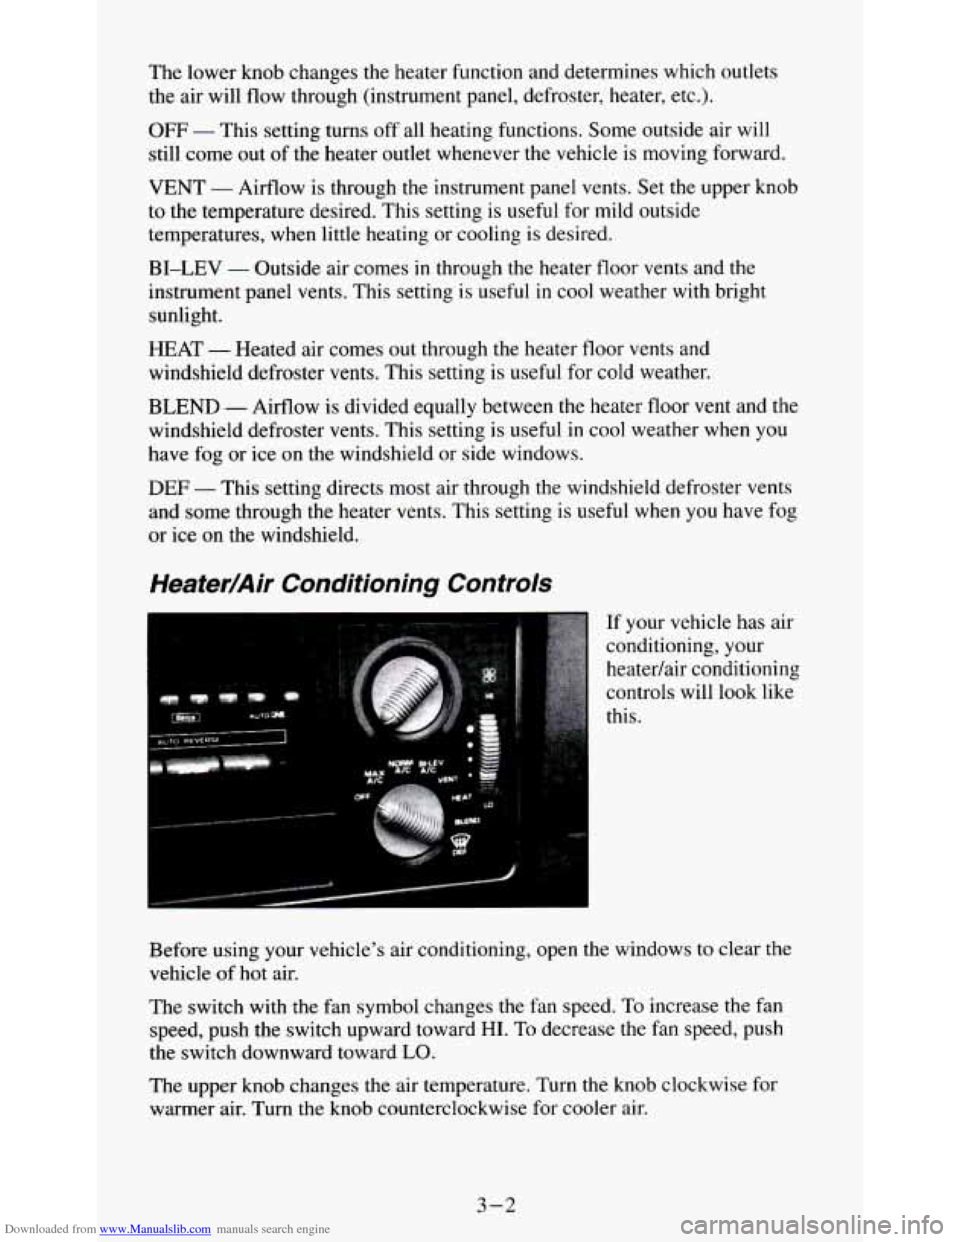
If your vehicle has air
conditioning, your
heatedair conditioning
controls will look like
this.
Before using your vehicle's air conditioning, open the windows to clear the
vehicle of
hot air.
The switch with the fan symbol changes the fan speed. To increase the fan
speed, push the switch upward toward
HI. To decrease the fan speed, push
the switch downward toward
LO.
The upper knob changes the air temperature. Turn the knob clockwise for
warmer air. Turn the knob counterclockwise for cooler air.
3-2
Page 116 of 354
Downloaded from www.Manualslib.com manuals search engine The lower knob selects the heater or air conditioning function and
determines which outlets the air will flow through (instrument panel,
defroster, heater, etc.).
OFF - This setting turns off all heating functions. Some outside air will
still come out of the heater outlet whenever the vehicle is moving forward.
MAX A/C
- Air inside your vehicle is recirculated to maximize your air
conditioner’s performance and your vehicle’s fuel economy. This setting
cools the air the fastest and should be used to keep “unwanted odors” and/or
dust from entering the vehicle.
NORM A/C - This setting cools outside air and directs it through the
instrument panel vents. This setting is useful for normal cooling on hot
days.
BI-LEV A/C
- Air is delivered through the heater floor vents as well as
the instrument panel vents. This setting is useful in cool weather with bright
sunlight.
VENT - Airflow is through the instrument panel vents. Set the upper knob
to the temperature desired. This setting is useful for mild outside
temperatures, when little heating or cooling is desired. The air conditioner
does not run.
HEAT
- Heated air comes out through the heater floor vents and
windshield defroster vents. This setting is useful for cold weather.
BLEND
- Airflow is divided equally between the heater floor vent and the
windshield defroster vents. This setting
is useful in cool weather when you
have fog or ice on the windshield
or side windows.
DEF - This setting directs most air through the windshield defroster vents
and some through the heater vents. This setting is useful when you have fog
or ice on the windshield.
Engine Coolant Heater (Option)
If you use the optional engine coolant heater before starting your engine,
your heating system
will produce warmer air faster, to heat the passenger
compartment
in cold weather. See “Engine Coolant Heater” in the Index.
3-3
Page 156 of 354
Downloaded from www.Manualslib.com manuals search engine Driving through rushing water can be dangerous. Deep water can sweep your vehicle downstream and you and your
passengers
could drown. If it’s only inches deep, it can still wash
away the ground from under your tires, and you could lose
traction and roll the vehicle over. Ron’t drive through rush\
ing water.
After Off-Road Driving
Remove any brush or debris that has collected on the underbody, chassis or
under the hood. These accumulations can be a fire hazard.
After operation in mud
or sand, have the brake linings cleaned and checked.
These substances can cause glazing and uneven braking. Check the body
structure, steering, suspension, wheels, tires, and exhaust system for
damage. Also, check the fuel lines and cooling system for any leakage.
Your vehicle will require more frequent service due to off-road
use. Refer
to the Maintenance Schedule for additional information.
Driving at Night
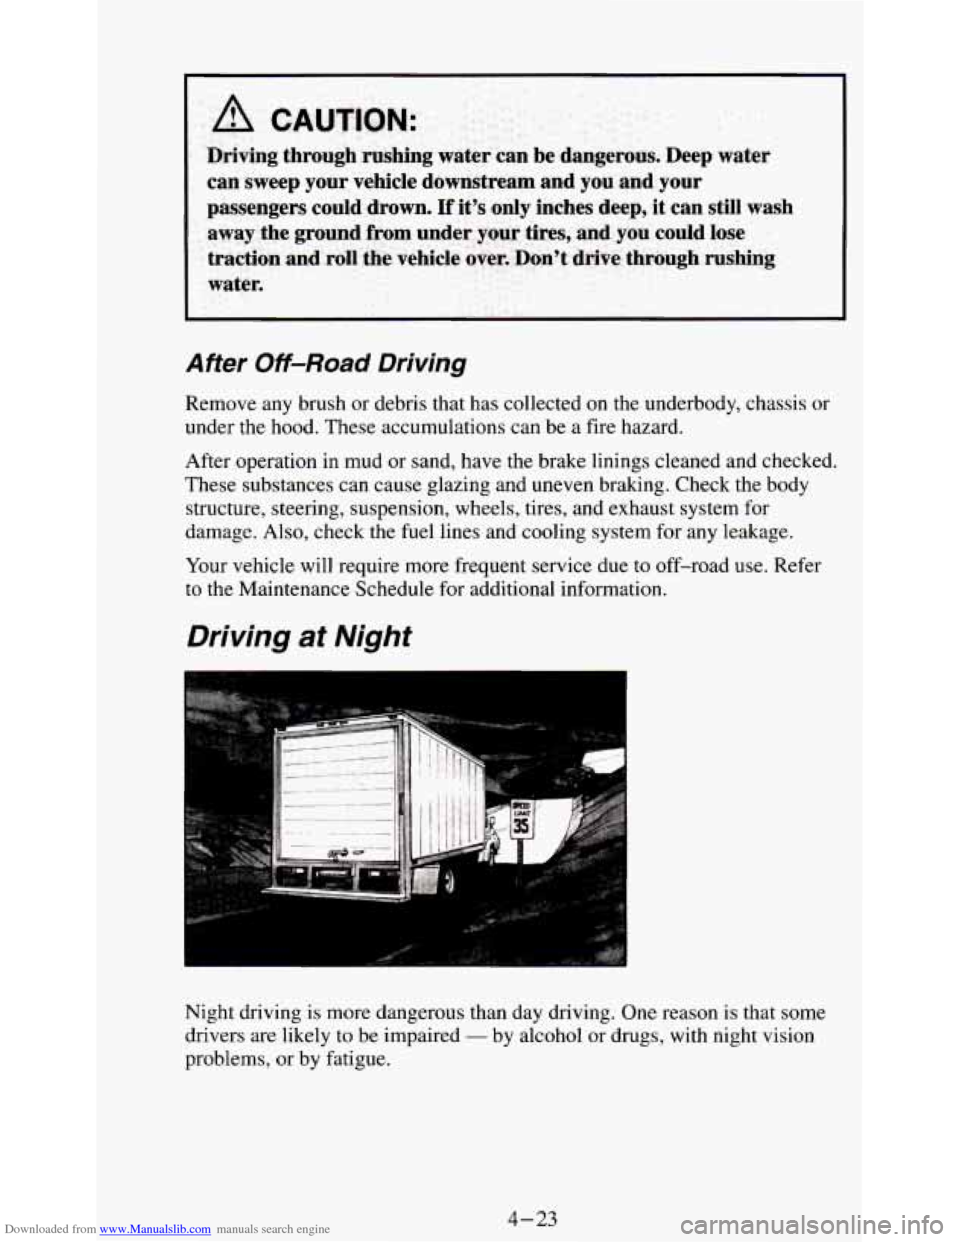
Night driving is more dangerous than day driving. One reason is that some
drivers
are likely to be impaired - by alcohol or drugs, with night vision
problems, or by fatigue.
4-23
Page 163 of 354
Downloaded from www.Manualslib.com manuals search engine Then here are some tips:
Make sure your vehicle is well ventilated, with a comfortably cool
interior.
0 Keep your eyes moving. Scan the road ahead and to the sides. Check
If you get sleepy, pull off the road into a rest, service, or parking area
your
mirrors and your instruments frequently.
and take
a nap, get some exercise, or both. For safety, treat drowsiness
on the highway as an emergency.
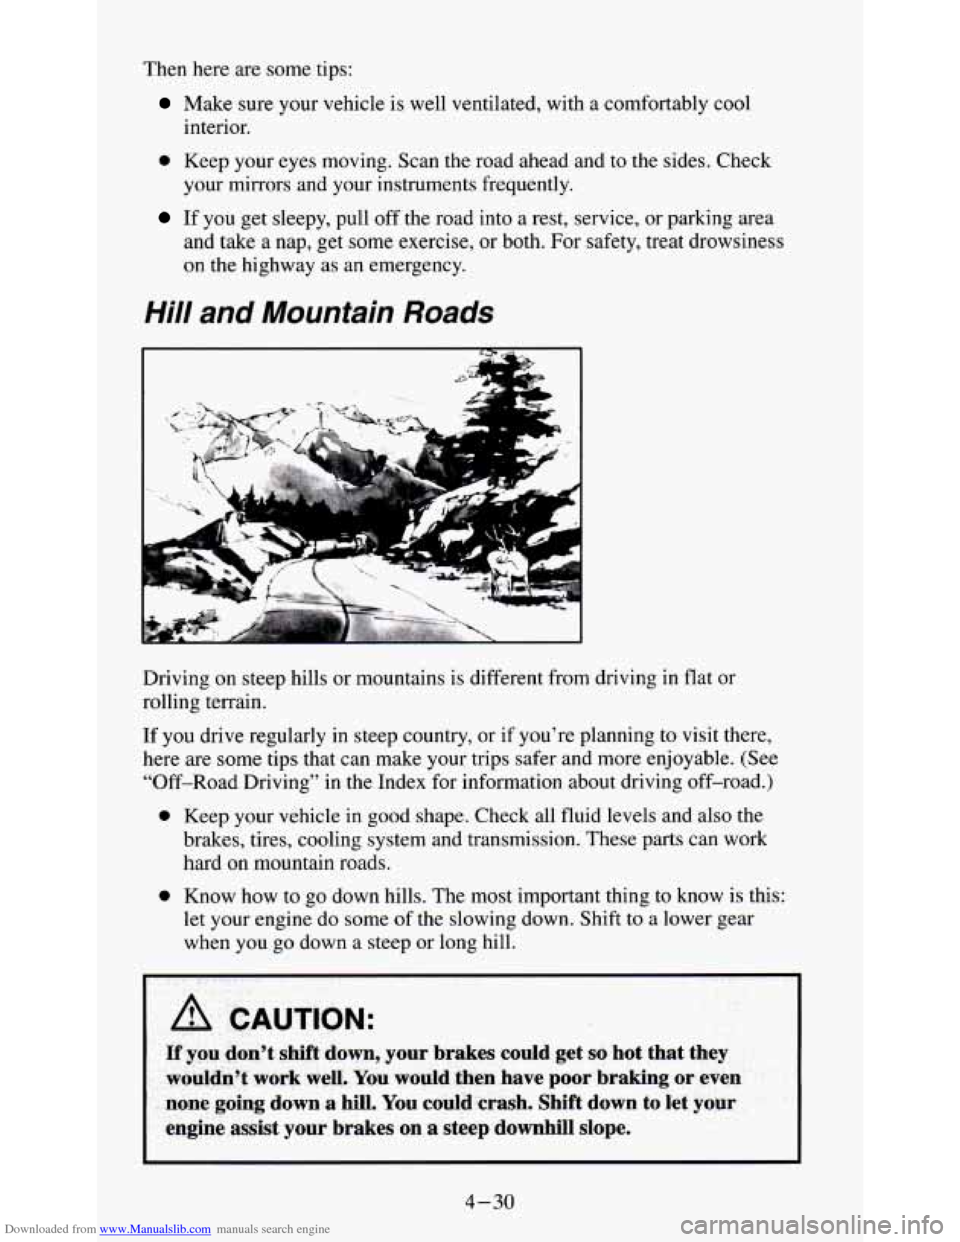
Hill and Mountain Roads
Driving on steep hills or mountains is different from driving in flat or
rolling terrain.
If you drive regularly in steep country, or if you’re planning
to visit there,
here are some tips that can make your trips safer and more enjoyable. (See
“Off-Road Driving” in the Index for information about driving off-road.)
0 Keep your vehicle in good shape. Check all fluid levels and also the
brakes, tires, cooling system and transmission. These parts can work
hard on mountain roads.
0 Know how to go down hills. -The most important thing to know is this:
let your engine do some
of the slowing down. Shift to a lower gear
when you
go down a steep or long hill.
4-30
Page 182 of 354
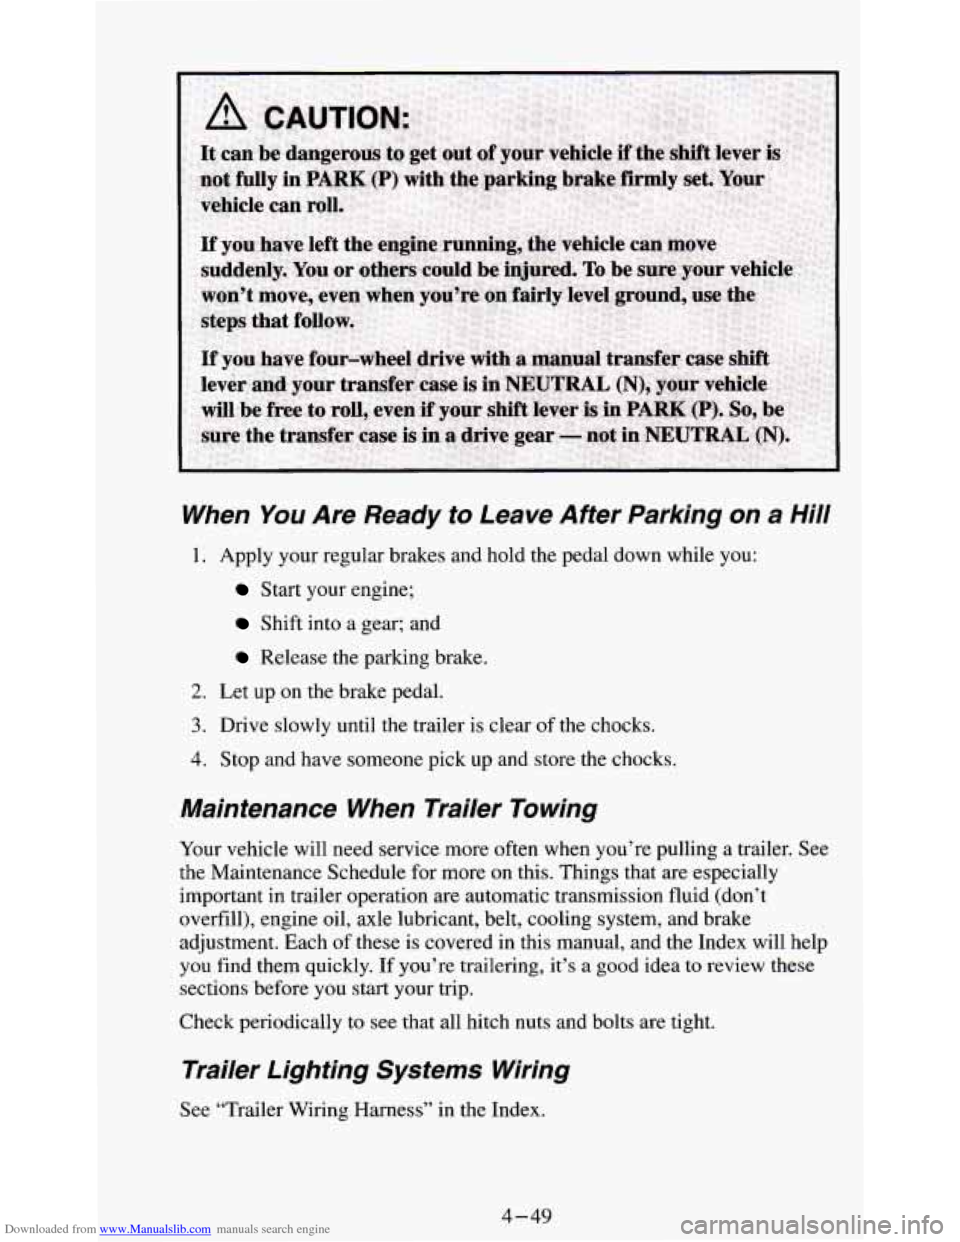
Downloaded from www.Manualslib.com manuals search engine When You Are Ready to Leave After Parking on a Hill
1. Apply your regular brakes and hold the pedal down while you:
Start your engine;
Shift into a gear; and
Release the parking brake.
2. Let up on the brake pedal.
3. Drive slowly until the trailer is clear of the chocks.
4. Stop and have someone pick up and store the chocks.
Maintenance When Trailer Towing
Your vehicle will need service more often when you’re pulling a trailer. See
the Maintenance Schedule for more on this. Things that are especially
important in trailer operation are automatic transmission fluid (don’t
overfill), engine oil, axle lubricant, belt, cooling system, and brake
adjustment. Each of these is covered in this manual, and the Index will help
you find them quickly. If you’re trailering, it’s a
good idea to review these
sections before you start your trip.
Check periodically to
see that all hitch nuts and bolts are tight.
Trailer Lighting Systems Wiring
See “Trailer Wiring Harness” in the Index.
4-49
Page 195 of 354
Downloaded from www.Manualslib.com manuals search engine When you decide it's
safe to lift the hood,
here's what you'll see:
A. Coolant recovery
tank
B. Radiator pressure
cap
C. Engine fan
If the coolant inside the coolant recovery tank is boiling, don't do anything
else until it cools down.
The coolant level should be at the
ADD mark. If it isn't, you may have a
leak in the radiator
hoses, heater hoses, radiator, water pump or somewhere
else in the cooling system.
5-12
Page 197 of 354
Downloaded from www.Manualslib.com manuals search engine When the coolant in the coolant recovery tank is at ADD, start your vehicle.
If the overheat warning continues, there's one more thing you can try. You
can add the proper coolant mix directly to the radiator, but be sure the
cooling system is cool before you do it.
5-14
Page 198 of 354
Downloaded from www.Manualslib.com manuals search engine How to Add Coolant to the Radiator
1 . You can remove the radiator pressure cap when the cooling system,
including the radiator pressure cap and upper radiator hose,
is no longer
hot. Turn the pressure cap slowly to the left until it first stops. (Don’t
press down while turning the pressure cap.)
If you hear a hiss, wait for that to stop. A hiss means there is still some
pressure left.
5- 15